Saturday, May 28, 2016

Cool Treats - Pink and Main

Good Morning Pink and Main Fans!
I am in South Carolina and the weather here is starting to turn steamy! I recently moved to SC from Southern California and I must say the humidity is really hard to get use too!! So I thought it would be fun to make a card with some cool treats.  I am hoping this will help with the hot days and nights but I don't think so!! Hee Hee
I am using the set from our most recent new release called So Cool!  It has a wonderful selection of sweet treats, darling penguins and matching sentiments!PM0182_So_Cool_4x6_web__92815.1460676811.1280.1280
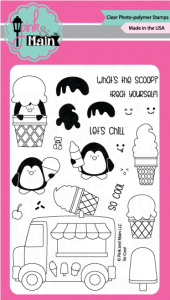
Here is the card I made for you this week:
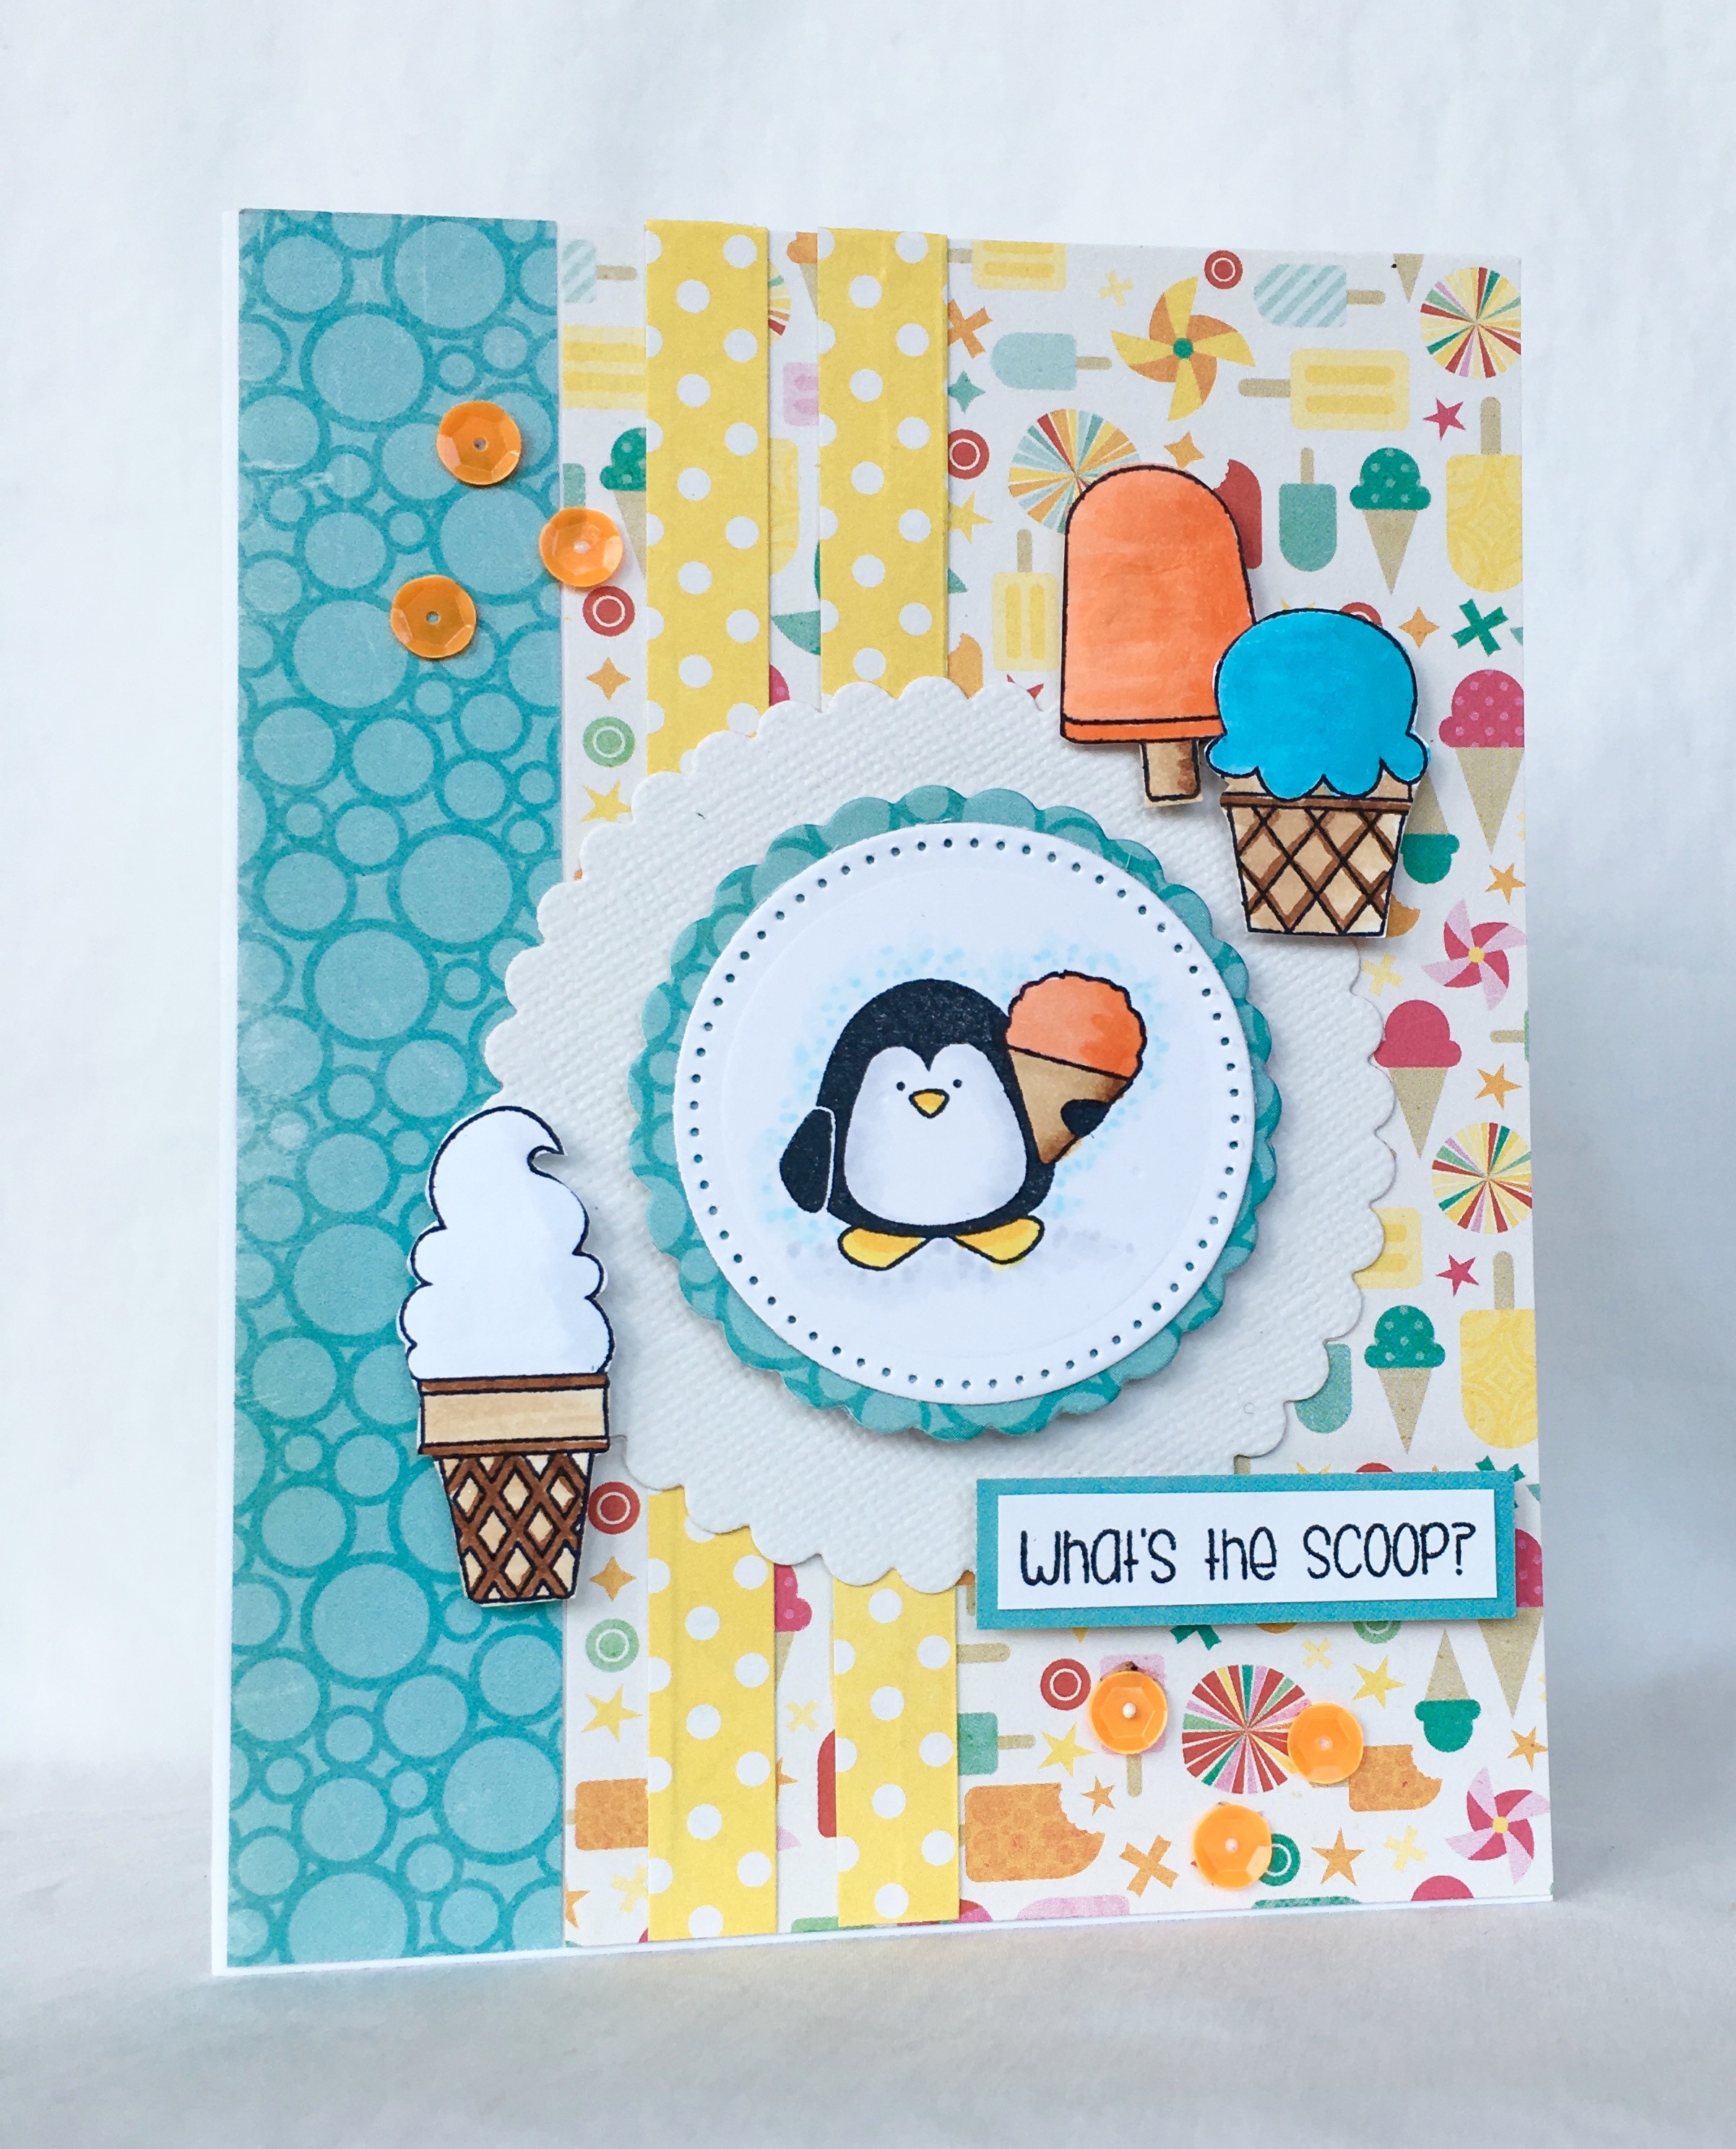
IMG_1130
Design Steps:
  1. Use a white A2 card base, cut designer paper blue circles 5 1/2 x 1 and glue to the left side of the card front. Cut a sheet of the ice cream pattern paper 3 1/4 x 5 1/2 and glue to the right side of the card front. (Designer Paper Echo Park Summer Bliss) (White card stock Recollections)
  2. Cut 2  1/4 x 5 1/2 strips of yellow polka dot paper and glue to the front as shown. (Designer Paper Echo Park Summer Bliss)
  3. Cut a 3 inch scallop circle (I used my Cricut but you can use punches or dies)(Bazzil Paper) glue to the front as shown
  4. Cut the blue scallop circle and the white pierced circle (I used the dies from Sizzixs Flip-it card) Scallop blue is 2 1/8 and the white circle is 2 inches.
  5. Stamp the penguin (Pink and Main So Cool) image in black (Memento Black Ink). Color with copics: YR02, 04, 07 - C0, 01, 02 - B0000, 000, 00, 01 - Y15, 17 - E15, 31, 53 - BG45, 53.  Glue to the center of the Blue scalloped circle and then pop dot to the white scallop circle.
  6. Stamp the ice cream cones and popsicle (Pink and Main So Cool) and color with copics: YR02, 04, 07 - C0, 01, 02 - BG 45, 53- E15, 31, 53. Fussy cut all the images and pop dot to the card as shown.
  7. Stamp sentiment and layer on blue pop dot to card
  8. Add sequin (Pink and Main)
Thanks so much for stopping by!!
Blessings
Pam

Saturday, May 21, 2016

Thanks! - Pink and Main

Good Morning to all of you!!
I am featuring several new dies today plus using a set from a past release that I think has so many fun uses!
The new die set has the word Thanks, a shadow plus a coordinating stamp set.  The other stamp set I used is a floral set which has a great selection of small flowers and leaves called Florals.  It also has a matching die cut set. And last but not least is the oh so versatile stitched rectangle die set with the rounded corners! I am in love with this set and use it all of the time!
IMG_1078
Design steps:
  1. Start with an A2 purple card base (Recollections)
  2. Use the largest of the stitched die set (Pink and Main Rectangle Stitch Dies) and cut out a white piece of card stock then cut off the top at about 2 1/2 inches
  3. Put the remaining piece of the stitched die cut on the bottom of your purple card front and the top flap on the top half of the card as shown.  ( You may have to cut off a small piece of the purple card base to get things to match up)
  4. Cut out the shadow for the thanks in light purple and the word thanks in dark purple (Pink and Main Thanks to You)(Recollections) adhere to the top flap
  5. Stamp roses (Pink and Main Florals) on the light purple card stock with a dark purple ink (Eggplant SU) use the matching die cuts to cut all the flowers out
  6. Stamp the leaves (Pink and Main Florals) on green card stock with dark green ink (Artichoke SU) use the matching die cuts to cut all the leaves out
  7. Adhere all the flowers and leaves to the front of the card as shown.
  8. Stamp the small dots (Pink and Main Florals) around the flowers (Pale Plum SU)
  9. Add clear sequin (Hobby Lobby)

Hope you have a great day!
Blessings
Pam


Saturday, May 14, 2016

Thanks to You! - Pink and Main

Good Morning!
I love experimenting with watercoloring.  The card I made was so easy and a lot of fun! 
IMG_0962
Design steps:
  1. Use a A2 white card stock base. Cut a slightly smaller purple piece of card stock and adhere to the front of the white card base (Recollections card stock)
  2. Cut a 4 x 5 1/4 piece of watercolor paper (Canson 120lb).  Wet brush the watercolor paper diagonally from the upper left corner to the lower right corner just going half way. Using your purple watercolor drop some purple first in the lower left corner and let it spread added purple as you desire. 
  3. Dry the watercolor paper when you have achieved the look you like
  4. Then from the upper left corner wet brush your watercolor paper to the bottom right corner on the opposite side of the purple. Using your teal watercolor drop some teal starting in the upper right corner letting it bleed down to the purple adding teal as needed.
  5. Dry the watercolor paper when you have achieved the look you like
  6. Then splatter with purple and teal watercolor. I also splattered with white acrylic paint.
  7. When everything is completely dried use versa mark ink and stamp the sentiment (Pink and Main Thanks to You). Use white embossing powder. Heat set
  8. Using a versa mark pen draw you border lines and use white embossing powder and heat set
  9. Add you butterflies (Recollections)
As always I am so happy you stopped by!
Blessings 
Pam M.

Saturday, May 7, 2016

Just Be-claws! - Pink and Main

Good Morning Everyone!
HAPPY MOTHER'S DAY TO ALL OF YOU WONDERFUL MOMS!!
I sure hope you have a fantastic Sunday! I know I will be playing in my office for awhile making some fun cards! The card I made for today features one of our new release sets called Oh Crab! This set is so perfect for our hot summer months fast approaching!
IMG_0938
My design steps:
  1. Use a white A2 card base cut a slightly smaller piece of orange card stock (Recollections) and glue to front.  Then cut a polka dot piece of designer paper (echo park summer bliss) slightly smaller then the orange card stock and adhere to the orange card stock.
  2. Cut a 4 x 3 in. piece of orange card stock and a slighly smaller piece of blue paper. Glue to the orange and adhere to the card as shown
  3. Cut a 1 x 4 in. piece of orange card stock and a slighly smaller piece of blue wave paper. Glue to the orange and adhere to the card as shown
  4. Cut out a 3 in. scalloped circle and stamp the image (Pink and Main Oh Crab). Stamp the other image  (Pink and Main Oh Crab) on a piece white card stock.  Color with copics: E21, 33, 35 - R22, 29, 59 - B0000, 000, 00 - BG15, 32, 49 - Y11, 15, 17 - YG03, 63, 67 - YR00, 02, 07
  5. Fussy cut the crab in the pail. Adhere the circle then pop up the crab in the pail. Stamp sentiment and layer on orange
  6. Cut the sun with a die cut or your cutting machine pop to card and add sequin
Thanks for stopping by!
Have a Blessed Day
Pam