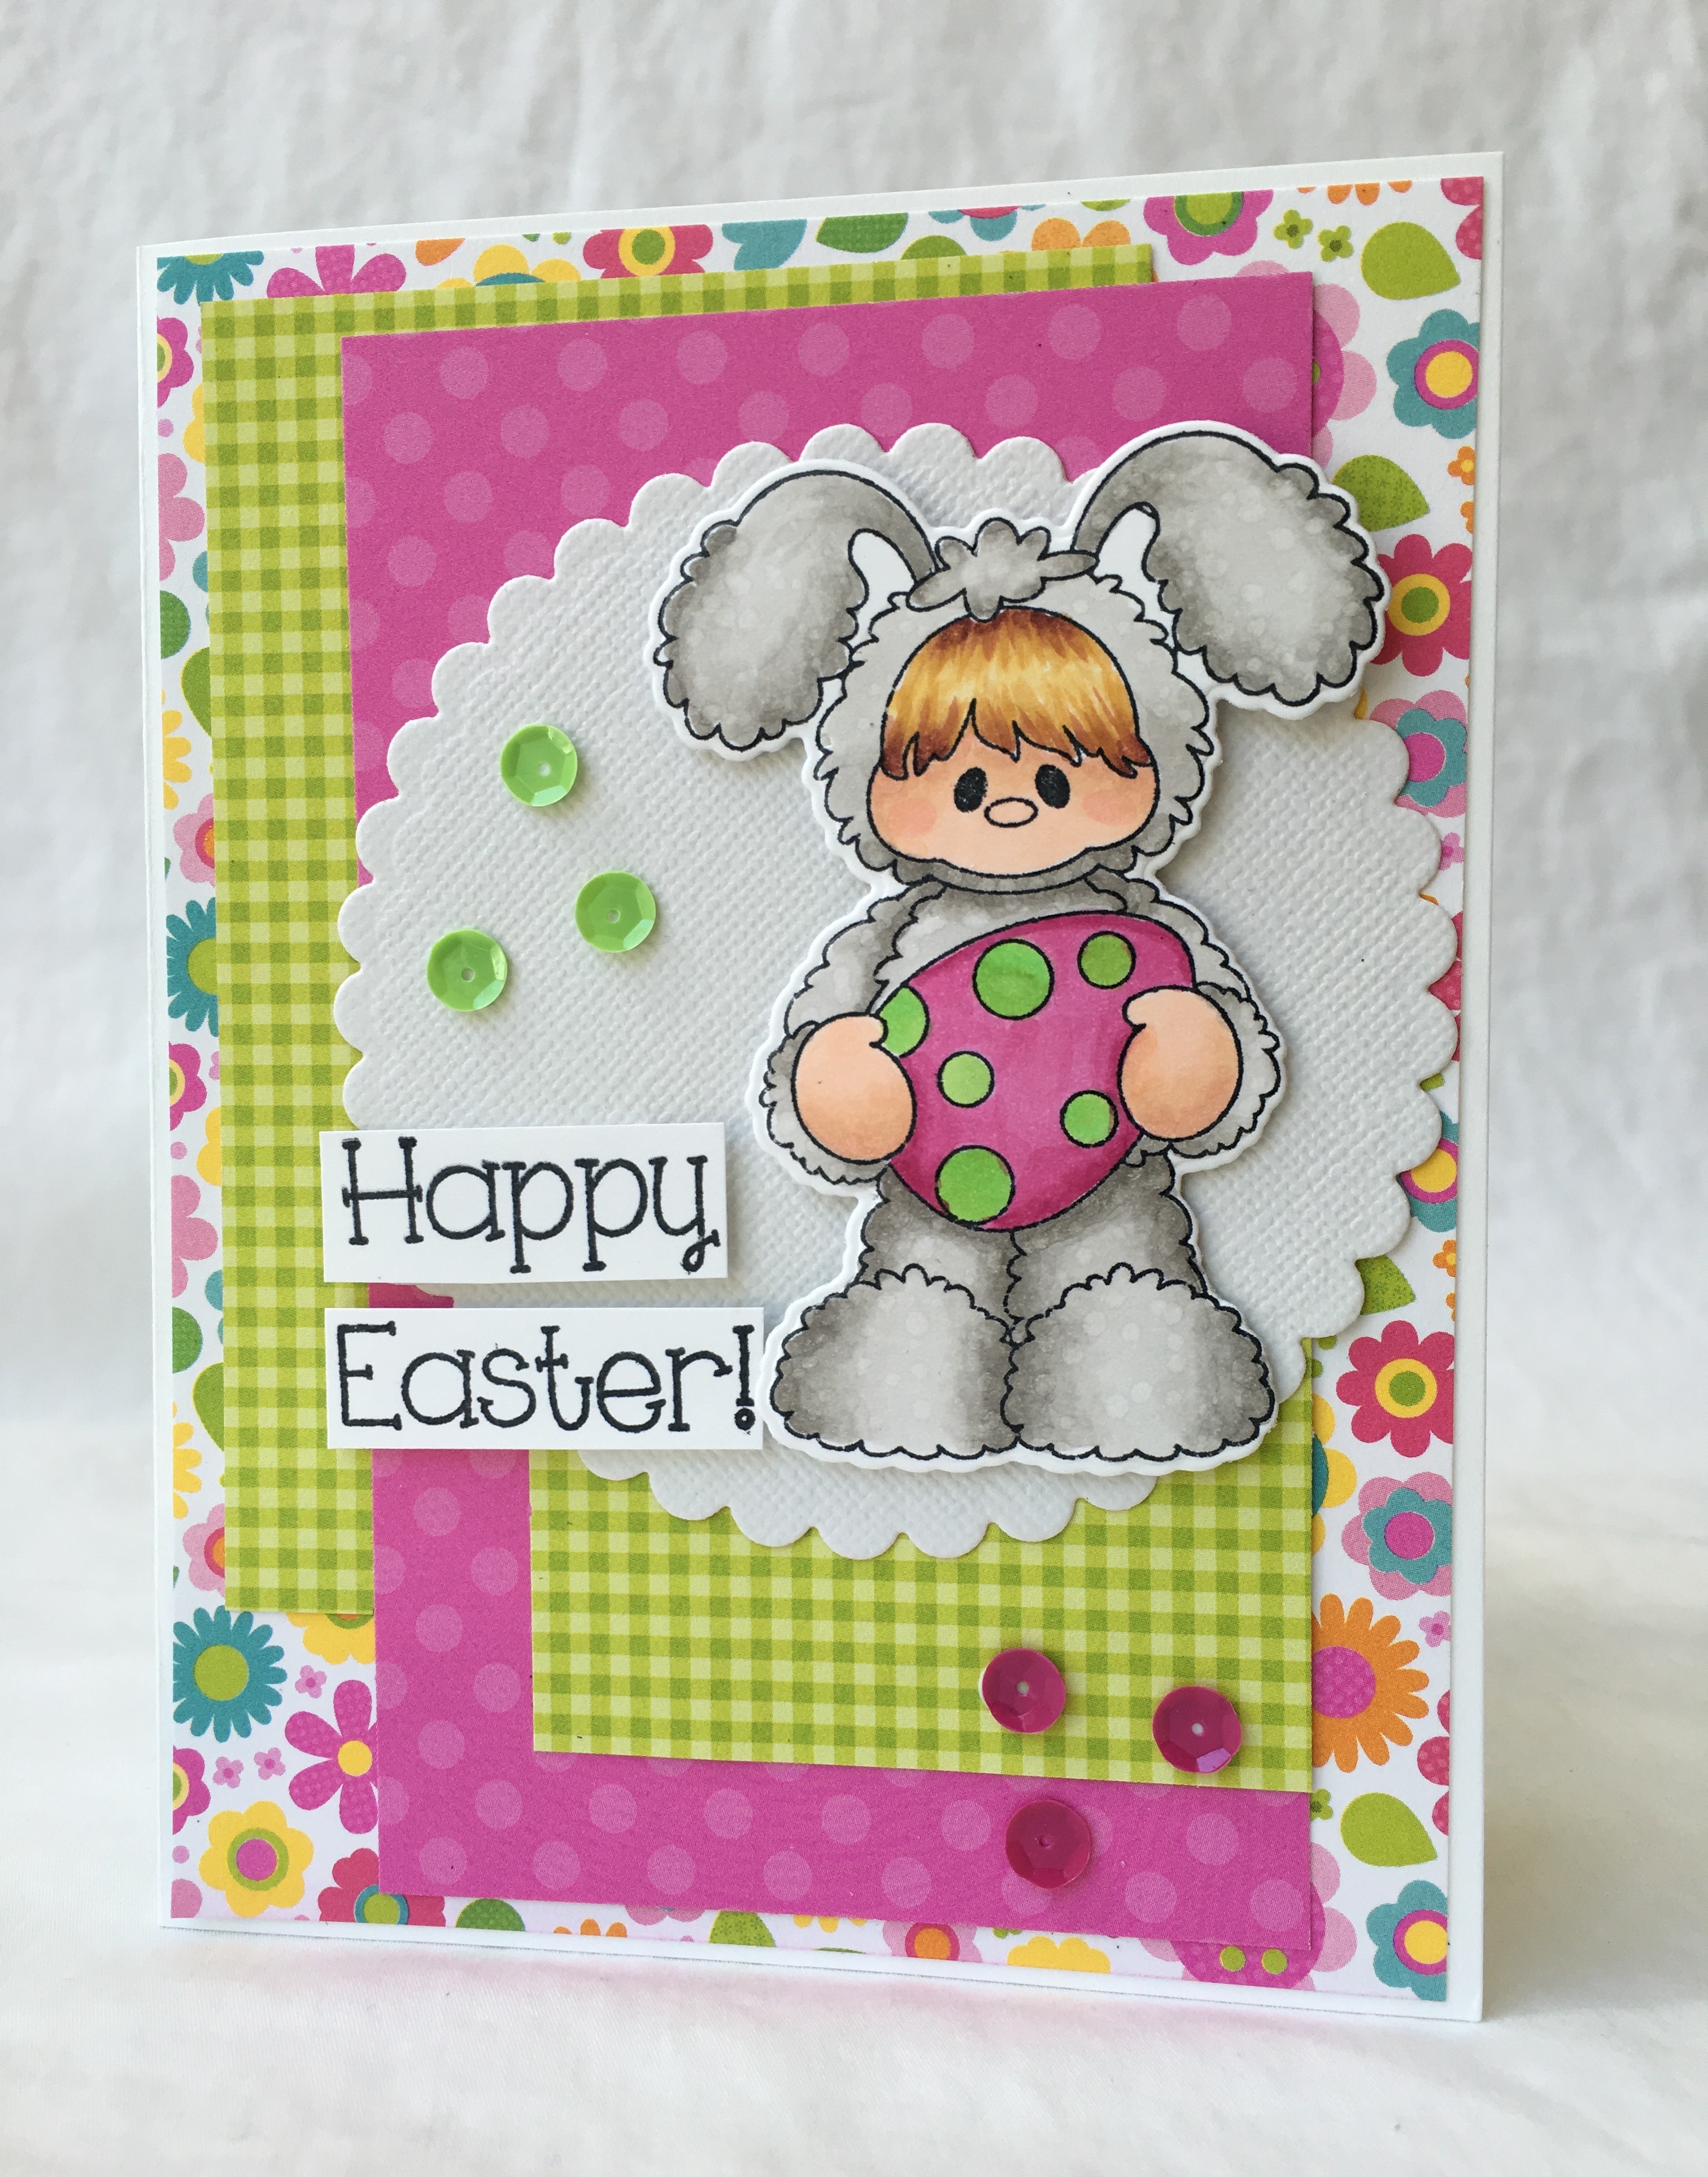
Saturday, March 26, 2016

Splashing in the Rain! - Pink and Main

Happy Easter!
My prayer for you is that you are very blessed on this amazing day!
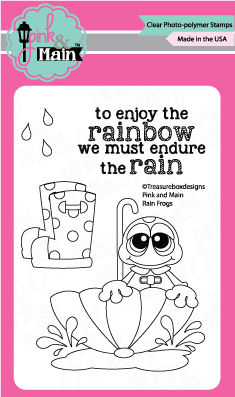
Today I used our new stamps set called Rain Frogs. It is just so much fun to use! I am learning all about rainy days since I moved from Sunny California to South Carolina were it rains on a very regular basis.
IMG_0730
PM0172_Rain_Frogs_3x4_web__46061.1456450219.1280.1280
My design steps:
  1. Use an A2 white card base, cut a slightly smaller lime green piece of card stock. (Recollections) Do not attach to card yet!
  2. Cut out a 2 3/4 x 2 3/4 piece of cloud print paper (Doodlebug) and cut a 1 1/2 x 2 3/4 piece of yellow printed paper (Doodlebug) glue both pieces to the bottom of the lime green paper as show
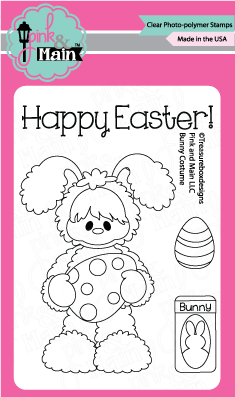
  3. Cut out a white piece of card stock 2 1/2 x 4 and stamp on the frog (Pink and Main Rain Frogs)
  4. Color the frog with copics: RV10, 13, 17 - YR000, 02, 07 - YG03, 63, 67, 99 - BG10, 11, 32 - Y11, 15, 17 - E15
  5. Stamp on the rain drops then glue to lime green card stock. Add the ribbon then glue to the front of the card
  6. Stamp the sentiment and layer on lime green card stock and glue to the front of the card as shown.  Add stickles to the raindrops and Glossy Accents to the puddle!
As Always I appreciate you stopping by!!
Blessings
Pam

Saturday, March 19, 2016

Lucky Dog! - Pink and Main

Good Morning!
Today I am working with the sweet freebie stamp set that you get when you purchase $30 worth of products from the Pink and Main Shop!  It is a very cute little pup with two matching sentiments!
IMG_0697
Here are my design steps:
  1. Use an A2 white card base. Cut a slightly smaller piece of Kraft card stock (Recollections) and glue to front
  2. Cut a piece of Sahara card stock (Stampin Up)  to 3 3/4 x 5 use a stencil (DCWV) and white embossing paste (Dreamweaver) to create the background.  Heat set to dry quickly or let sit for about 2 hours
  3. Using your Cricut (or dies will work too) to cut a frame 2 1/2 x 2 1/2 and make into a shaker box. Glue to the front of the card as shown
  4. Use your cricut (or dies will work too) cut out 2 balloons using coral cardstock (Recollection)
  5. Stamp dog (Pink and Main Lucky Dog) and color with copics cut and glue to card add balloons as shown
  6. Stamp sentiment and layer onto coral card stock (Recollection) attach to card as shown
Thanks you so much for stopping by!
Blessings
Pam M.

Saturday, March 12, 2016

From the Herd - Pink and Main

Good morning!
I did a card using one of the new release sets! The name of the set is The Herd!! It is just full of cute little farm critters!
IMG_0654
Design steps!
  1. Use a A2 cream card base and cut a slightly smaller piece of red card stock (Recollections)
  2. Cut a piece of red check paper 4 x 2 1/2 and cut a piece of the hen paper 3 x 4. Glue the checked to the bottom of the red card stock and the hen paper to the top.
  3. Punch the photo corners (EK Sucess punch) and glue down.  Add the eyelets
  4. Punch the fence out (MS Punch) glue between the two different papers.  Add the ribbon as shown. Glue the red card stock to the front of the cream card
  5. Stamp all the critters (Pink and Main The Herd) color with copics: E33, 34, 39 - Y21, 23, 26 - C0, 1, 2 ,3, 5, 7, 9 - R20, 22, 29. Cut and pop to the front of the card as shown
  6. Stamp sentiment and layer on red pop to the front as shown
As always thanks for stopping by!
Blessings,
Pam

Saturday, March 5, 2016

Who's in the Bunny Costume - Pink and Main

Good Morning!!
I am using the stamp set called Bunny Costume! And I think you will agree with me it is so stinkin CUTE!!
IMG_0614
Design Steps:
  1. A2 white card base and a piece of pattern paper cute slightly smaller then the base (Doodlebug Paper) glued to the front of the card
  2. Cut a 4 1/4 x 3 piece of green checked paper and attach to the card front as shown (Doodlebug Paper)
  3. Cut a 3 x 5 piece of pink dotted paper and attach to the card front as shown (Doodlebug Paper)
  4. Cut a 3 1/2 scalloped circle (Cricut) and attach to the card front as shown (Bazzil)
  5. Stamp the image (Pink and Main - Bunny Costume) and color with copics. RV17, 21, 55 - YG06, 23 - W1, 2, 3, 4 - Y21 - YR23 - E11, 15, 18, 21
  6. Use the coordinating dies to cut out image and pop it to the front of the card.
  7. Stamp the Happy Easter (Pink and Main - Bunny Costume) cut in half and pop to the front of the card
  8. Add the sequin (Pink and Main)
Bunny_Costume_3x4Web__08652.1451687007.1280.1280
Thank you so much for stopping by!
Blessings
Pam