Saturday, April 30, 2016

Par - Tee Pink and Main

Hello Pink and Main Fans!!
Today I will be giving you a sneak peek at not only a new stamp set but a new die set too! The stamp set is so perfect for all the golfers in your life.  My husband is a golfer so I am in love with this wonderful set. There are so many fun sentiments and stamps! You are going to love it too! The new die set is very unique it is pink!! So you can easily pick it out in your die collection.  It is a rectangle stitch set with rounded corners absolutely fabulous!
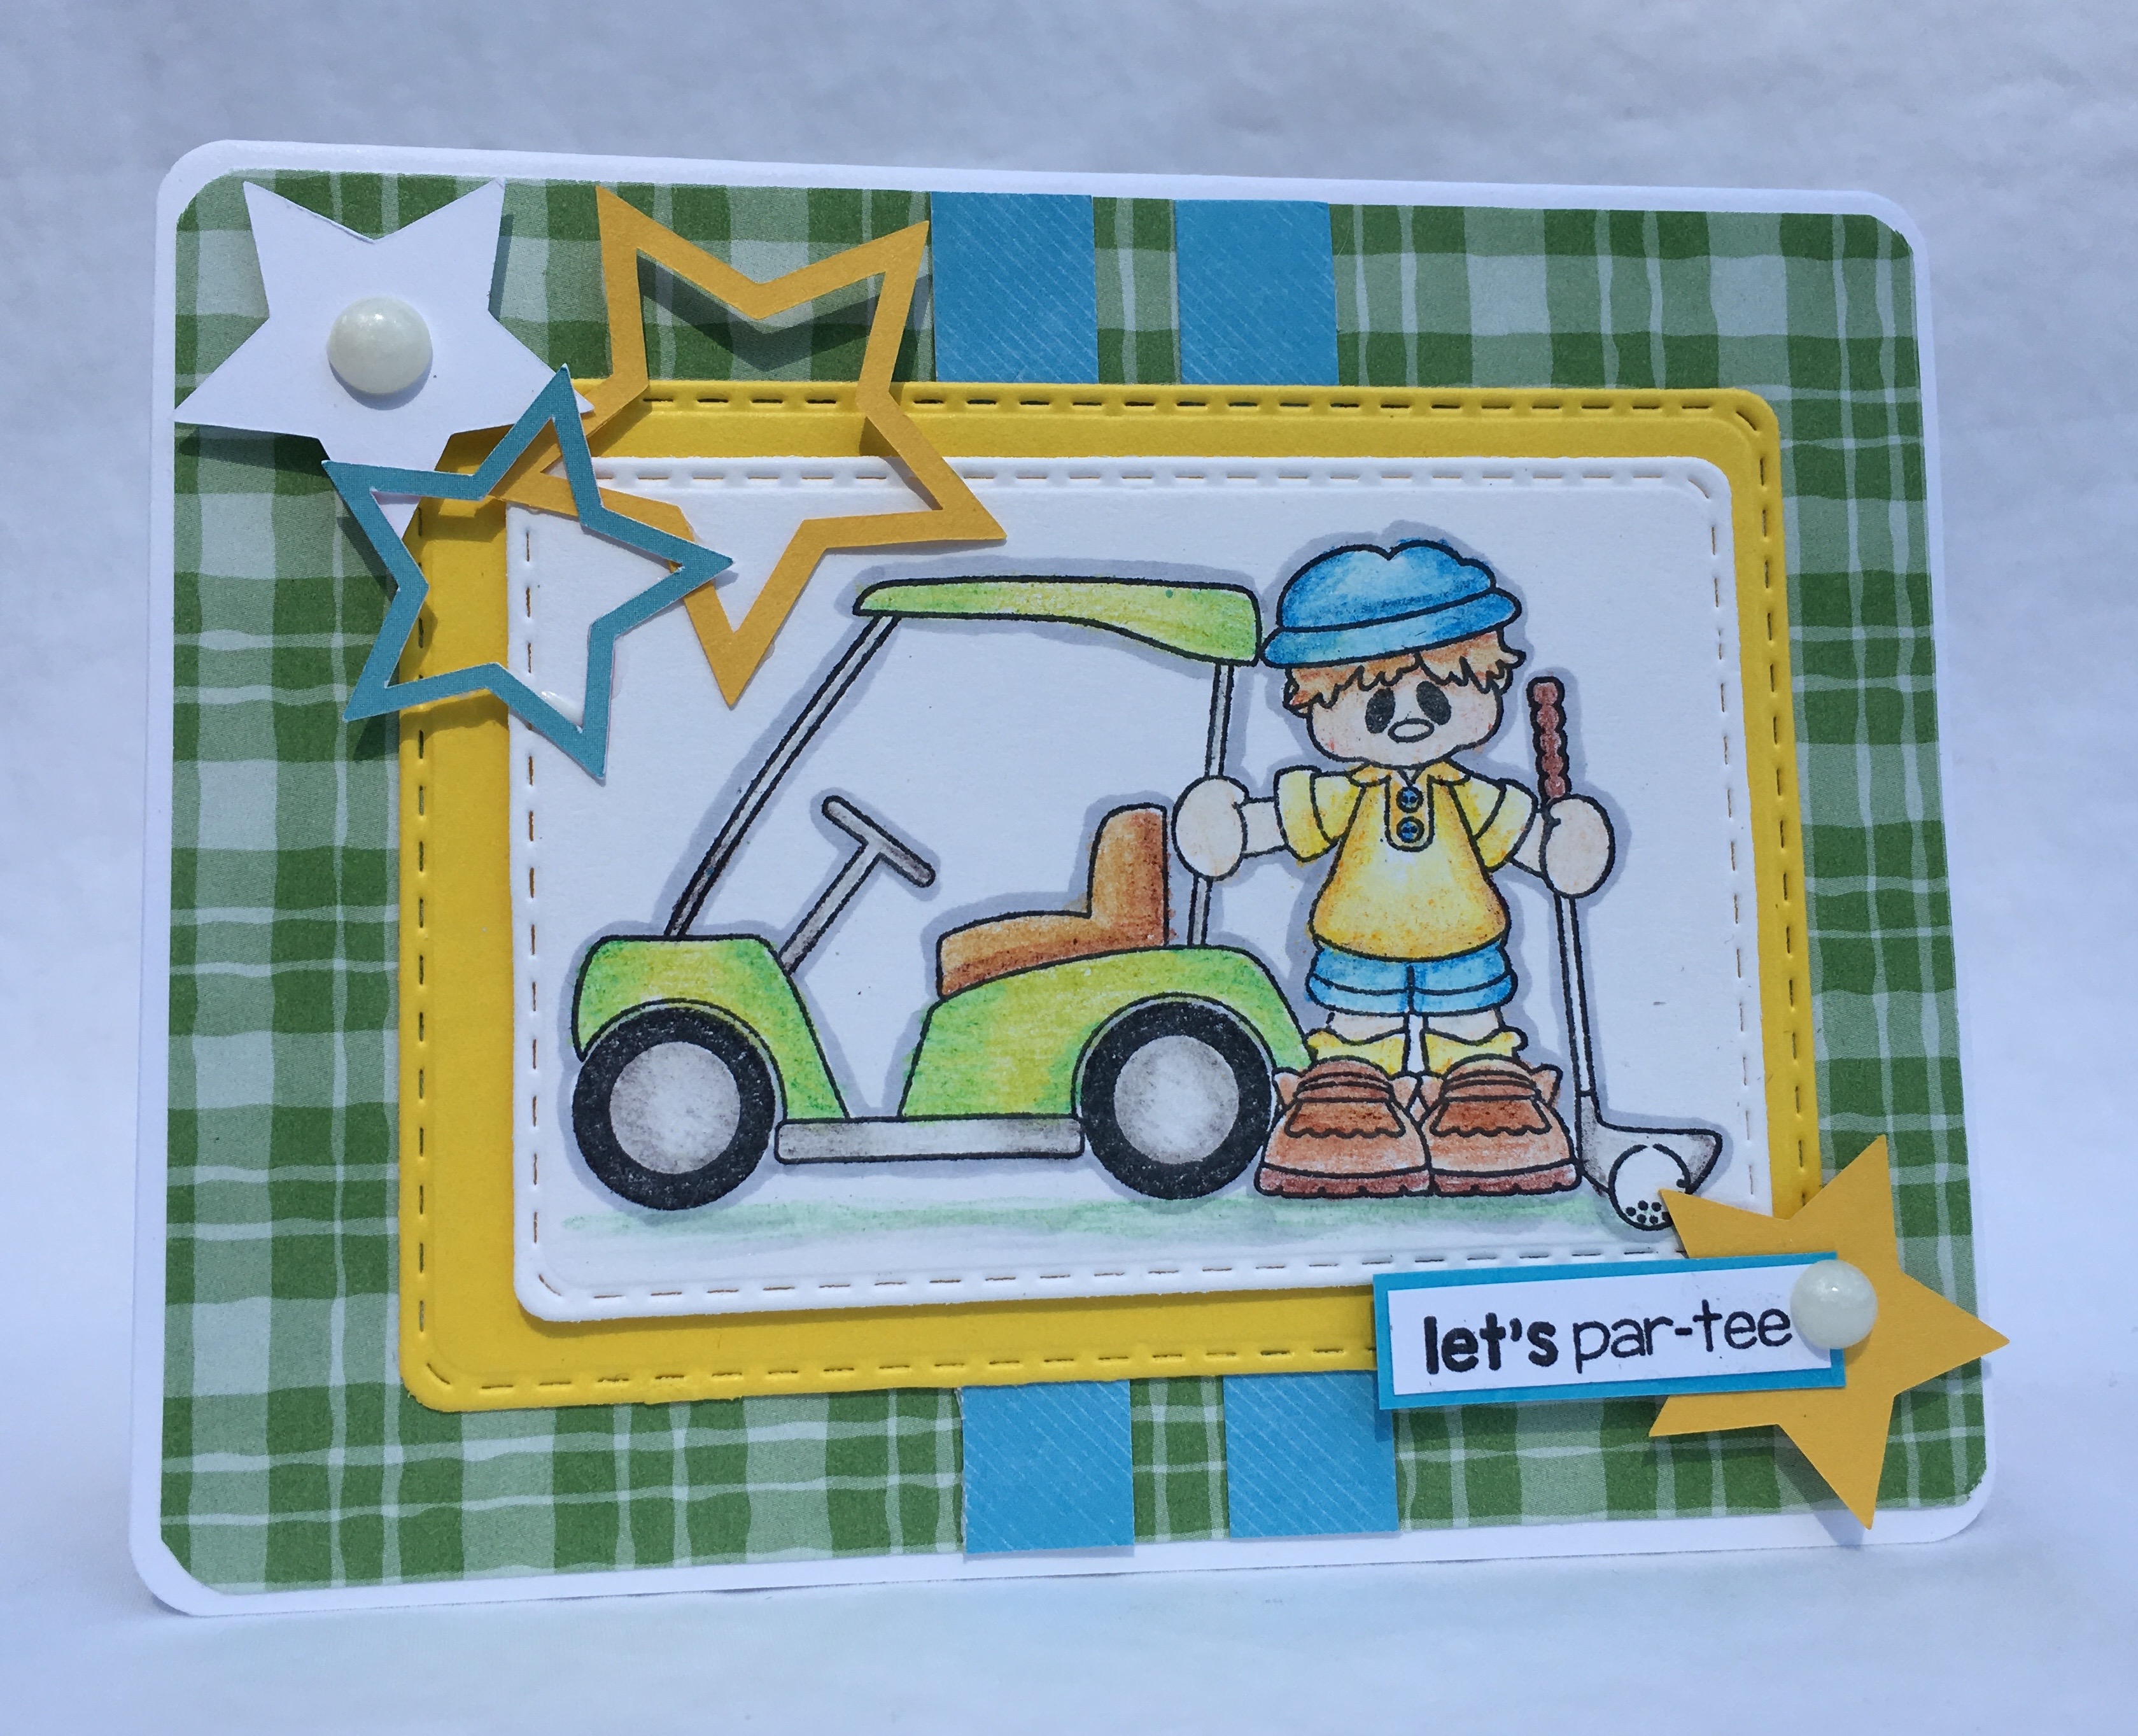
IMG_0909
My design steps:
  1. Use an A2 card base and a punch (SU) to round the corners.  Cut a slightly smaller piece of green checked designer paper (Making Memories) and use the punch (SU) to round the corners. Glue the green checked paper to the white card front
  2. Cut two strips of Blue striped designer paper (DCWV) at 1 x 4 1/8.  Glue to the center of the card as shown
  3. Use the third largest stitch die (Pink and Main) to cut out the yellow card stock
  4. Use the fourth largest stitch die (Pink and Main) to cut out the white card stock and stamp your golfer.  Or you can stamp your golfer first and cut with the die which ever is easier for you!
  5. Color the golfer with colored pencils (Spectrum Noir Pencils) and outline with C2 copic marker.  Adhere to the front of the card as shown
  6. Stamp your sentiment layer with blue card stock
  7. Cut stars with Cricut add white plastic dots
Hope you enjoyed this card and thanks for stopping by!
Blessings
Pam M.

Saturday, April 23, 2016

All Around Town - Pink and Main

Good Morning Pink and Main Fans!
I made this fun card with our new set called Spring Train! This set is so versatile that you can use it all spring and summer long!
IMG_0845
I used my Cricut to cut the frame and used some fun designer paper for the background.  I colored the image with copic markers and finished the card off with a banner sentiment and an enamel dot.
As always thanks so much for stopping by!
Have a Blessed Day!
Pam

Saturday, April 16, 2016

Udderly Adorable - Pink and Main

Good Morning Pink and Main Fans!
Today I am using one of the new sets called The Herd!  It has so many darling farm critters!!! I just can't get enough of them!  You can make countless numbers of fun cards or gifts with this set.
IMG_0815
The sketch I used is from a Splitcoast stampers challenge. Speaking of Splitcoast stampers you should check out the Pink and Main Gallery. There are so many great ideas in the gallery just to wet your creative juices!!
Have a blessed day! And thanks so much for stopping by!
Pam

Saturday, April 9, 2016

Ant's Picnic - Pink and Main

Good Sunday Morning to You!
The weather has been just beautiful here in South Carolina so I am starting to get excited about being outdoors and having time to just soak up the gorgeous sunshine! The set I am using today brings a great outdoor activity to mind! It is having a picnic! The set is one of our new releases called Picnic.
IMG_0804
My design steps:
  1. Use an A2 white card base. Cut a slightly smaller sheet of red card stock (Bazzil) and attach it it the white card front. Then cut a piece of blue patten paper (Summer Lovin Cara Bella) slightly smaller then the red card stock and attach it to the red card stock.
  2. Cut a 3 1/2 x 1 1/2 red banner (Bazzil) and a 2 3/4 x 1 3/4 blue banner (Summer Lovin Cara Bella) and emboss the blue one with swiss dots (Cuttlebug) glue to the front of the card as shown.
  3. Cut a 1 x 4 inch blue strip (Summer Lovin Cara Bella) glue to the bottom of the card as shown. Cut a slightly smaller  piece of red (Bazzil) and use the border punch (EK Success) glue on top of the blue strip. Cut a strip of the watermelon paper  (Summer Lovin Cara Bella) and glue to top of red.
  4. Cut a 1 x 4 strip of red card stock (Bazzil) use the border punch (EK Success) and glue to the top of the card.
  5. Stamp ant ( Pink and Main Picnic) color with copics: C3, 5, 7, 9 - YG 06, 67 - BG10, 32 - R27, 46, 59. Cut out with die (Spellbinders Labels Eight)
  6. Stamp and layer sentiment ( Pink and Main Picnic) on blue (Summer Lovin Cara Bella)
  7. Cut out stars with Cricuit add red sequin (Hobby Lobby)
Thanks for stopping by and have a Blessed Day!
Pam

Saturday, April 2, 2016

Dino Days - Pink and Main

Happy Sunday!
I hope that you have a great Sunday! I decided to make a cute card for a sweet little boy! I used the Dinomite set which is one of our new releases!
Here is the card I designed!
IMG_0749
My design steps:
  1. Use an A2 olive card base (Bazzil) cut a piece of designer balloon paper (Jillibean Soup) 5 1/4 x 2 adhere to the right side of the card.
  2. Cut 2 2 x 2 squares out of the designer paper (Jillibean Soup) and round the corners and adhere to the card as shown about 3/4 of an inch from the top and bottom of the card
  3. Cut a 4 1/4 x 1 inch strip of the blue polka dot designer paper (Jillibean Soup) and glue to the card as shown
  4. Cut a 2 1/4 x 1 3/4 red polkadot rectangle and round the corners glue to the card as shown
  5. Stamp and color the dinosaur (Pink and Main -  Dinomite) with Copics: R20, 27 - YG03, 63 - G99 cut out and pop dot to the red polka dot rectangle
  6. Stamp the sentiment and layer onto oliver card stock (Bazzil) pop dot to the front of the card as shown
  7. I cut out the stars with my Cricut and added the red sequins
I hope you enjoyed this fun little card! And thanks for stopping by!
Blessings
Pam