Saturday, February 27, 2016

Sweet Bunny - Pink and Main

Good Morning to you!
I have started my Easter card so I won't be late in getting them out! I used a couple of sets to make this fun little card. They are Bunny Costume for the sentiment and Easter Street for the gardent scene.  I also used the coordinating die set.
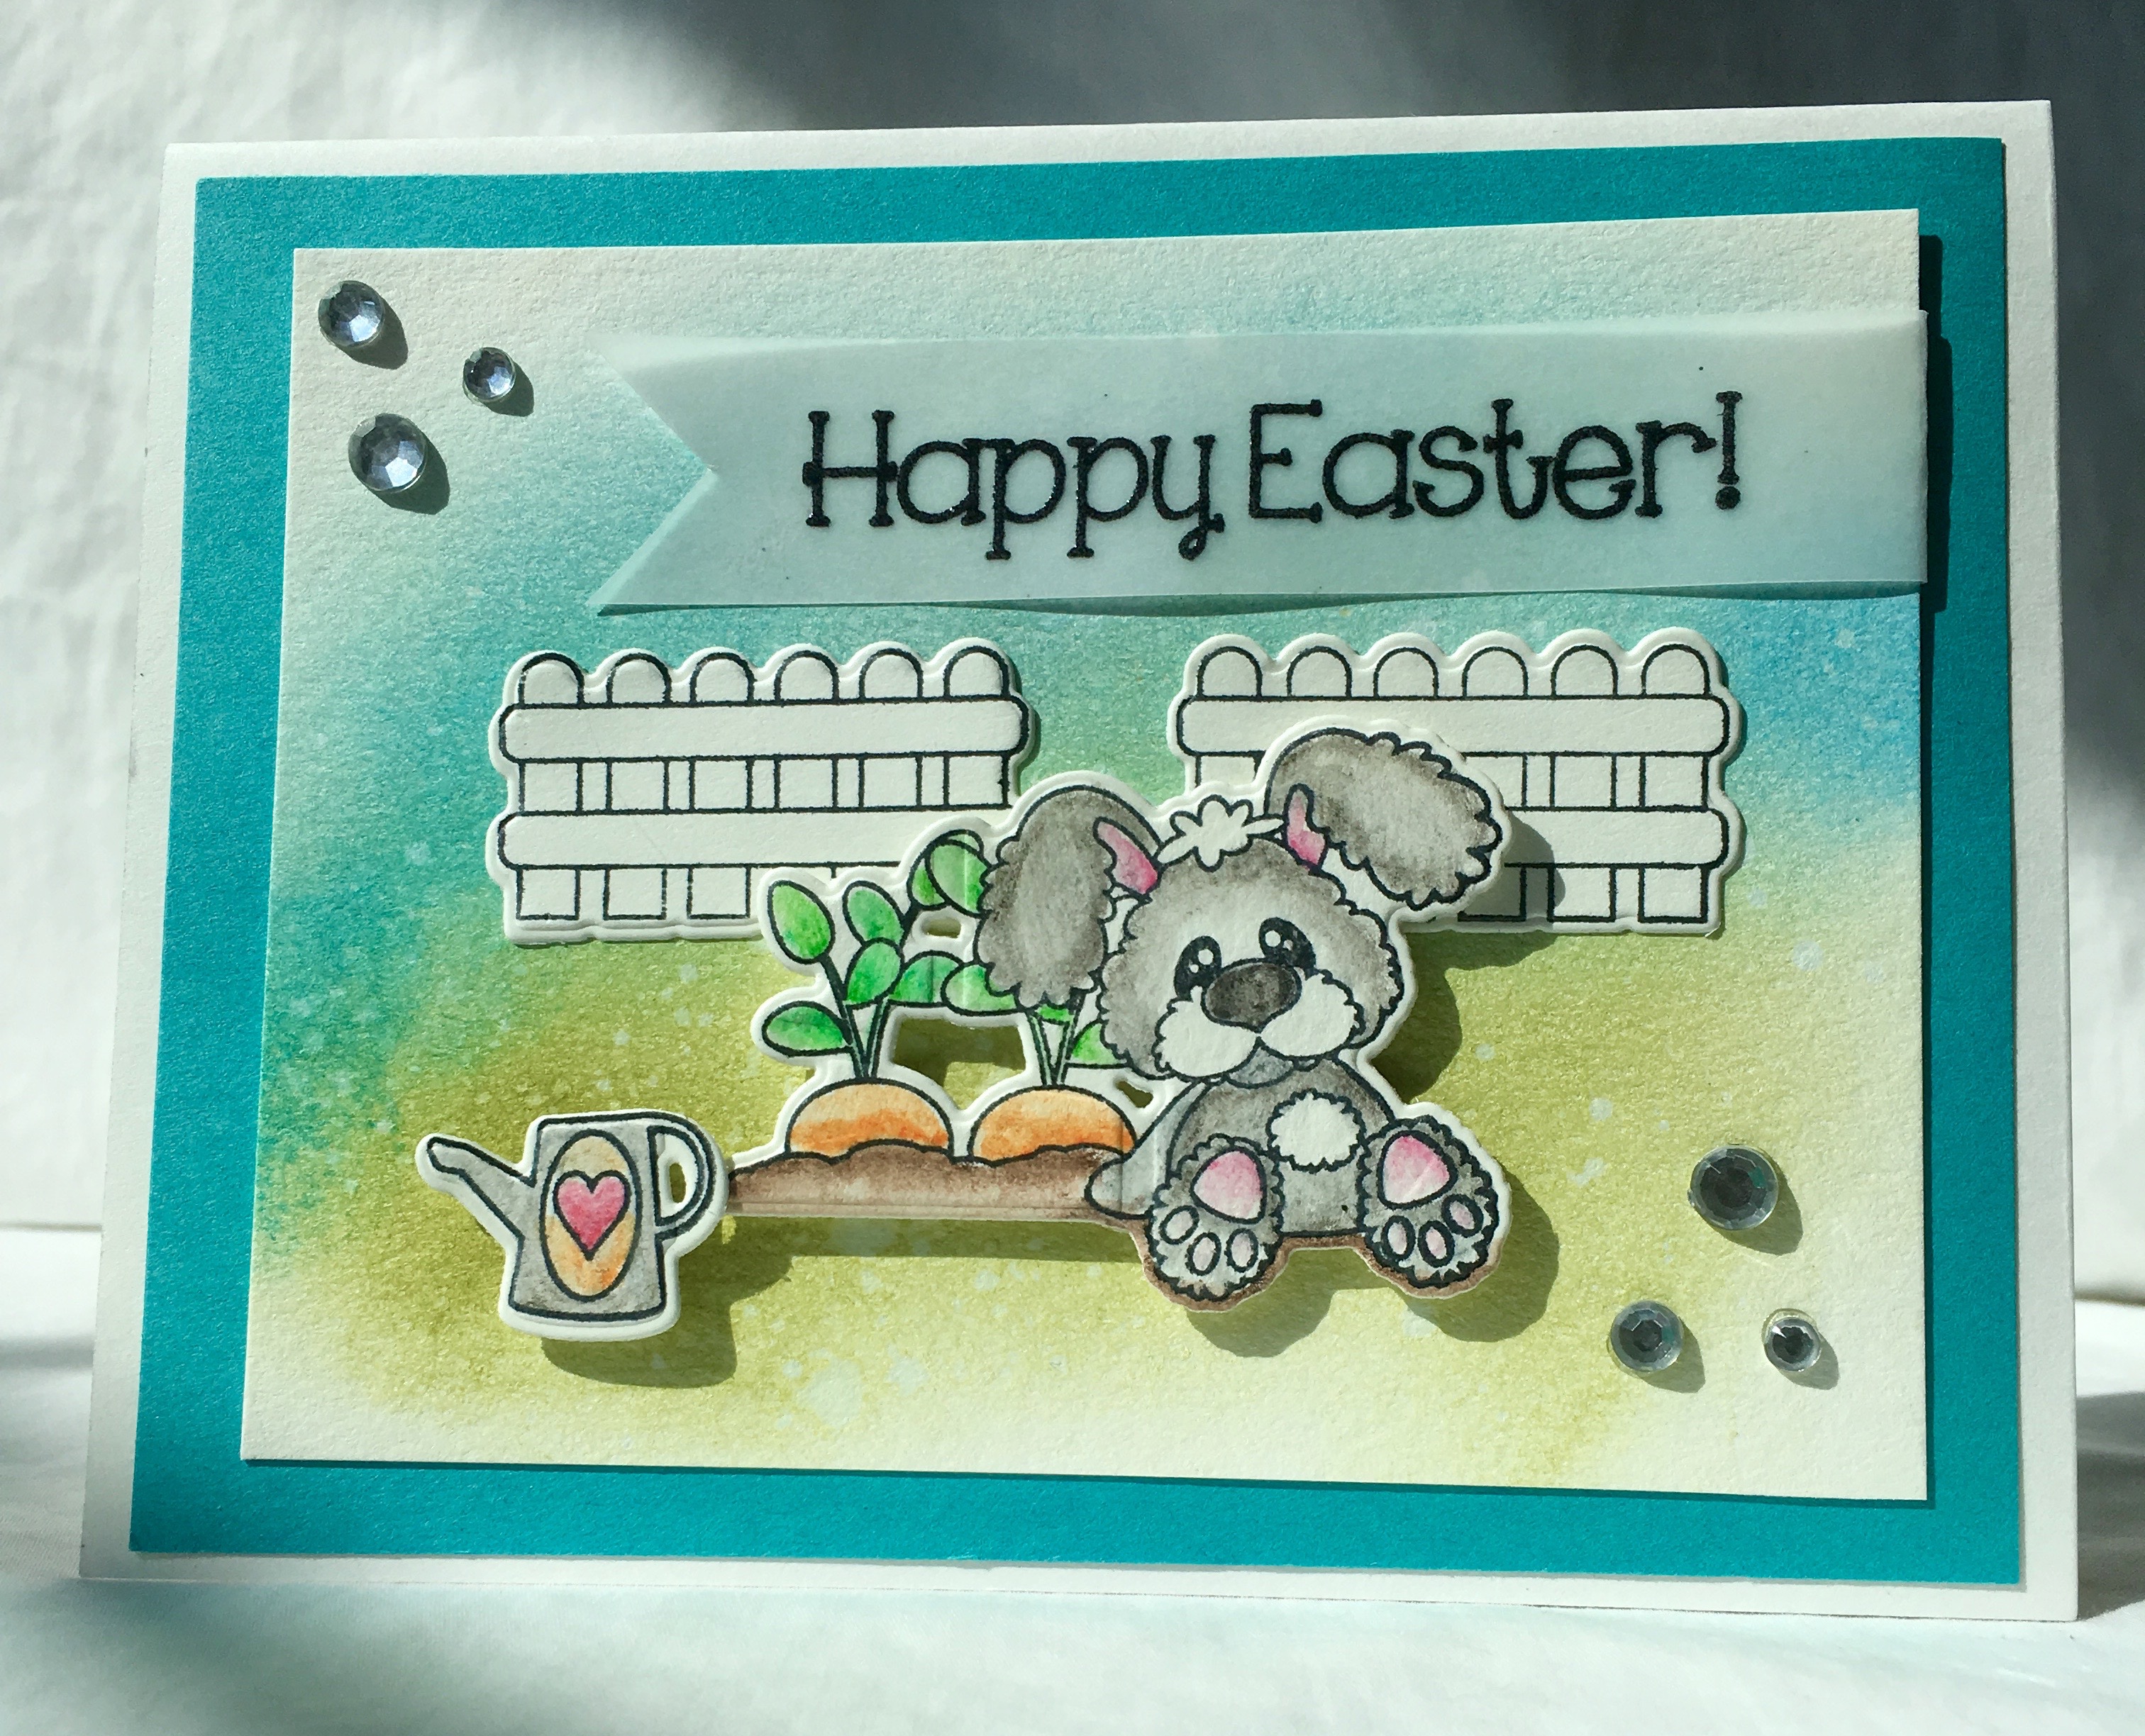
IMG_0572
My design steps:
  1. White card base A2 size. Slightly smaller teal card stock glued to the front of the card
  2. Cut a piece of water color paper 4 1/2 x 3 1/2  (Artist's Loft 140lb) sponged in the background using TH inks (Salty Ocean, Peeled Paint) I then splattered with water let sit for a minute and used paper towel to blot up the excess water.  Set aside to dry
  3. Stamped images with Memento Black ink on water color paper (Artist's Loft 140lb).  Stamps: (Pink and Main Easter Street) Colored images with water color pencils (Stampin Up)
  4. Cut out images with coordinating die cuts (Pink and Main)
  5. Stamped the sentiment (Pink and Main Easter Costume) on Vellum with Versa Mark and used black embossing powder. Cut dove tail and attached to card.  Added Rhinestones (Recollection)

Thanks for stopping by!
Blessings
Pam

Saturday, February 20, 2016

Easter Peep - Pink and Main

Good Morning!
Easter is fast approaching so I thought I would get started making my cards. Pink and Main has several very cute sets that help you create the sweetest cards! I am using Easter Peeps with the coordinating die cuts!
IMG_0498
Design Steps:
  1. White A2 base card, slightly smaller blue card stock followed by a slightly smaller sheet of cloud designer paper (Recollections Papers) attach to card front
  2. Cut a 2 x 4 inch piece of green checked paper use the Pink and Main edge die cuts to create the stitched top.
  3. Cut a 2 1/4 x 4 inch piece of solid green paper use the Pink and Main edge die cuts to create the scalloped top. Attach to the green checked piece then add to card.
  4. Stamp and color the chick in the basket using copics: Y11,15, 17 - E11, 13, 15 - YR02, 07 - B23, 24, 26 - YG13, 17
  5. Use coordinating die to cut chick out and pop dot to the front of the card.
  6. Stamp and color butterflies use dies to cut out and attach to card as shown.
  7. Stamp grass on green paper use dies to cut out and attach to card as shown.
  8. Use small egg die to cut various patterns of Easter Eggs attach to cards
  9. Cut out banner and stamp sentiment attach to card
Easter_Peeps_DiesWeb__46926.1451689748.1280.1280Scallop_Waves_DiesWebEaster_Peeps


Hope you have a wonderful day! And thanks so much for stopping by!
Blessings
Pam

Saturday, February 13, 2016

Sweet! - Pink and Main

Happy Sunday and Welcome to Pink and Main's Blog!
I hope that you find something that will knock your socks off and inspire you! Today I used a little Mixed Media to create my background.
IMG_0439
Design Steps:
  1. Use a white A2 card base, 4 x 5 1/4 pink layer mat and 3 3/4 x 5 watercolor paper
  2. Used reinkers as watercolors for my background working on watercolor paper
  3. Used white embossing paste and a TH stencil to create the texture on the left hand side (dried for a couple of hours)
  4. Stamped the small little words and hearts with Versa Mark and embossed with purple and pink embossing powder (Stamps Pink and Main: True Love)
  5. Cut the hearts with my Cricut
  6. Cut the word Sweet and the background shadow with my die (Pink and Main Die Set: Hello Sweet)
  7. Attached hearts and the word Sweet as shown and layered it on Pink then attached to the front of the card
Thanks for stopping by!
Blessings
Pam

Saturday, February 6, 2016

Key to My Heart - Pink and Main

Good Morning Everyone,
Today I made a gate fold card using the set that you can get free with a purchase of $30 or more!  It is so stinkin' cute!
IMG_0450
Design Steps:
  1. The finished card is 5 3/4 x 5 3/4
  2. The white panels are 5 1/2 x 2 1/2 embossed (Cuttlebug folder) add ribbon then adhere to the card front
  3. Used stickers for the hearts (Sparkle Stickers by White Bloom)
  4. Stamp image and use die cut (Pink and Main Key to My Heart) (Spellbinders)
  5. Color image with copics
  6. Adhere to card front, stamp sentiment mat then attach to card as shown.
Enjoy your day and thanks for stopping by!
Blessings
Pam