Hello Friends
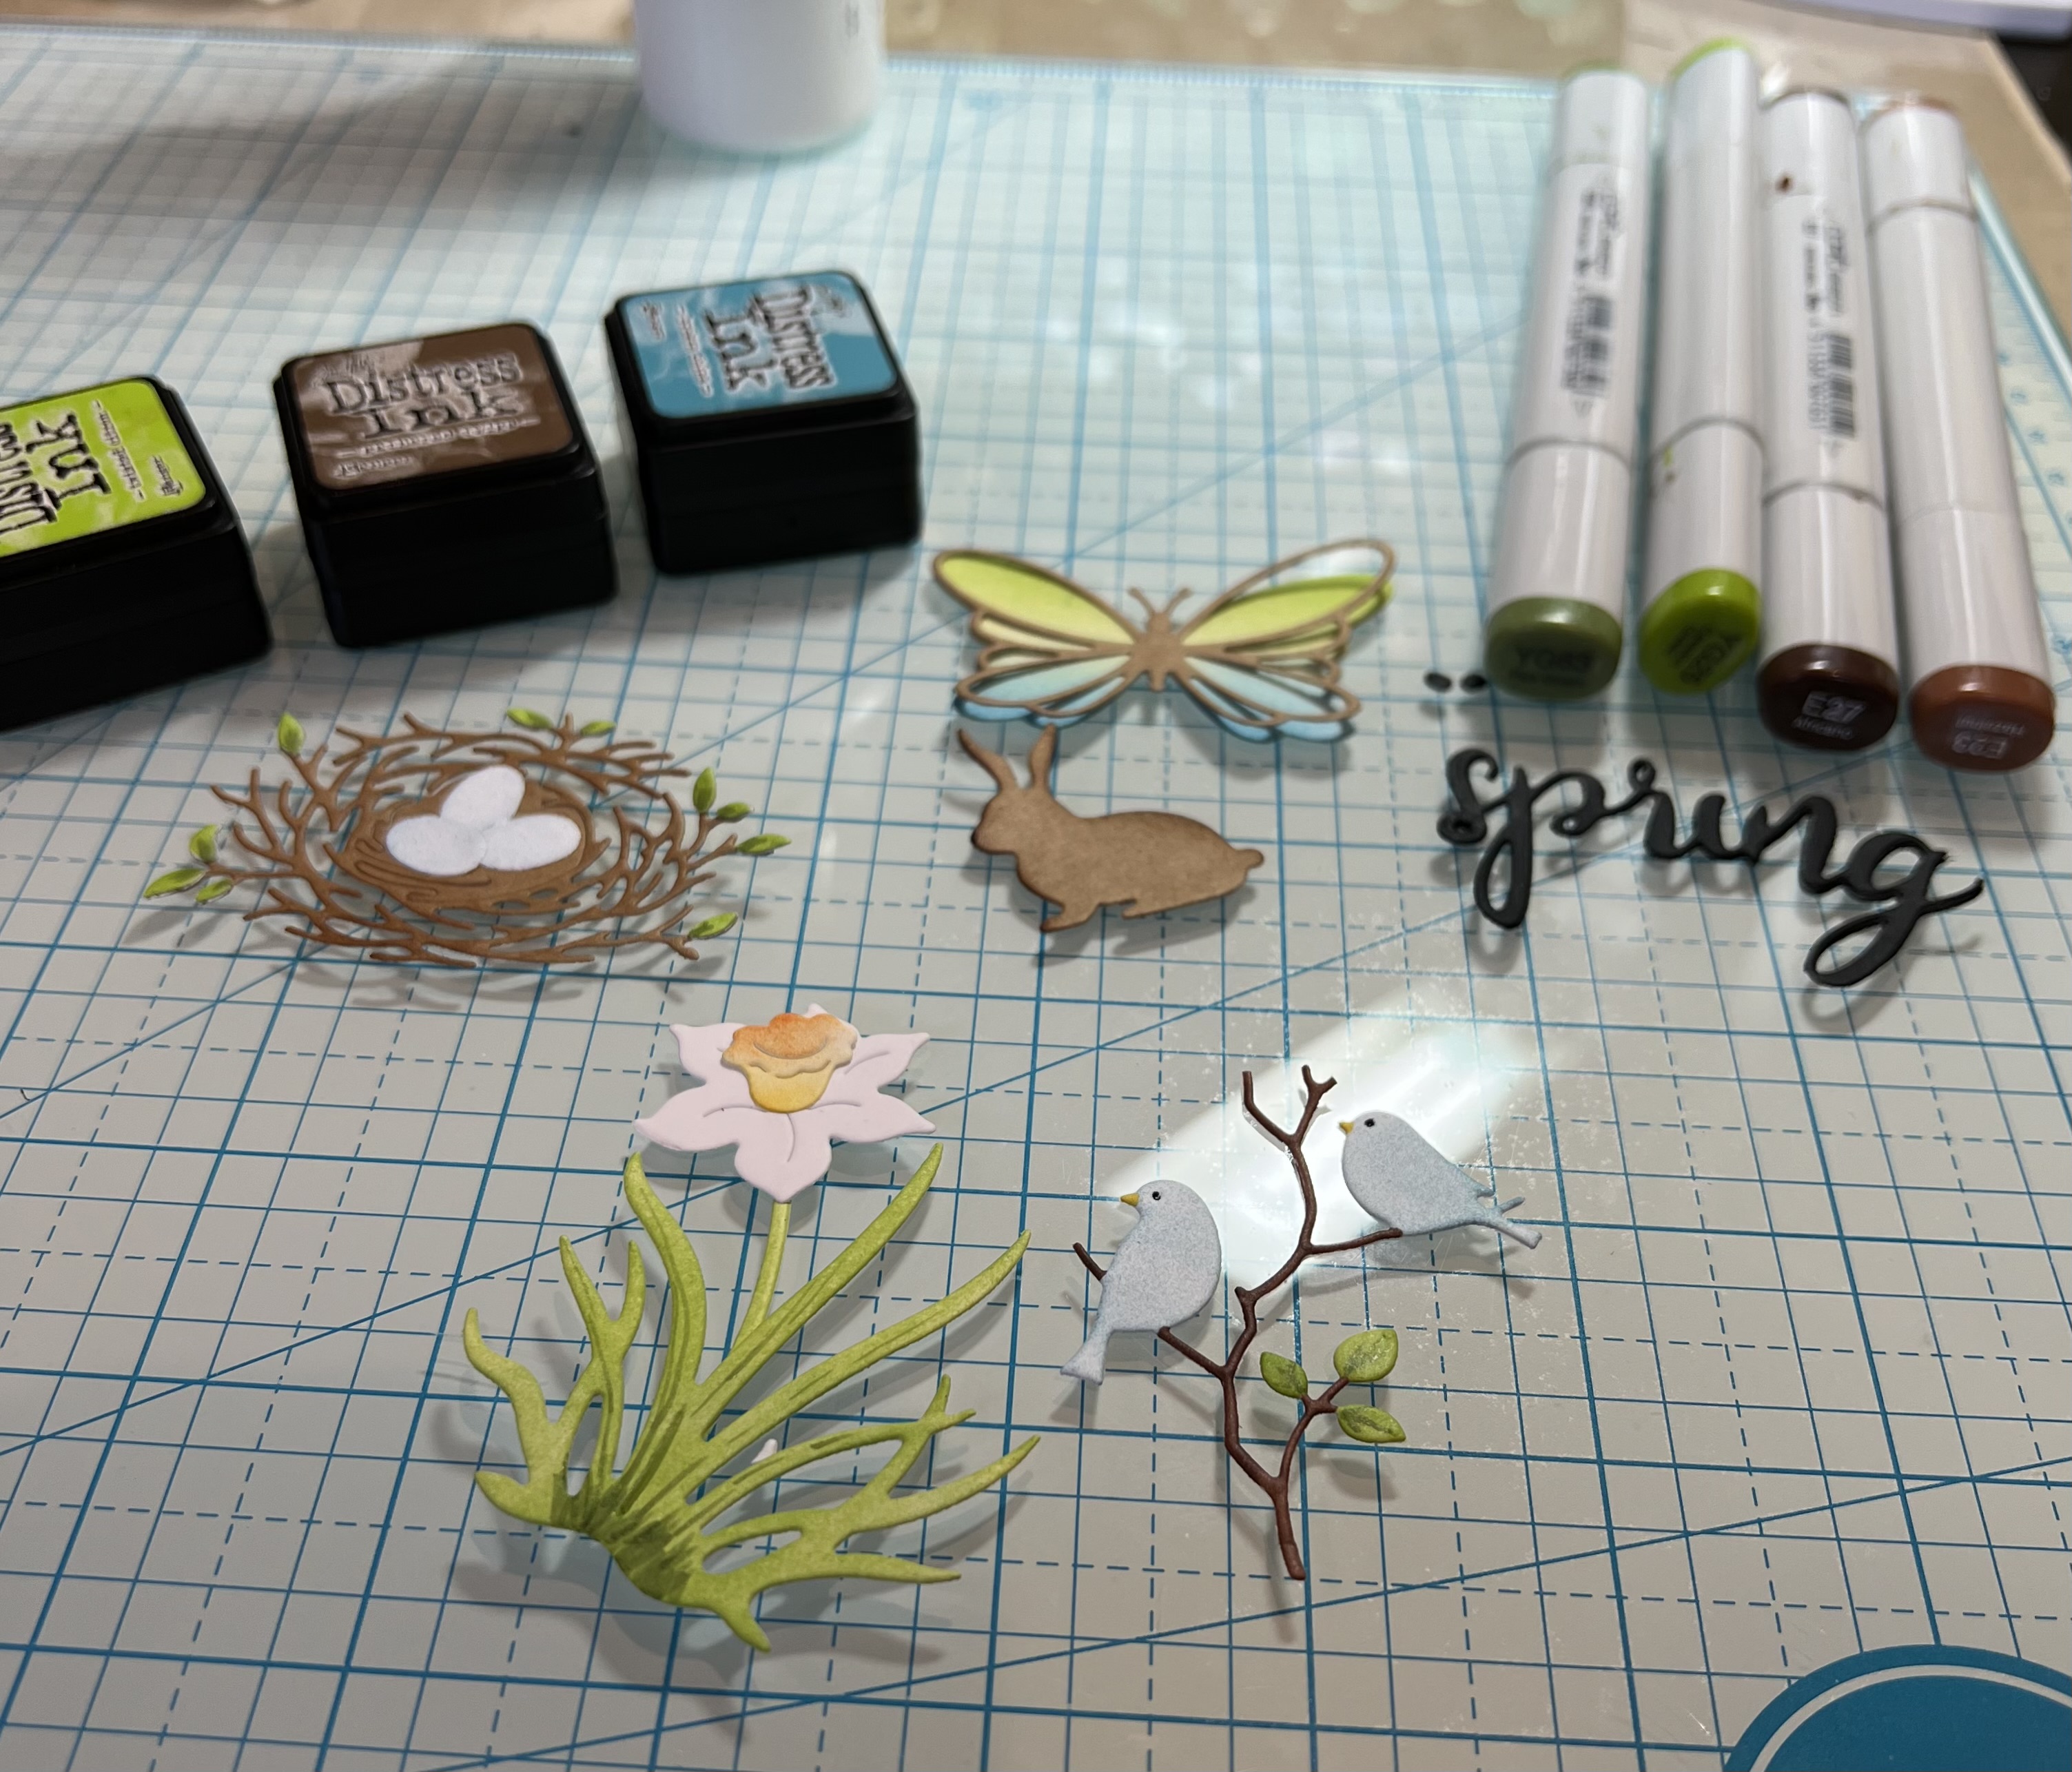
My supply of cards is running a little low so I thought I would make one that could be used for multiple occasions such as thinking of you, miss you, just because and so on. I did a fancy fold that I have done in the past that I just love. I am featuring two dies: Bee Gnome and Flowers.
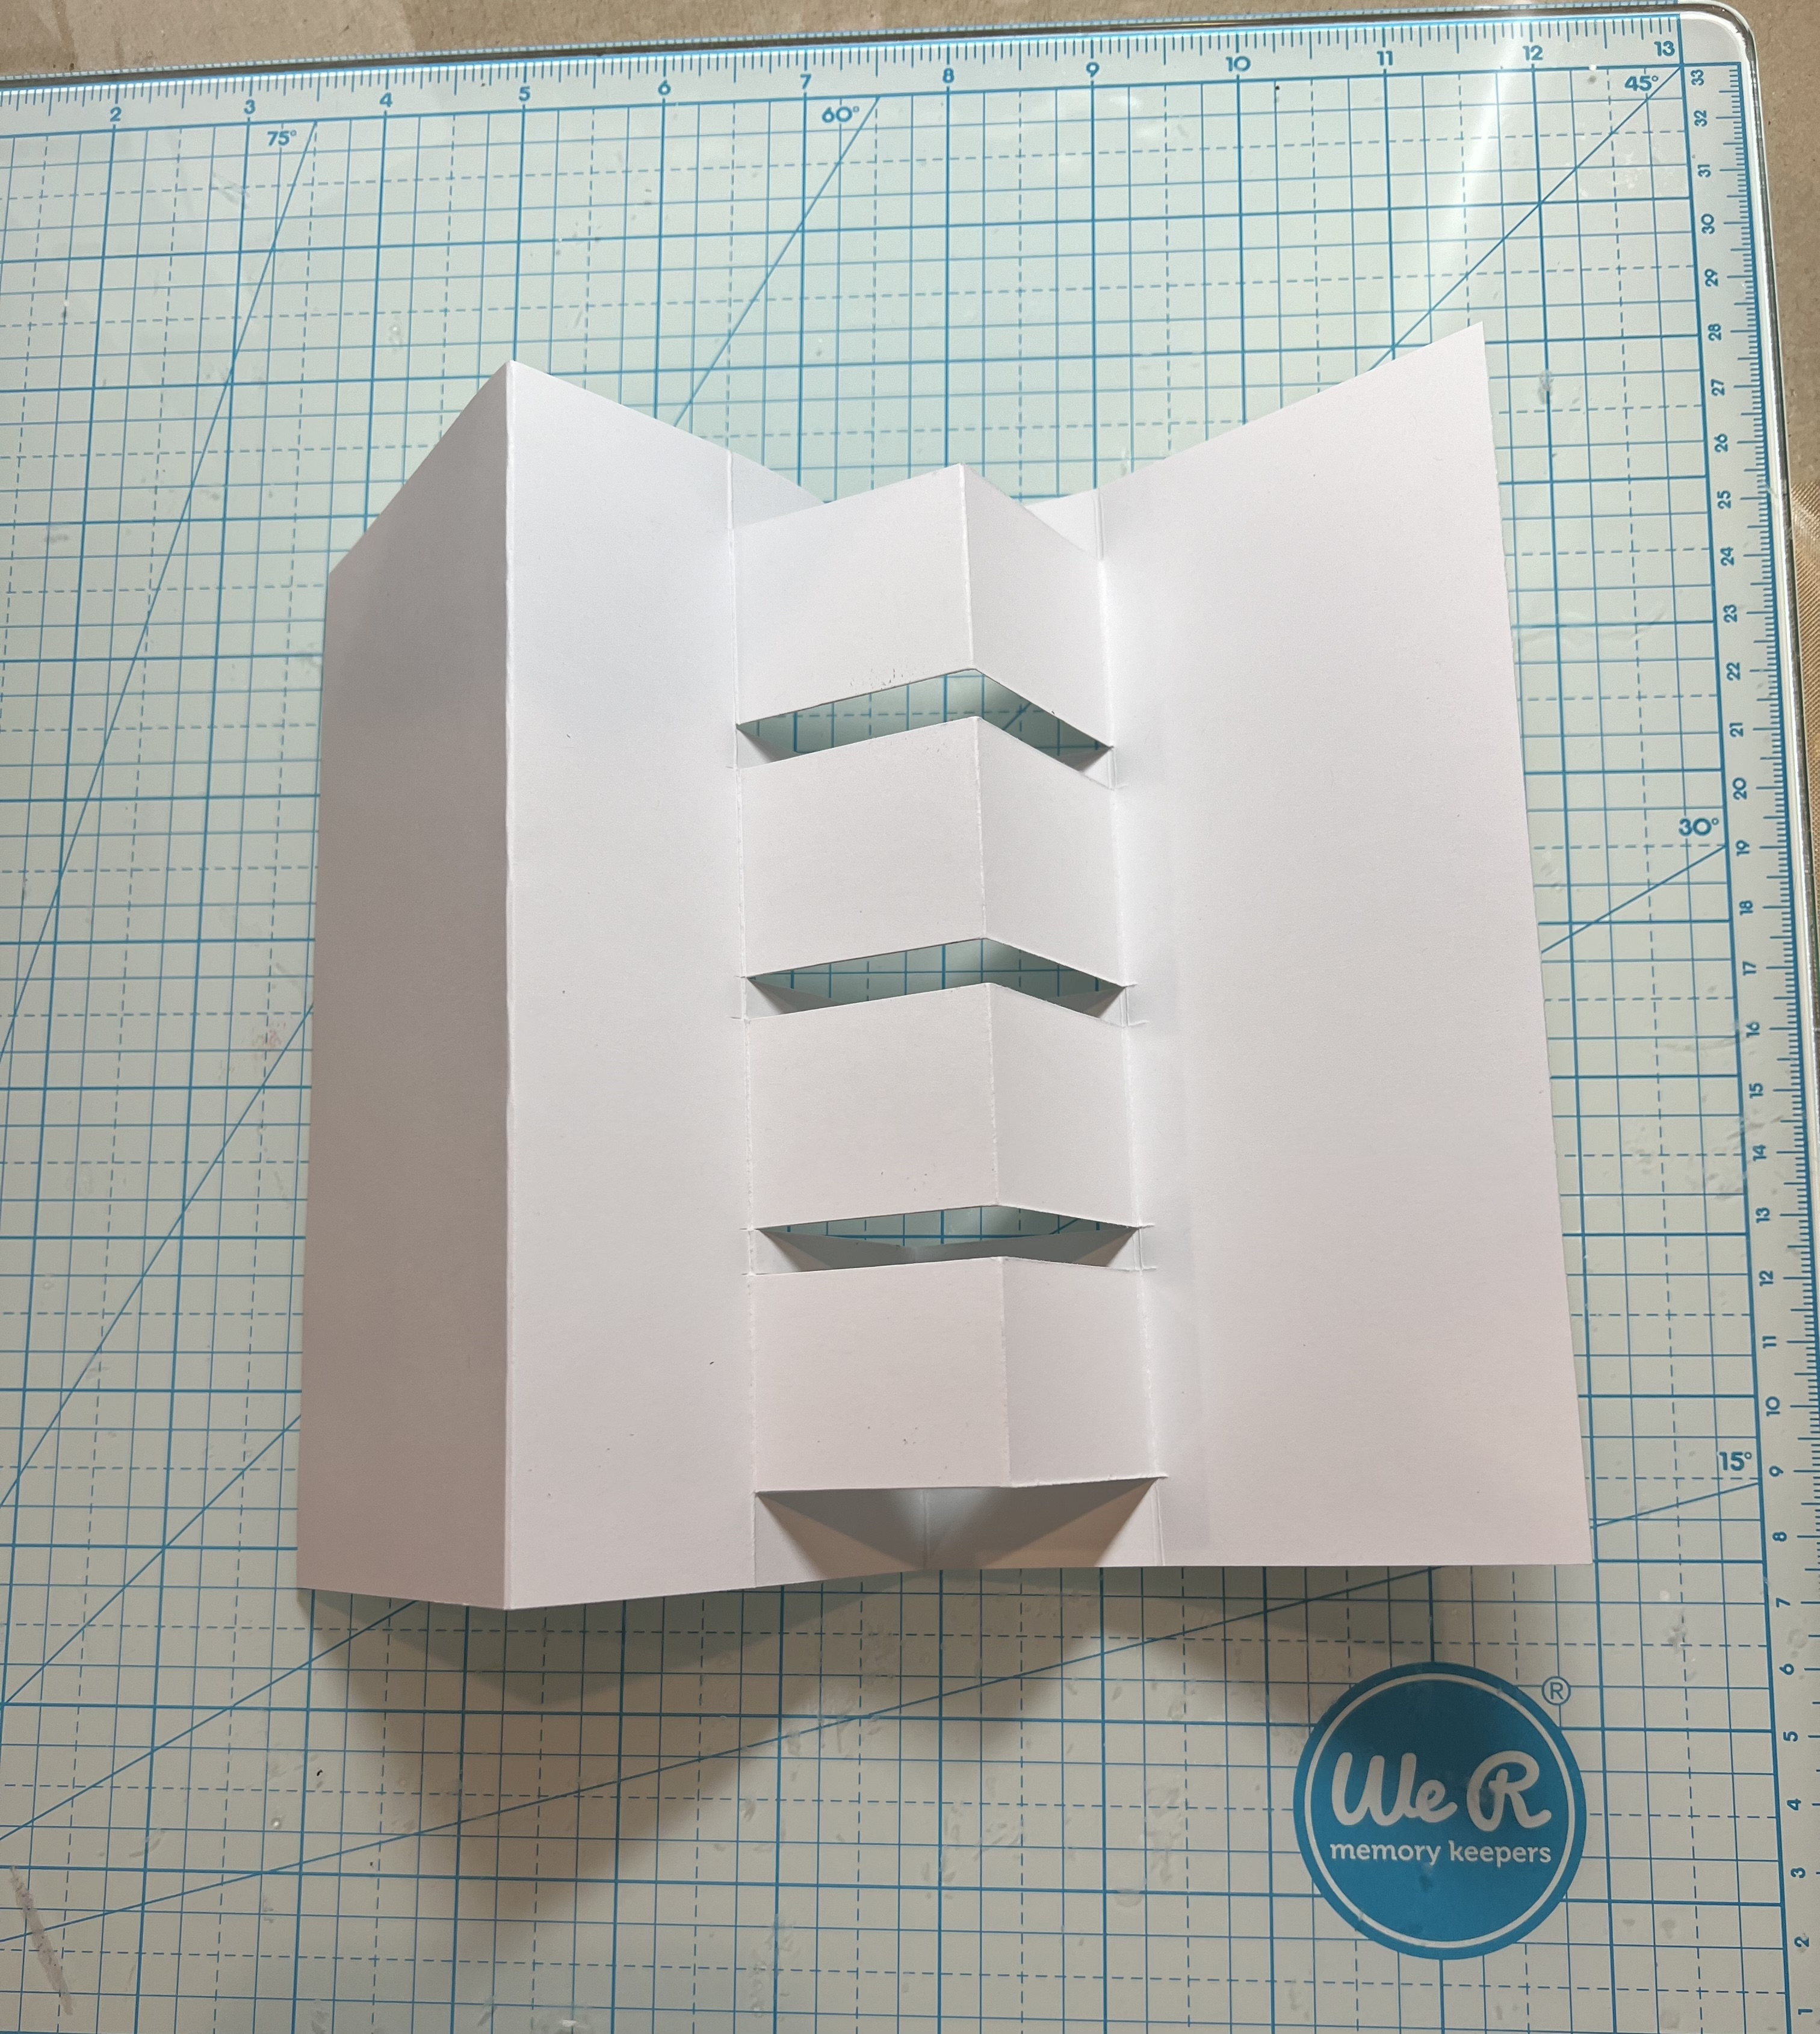
1. Start with a piece of white card stock measuring 10 x 6 3/4. Score at 3, 4 1/2, 6, 7 1/2
2. Fold the flap back along the 6 inch score. Place a ruler at the bottom along the fold and use a pencil to mark small dots at 1/2, 1 3/4, 2, 3 1/4, 3 1/2, 4 3/4, 5, 6 1/2
3. Place your card into a paper cutter and cut from the dots to the closest score line as shown above
4. When you have completed the cuts fold as shown below
5. To cover the panels cut 2 black pieces 6 3/8 x 2 3/4, 2 white pieces 6 1/4 x 2 1/2, 1 black piece 6 3/8 x 1 1/4 and 1 white piece 6 1/4 x 1 1/8
6. I used a honeycomb stencil to decorate the white panels and 2 colors of yellow ink
7. I then splattered the panels with the darker yellow ink
8. Glue the panels together and then add to the white card base
9. Glue down the 8 black rectangles as shown above
10. Use the Flowers and the Bee Gnome dies and cut out the pieces
11. Shade the pieces and then assemble
12. Stamp the sentiment and layer onto black card stock. Decorate with front as shown above. Cut out the letters in yellow and shade then add to the card. Finish adding the flowers and bees and your card is complete
We have more inspiration on our YouTube Channel check it out HERE Thanks so much for stopping by! And I will see you next Thursday.
Blessings and Take Care


