Wednesday, March 29, 2023

Spring Bird

Hello Friends!

It is NEW RELEASE TIME!  The collection is called EASTER and it has 17 incredible pieces!  They are so perfect for Easter and Spring.   Right now you can save up to 30% on these individual dies. This sale will not last so stop by the store today right HERE

Today, I decided to make a CAS designed card.  The CAS stands for Clean and Simple.  The die I used for the card is Spring Bird w/Vine.


Design Steps:


1.  Cut the pieces out of various colors of card stock using the Spring Bird w/Vine.  Ink the pieces and then assemble with a fine tip glue.  I like Art Glitter glue with it's fine tip
2.  The card base is an A2 size on white card stock.  Cut a piece of white card stock 4 1/8 x 5 3/8 and run it though a leaf embossing folder

3.  Glue the embossed piece to the card front and then glue on the leaves


4.  Next glue down the bird and add the sentiment.  Add the little white highlights with a Gelly Roll Sakura pen.  Your card is complete


CottageCutz Products


I think this is one of our most beautiful collection so don't miss out!  I think it will sell out fast!


We have more inspiration on our YouTube Channel check it out HERE

Thanks so much for stopping by!  And I will see you next Thursday.

Blessings and Take Care


Saturday, March 25, 2023

Shadow Box Frog

Hello Friends!

It is NEW RELEASE TIME!  The collection is called EASTER and it has 17 incredible pieces!  They are so perfect for Easter and Spring.   Right now you can save up to 65% on these dies if you buy the bundle and believe me you are going to want the bundle.  If you purchase the dies individually they are 30% off.  This sale will not last so stop by the store today right HERE

I am making a Shadow Box card today.  This card features the Spring Frog w/Mushroom.  I love that the card will fold flat for mailing.


I started by cutting all of my pieces, inking and then gluing them together
Next I created my shadow box which has three layers of dimension.  The back is the sky, middle is long grass and the front layer is the shorter grass


The final step is to place the sun and clouds on the background blue.  The middle layer has the frog glued to the long grass.  And the front has the mushroom, flowers, ladybug and sentiment glued to the short grass


CottageCutz Products


I think this is one of our most beautiful collection so don't miss out!  I think it will sell out fast!

We have more inspiration on our YouTube Channel check it out HERE

Thanks so much for stopping by!  And I will see you next Thursday.

Blessings and Take Care


Sunday, March 19, 2023

Because He Lives!

 Hello Friends!

It is NEW RELEASE TIME!  The collection is called EASTER and it has 17 incredible pieces!  They are so perfect for Easter and Spring.   Right now you can save up to 65% on these dies if you buy the bundle and believe me you are going to want the bundle.  If you purchase the dies individually they are 30% off.  This sale will not last so stop by the store today right HERE!

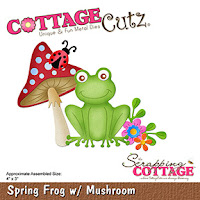
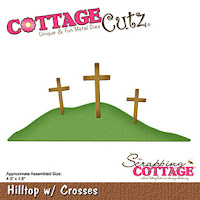
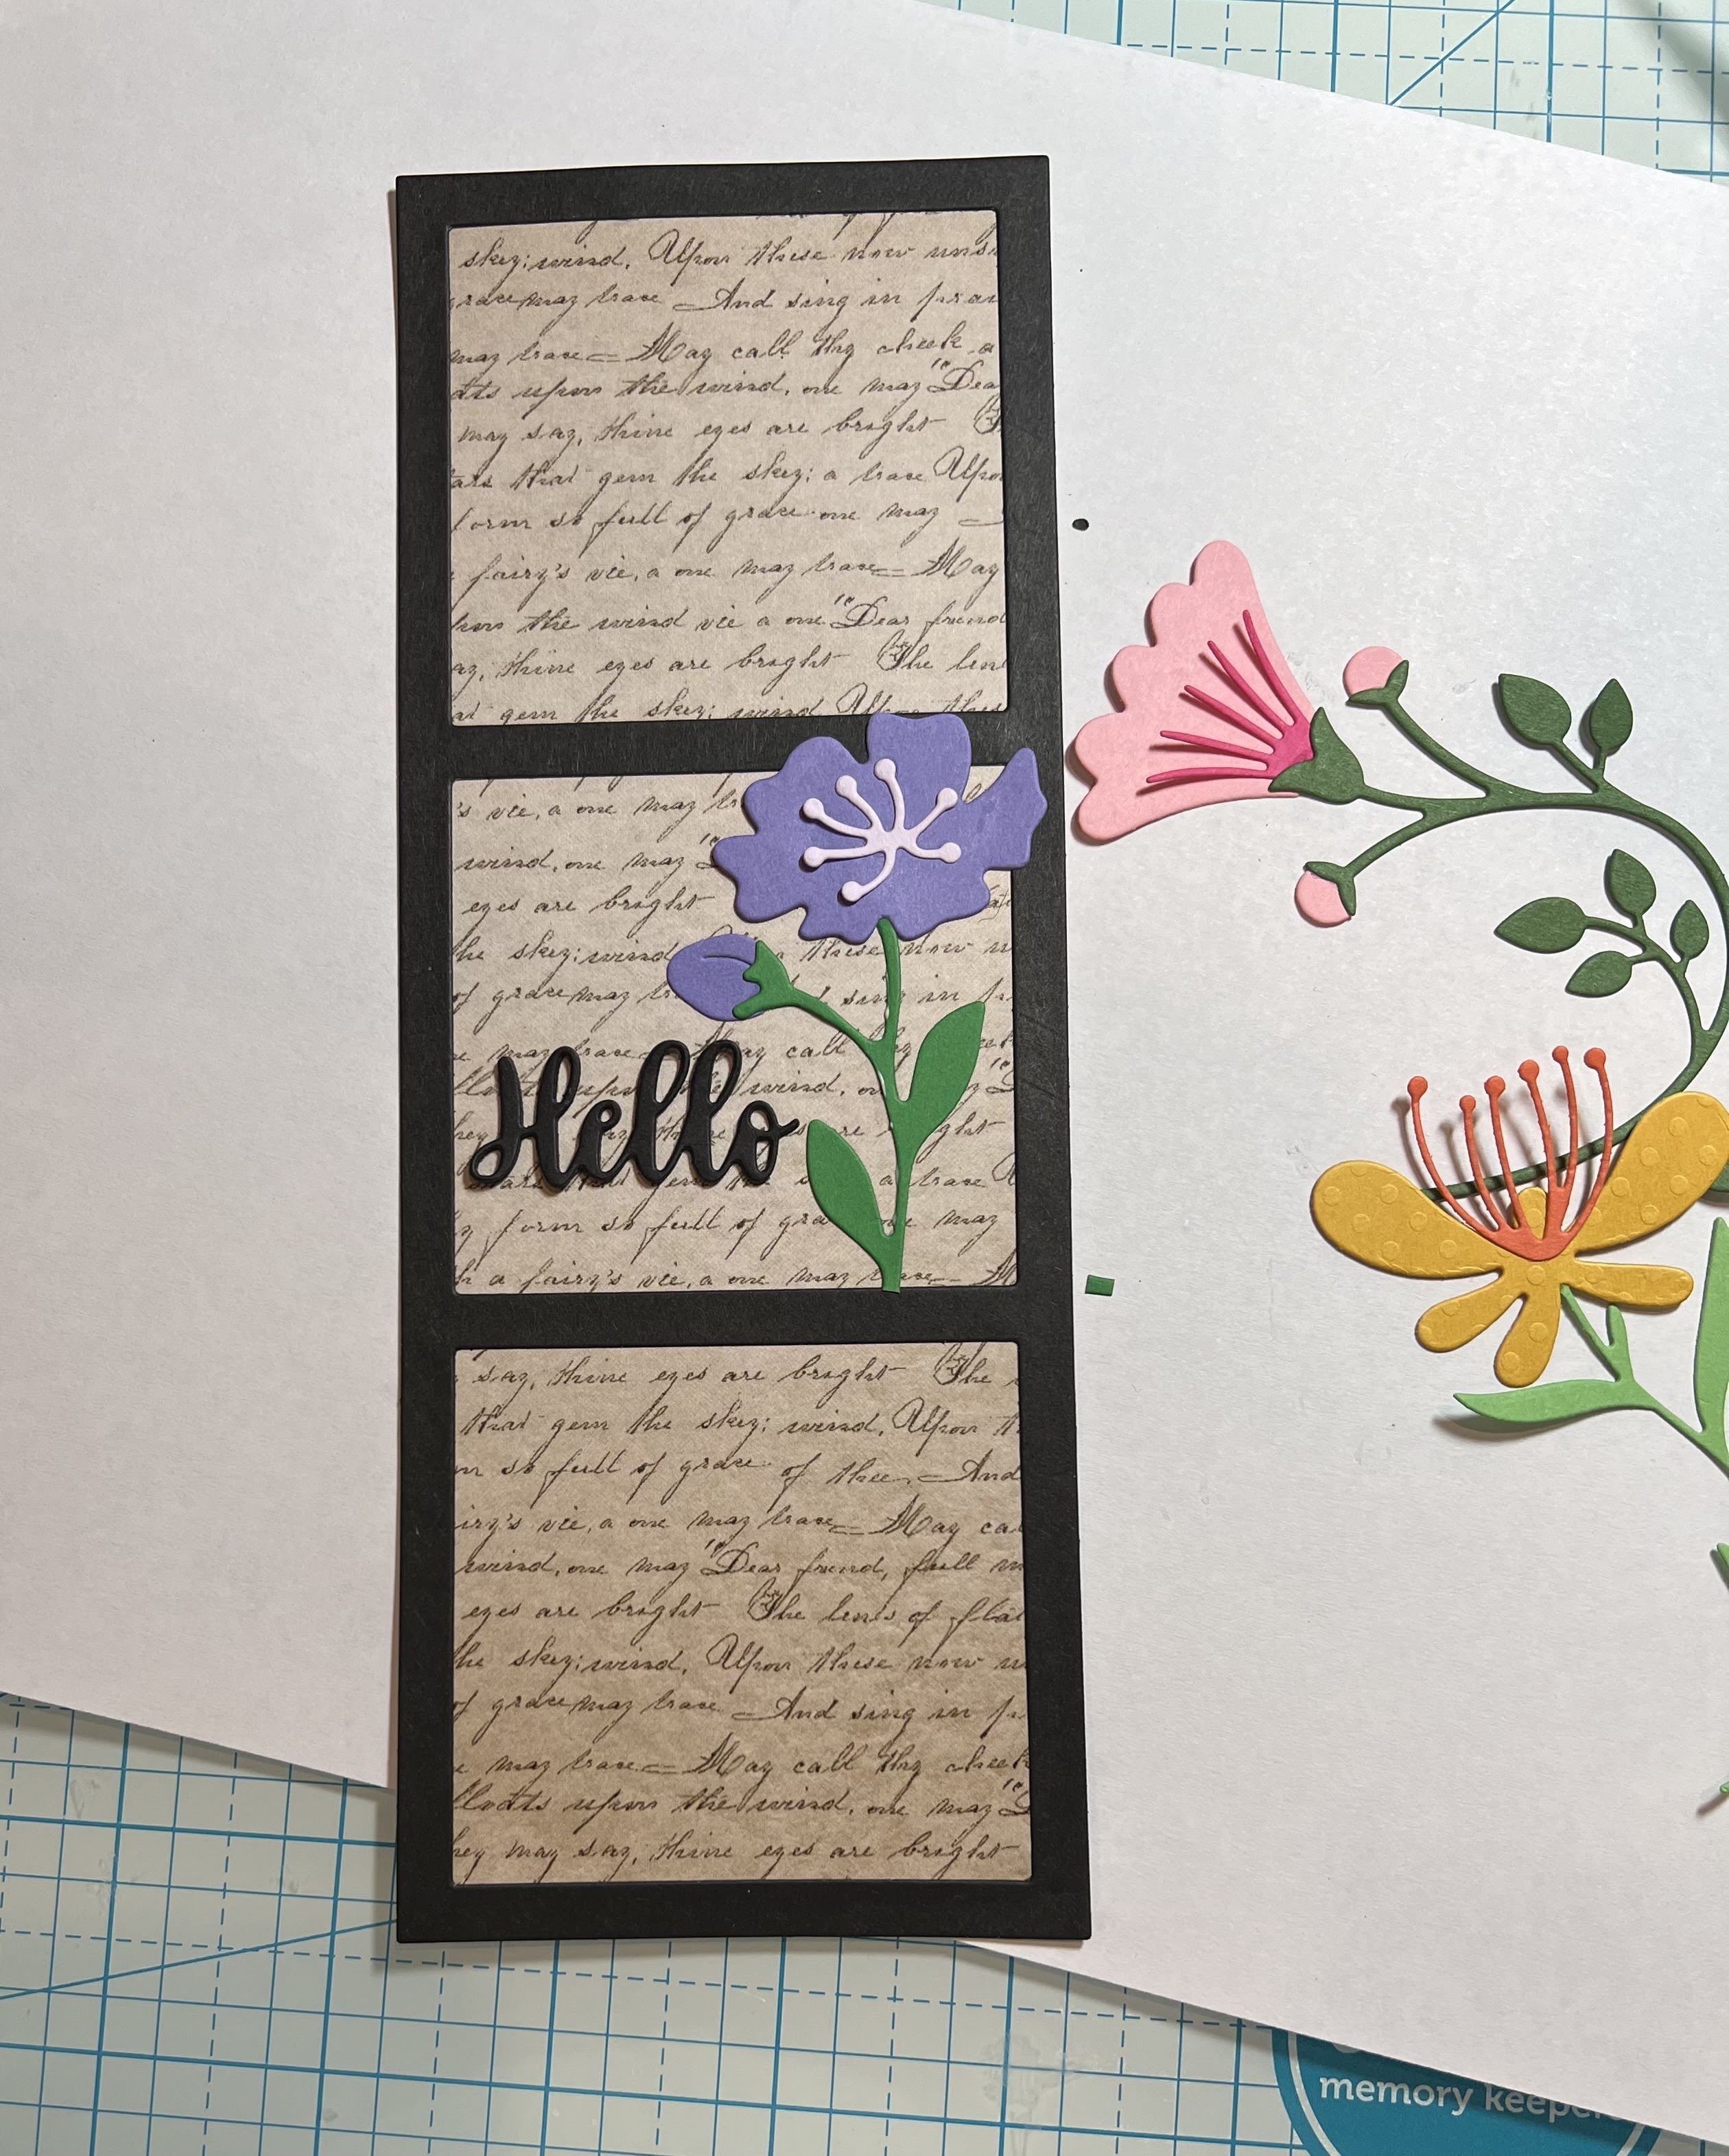
I am using 2 of the dies from this release The Hilltop w/Crosses and the Spring Daffodils.  And I am just in love with these beautifully designed dies!


Design Steps:
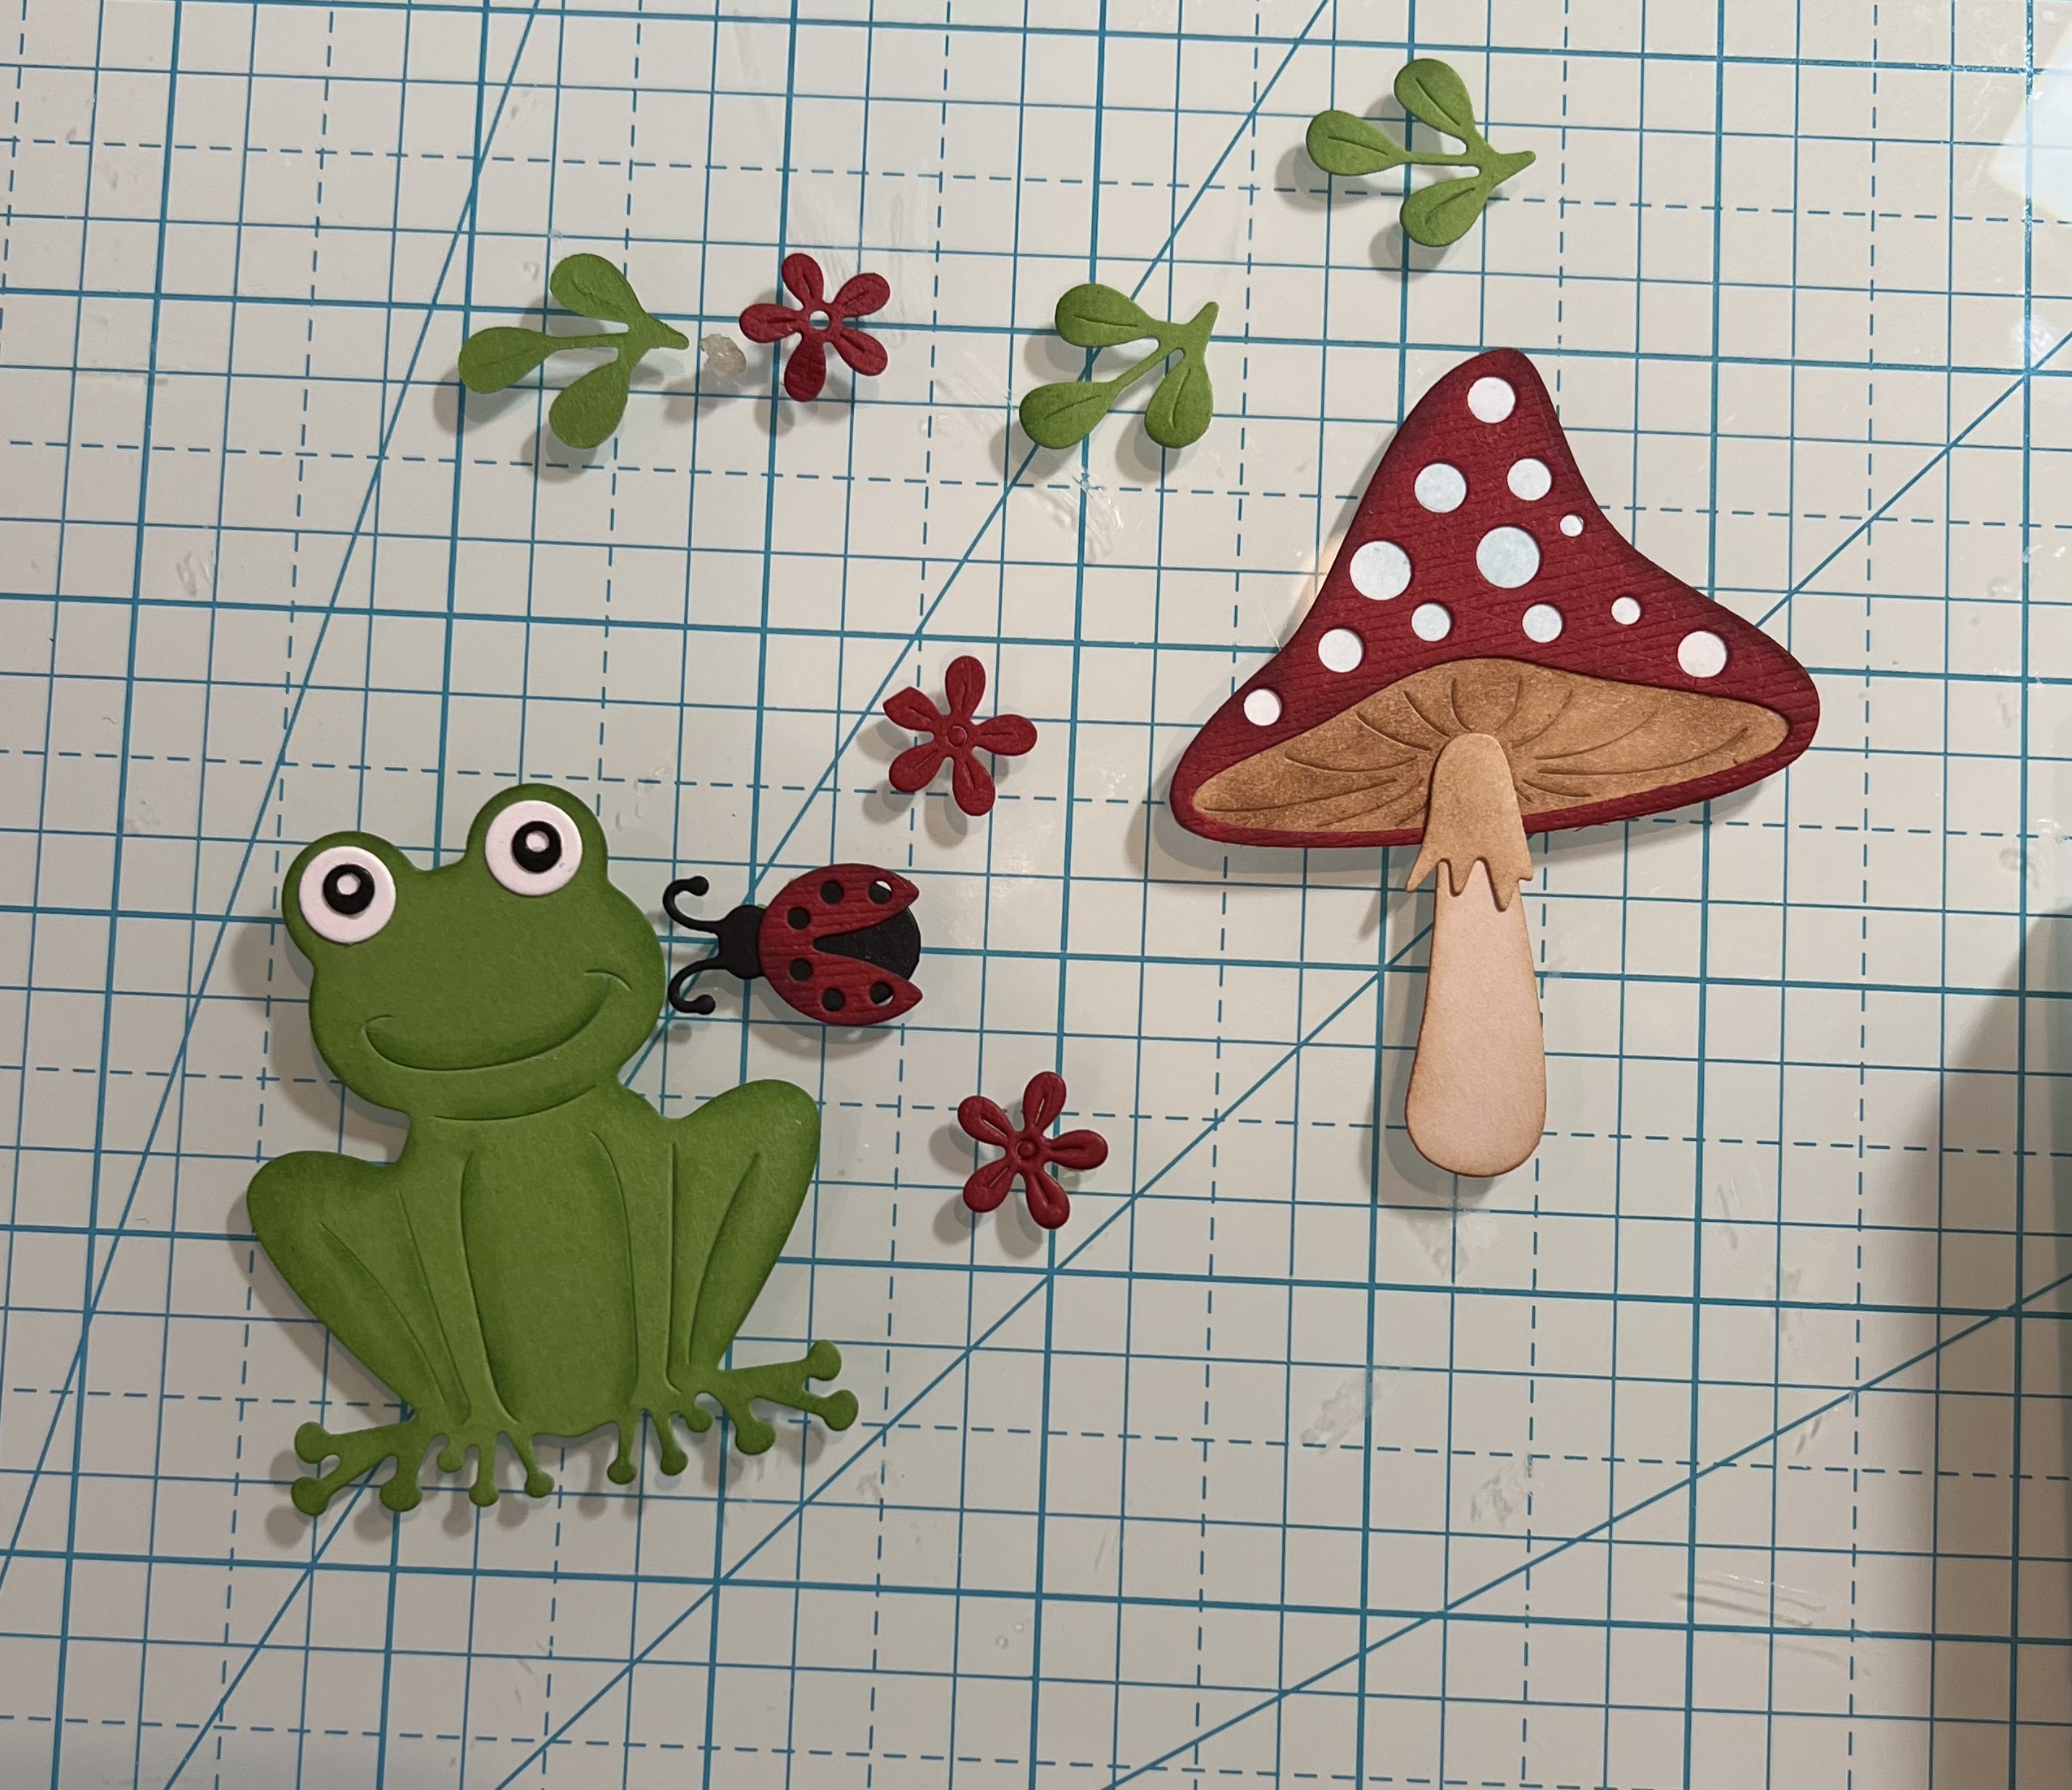
1.  Cut out the pieces using the 
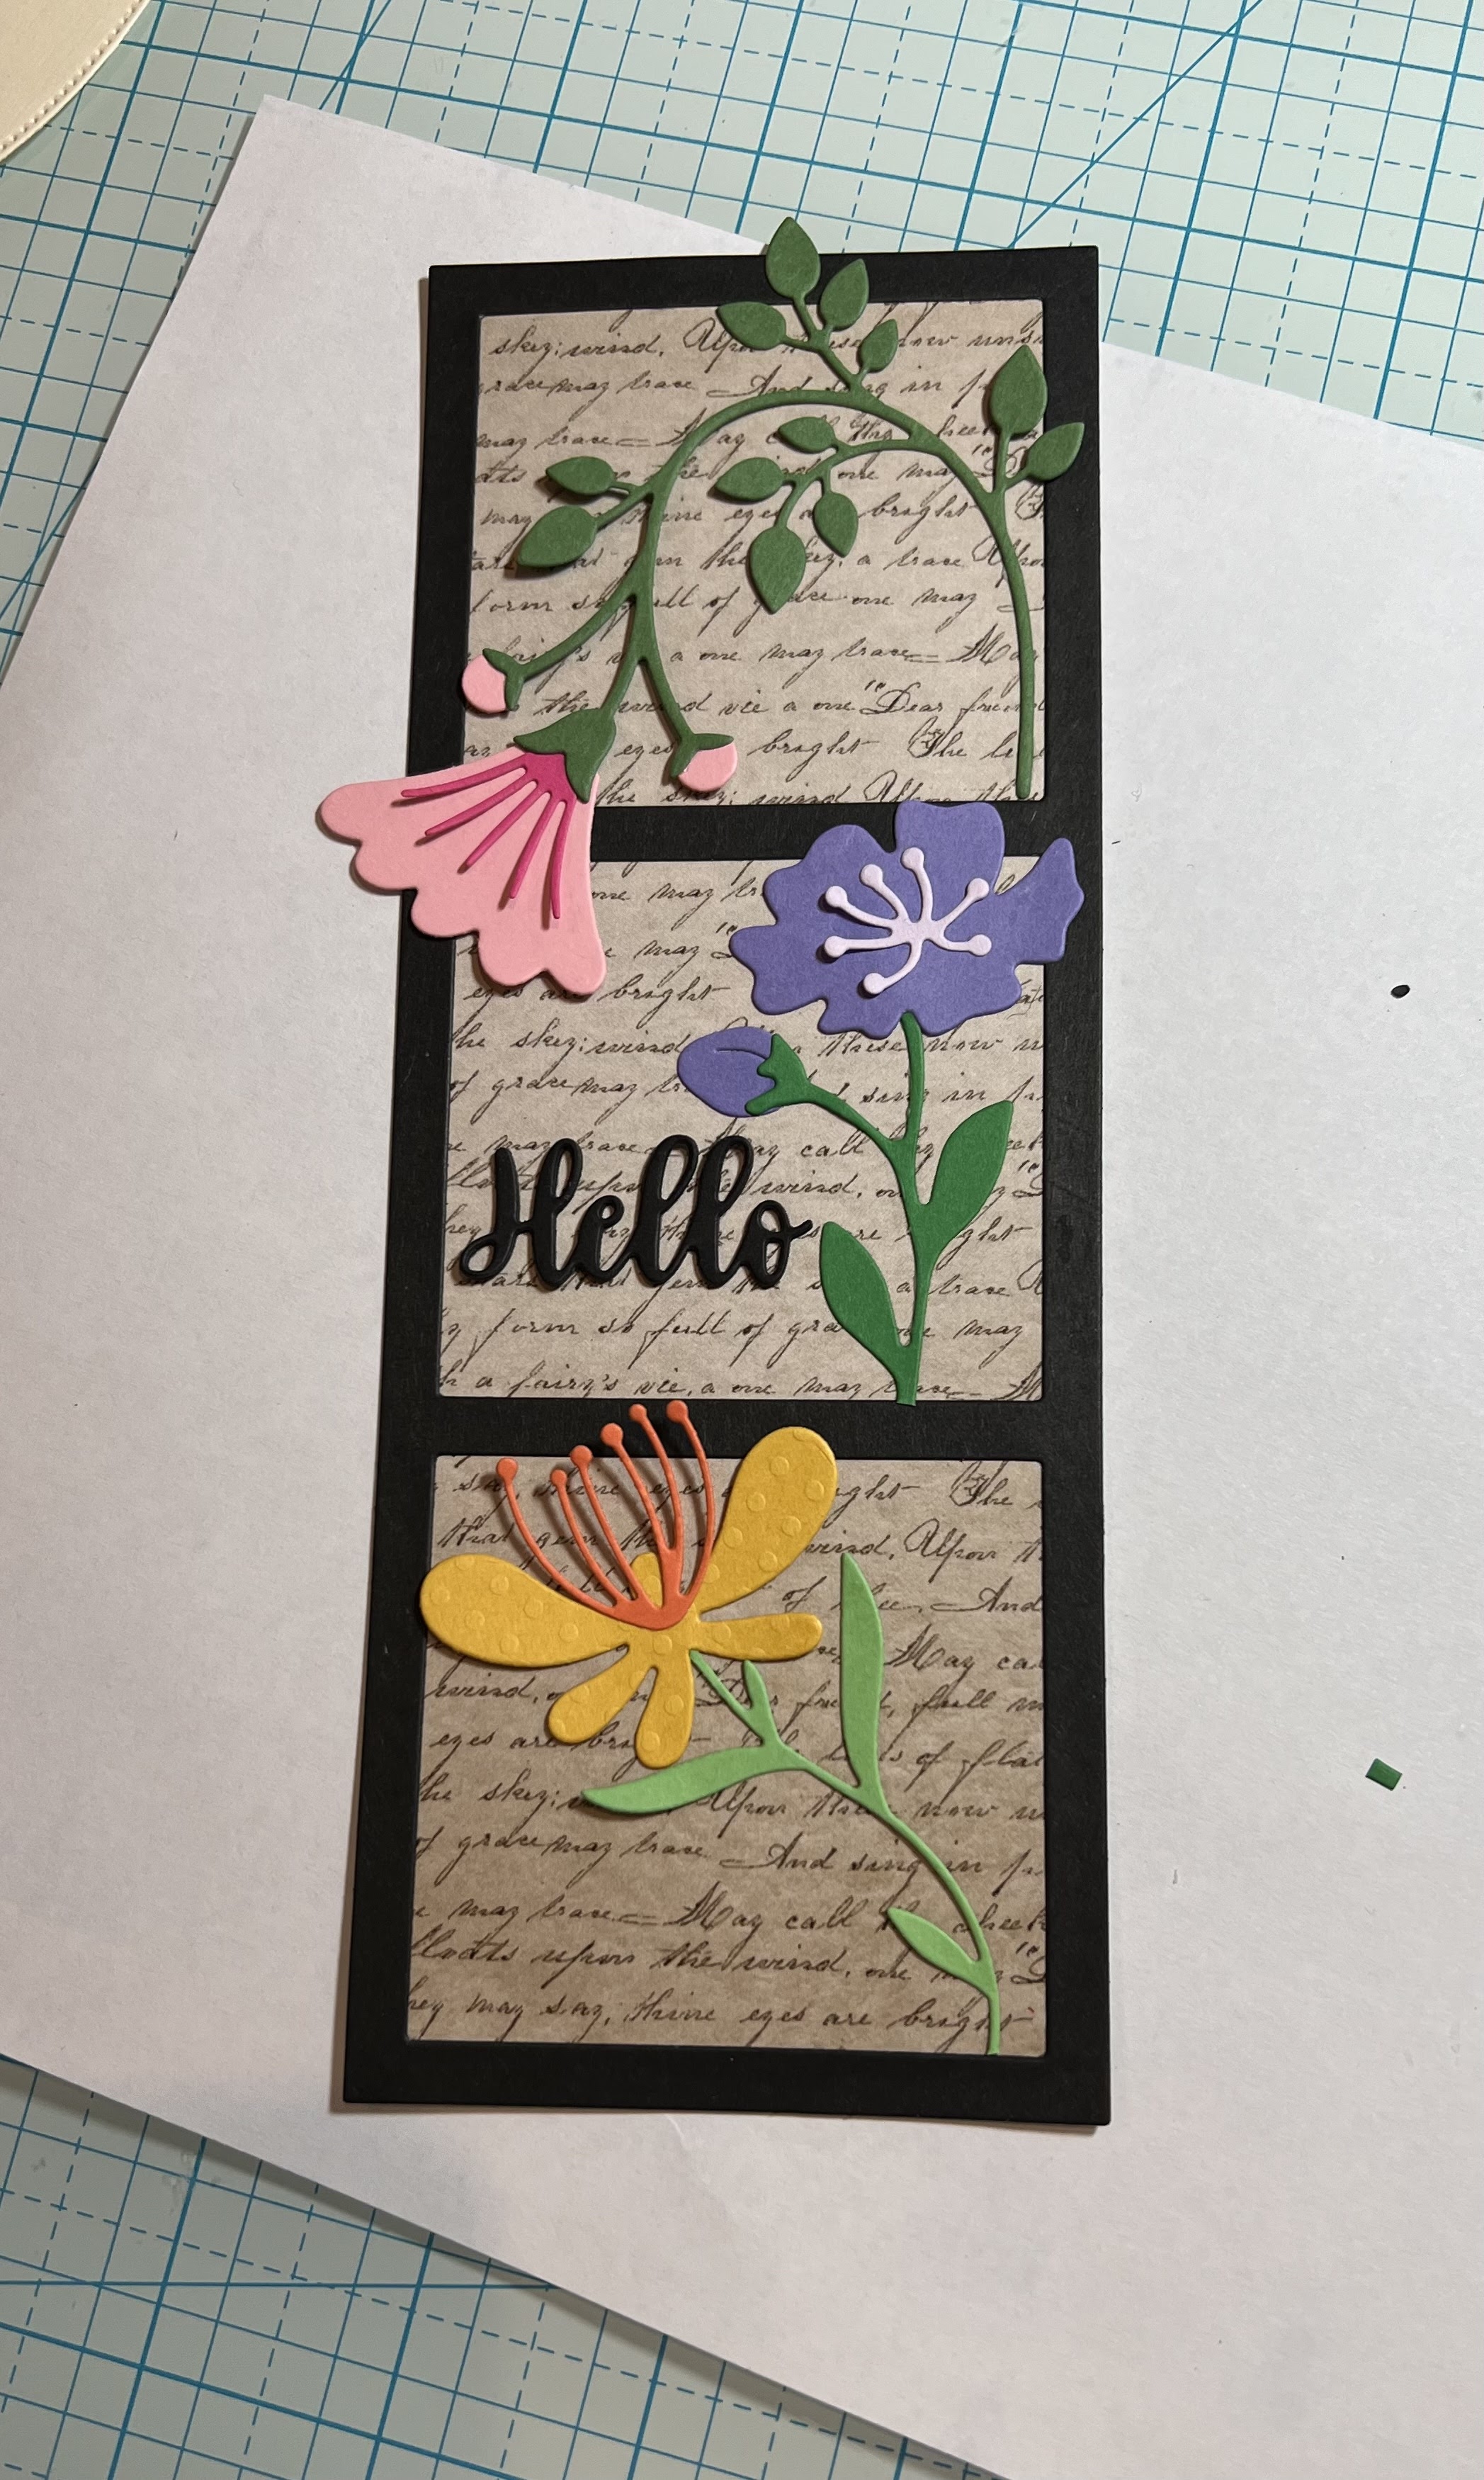
Spring Daffodils die on yellow and green card stock.  Using the Hilltop w/Crosses cut out the hill in green and the crosses in Kraft card stock.  Ink the outer parts of the daffodils in a honey color ink and add just a little darker green ink to the leaves and hill

2.  Assemble the flowers with a fine tip glue and set aside
3.  For the base use a white A2 size card.  Cut a piece of with 5 3/8 x 4 1/8 then use the 3rd from the largest Pierced Circle die and cut a circle slightly toward the top as shown.  For the piece behind the circle cut white card stock 3 1/2 x 3 1/2
4.  Ink the 3 1/2 x 3 1/2 white card stock with blue TH ink and then splatter with water
5.  Glue the green hill to the back side of the circle and then glue the blue inked piece to the back of the circle.  Make sure not to glue the top of the hill down so you can tuck in the crosses
6.  Add the crosses to the hill and two of the daffodils to the bottom of the card as shown above
7.  Glue the other daffodil and bud to the top left corner and then add your sentiment.  Your card is complete

 
CottageCutz Products


I think this is one of our most beautiful collection so don't miss out!  I think it will sell out fast!

We have more inspiration on our YouTube Channel check it out HERE

Thanks so much for stopping by!  And I will see you next Thursday.

Blessings and Take Care


Saturday, March 11, 2023

Easter Wishes

 Hello Scrapping Cottage Friends

I hope you are all doing well.  I am in Arizona and the temperature is starting to heat up!  We will be close to 80 this week.  So I am in the mood to start my spring card which includes Easter.  I am doing a card with a fun fold for this weeks demo.  I used two of the new release dies Little Flowers and Fence & Grass.  I also added some older dies to create the Easter Theme.


Design Steps:

1.  Using the following dies Fence & Grass, Little Flowers, Hatching Bunny Chick, Mr. Peter Rabbit (for the eggs) cut them out in these card stock colors: pink, yellow, orange, green. white, and brown.  Assemble the chick ad flowers 
2.  Here is a link for the video I used to create the white card base by Dini at SplitCoast Stampers  
  • Cut a 3 1/2 square out of green DP then cut it on the diagonal one of the pieces will be for the flap.  
  • The other piece of left over DP you will cut in half for the sides of the flap
  • Cut a strip of cloud DP 5 1/4 x 1 3/8
3.  Tape the two center flaps pieces together and then glue on the green triangle.  Glue the side green triangles and the blue strip across the top
4.  Start to decorate the top of the card sliding the pieces down into the pocket.  Cut the Easter Wishes on yellow card stock and glue to the flap.  After you have decorated the card front you can either leave the little pocket at the top open to slide in a gift card or glue it shut which is what I did
5.  Stamp the inside of the card and decorate with additional flowers.  Add a small velcro dot to the tip of the flap and your card is complete

CottageCutz Products


We have more inspiration on our YouTube Channel check it out HERE

Thanks so much for stopping by!  And I will see you next Thursday.

Blessings and Take Care


Saturday, March 4, 2023

Hello Flowers

 Hello CottageCutz Friends,

I like to send cards to family and friends with no special occasion.  So today I thought I would make a card just to say hello and I am thinking of you!

The dies I used for today's card are from the new collection.  They are Flower 2, Flower 6 and Flower 7.  I decided to make a slimline to display these pretty flowers.

Designer Steps:

1.  Using the following dies Flower 2, Flower 6 and Flower 7 cut out these colors of card stock: yellow, orange, pink, dark pink, purple, light purple and 3 shades of green
2.  Use a Kraft slimline base measuring 3 1/4 x 8 1/4
  • Use the Window Slimline and cut it out in black
  • Use the Hello w/Shadow and cut out the hello in black 3 times
  • Cut a piece of script designer paper 3 x 8
3.  Glue the 3 Hello's together.  Glue the black window frame to the designer script paper as shown above
4.  Glue the Hello and the purple flower in the middle window as shown above
5.  Glue the pink and yellow flowers as shown above
6.  Ink the edges of the kraft slimline card base in black 
7.  Glue the flower panel to the kraft card base.  Using the Spring Meadow die cut out 3 black butterflies.  Place 3 small pearls on each butterfly and then attach to the card front as shown below and your card is complete

CottageCutz Products


We have more inspiration on our YouTube Channel check it out HERE

Thanks so much for stopping by!  And I will see you next Thursday.

Blessings and Take Care