Saturday, October 15, 2022

C is for Cookie!

 Hello Scrapping Cottage Friends

We have Part 2 of the Christmas release available today! This amazing release has 36 designs!  This time we have Gingerbread Cookies, Gnomes, Santa in a Cadillac and much much more!!  Check it out HERE.  The best part about this new release is that it is on sale now!!

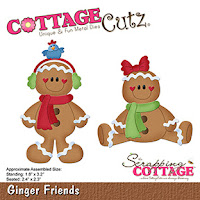
The die I am creating with today is Ginger Friends.  I have made a fancy fold to show off these adorable gingerbread cookies!!


Design Steps:

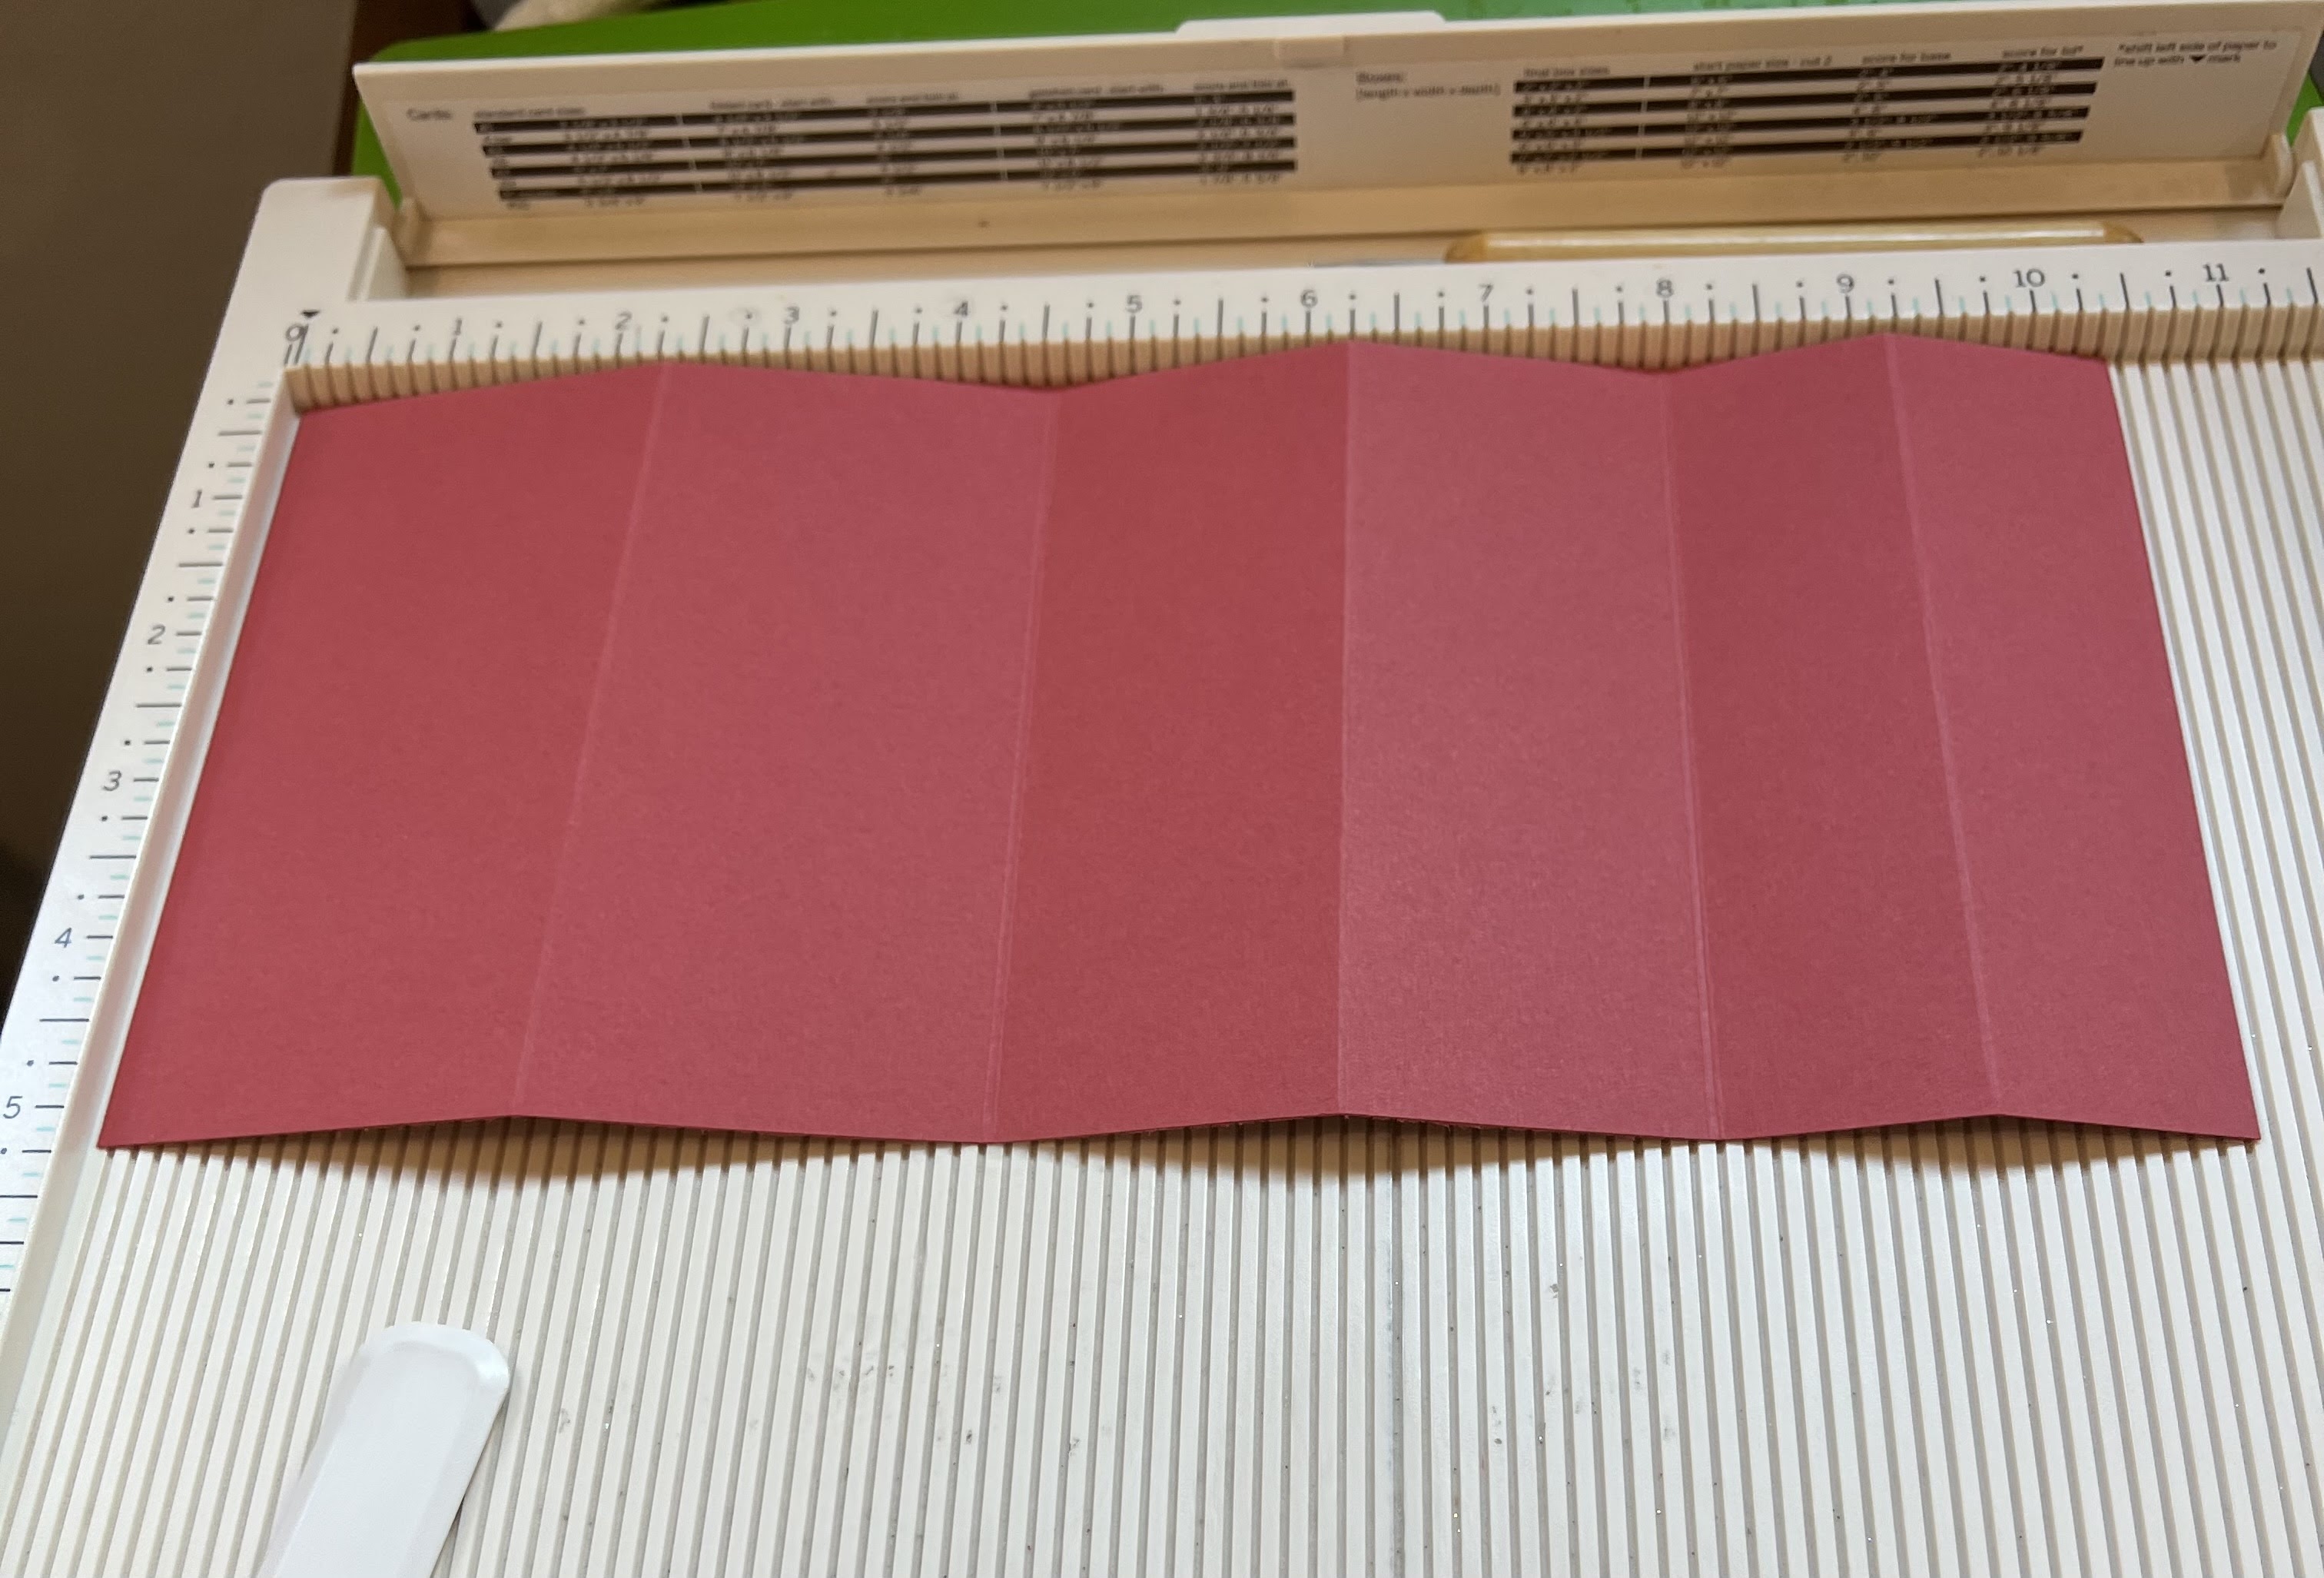
1.  Start with a piece of red card stock cut to 4 1/4 x 10 1/2
2.  Score at 1 1/4, 2 1/2, 4 1/4, 6, and 8 1/4.  Fold your card stock along the score line with mountain folds being the first and last folds

3.  Cut 3 strips of designer paper to add to the front of the stair steps:  4 1/8 x 1 1/8, 4 1/8 x 1 3/4, 4 1/8 x 2 1/8
4.  Glue the designer paper to the front of each of the steps as shown above

5.  Using the Ginger Friends die cut out the pieces of the gingerbread boy and girl: DP polka dot light brown DP, Brown Checked DP, Turquoise Check DP, white, red, and yellow.  Assemble the pieces using a fine tip glue

6.  Begin to glue the pieces to the steps.  I had some premade sentiments that I added plus some snowflake embellishments.  After you add the sentiments and Ginger Friends your card is complete

CottageCutz Products


Please take a peek at this Cheery Christmas collection!  I promise you will want every single one of this incrediable release!!! Click HERE to see all the cuteness!!

We have more inspiration on our YouTube Channel check it out HERE

Thanks so much for stopping by!  And I will see you next Thursday.

Blessings and Take Care


Thursday, October 13, 2022

Fall Leaves

 Hello Friends

This is for the House-Mouse Monday Challenge.  The challenge is Anything Goes or Fall/Autumn.  Check out this fun challenge HERE


Fall is my favorite time of year! I love the colors and cool breezes!

Thanks for taking a peek!

Blessings
Pam

Sunday, October 9, 2022

Halloween Treat Box

 Hello Scrapping Cottage Friends

We have a brand new release just in time for all of those amazing Halloween cards everyone makes!! The collection has 22 fabulous dies that are going to make those scrapbook layouts and cards look SPOOKTACULAR!!!  The dies are currently on sale so make sure you get them while they last at this special introductory offer!!

Today, I am using the Witchy Ghost.  It sits perfectly on top of the tiny treat box.  I also used the Web and a spider from the Jack-O-Lanter Witch.  I think this cute little box will be perfect for a teacher's gift or some special Trick or Treaters!

Design Steps:

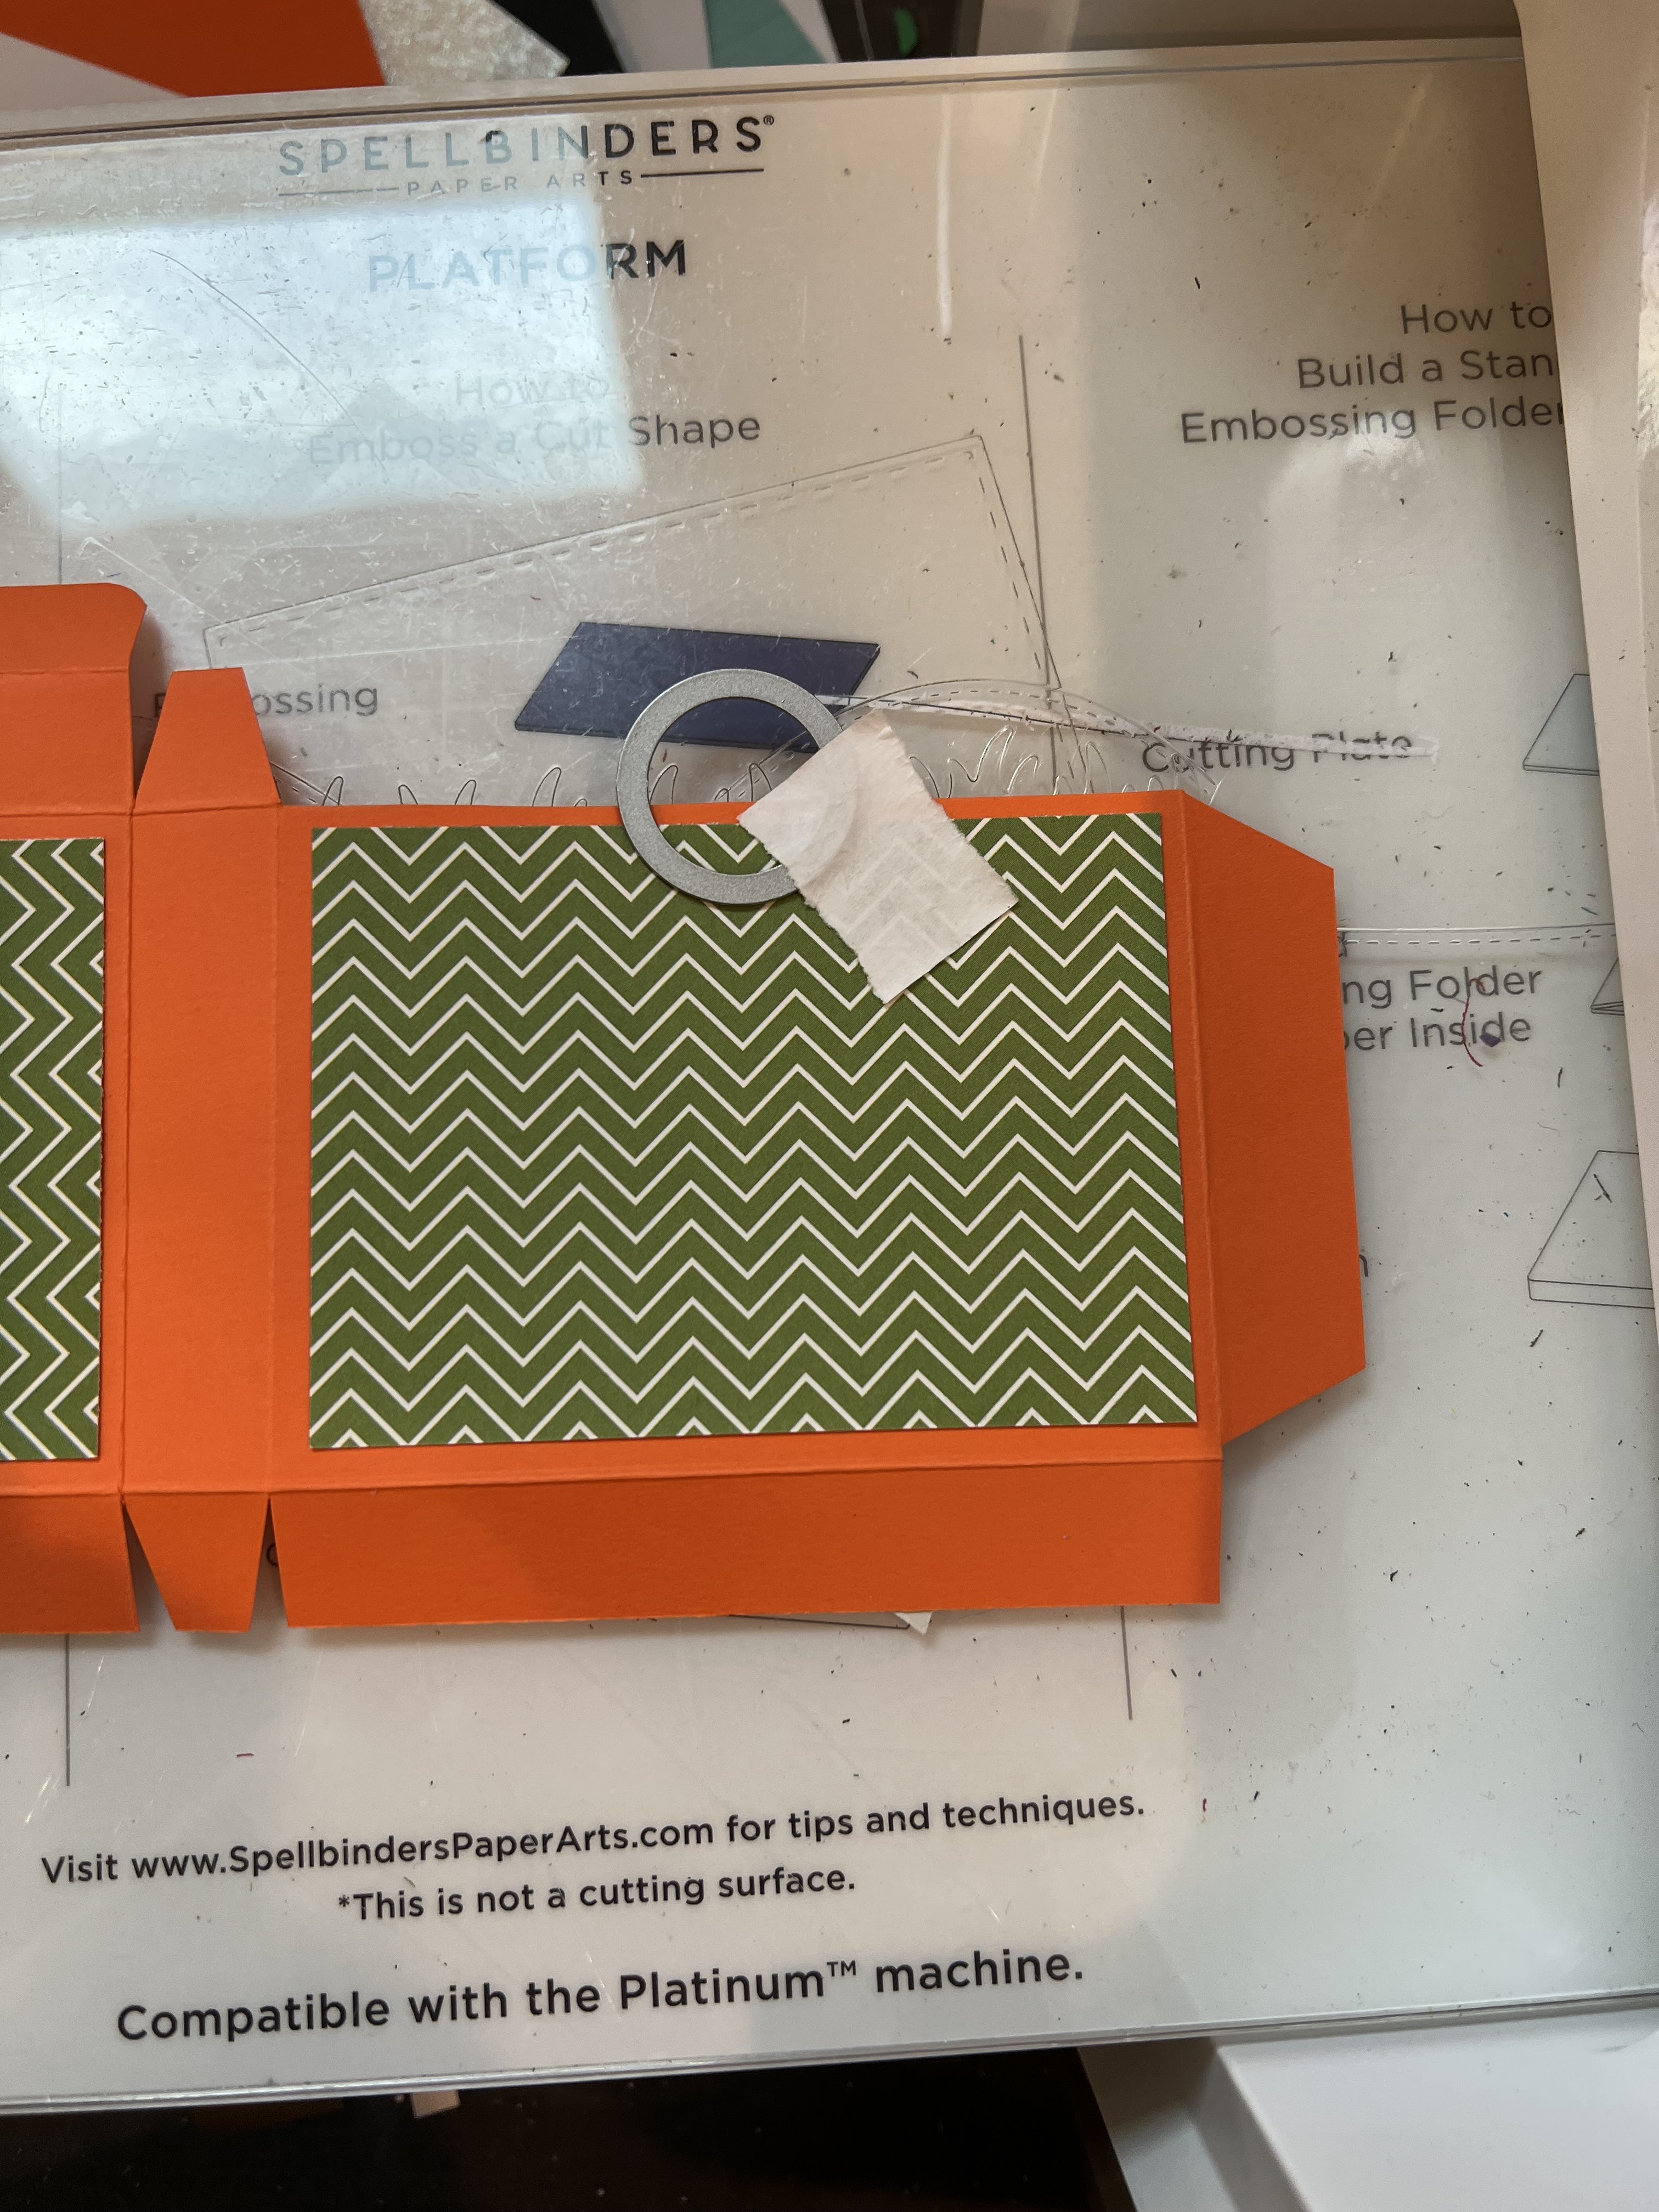
1.  Cut a piece of orange card stock 9 1/4 x 4 1/2 and then score

2.  Horizontal 5/8, 4 3/8,  5,  8 3/4
3.  Vertically 5/8, 3 3/8, 4
4.  Use a bone folder and burnish the score lines then open flat with the two score lines horizontally on the top of your work area
5.  Cut the tabs on the bottom of the orange card stock as shown above
6. Then flip the orange card stock so that the 2 horizontal score lines are now at the bottom of your work area as shown above  

7.  Cut the bottom of the orange card stock to match the picture above 
8. Flip the box over so the double scored longest flap is now at the top of the work space.  The longest flap is the part that will close the box so round those corners
9.  Glue two pieces of DP each measuring 2 1/2 x 3 1/2 to the box as shown above
10.  Cut a notch on the side that does not have the flap that closes the box.  I used the second to the smallest from the Circle dies.  As shown above
11.  On the opposite side of the notch cut you will cut the window of the candy box with the 3rd from the smallest Pierced Retangle dies.  As shown above
12.  Flip the orange piece over and tape the acetate to the back of the window
13.  Assemble the box using glue or a strong double sided tape making sure you do not glue the flap that opens and closes the box

14.  Place the candy in the box.  You can use any kind of candy you wish
15.  Use the Witchy Ghost die, the Web die and the Jack-O-Lantern Witch die (for the spider) to cut out the pieces in the following colors of card stock: white, yellow, orange, purple,  green, gray and black.  Assemble the pieces with a fine tip quick drying glue.  Glue the pieces to the front of the box as shown below then add the sentiment and your little treat box is finished

 CottageCutz Products


Please make sure to check out this amazing Halloween release right HERE!


We have more inspiration on our YouTube Channel check it out HERE

Thanks so much for stopping by!  And I will see you next Thursday.

Blessings and Take Care


Tuesday, October 4, 2022

Halloween Kitties!

  Hello Scrapping Cottage Friends

Super Excited to announce we have a brand new release just in time for all of those amazing Halloween cards everyone makes!! The collection has 22 fabulous dies that are going to make those scrapbook layouts and cards look SPOOKTACULAR!!!  The dies are currently on sale so make sure you get them while they last at this special introductory offer!!

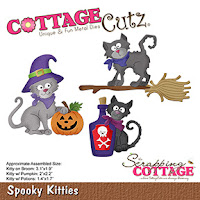
Today, I am using the Spooky Kitties.  It has so many cute pieces.  These pieces could be used in a variety of different ways!  For this card I decided to make a slimline.

Designer Steps:

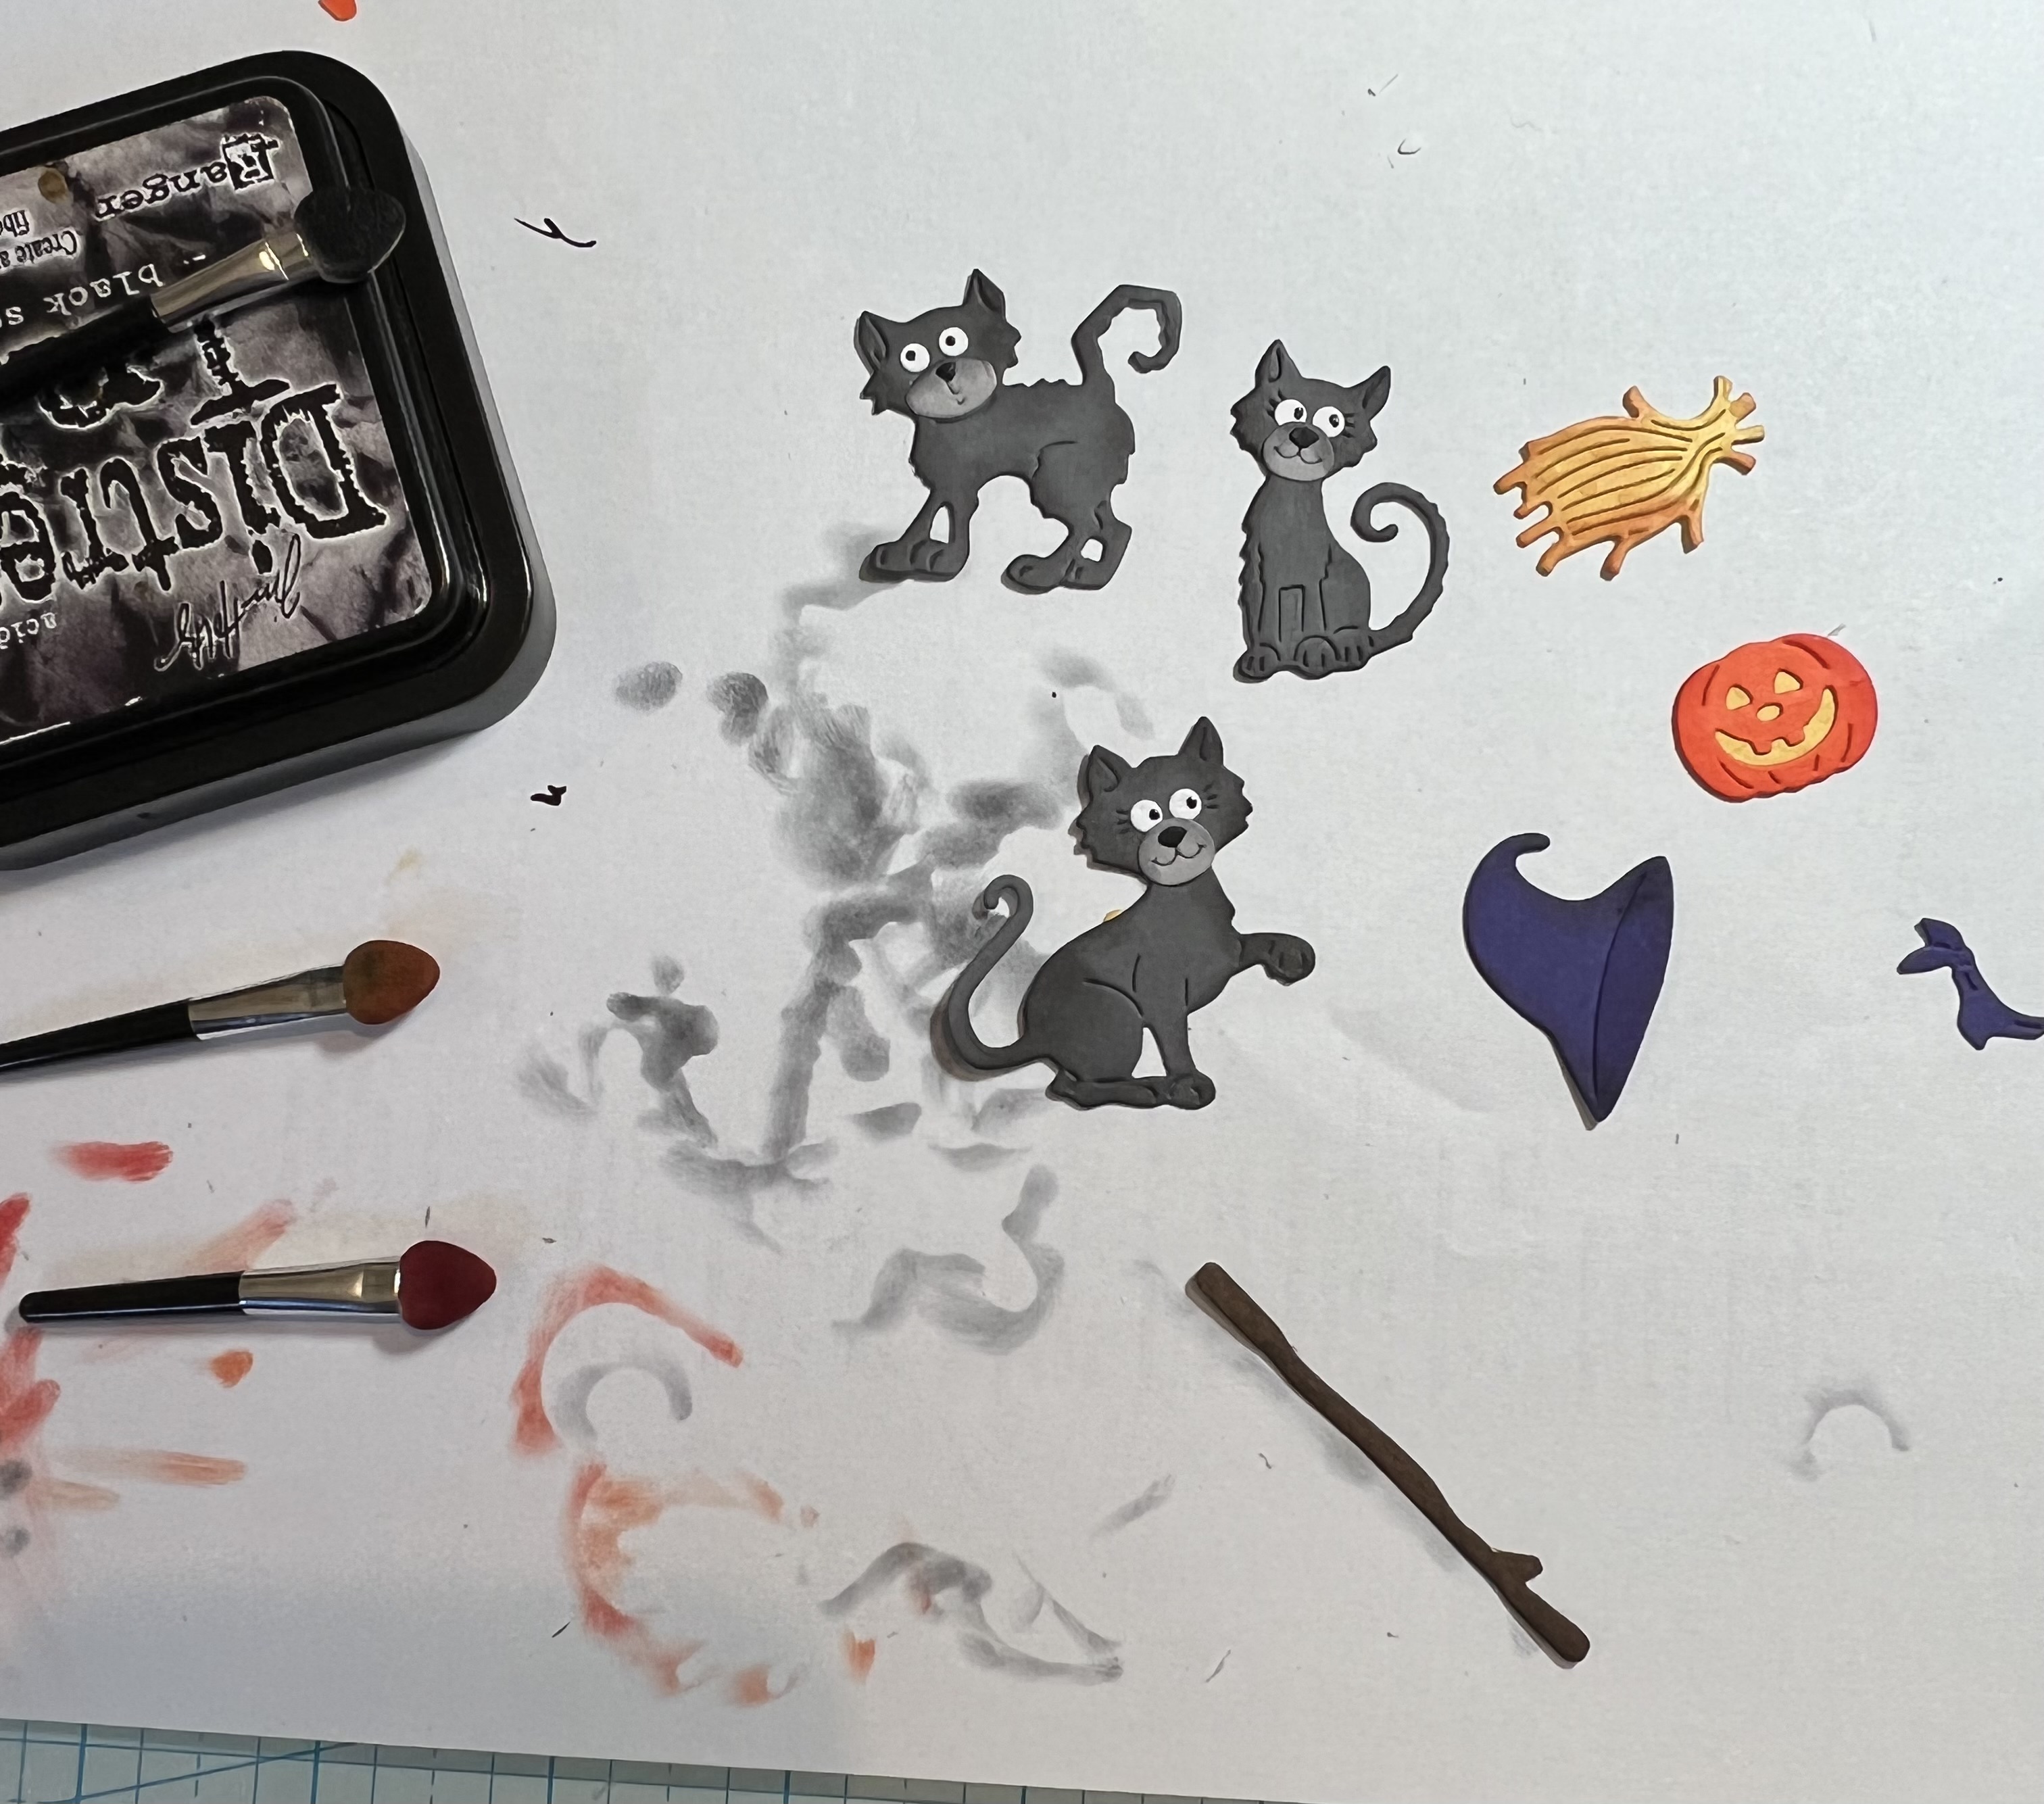
1.  Using the Spooky Kitties die cut out the following colors of card stock:  orange, purple, brown, light and dark gray, yellow and white.  Ink the various pieces with TH inks and then assemble with a fine tip, fast drying glue.  I used a black Glaze Sakura pen for the eyes

2.  Use an orange 3 1/2 x 8 1/2 card base, cut a piece of purple card stock using the largest of the Slimline Scallop Stitched Rectangle dies, Cut a piece of DP 2 3/4 x 7 3/4,  and finally cut a piece of black using the Window Slimline.  Ink the edges of the orange base in black ink
2.  Glue the purple scalloped rectangle to the orange base then glue down the DP.  Before adhereing the black window frame to the base cut two pieces of green grass using the Grass Slimline die and cut a light gray cloud  using the Clouds Slimline.  Glue the pieces to the back of the black windows as shown above and cut off the extra.  Ink the clouds with a black TH ink
3.  Glue the black windows to the card base do not glue the tops of the grass so you can tuck your cats down into the grass
4.  Arrange your kitties in each of the window glueing the pieces flat to the card base make sure you tuck the kitties feet into the grass.  Add the sentiment and your card is complete

CottageCutz Products


Please make sure to check out this amazing Halloween release right HERE!


We have more inspiration on our YouTube Channel check it out HERE

Thanks so much for stopping by!  And I will see you next Thursday.

Blessings and Take Care


Sunday, October 2, 2022

Haunted Night

 Hello Friends 

The design team is showcasing a number of new dies from the Halloween release.  The collection features 22 dies.  Everything from Halloween trucks to haunted graveyards!

I am using a side step design for my card


Check out the other design team members cards HERE


Blessing

Pam