Wednesday, September 28, 2022

Bubble Time

 Hello Friends

This card is posted on the Monday House-Mouse Challenge click HERE to find out more about this fun challenge! The challenge is Anything Goes or Anything to do with Water.  I selected Anything to do with Water.


The little bunny reminds me of my Sister-in-law who loves to take a warm bath! So that is were it is headed!

Thanks so much for stopping by! I really appreciate it!

Blessings


Saturday, September 24, 2022

Halloween Release!!!

 Hello Scrapping Cottage Friends

Super Excited to announce we have a brand new release just in time for all of those amazing Halloween cards everyone makes!! The collection has 22 fabulous dies that are going to make those scrapbook layouts and cards look SPOOKTACULAR!!!  The dies are currently on sale so make sure you get them while they last at this special introductory offer!!

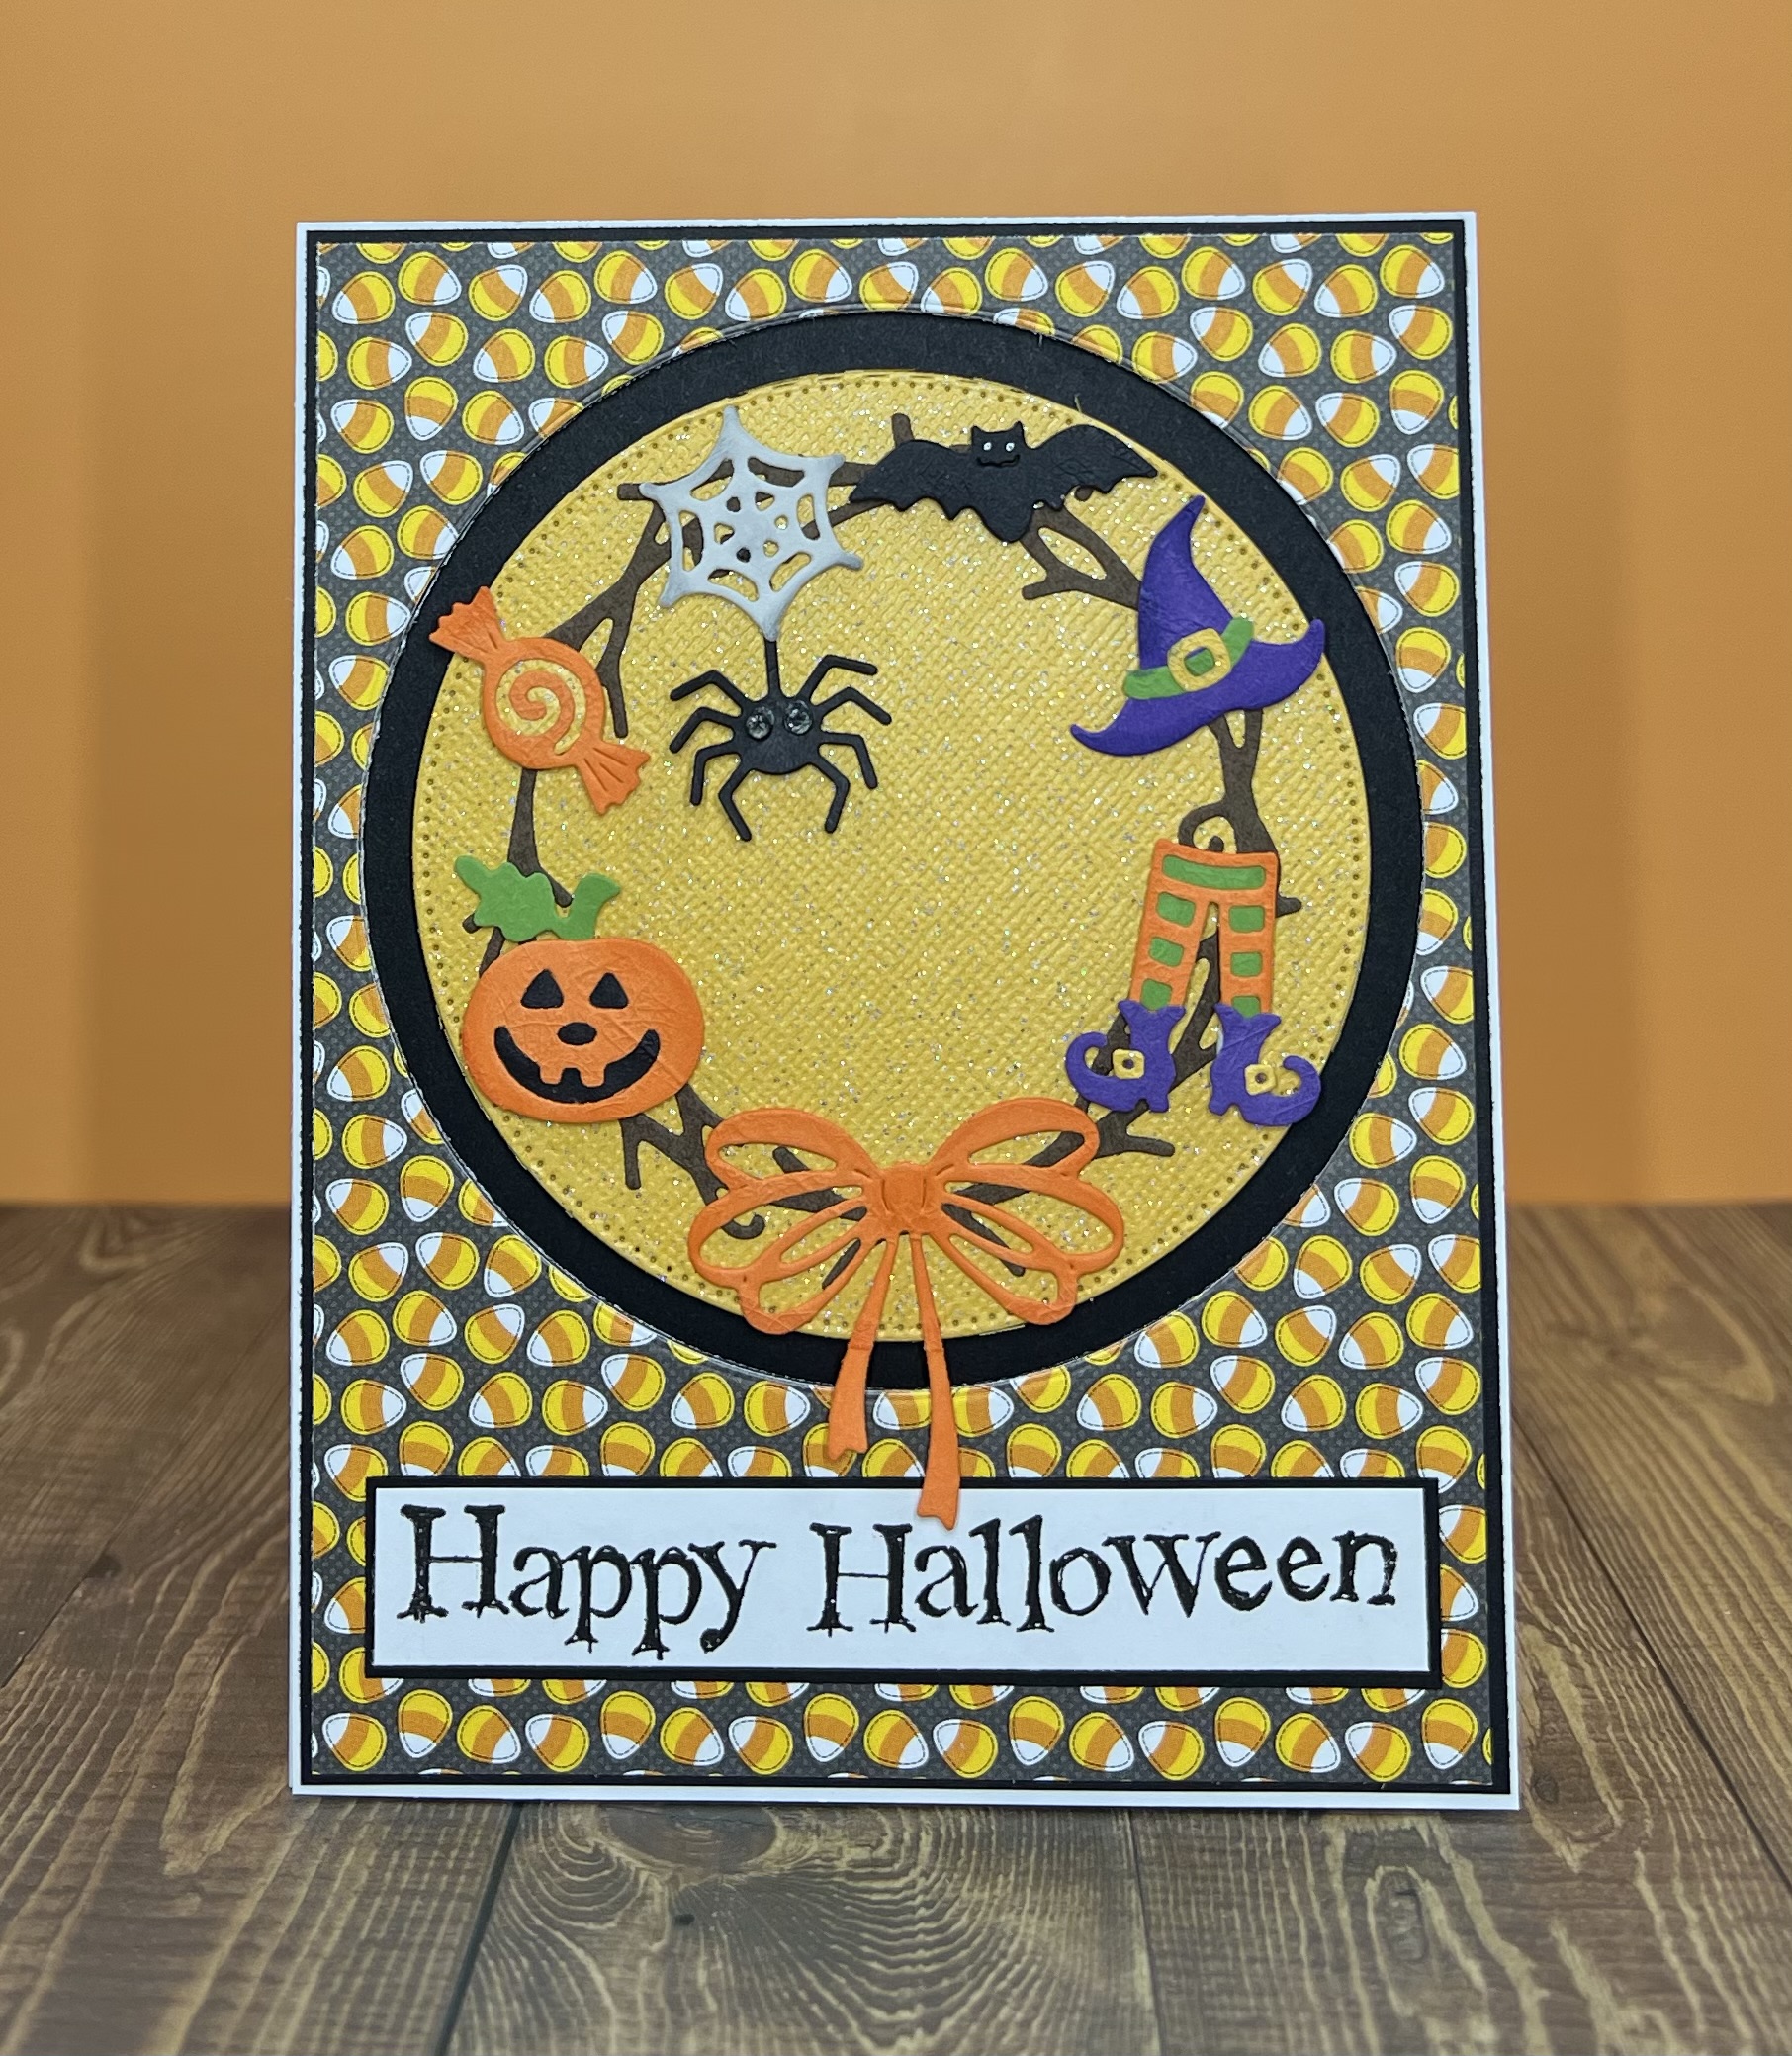
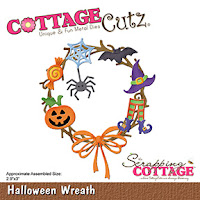
Today, I am using the Halloween Wreath! It has so many cute pieces.  These pieces could be used in a variety of different ways!

Design Steps:


1.  Use an A2 white card base, cut 2 pieces of black card stock 4 x 5 1/4, piece of white cut 4 1/8 x 5 3/8, and a piece of candy corn DP cut 4 x 5 1/4.  Glue one of the pieces of black to the white card base.  On the piece of white card stock glue down the black card stock and the candy corn DP.  Using a the largest of the  Pierced Circle dies line it up on the Candy Corn panel just slightly above center and cut the circle as shown above
2.  Place dimension tape on the back of the candy corn panel and stick it to the card front over the black piece of card stock

3.  Using the Halloween Wreath die cut out all of your pieces on: orange, brown, black, gray, purple, green and yellow glitter paper.  Shade the pieces with ink and then assemble with a fine tip glue

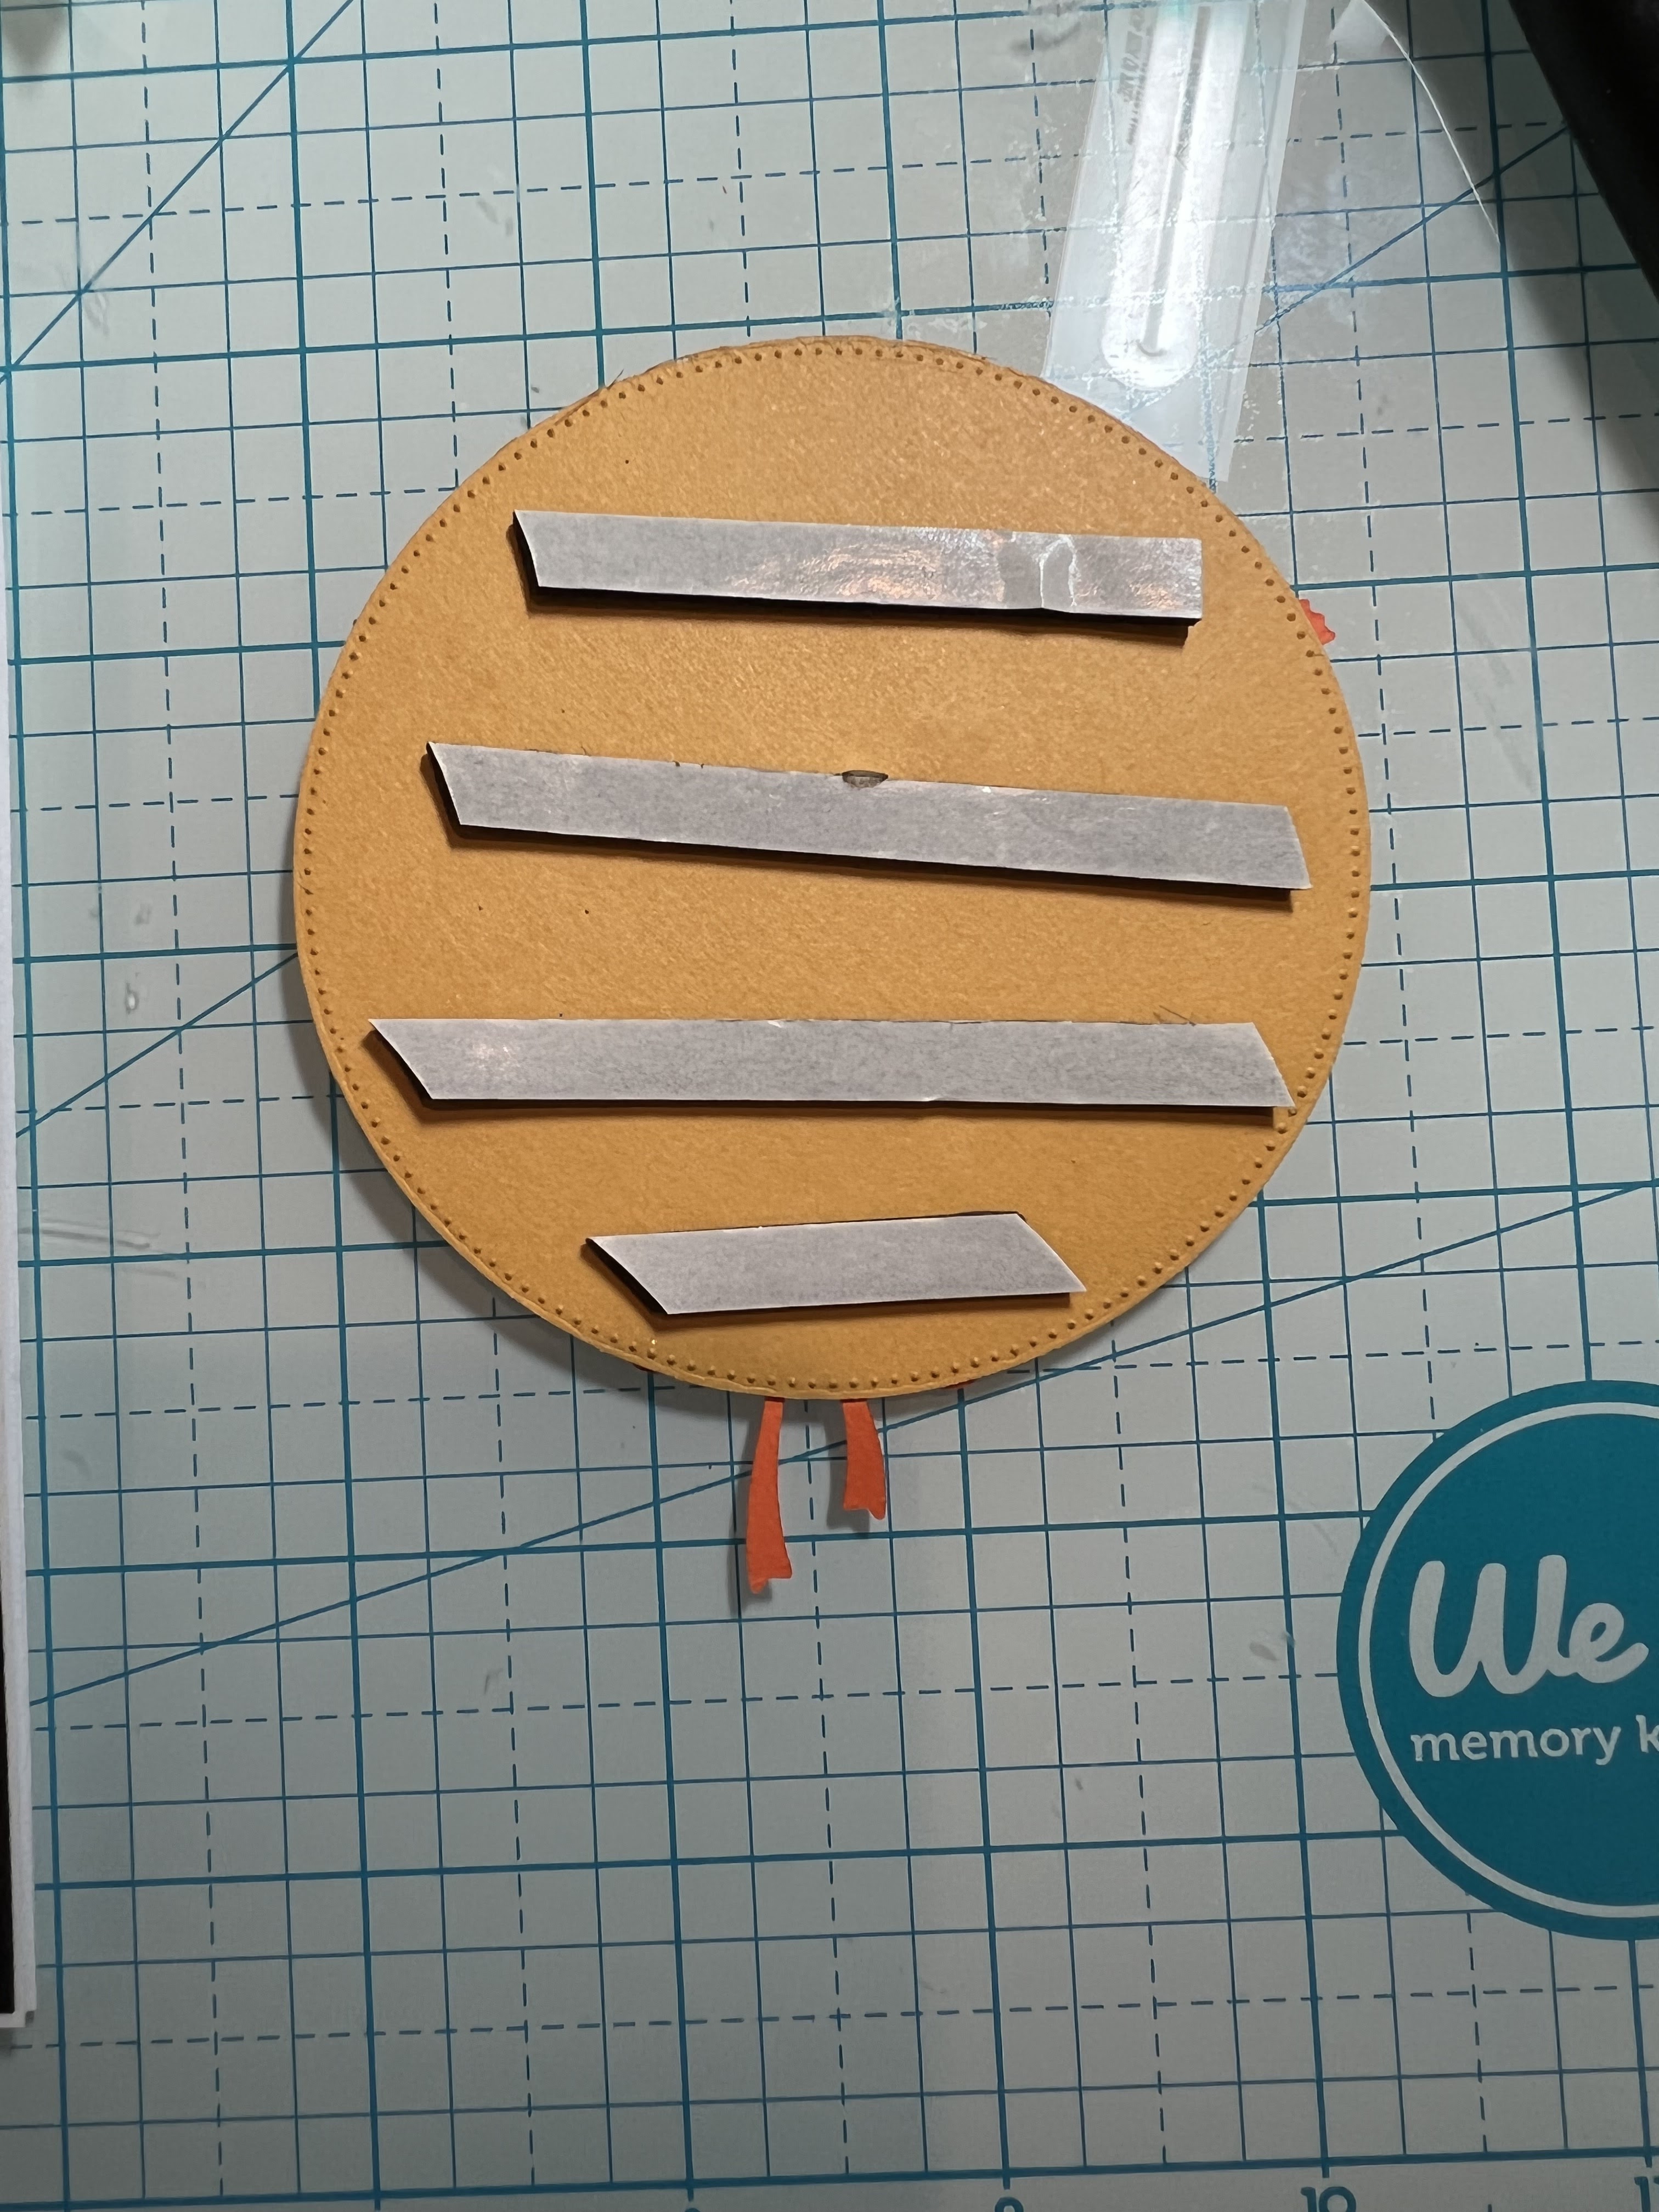
4.  After assembly place a dimension dot on the back of each piece
5.  Cut a circle using the second from the largest Pieced Circle out of yellow glitter paper.  Glue the wreath flat to the circle and then pop on the Halloween pieces
6.  Add dimension tape to the back of the yellow glitter circle
7.  Pop the yellow circle inside the black circle.  Stamp your sentiment and layer onto black.  Glue the sentiment flat to the card front as shown below

CottageCutz Supplies for this card


Please make sure to check out this amazing Halloween release right HERE!


We have more inspiration on our YouTube Channel check it out HERE

Thanks so much for stopping by!  And I will see you next Thursday.

Blessings and Take Care


Wednesday, September 21, 2022

Shaker Snowman

Hello Scrapping Cottage Friends

We have a NEW RELEASE FOR AN EARLY START ON YOUR CHRISTMAS CARDS!!   The collection is Christmas Part 1 and has 21 fantastic dies. The release includes everything from Gnomes to Reindeer!! Check it out HERE it is on sale now!!

The die I am creating with today is Snowman w/Tree. I made a shaker card with this cute little guy! It seems like young and old love shaker cards!


Design Steps:

1.  Cut a piece of white card stock 4 1/8 x 5 3/8 and a piece of red snowflake DP 4 x 5 1/4.  Glue the two pieces together and then cut the square for the shaker window (I did it slightly to the left of center).  The shaker window is 2 1/2 by 2 1/2 so I used my Pierced Square die 3rd from the largest to cut the opening  
2.  Place the plastic window in the hole and fill it with your shaker pieces.  Use glue or tape to seal the shaker with a pieces of glitter white paper measuring 2 3/4 x 2 3/4
3.  Glue the whole shaker panel to the white A2 card front
4.  Using the Snowman w/Tree die cut out the pieces in: white glitter card stock, green, blue, red, orange, black, mint and gold.  Assemble the pieces with a fine tip quick drying glue and set aside 
5.  Cut the icicles using the Icicle Border die on white glitter card stock.  Adhere the border to the top of the card using foam tape.  Place dimension dots to the back of the snowman, bird and ground then pop him to your card front as shown below.  Stamp your senitment and heat emboss with clear powder.  Glue the sentiment flat to the card front and your card is complete

CottageCutz Products


We have more inspiration on our YouTube Channel check it out HERE

Thanks so much for stopping by!  And I will see you next Thursday.

Blessings and Take Care


Monday, September 19, 2022

Cookies and You

 Hello Friends,

Just thought I would make a little House-Mouse Card for the House-Mouse & Friends Monday Challenge.

The challenge is monochromatic or anything goes check it out HERE

I selected the monochromatic in blues

This card is called a Side Circle card.  The circle flips open and then you can open the card.


Make sure and check out the Challenge.  They are so much fun!  It has been a while for me so I just had to get out my adorable House Mouse stamps and give it a try!


Thanks for stopping by!

Pam

Sunday, September 11, 2022

Ho Ho Ho

 Hello Scrapping Cottage Friends

We have a NEW RELEASE FOR AN EARLY START ON YOUR CHRISTMAS CARDS!!   The collection is Christmas Part 1 and has 21 fantastic dies. The release includes everything from Gnomes to Reindeer!! Check it out HERE it is on sale now!!

The die I am creating with today is Jolly Santa Gnome!  I made a mini Slimline with this cute little guy!  My inspiration come from a card created by Francine Vuilleme. I loved her idea and had to give it a try!


Design Steps:
1.  Cut out all the pieces using the Jolly Santa Gnome and card stock in the following colors: red, green, brown, black, and flesh.  For the Ho Ho I used the Ho Ho Friends die and cut 2 Ho's in white card stock
2.  Before assembly shade the pieces in black for the Santa and brown for the little shoulder basket.  I added a little blush to the nose.  Glue the pieces together using a fine tip fast drying glue  
3.  The card base is white card stock measure 3 1/2 x 6 1/2 when folded.  To add a little contrast in the background I used light blue ink with a soft blending brush.  Just enough ink to pop the HO HO

4.  Glue the HO HO to the background as shown above then add the gnome santa using pop dots.  Your card is complete

CottageCutz Dies


We have more inspiration on our YouTube Channel check it out HERE

Thanks so much for stopping by!  And I will see you next Thursday.

Blessings and Take Care


Sunday, September 4, 2022

Last Day of the Labor Day Sale - Christmas Reindeers

 Hello Scrapping Cottage Friends

TODAY IS THE LAST DAY FOR THE LABOR DAY SALE WITH SAVINGS UP TO 65% OFF!  It ends tonight at 9:00 PM Pacific Time.  Click HERE to grab your savings before it is to late.

Included in this fantastic sale is our  NEW RELEASE!!!  THIS COLLECTIONS IS PERFECT FOR AN EARLY START ON YOUR CHRISTMAS CARDS!!   The release is Christmas Part 1 and has 21 fantastic dies. The release includes everything from Gnomes to Reindeer!! 

Today,  I am sharing a card with Jolly Reindeer w/Sleigh and the Christmas trees from Christmas Tree Peekers.  


Design Steps
1.  For the base of the z-fold card I used a red piece of card stock 4 1/4 x 11.  Fold the card in half and then fold the front fold in half again.  Cut 2 white panels at 2 5/8 x 4 1/8 and one at 5 3/8 x 4 1/8
2. Run the panels through an embossing folder for the snowy effect.  Glue the panels to the red base
3.  For the little z-fold cut a red strip 1 x 11 inch strip.  This strip is scored at 2 3/4 x 5 1/2.  The white pieces measure 5 3/8 x 3/4 and two pieces 3/4 x 2 5/8.  The white pieces are then embossed and glued to the red strip
4.  Glue the z-fold strip to the card.  I find the best way to do this is to close the card. Place the glue on the first portion of the long strip and on the last flap.  Lay the strip which is fold down on the closed card
5.  The card should look like this if the strip is placed correctly
6.  Using the following dies Jolly Reindeer w/Sleigh and Christmas Tree Peekers cut out the pieces in: red, brown, dark brown, silver, tan, blue, gold and green.  (The trees are not pictured)
7.  Use ink to shade the reindeer and bag.  Assemble the pieces using a fine tip glue

6.  Add the two reindeer and the sleigh to the front of the card on the 1 inch strip using a fine tip glue as shown above
7.  Open the card and add the third reindeer and a tree.  To finish the card off I added another tree on the back panel,  Merry Christmas, topped the trees with gold stars and added a few snowflakes


CottageCutz Products


Don't forget to check out all of the new release Christmas dies! You don't want to miss out on the great prices!


We have more inspiration on our YouTube Channel check it out HERE

Thanks so much for stopping by!  And I will see you next Thursday.

Blessings and Take Care