Tuesday, June 28, 2022

It is New Release Time!!!!

 Hello Friends,

The new release is just plain adorable.  It is called Strawberries and Bees perfect for those fun summertime cards.  For a limited time the entire bundle is 50% off!!   We also have a 4th of July sale with savings up to 70% off!!  Both of these sales won't last long so now is the time to shop until you drop!!

Here is my card using the new release dies Bee Gnome and Bee Phrases.


Design Steps:

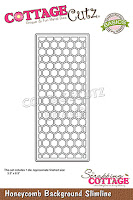
1.  Make a slimline base in white 3 1/2 x 8 1/2 cut a piece of yellow card stock 3 1/4 x 8 1/4, use the Honeycomb Background Slimline die and cut it out of white.  Glue the yellow to the base card and then glue the honeycomb on top of the yellow
2.  Using the Bee Phrase and the Bee Gnome dies cut out the following card stock colors: mustard, vellum, white, black, yellow and green
3.  Shade the mustard colored pieces with an orange ink and the face and hands with a pink
4.  Assemble the pieces with a fine tip, quick drying glue

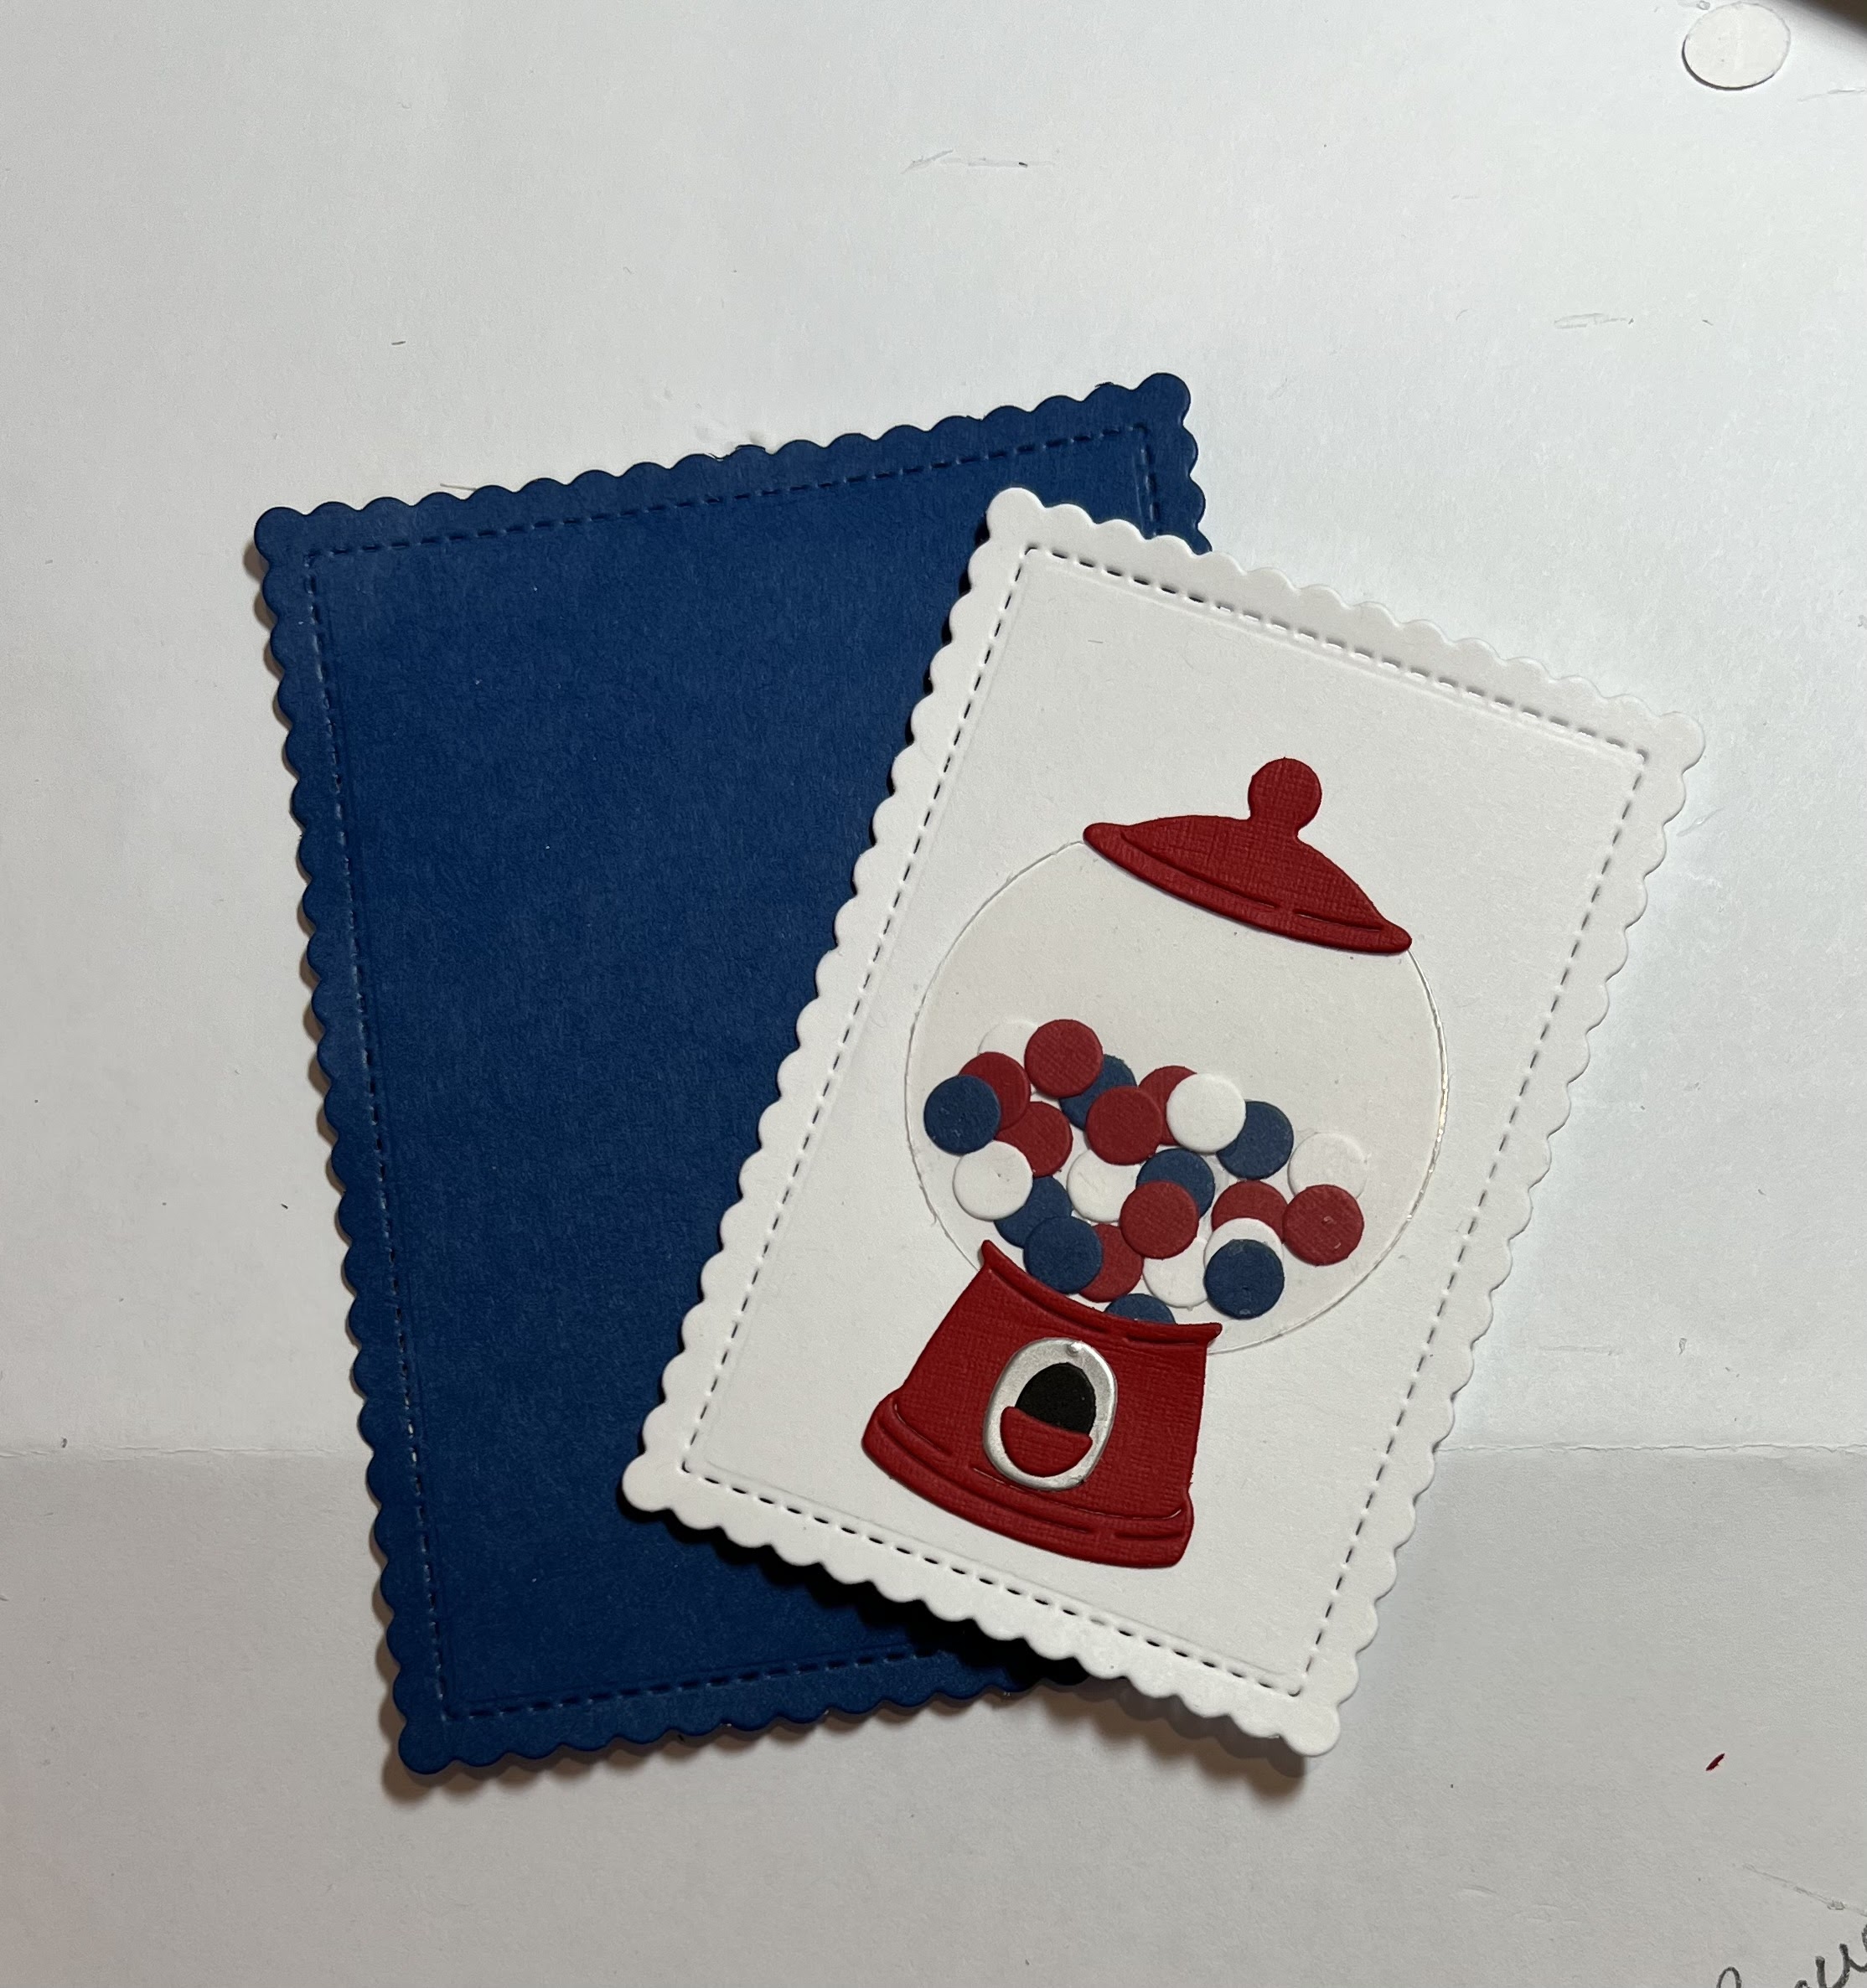
5.  Glue your pieces to the card front as shown above and your card is complete

CottageCutz Products


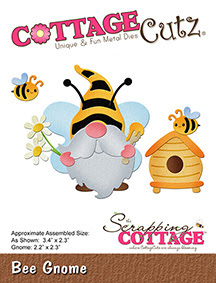
Here is the new release so please check it out in our store today!!

We have more inspiration on our YouTube Channel check it out HERE
Thanks so much for stopping by!  And I will see you next Thursday.

Blessings and Take Care


Saturday, June 18, 2022

Baked with Love

 Hello Friends

I have recently been on a baking kick!  But in order to keep it off my waistline and the hubby's I am giving a lot of it away!  So I thought this card would make a perfect companion to the baked goods.  I used the adorable Cake Shoppe die to create this sweet little card.


Design Steps:

1.  The white card base is 4 3/4 x 6 3/4, the frame and heart is from Pine Cone Papers.  I used dimension tape to attach the frame to the card base.  I also used a dimension dot behind the heart 
2.  Use the Cake Shoppe die and cut out the following paper: DP red checked, DP brown, DP dotted turquoise, white, vellum and DP dotted mustard
3.  Using the Clouds Horizontal Slimline die cut out some clouds in DP checked turquoise 

4.  Finish decorating the little cake shop and add the clouds to the sky.  I added 3 rhinestones: two to the banner and one on the flower on the cake shoppe sign.  Your card is complete


CottageCutz Products


We have more inspiration on our YouTube Channel check it out HERE
Thanks so much for stopping by!  And I will see you next Thursday.

Blessings and Take Care


Sunday, June 12, 2022

Happy 4th of July

 Hello Friends

I make a few 4th of July cards for friends and family so I thought I would get a little head start.  Even though time just seems to fly!   I think this release is perfect for the old red, white and blue!!

I am using the Candy and Gumballs die to create this little mini slimline card. (I did get a little glare off of the ascetate that I used for the glass.)


Design Steps:

1.  Use the Candy and Gumball die and cut: red, white, blue, silver, acetate and black.  Next use the Scallop  Rectangle die third from the largest and cut white card stock.  Use the second from the largest Scallop  Rectangle die and cut out a blue rectangle
2.  Assemble the Gumball machine on the white rectangle using a fine tip glue (careful not to get the glue on the acetate.) 
3.  Card base is white card stock 3 1/4 x 6 1/4.  Red is 3 1/8 x 6 1/8 and the DP is 3 x 6.  Glue the red to the base and then add the DP
4.  Glue the blue rectangle flat to the card. Add the white rectangle using dimension tape.  Stamp the sentiment on blue and emboss in white then layer onto red card stock. Add dimension tape to the sentiment and adhere to the front as shown below.  Add a few stars and your card is complete

CottageCutz Productions


We have more inspiration on our YouTube Channel check it out HERE
Thanks so much for stopping by!  And I will see you next Thursday.

Blessings and Take Care


Monday, June 6, 2022

Yum!

 Hello Scrapping Cottage Friends

The design team is continuing to give you some great ideas for our new release Sweet Treats!  There are 13 different designs and everyone of them can be used for a variety of occasions especially Birthdays!! The individual dies are 30% off.  This sale price won't last long so click HERE to hop on over to the store!

Today, I am using the sweet Cupcake w/Cherry.  I thought it would be fun to create a background with the same cupcake so this is what I came up with!
Design Steps:

1.  Using the Cupcake w/Cherry cut out 4 cupcakes on white card stock
2.  Assemble the cupcakes and glue them to the front of a white A2 card base as shown above 
3.  Cut out one cupcake using the following colors of card stock: turquoise, tan, brown, red and green.  Assemble the cupcake with a fine tip glue
4.  Place dimensional squares or dots on the back of the cupcake 
5.  Pop the cupcake to the middle of the card as shown above.  Stamp the word yum and tuck it under the icing as shown
CottageCutz Products

We have more inspiration on our YouTube Channel check it out HERE
Thanks so much for stopping by!  And I will see you next Thursday.

Blessings and Take Care