Monday, January 30, 2023

Valentine Hugs

 Hello Friends

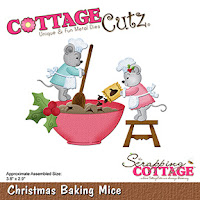
IT'S NEW RELEASE TIME!  The collection is called Flowers and More.  The whole set is on sale at a bundle price of 40% off and individual dies are at 30% off.  The unique thing about this release is that there are not as many pieces in each of the dies.  So they go together really quick and easy!

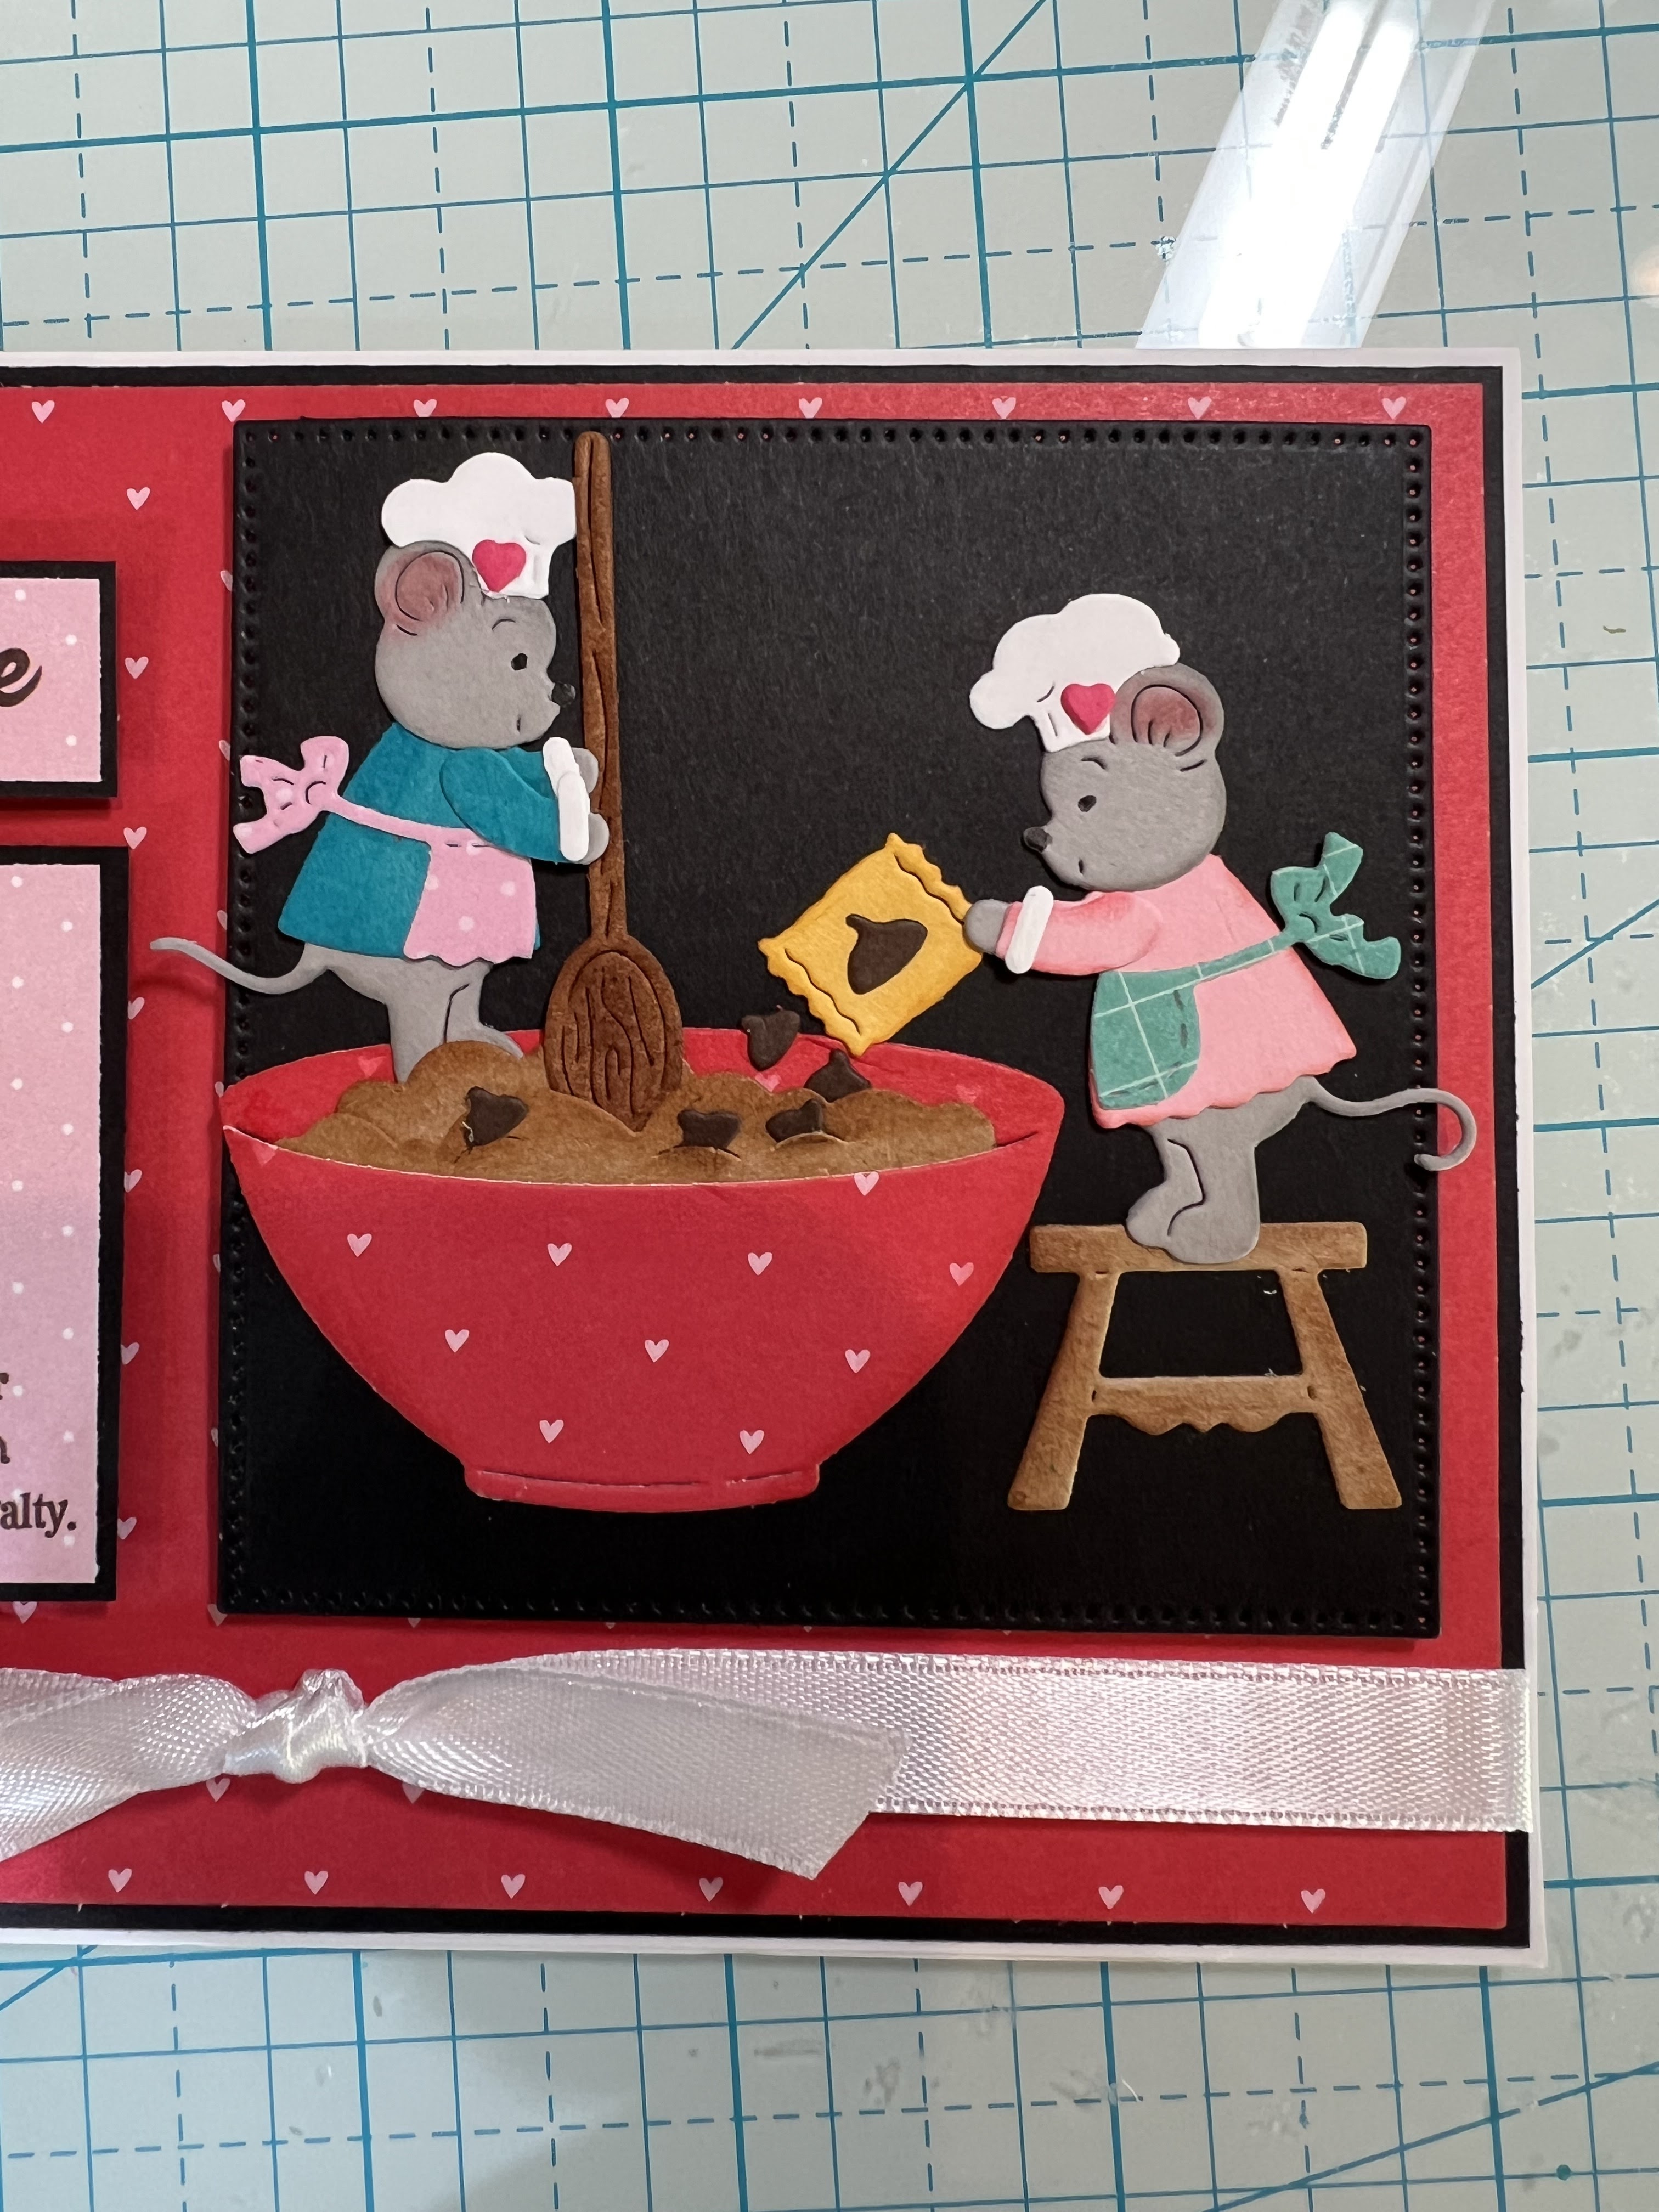
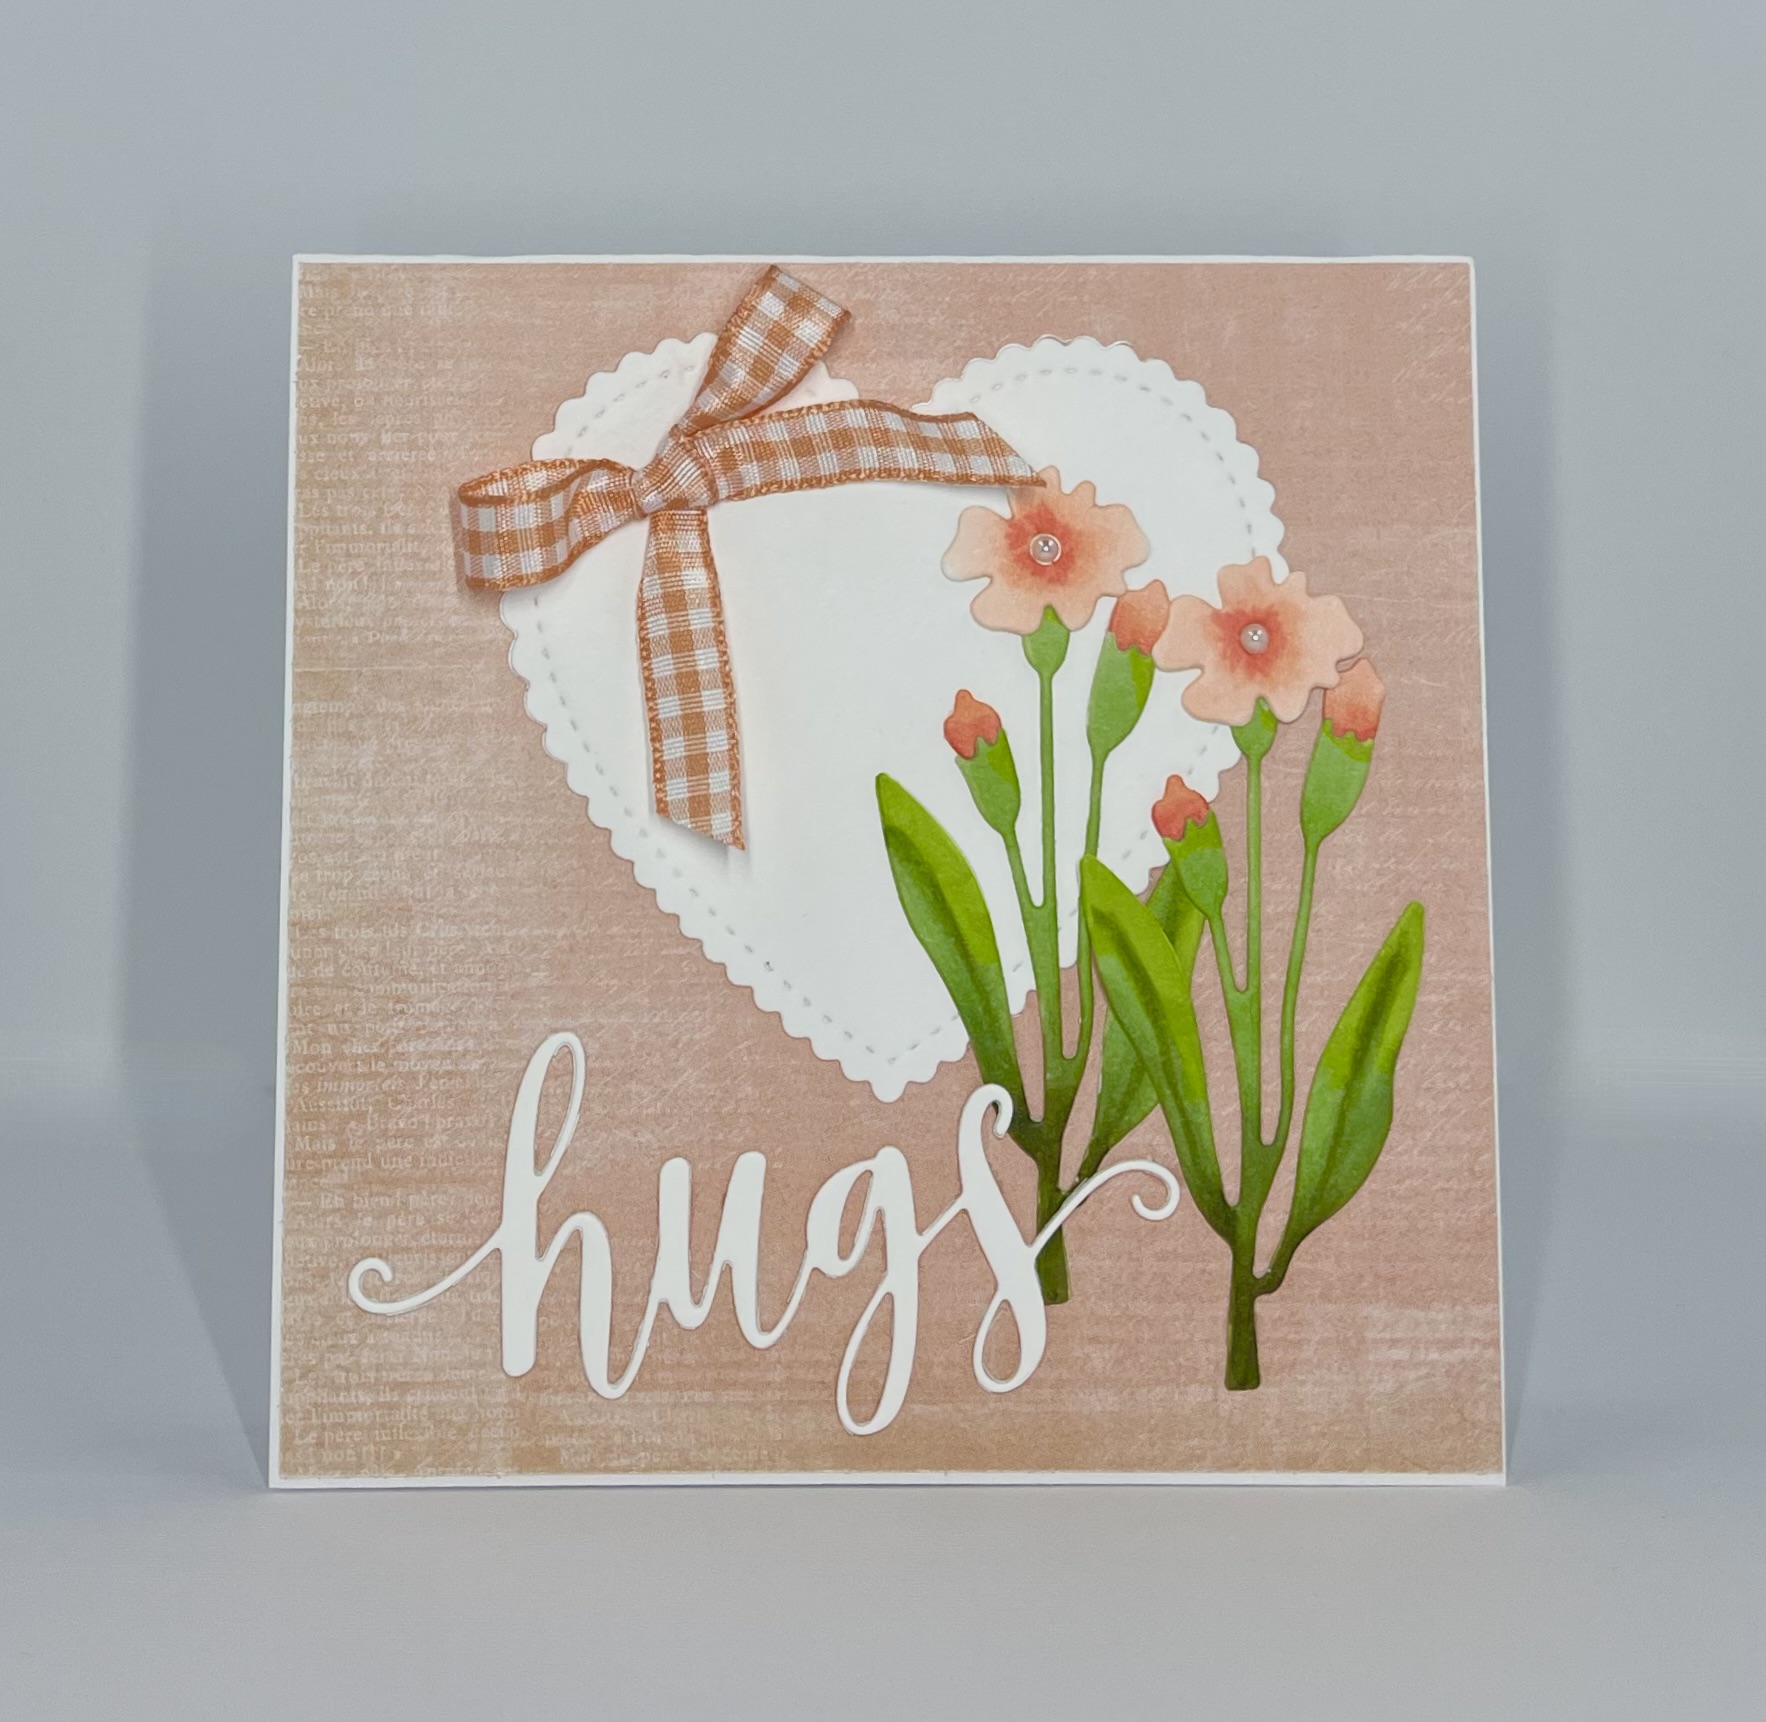
I am making one last Valentine with one of the beautiful flowers.  The flower is called Flower 4.  To me it looks like a carnation which I love.


Design Steps:

1.  I cut a couple of the flowers in white trying to decide which to use and I decided on Flower 4.
2.  Using my Copic makers I colored the flowers: G99, G94, G21, YG63 for the stems R22, R02, R01 for the flowers.  I glued them together with a fine tip glue

3.  The card base is white 5 x 5
  • cut a piece of DP 4 7/8 x 4 7/8  
  • using the Hug Phrase die cut it out of white twice then glue together
  • using the Be My Valentine Puppies die cut out the heart in white

4.  Glue the DP to the white card base.  Glue the heart to the center of the card slight toward the top as shown.  Last glue down hugs leaving the letter s with no glue until you slip in the flowers or you can glue the hugs down last

5.  Place your flowers and glue to the card as shown above

6.  Add the ribbon to the top left of the heart and add the pearls in the center of the flowers.  Your card is now complete

CottageCutz Products


Here is just a peek at the new release to see it all click HERE


We have more inspiration on our YouTube Channel check it out HERE

Thanks so much for stopping by!  And I will see you next Thursday.

Blessings and Take Care


Tuesday, January 24, 2023

Relax!

   Hello Friends

Today's post is for the House-Mouse Monday Challenge!  The challenge is Anything Goes or Frame It.  You can find this challenge HERE!  I decided to do Frame It!


This is such a perfect challenge for using those wonderful House-Mouse Stamps!   Come and join the fun!


Thanks for taking a peek!

Blessings
Pam

Sunday, January 22, 2023

Let the Good Times Roll!

 Hello Scrapping Cottage Friends

I have another Valentine for you today.  I am loving the color palette for this one.  I have done several of the Classic 50's card in it.  And I just can't seem to get enough of these wonderful colors.  This time I have designed a slimline using the Classic 50's Collection.  I used 3 of the dies to make this cute card they are: Classic Radio, Skates and Poodle Skirt.  


Designer Steps:

1.  Use a black slimline card base measuring 3 1/2 x 8 1/2
  • Cut a piece of black and white checked DP 3 1/2 x 8 1/2
  • Using the Whimsical Heart Slimline die cut a piece of white card stock
  • Use the Stitched Heart set cut a black heart out of card stock using the largest heart
  • Glue the checked DP to the card front and then glue down the white Whimsical Heart card stock
  • Glue the black heart to the middle of the card
2.  Using the following dies Skates, Poodle Skirt and Classic Radio cut the pieces out of the following card stock: black, yellow, white, pink, light and dark gray, and turquoise 
3.  Assemble the pieces using a fine tip and fast drying glue
4.  Arrange to skates side by side like pictured and pop them up inside of the black heart
5.  Add the radio to the top of the card and the poodle skirt to the bottom of the card by using dimension dots
6. Type your sentiment and print it on white card stock then layer it onto turquoise card stock. Glue it next to the skates on the left side.  Your card is complete

CottageCutz Products


We have more inspiration on our YouTube Channel check it out HERE

Thanks so much for stopping by!  And I will see you next Thursday.

Blessings and Take Care


Saturday, January 14, 2023

Love Recipe

 Hello Scrapping Cottage Friends

It is Pam sharing with you today!

I am making a few more Valentine cards for friends and family.  As I was looking through my stash I found this cute little Love Recipe.  So I thought I would incorporate it into one of my cards.  I found the perfect die to go with it The Christmas Baking Mice.  I love when I can use dies for a different purpose such as this one!


Designer Steps:

1.  Using the Christmas Baking Mice die cut out the pieces in the following card stock colors: pink, brown, dark brown, grey, yellow, and white.  Cut out the bowl and aprons in DP.  Shade the pieces with a coordinating ink color and a small applicator
2.  Using the Pierced Square die second from the largest cut out a black square.  Assemble the pieces and attach to the black square as shown above
3.  Use a white 6 1/4 x 4 1/4 card base
  • cut a piece of black 6 1/8 x 4 1/8
  • cut a piece of red heart DP 6 x 4
4.  Glue the red DP to the black and add the knotted ribbon.  Glue the panel to the white card base
5.  Pop up the black square to the right side of the card and then pop up the recipe
6.  Add a 3 hearts to the recipe and your card is complete

Scrapping Cottage Products


We have more inspiration on our YouTube Channel check it out HERE

Thanks so much for stopping by!  And I will see you next Thursday.

Blessings and Take Care


Sunday, January 8, 2023

Hot Wheels!

 Hello Scapping Cottage Friends,

I am starting off the new year trying to get a head start on some birthday cards.  I have a number of male cards I need to make including hubby!  Masculine cards have always been a challenge for me.  But using the Classic 50's released has really helped with the challenge.  There is everything from cool cars to electric guitars!!  Today I am using the awesome Motorcycle.


Design Steps:

1.  Using the Motorcycle die cut out the pieces in the following colors of card stock: red, yellow, silver, black, light and dark grey.  Shade the pieces with various inks and a small applicator 
2.  Assemble the pieces using a fast drying fine tip glue
3.  For the base use black card stock in an A2 size 
  • Cut a white panel 4 1/8 x 5 3/8 embossed in brick and inked with light grey
  • A silver panel 1 3/4 x 5 1/4 embossed and layered on black
  • A piece of turquoise cut with the third from the largest Wacky Stitched Rectangle and layered on black.  Wrap the turquoise rectangle with a piece of black ribbon
  • Using the Ring in the New Year die cut out 5 of the hats in the black checked DP for the banner
4.  Glue the white brick panel to the black card front.  Glue the silver strip to the white brick panel slightly to the left as shown above.  Place pop up strips to the back of the turquoise rectangle and then pop it to the front as shown below
5.  Glue the black string to the top of the card as shown above and then add the little checked banners. Add the little red stars and your sentiment and the card is complete

CottageCutz Products 


We have more inspiration on our YouTube Channel check it out HERE

Thanks so much for stopping by!  And I will see you next Thursday.

Blessings and Take Care


Sunday, January 1, 2023

You Rock Valentine

 Hello Scrapping Cottage Friends

I hope you all had a fantastic time ushering in the New Year!  We decided to stay home and just have a quiet celebration.

Believe it or not I have started my Valentine's Day cards!  I used the Fifties release to create the card.  This release can be used in so many different ways!  The dies I used are Fifties Phrases #1 and Guitar, Music Notes & Records


Design Steps:

1.  Using the Guitar, Music Notes & Records die cut out the following card stock colors: black, turquoise, silver, pink, white, brown and yellow.  (I cut 2 guitars and two sets of notes) Also using the Fifties Phrases #1 cut out three of the stars and You Rock in black twice (glue the two together)
2.  Assemble the pieces with a fine tip glue
3.  For the card base use a white slimline measuring 8 1/2 x 3 1/2 closed.  Cut a piece of heart DP 8 1/4 x 3 1/4.  Start your design on the DP by adhering the you rock and stamped Valentine in the center
4.  To the right of the center add the two guitars plus the notes and to the left add your records and some notes.  Glue down the stars around the sentiment as shown below.  Glue the heart panel to the white card base and you card is complete

CottageCutz Products


We have more inspiration on our YouTube Channel check it out HERE

Thanks so much for stopping by!  And I will see you next Thursday.

Blessings and Take Care