Showing posts with label Clouds Slimline. Show all posts

Saturday, July 29, 2023

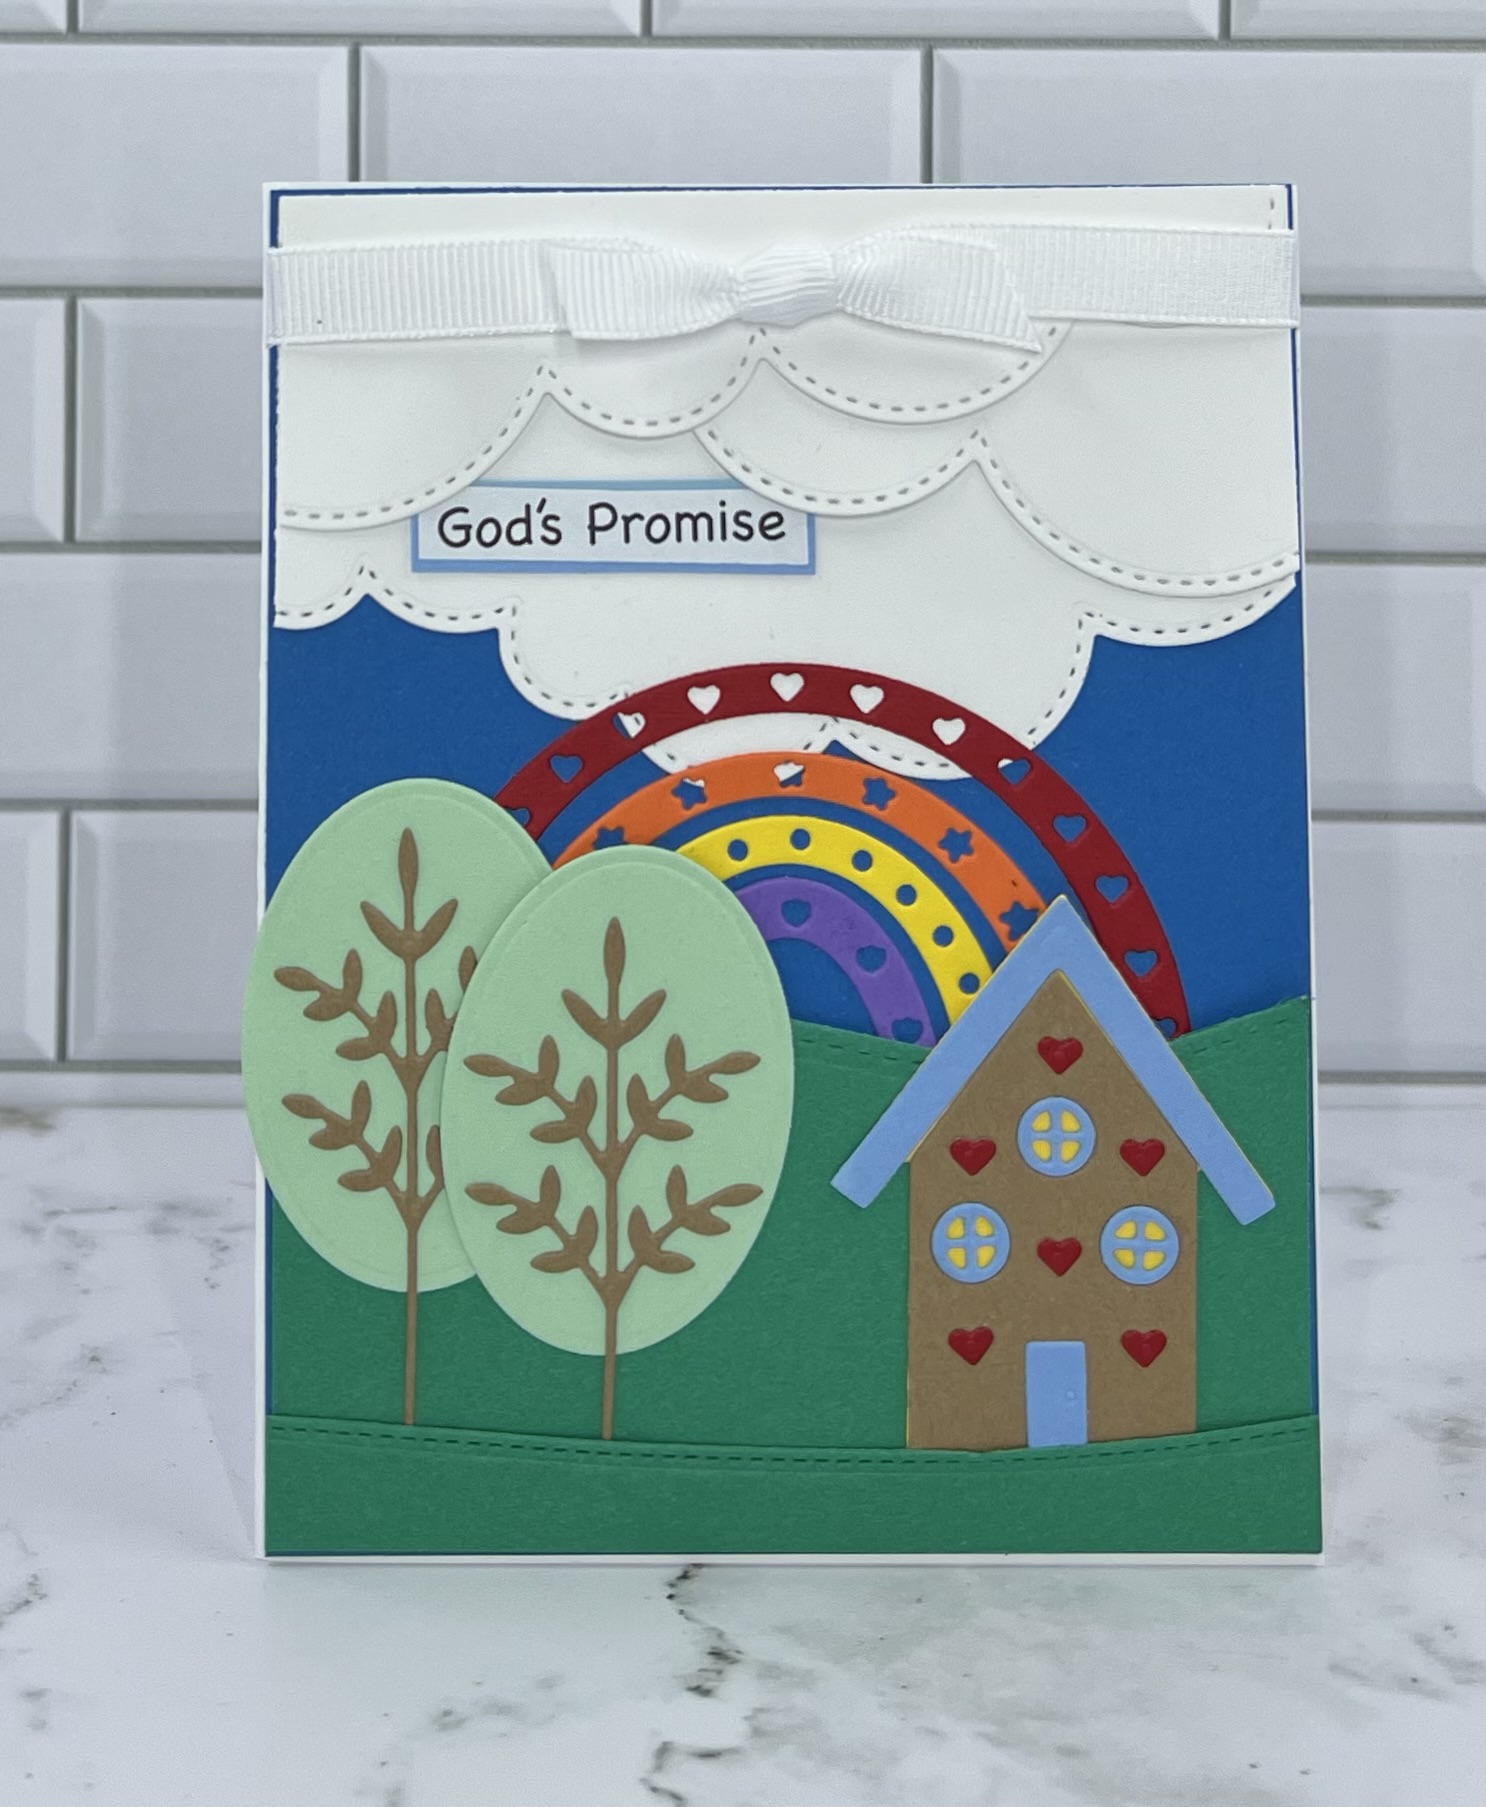
God's Promise

Hello Friends

This is going to a friend to brighten her day.  I chose a lot of vivid colors to bring some cheer!

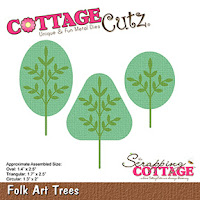
I am using the Folk Art Rainbow, Folk Art Trees and Folk Art Houses.   This die is from our Folk Art release!  There are 19 wonderfully detailed dies in this collection.  Each die can be used together or separately. These are fantastic versatile dies.


Design Steps:

1.  Start by using the Folk Art Rainbow, Folk Art Trees and Folk Art Houses dies.   Cut the following colors of card stock:  red, yellow,  mint, light blue, dark blue, purple, orange, and brown
2.  Prepare the card base: A2 white base, 4 1/8 x 5 3/8 blue, 2 1/4 x 5 3/8 green cut with the Hills Slimline die, white cut with the Clouds Slimline
3.  On the blue layer arrange the clouds and hill (do not put glue on the very top edge so you can tuck in the rainbow) as shown above
4.  Tuck the rainbow down into the grass as shown and glue
5.  Add the trees to the left of the rainbow and the small layer of grass at the bottom as shown above
6.  Add the ribbon and sentiment to the clouds.  Then tuck in the small house to the right of the trees.  Your card is complete 


We have more inspiration on our YouTube Channel check it out HERE

Thanks so much for stopping by!  And I will see you next Thursday.

Blessings and Take Care


Tuesday, October 4, 2022

Halloween Kitties!

  Hello Scrapping Cottage Friends

Super Excited to announce we have a brand new release just in time for all of those amazing Halloween cards everyone makes!! The collection has 22 fabulous dies that are going to make those scrapbook layouts and cards look SPOOKTACULAR!!!  The dies are currently on sale so make sure you get them while they last at this special introductory offer!!

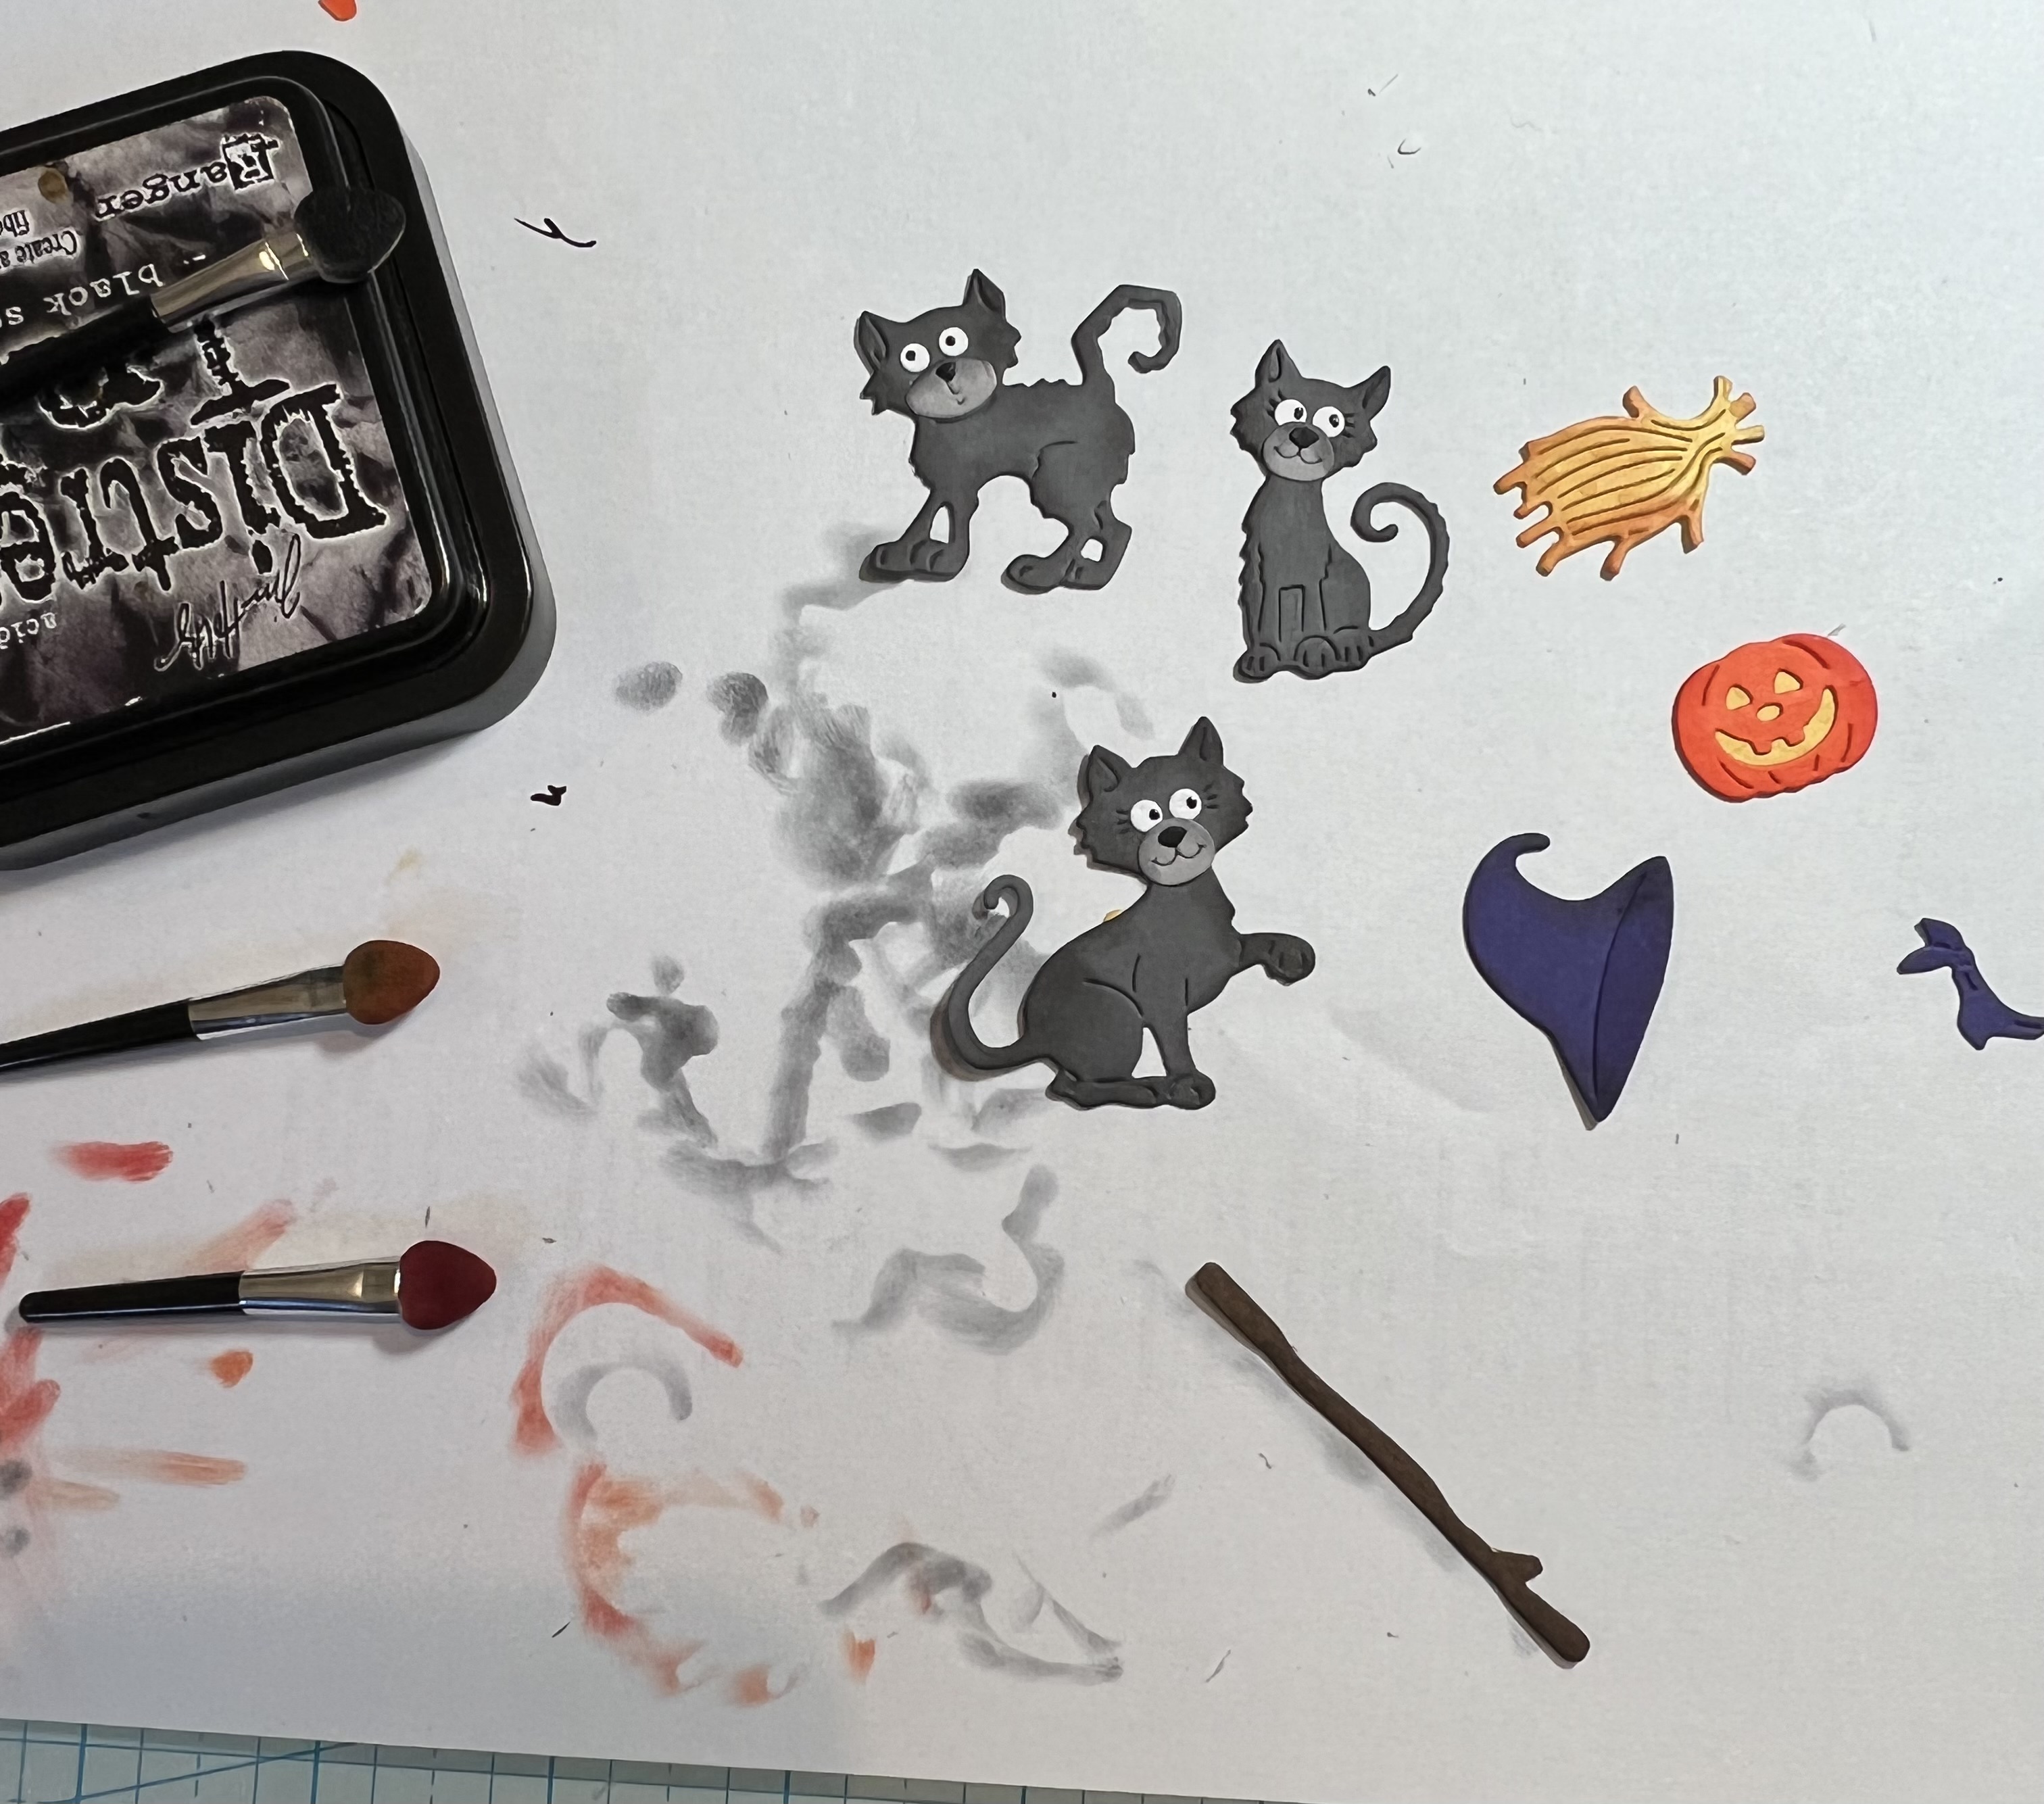
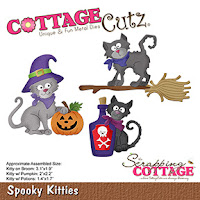
Today, I am using the Spooky Kitties.  It has so many cute pieces.  These pieces could be used in a variety of different ways!  For this card I decided to make a slimline.

Designer Steps:

1.  Using the Spooky Kitties die cut out the following colors of card stock:  orange, purple, brown, light and dark gray, yellow and white.  Ink the various pieces with TH inks and then assemble with a fine tip, fast drying glue.  I used a black Glaze Sakura pen for the eyes

2.  Use an orange 3 1/2 x 8 1/2 card base, cut a piece of purple card stock using the largest of the Slimline Scallop Stitched Rectangle dies, Cut a piece of DP 2 3/4 x 7 3/4,  and finally cut a piece of black using the Window Slimline.  Ink the edges of the orange base in black ink
2.  Glue the purple scalloped rectangle to the orange base then glue down the DP.  Before adhereing the black window frame to the base cut two pieces of green grass using the Grass Slimline die and cut a light gray cloud  using the Clouds Slimline.  Glue the pieces to the back of the black windows as shown above and cut off the extra.  Ink the clouds with a black TH ink
3.  Glue the black windows to the card base do not glue the tops of the grass so you can tuck your cats down into the grass
4.  Arrange your kitties in each of the window glueing the pieces flat to the card base make sure you tuck the kitties feet into the grass.  Add the sentiment and your card is complete

CottageCutz Products


Please make sure to check out this amazing Halloween release right HERE!


We have more inspiration on our YouTube Channel check it out HERE

Thanks so much for stopping by!  And I will see you next Thursday.

Blessings and Take Care


Sunday, August 14, 2022

Par-fect Day!

 Hello Scrapping Cottage Friends,

We have a NEW RELEASE which is perfect for all those sports fans in the family! It is called Baseball & Golf! It has 16 fantastic dies which will make your card making and scrapbooking pages look great! The release has special pricing right now so go and check it out HERE!

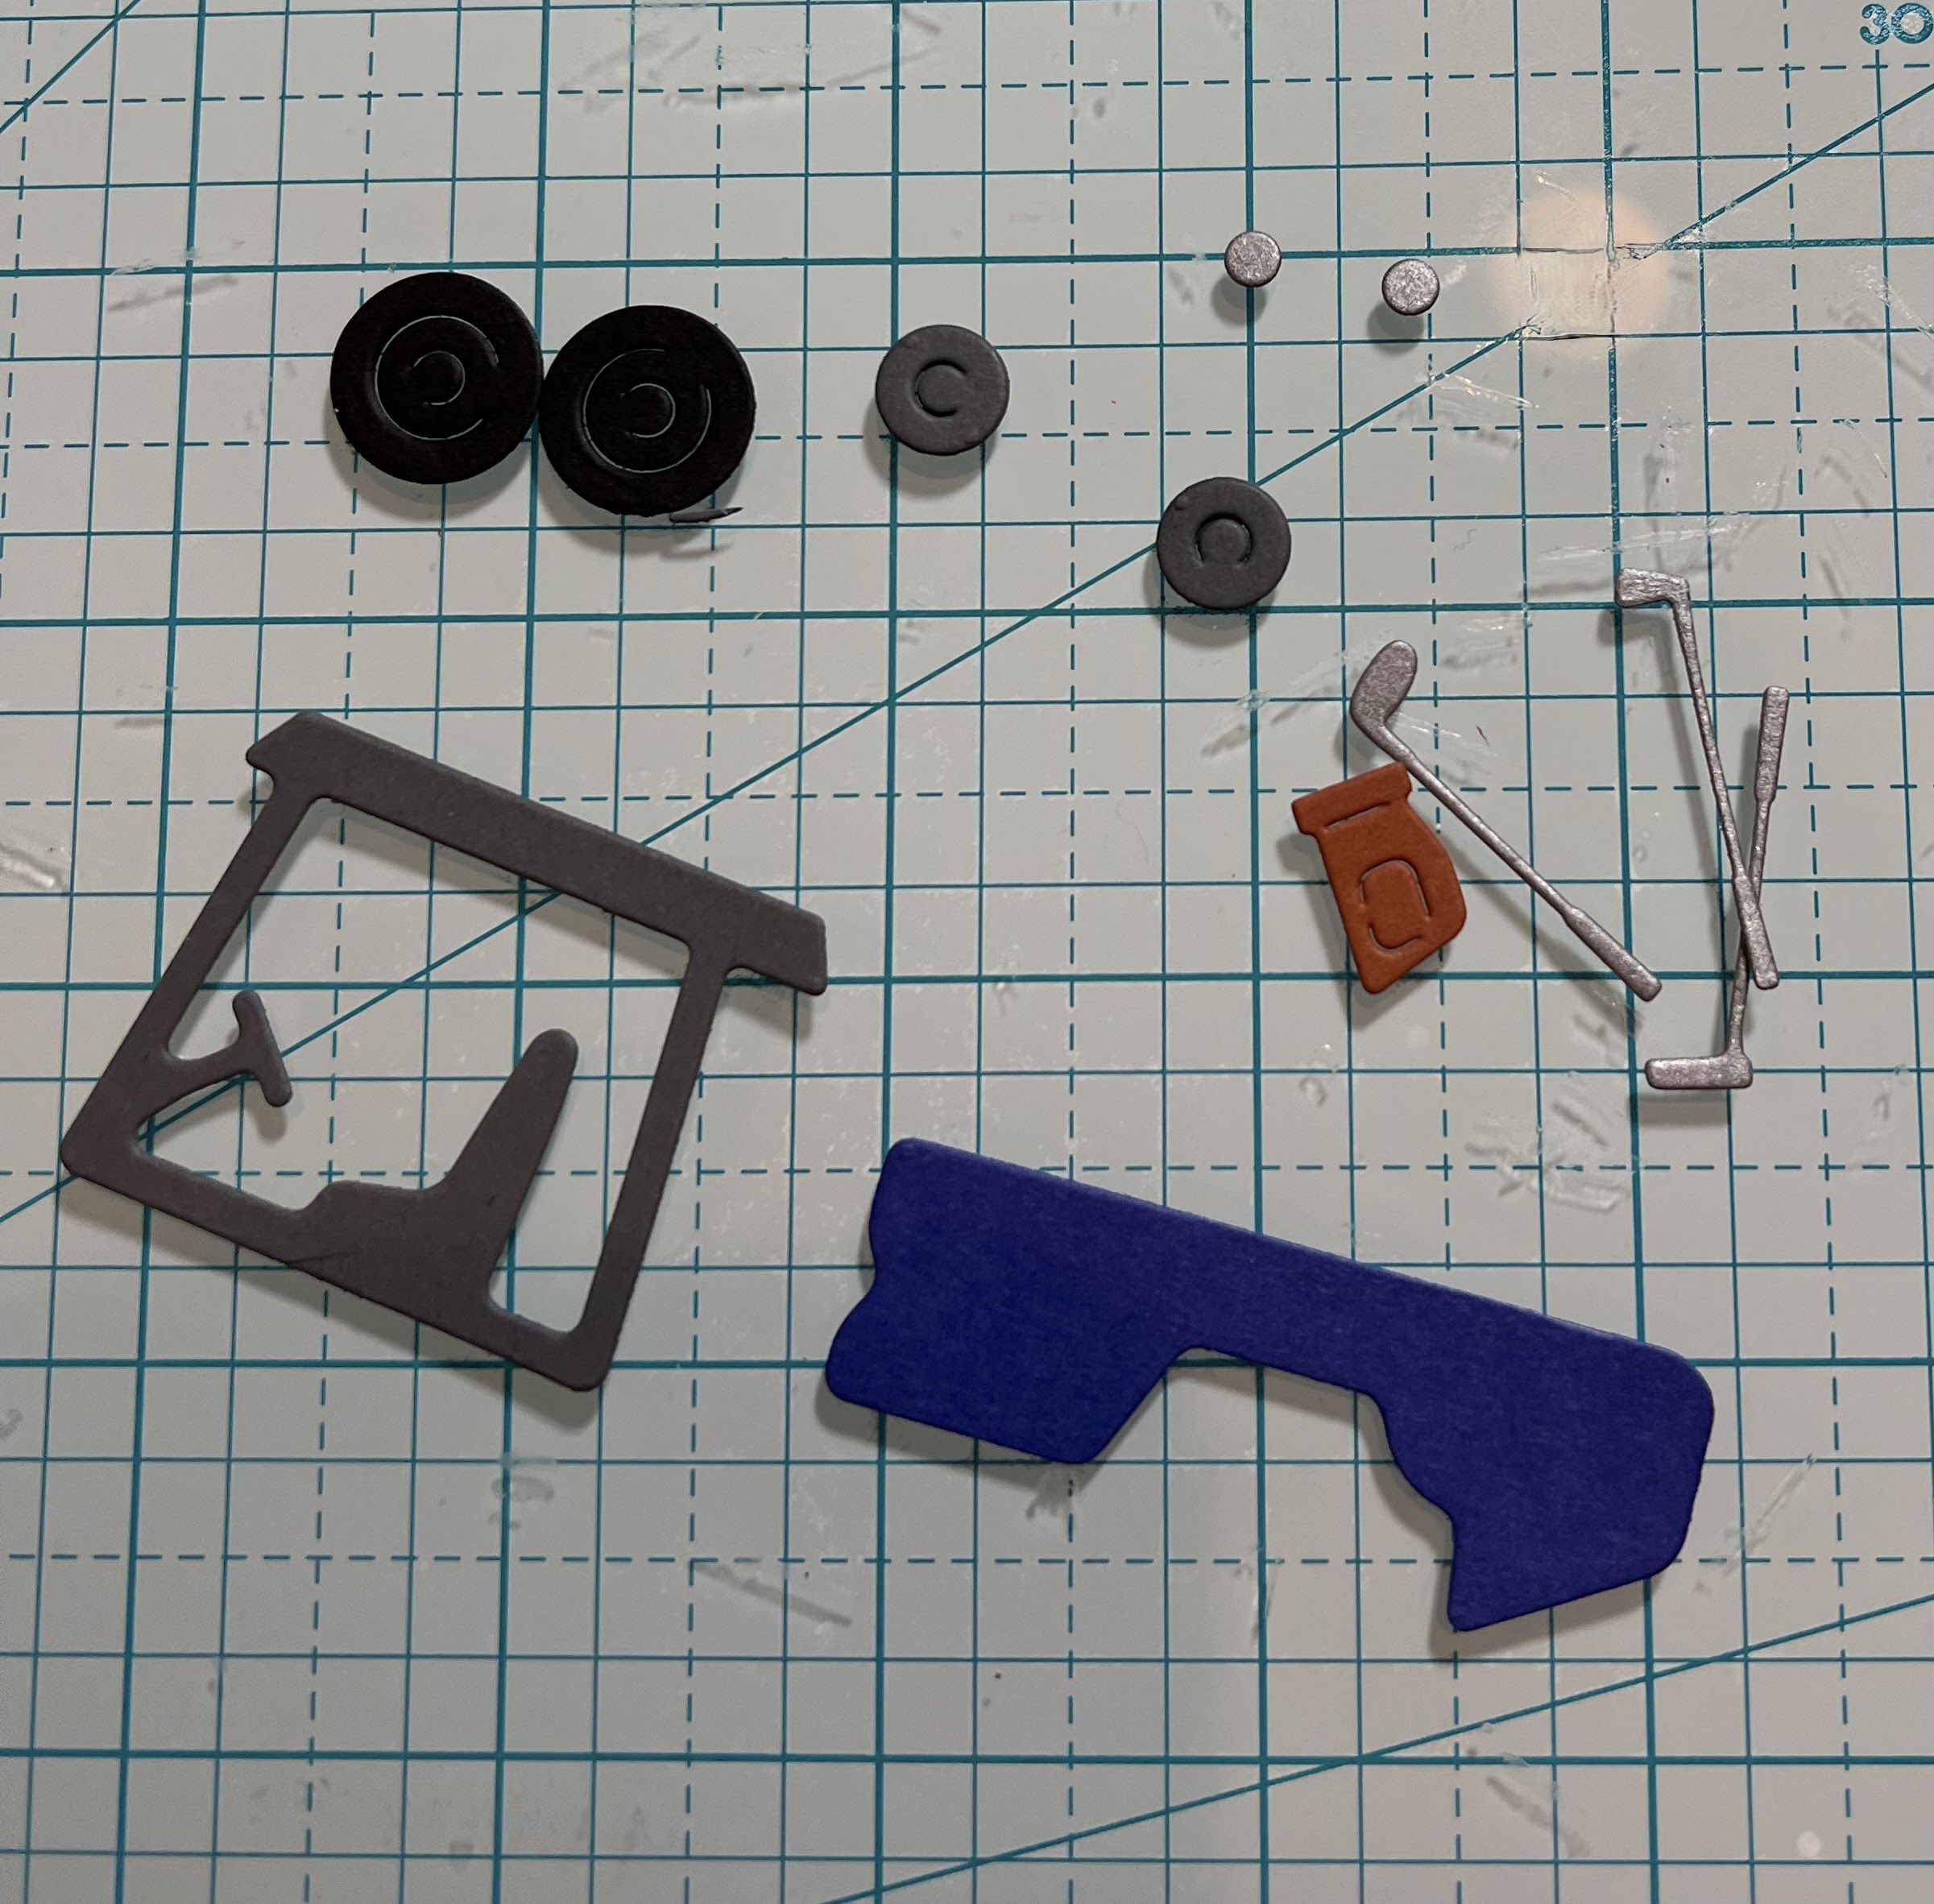
My husband is a golfer so I am really going to enjoy working with of golf dies.  I used the Putting Green and Golf Cart for this card.  I mixed it with a few of the slimline dies for the background.


Design Steps:

1.  I used the Golf Cart die and cut gray, silver, red, blue, rust and black card stock.  I then assembled with a fast drying, fine tip glue

2.  I used the Putting Green die and cut brown, red and green card stock.  I will assemble the putting green on the card. You will see on the card I added a little piece of white on the back side of the hole

3.  For the background of the card I used an A2 white base, blue DP for the sky 2 1/4 x 5 1/4, dark green card stock cut with Mountain & Trees Slimline, a piece of green measuring 3 x 5 1/4 cut with the Hills Slimline and not pictured a piece of white 2 x 5 1/4 cut with the Clouds slimline
4.  Glue the sky down first to the white card base. Glue the tree line to the green hills and then glue to the card
5.  Glue the putting green to the green hills as pictured above
6.  Pop up the golf card, add the clouds to the top and your sentiment to the bottom.  Your card is complete

CottageCutz Products


Here is the new release so please check it out in our store today!!


We have more inspiration on our YouTube Channel check it out HERE
Thanks so much for stopping by!  And I will see you next Thursday.

Blessings and Take Care


Monday, November 29, 2021

Black Friday Release

 Hello Friends

There are only a few days left for the Black Friday sale.  And I don't want you to miss out so please  check out the Black Friday info below!  

Today, I am using the Campin Out Mountains & Trees, Campin Out Fox and Campin Out Campfire & Sign.  This fun card is perfect for a friend or hubby that you love spending time with!  I am thinking it could even be a Valentine!

Design Steps:

1.  Use an A2 blue card base, cut a piece of green and browncard stock with the Slimline Hills die, cut a piece of with the Clouds Slimline and finally cut a dark green, gray and white with the Campin Out Mountains and Trees die
2.  Glue the brown to the bottom of the blue card base leaving the top the brown without glue.  Tuck the green hills under the green leaving the top of the green without glue.  Next tuck in the white cloud and then tuck in the mountains under the green hills. Then go back and add glue to the top of the green and brown card stock hills.  Add the trees, sun and snow to the card as shown above 
3.  Using the Campin Out Fox and the Campin Out Campfire & Sign cut out the fox in rust, white, dark brown, tan, and black.  Cut out the fire in yellow, red, orange and dark brown.  Assemble and then glue flat to the card as shown below


CottageCutz Dies Used in this project


BLACK FRIDAY SALE INFO

CottageCutz Dies     Click Here to SAVE up to 85%

Stamp & Die        Click Here to SAVE 80%    

 Slimline Dies       Click Here to SAVE 65%  

Retired         Click Here to SAVE up to 80% 

Overstock      Click Here to SAVE up to 70%


Lil’ Bluebird Designs    Click Here to SAVE 60%

Stamp Sets    Only $5.98

Die Sets         Only $7.98


Thanks so much for stopping by today and I will see you next Thursday!  And just a reminder we have a wonderful YouTube Channel for more inspiration.  Check it out HERE

Blessings
Pam