Sunday, May 31, 2020

Tulips

Hello Scrapping Cottage Friends,

I love tulips!  They are usually one of the first flowers to pop up in the spring! Signaling that the cold winter months are coming to an end.  My favorite tulips are yellow but the red come in a close second!


Background Photo by Wynand van Poortvliet on Unsplash

Design Steps:
1.  I used a black A2 card base, red card stock 4 x 5 1/4, and polka dot DP  3 3/4 x 5.  Glue the red card stock to the polka dot DP and set aside 

2.  Next cut out a piece of green card stock using the Spring Grass die.  Cut out a white rectangle using the Double Stitched Rectangle die 3rd from the largest.  Use a cloud stencil and blue ink to create the background.  Glue the cloud stitched rectangle onto a red rectangle layer

 3.  Using the Garden Wheelbarrow die cut out the pieces in red, black, silver, dark and light green, red and yellow

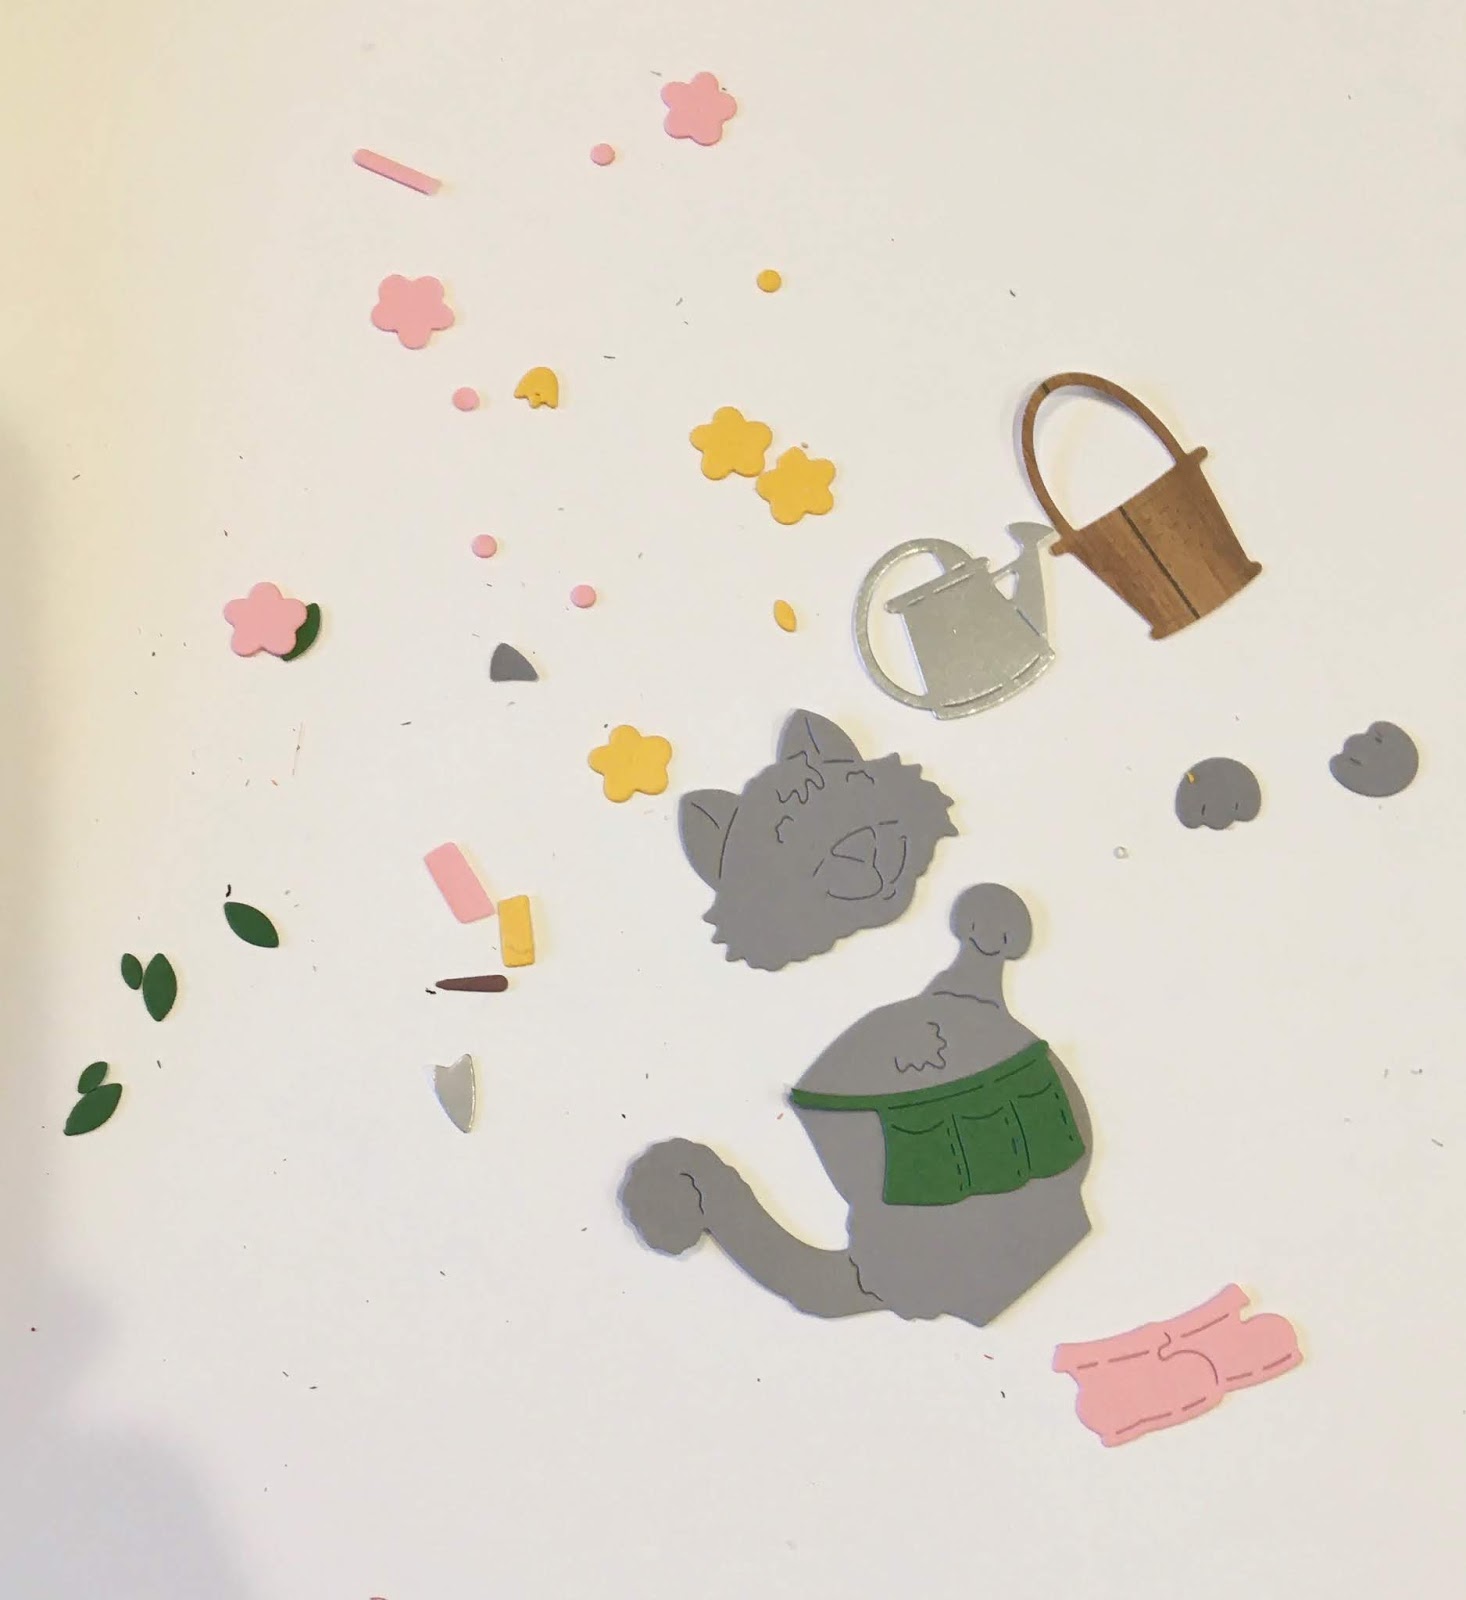
4.  Shade the pieces and then assemble them using a fine tip glue
5.  Next pop the cloud panel onto the polka dot DP add the grass then the wheelbarrow.  Then carefully arrange the tulips and glue them into the wheelbarrow.  Add the sentiment and glue to the black card base and your card is complete
 CottageCutz Products


Thanks so much for stopping by today.  I appreciate it so much.

Blessings and See You Soon!
Pam

Wednesday, May 27, 2020

A Little Birdie Told Me!

Hello Scrapping Cottage Friends!


Just for your information this is the last day for the Memorial Day sale!!  You can save up to 70% off on most of the dies and the new Gardening release is 25% off.  You don't want to miss this money saving sale!

Today I am using the Tomte.  He has many different looks and little tools you can use with him.  I think is is just adorable!

Background Photo by Lukasz Szmigiel on Unsplash

Design Steps:


1.  Cut all of the pieces using the Flower Power Tomte die.  I used yellow, green, blue and white card stock
2.  Using a variety of inks shade the pieces and then assemble using a fine tip glue
3.  Use an A2 white card base cut a piece of green 4 x 5 1/4 and DP 3 3/4 x 5.  Use the 4th from the largest Pierced Oval die to cut out a white oval.  Use the 2nd from the largest Stitched Scallop Oval die to cut out a green oval
4.  With the pieced oval die in place shade in the opening with a light blue.  Also stamp your sentiment on yellow and layer onto green
5.  Glue the DP to the green card stock then add the ribbon tying a knot in the center.  I use a glue dot to keep the knot in place
6.  Glue the ribbon panel to the front of the A2 white card base.  Add the green oval and then the shaded blue oval
7.  Place pop dots to the back of the little Tomte and add him to the oval on the front
8.  For the inside I used the Happy expressions die to cut out a yellow and green happy. Glued them together slightly off center then placed inside card.  Add the Birthday sentiment and the strip of DP to the bottom with the little flowers.  To finish I added some rhinestones to the front and inside

CottageCutz Products


I appreciate you stopping by today!  It was so much fun creating this card. I hope you are able to take sometime for yourself today!  And don't forget the awesome sale!

Blessings and see you next time!
Pam

Thursday, May 21, 2020

Garden Sign

Hello Scrapping Cottage Friends,

It is nice to see you on this beautiful Thursday!

This little sign card can be for encouragement, graduation or a just because card.  I love mixing fun papers with our wonderful Garden collection.  I am a bit of a paper hoarder so I love when I can actually use some of it.  My husband said I have enough paper and dies to last a lifetime.  But you and I know you never have enough craft supplies!
(Background Photo by Chad Madden on Unsplash)
Design
 1.  Use an A2 white card base, green card stock 4 x 5 1/4, Designer Paper 3 3/4 x 5.  Glue the green to the white card base and then glue the DP to the green
 2.  Cut out the pieces of the sign using the Garden Phrase die.  I used brown wood designer paper, pink, white and yellow card stock.  Using the Gardening Hat and Gloves die cut it out in white card stock.  Using the Spring Grass die cut it out using green card stock
 3.  Shade the pieces using a variety of Tim Holtz inks and a small applicator.  Next glue the grass to the card front then add the sign and phrase.  Assemble the hat and the gloves using a fine tip glue
6.  Last pop up the hat to the upper corner of the sign.  Then glue one glove flat to the card and pop up the other to that glove as shown.  Add the flowers and the rhinestones

CottageCutz Products


I am so glad you where able to stop by today.  I love looking at all the wonderful dies in the Garden Collection.  It makes me want to go out and plant a wonderful flower garden!

Blessings and see you next time
Pam


Monday, May 18, 2020

Father's Day

Hello Scrapping Cottage Friends!

I am having so much fun creating with our new Garden Release.  I decided to make a card for my brother for Father's Day.  He loves working out in the yard and at one point in his life he had a landscape company.  So I thought this card would be perfect for him!

To make this card I used a sketch from one of the Splitcoaststampers Challenges.  The sketch looked like this:

I used a variety of designer papers and a bright red ribbon to finish it off.  The dies I used are the Lawnmower, Spring Grass and Wacky Stitched Circle.  I have linked them so you can take a peek.  

CottageCutz Dies


Thanks so much for stopping by and I do hope you check out all the wonderful dies we have in stock right now!
Blessings
Pam

Monday, May 11, 2020

Cat in the Garden!

Hello My Scrapping Cottage Friends!

I have a wonderful sister who has a number of cats.  In fact we call her the cat whisperer!!  And she loves to garden and soak up the sun!  So this card will be a perfect thank you for her!

 (background photo Photo by Tim Mossholder on Unsplash)

Design Steps:

1.  The base is an A2 white piece of card stock.  Second layer is dark green card stock 5 1/4 x 4 and the flower DP is 5 x 3 3/4.  Glue the layers together as shown above

2.  Using the Gardening Cat die cut out the pieces using grey, pink, dark green, metallic silver, yellow and brown
3.  Shade all of the pieces using a variety of inks.  Add white polka dots using a Sukra white gel pen
 4.  Cut the fence using white card stock and the Victorian Fence die.  Also using green card stock and the Spring Grass die cut out the grass
5.  Use the Double Stitched Rectangle die cut out a piece of wood grain DP and layer onto dark green card stock.  Next glue down the grass and fence
6.  Pop the small fence panel to the card base and then pop up the cat and sentiment and your card is complete
CottageCutz Supplies


Thanks so much for stopping by today!  I hope you have a wonderful time creating!
Blessings
Pam


Monday, May 4, 2020

Garden Ladder

Hello Crafty Friends,

Wow!! What a great new release!!  This collection is so fantastic for spring through summer and don't forget Mother's Day and Father's Day!  Especially if your folks love to be in their garden.  Check it out in the online store there are 19 different dies to choose from and everyone of them is so wonderfully detailed!

The die I am using today is called Garden Ladder isn't it adorable!!  I am making a Front Flap Card that I saw a tutorial for on at Splitcoaststampers.

(Background Photo by Teemu Paananen on Unsplash)


Design Steps
1.  Blue card stock 4 1/4 x 5 1/2 (base),  Flower DP 4 x 5 1/4,  Blue card stock 8 1/2 x 3 1/4 folded in half, white card stock (for inside) 3 1/8 x 4 1/8, Red Dotted DP 3 1/8 x 4 1/8, Yellow checked DP (not shown in the above picture) 2 1/4 x 4
2.  Open up the folded blue card and glue down the white card stock and add a 1 inch strip of the red dotted DP
3.  Glue down the red dotted DP onto of the folded blue card and then added the yellow checked DP (I decided to layer the yellow onto blue card stock) 
4.  For the base of this card glue the Floral DP on top of the blue base rectangle 
5.  Using the Garden Ladder die cut out the pieces.  I used rust, silver metallic, blue, brown, yellow, light blue, green and olive card stock 
6.  Shade the pieces using a variety of inks and then assemble with a fine tip glue 

7.  Next add pop dots to the back of the ladder and pop it to the small blue card front.  Then glue the small card to the base rectangle.  Add the sentiment and the rhinestones and your card is complete 
CottageCutz Products
I hope you are keeping busy.  I am in Arizona and we are finally beginning to open our state.  I am so ready to enjoy being able to get out and about again!
Blessings
Pam