Showing posts with label Pierced Rectangle. Show all posts

Sunday, October 9, 2022

Halloween Treat Box

 Hello Scrapping Cottage Friends

We have a brand new release just in time for all of those amazing Halloween cards everyone makes!! The collection has 22 fabulous dies that are going to make those scrapbook layouts and cards look SPOOKTACULAR!!!  The dies are currently on sale so make sure you get them while they last at this special introductory offer!!

Today, I am using the Witchy Ghost.  It sits perfectly on top of the tiny treat box.  I also used the Web and a spider from the Jack-O-Lanter Witch.  I think this cute little box will be perfect for a teacher's gift or some special Trick or Treaters!

Design Steps:

1.  Cut a piece of orange card stock 9 1/4 x 4 1/2 and then score

2.  Horizontal 5/8, 4 3/8,  5,  8 3/4
3.  Vertically 5/8, 3 3/8, 4
4.  Use a bone folder and burnish the score lines then open flat with the two score lines horizontally on the top of your work area
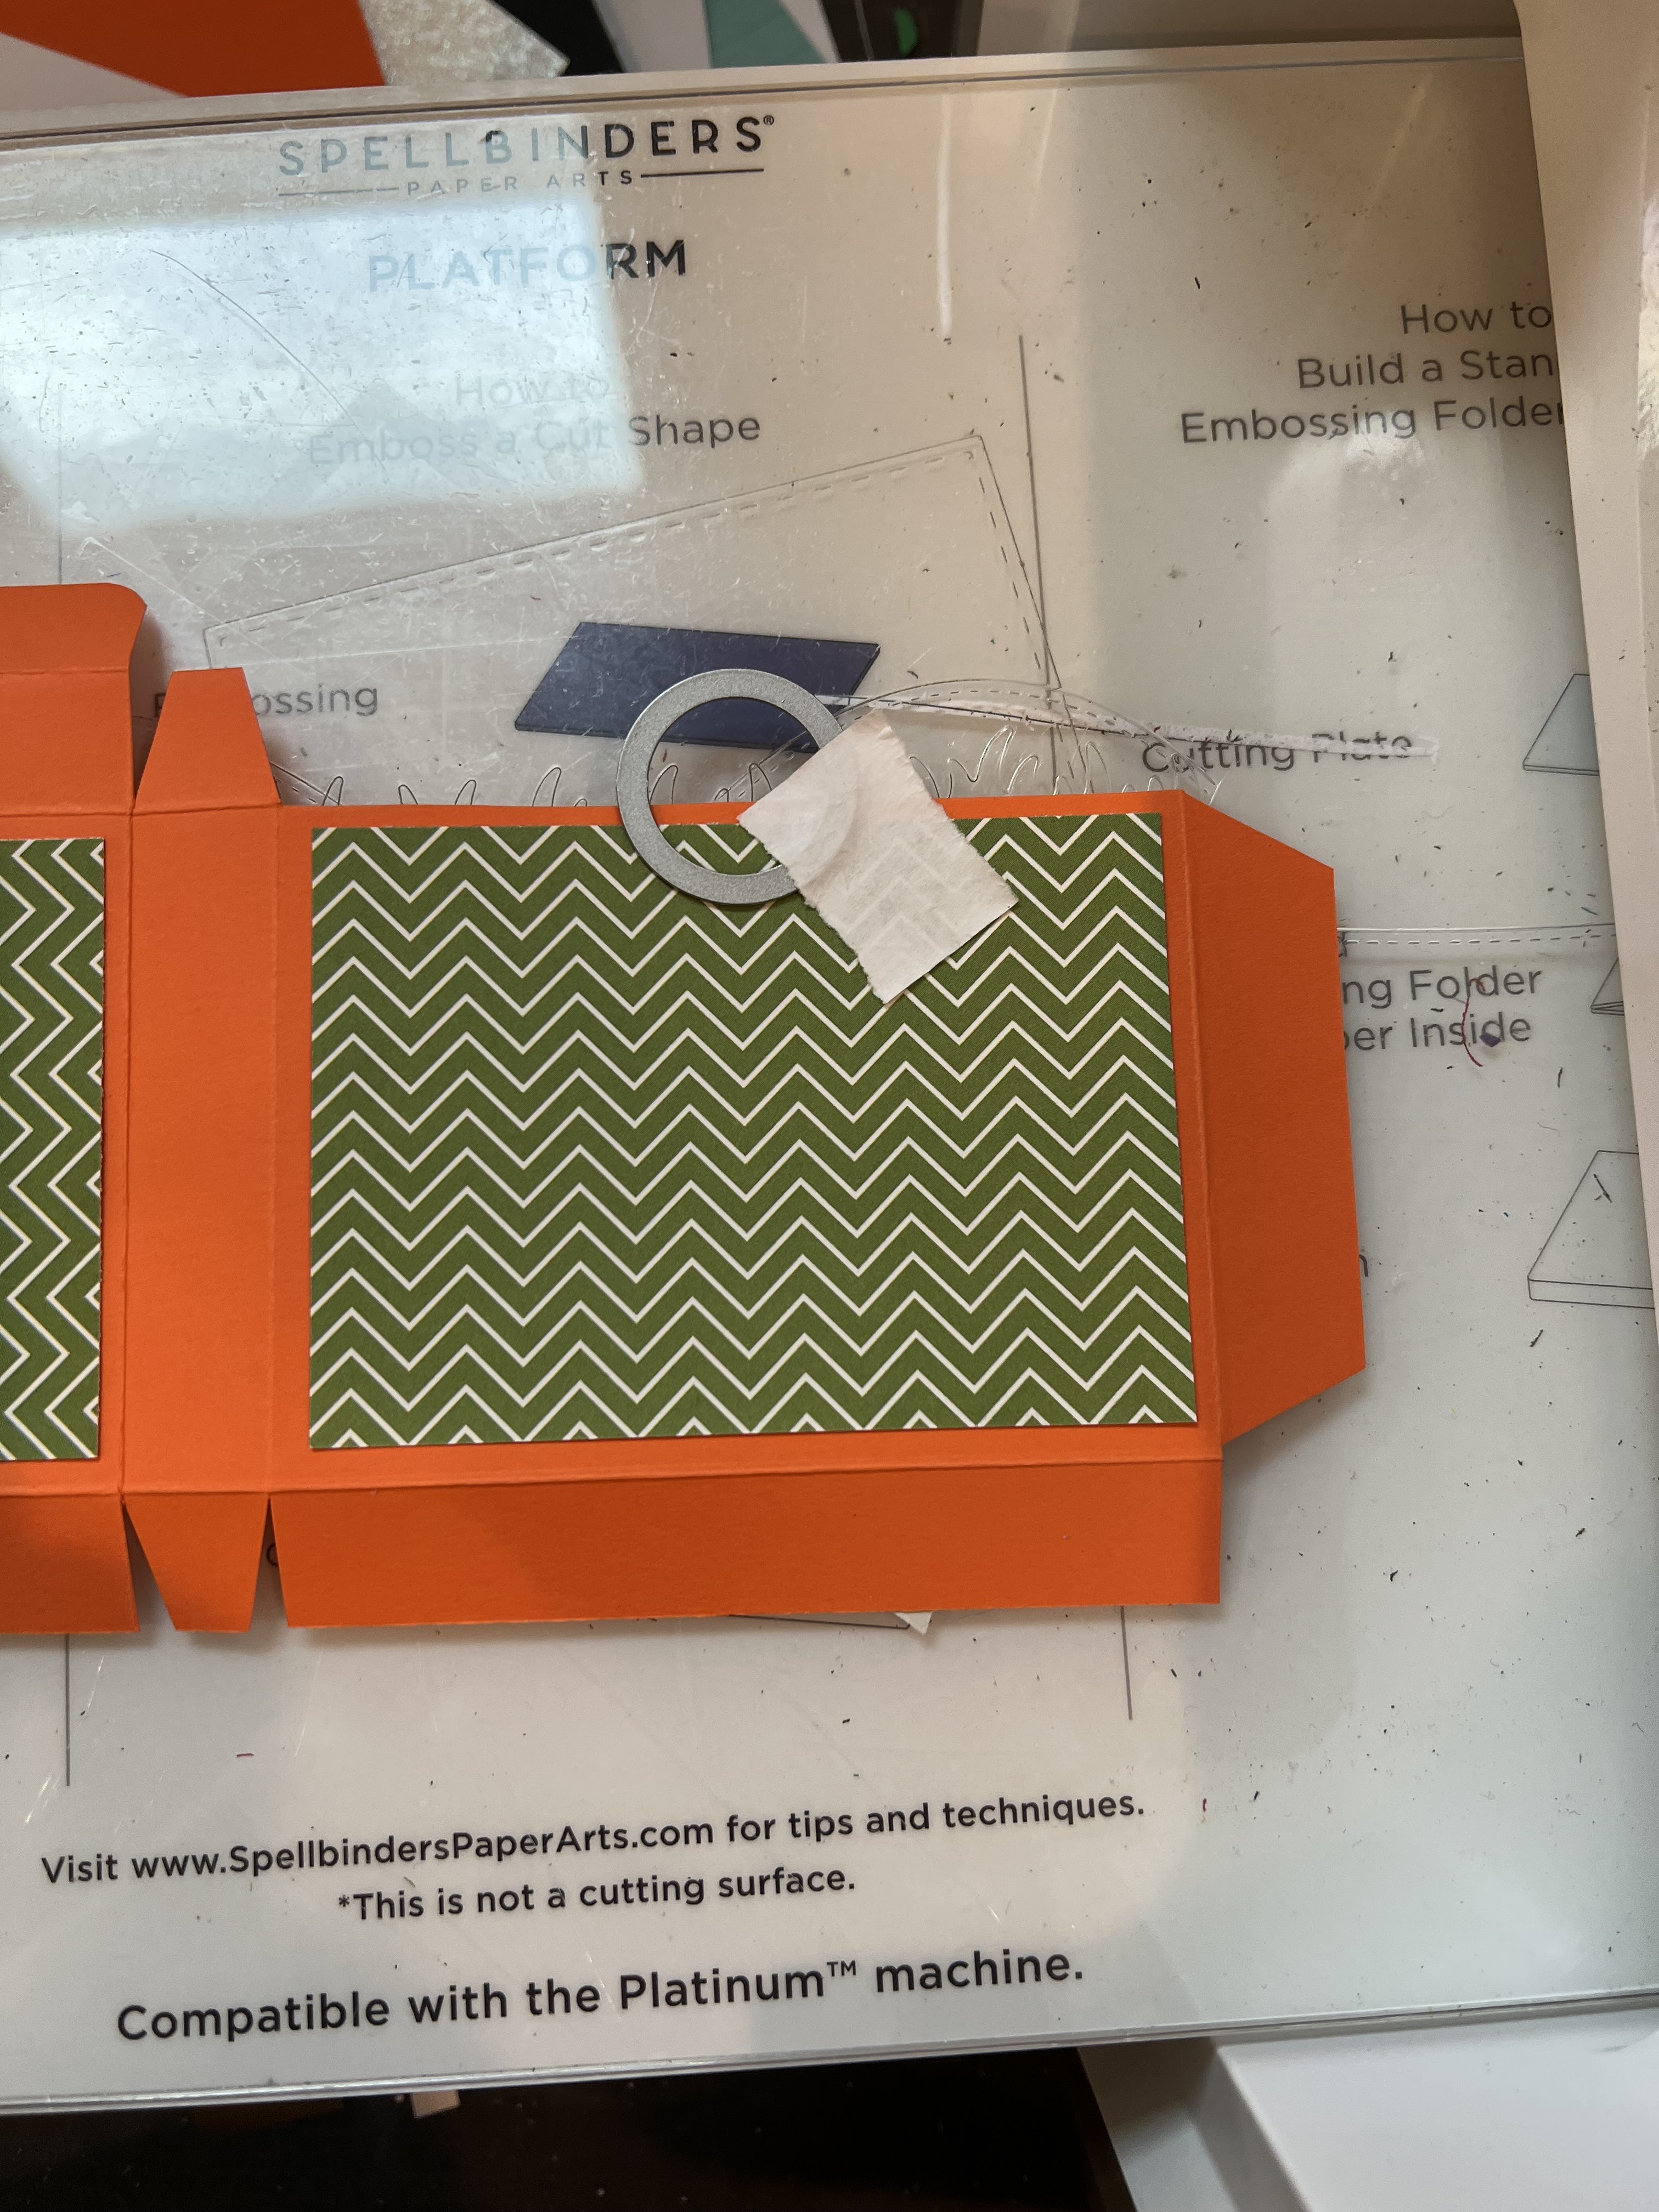
5.  Cut the tabs on the bottom of the orange card stock as shown above
6. Then flip the orange card stock so that the 2 horizontal score lines are now at the bottom of your work area as shown above  

7.  Cut the bottom of the orange card stock to match the picture above 
8. Flip the box over so the double scored longest flap is now at the top of the work space.  The longest flap is the part that will close the box so round those corners
9.  Glue two pieces of DP each measuring 2 1/2 x 3 1/2 to the box as shown above
10.  Cut a notch on the side that does not have the flap that closes the box.  I used the second to the smallest from the Circle dies.  As shown above
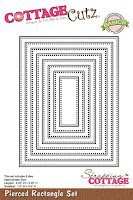
11.  On the opposite side of the notch cut you will cut the window of the candy box with the 3rd from the smallest Pierced Retangle dies.  As shown above
12.  Flip the orange piece over and tape the acetate to the back of the window
13.  Assemble the box using glue or a strong double sided tape making sure you do not glue the flap that opens and closes the box

14.  Place the candy in the box.  You can use any kind of candy you wish
15.  Use the Witchy Ghost die, the Web die and the Jack-O-Lantern Witch die (for the spider) to cut out the pieces in the following colors of card stock: white, yellow, orange, purple,  green, gray and black.  Assemble the pieces with a fine tip quick drying glue.  Glue the pieces to the front of the box as shown below then add the sentiment and your little treat box is finished

 CottageCutz Products


Please make sure to check out this amazing Halloween release right HERE!


We have more inspiration on our YouTube Channel check it out HERE

Thanks so much for stopping by!  And I will see you next Thursday.

Blessings and Take Care


Sunday, May 22, 2022

Birthday Easel

 Hello Scrapping Cottage Friends

It is NEW RELEASE TIME!!

It is our Sweet Treats release!  There are 13 different designs and everyone of them can be used for a variety of occasions especially Birthdays!! The individual dies are 30% off.  This sale price won't last long so click HERE to hop on over to the store!

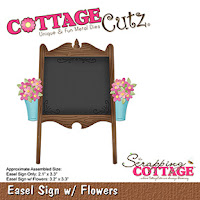
Today, I am using the adorable Easel Sign w/Flowers.  This die can be used to proclaim any occasion.  I think it would make a really cute Wedding announcement.


Design Steps:
1.  Use a white 6 1/4 x 4 1/4 card base, 6 1/8 x 4 1/8 blue card stock, 6 x 4 flowered DP,  use the largest Pierced Rectangle die and cut out blue card stock and finally use the second from the largest Pierced Rectangle and cut out white card stock
2.  Use the Easel Sign w/Flowers and cut out the following card stock: red, yellow, green, silver, black and a piece of wood grain DP
3.  Stamp the black insert piece with VersaMark and emboss with white powder.  Assemble the easel with a fine tip glue
4.  Glue the white rectangle to the blue rectangle and add a strip of green to the bottom of the white rectangle
5.  Glue the easel to the middle of the rectangle and add a few flowers to the grass below the easel as shown above
6.  Glue the flower DP to the piece of blue card stock add the white ribbon tied in a square knot.  Then glue that panel to the front of the white card
7.  Place dimension tape to the back of the blue pierced rectangle and then pop it onto the card front as shown below and your card is complete

CottageCutz Products


We have more inspiration on our YouTube Channel check it out HERE
Thanks so much for stopping by!  And I will see you next Thursday.

Blessings and Take Care


Tuesday, November 23, 2021

Campin Out Black Friday Sale

 Hello Friends

A Very Happy Thanksgiving to you and your family!  If all the festivities are over it is time to get to those Black Friday sales and ours has already started.  With this adorable new release called Campin Out.  It can be used for almost anything especially those hard to make masculine cards!  Just check out the Black Friday info below!  

Today, I am using the Campin Out Fishing Raccoon and he is just so cute!  Plus I added the Campin Out Trees and the Sign from the Campin Out Campfire & Sign.  This is a birthday card for a friend who loves to fish! 


Design Steps:

1.  Start by cutting out the pieces using the Campin Out Trees, Campin Out Fire & Sign and the Campin Out Fishing Raccoon.  I used green, dark brown, light blue, kraft, gray, black, white, light teal and rust card stock for my scene.  Assemble your raccoon and the trees with a fine tip glue
2.  Use a 6 x 4 1/4 white base, 5 3/4 x 4 piece of yellow, 5 1/2 x 3 3/4 piece of DP,  cut a piece of brown polka dot DP with the second from the largest Wacky Stitched Rectangle.  I used the Hill Slimline to create the brown hill and the waves in the lake
3.  Glue the yellow to the white base card, glue the DP to the yellow then add the retangle with the hills and the water
4.  Add the trees and the raccoon to your scene.  I glued them flat
5.  After the scene is complete stamp you sign and use pop dots to adhere to your card

CottageCutz Dies


Black Friday Sale Info


CottageCutz Dies     Click Here to SAVE up to 85%

Stamp & Die        Click Here to SAVE 80%    

 Slimline Dies       Click Here to SAVE 65%  

Retired         Click Here to SAVE up to 80% 

Overstock      Click Here to SAVE up to 70%


Lil’ Bluebird Designs    Click Here to SAVE 60%

Stamp Sets    Only $5.98

Die Sets         Only $7.98

Thanks so much for stopping by today and don't miss this fantactic sale!  And just to remind you we have a wonderful YouTube Channel for more inspiration.  Check it out HERE

Blessings

Pam

Monday, August 30, 2021

Hay There!

 Hello Scrapping Cottage Friends

WE HAVE A NEW SENTIMENT PHRASES WITH SHADOWS RELEASE!!! You can pick up the entire bundle for an amazing 50% savings!! Or you can select individual dies at a 25% savings.  These dies have a wonderful font and look perfect with the Lil' Bluebird stamps!

I am using both the new release phrase dies and the Lil' Bluebird The Country Farm Stamp Set.


Design Steps

1.  My white base card is 6 1/4 x 4 1/4, Checked black DP 6 x 4, Cut a piece of red card stock with the largest Scalloped Stitched Retangle, cut a piece of blue DP with the largest Pieced Rectangle die
2.  Using the Slimline Hills cut 2 pieces of green cards stock then glue together
3.  Using the Country Farm Stamp set stamp the images and color with the copics seen above
4.  After the images are colored cut them out with the coordinating die set
5.  Glue the blue pierced rectangle to the red scalloped rectangle then add the hills
6.  Wrap the red checked ribbon around the black checked DP then glue to the card base


7.  Add the little farm animals and the card front is complete


8.  For the inside I used a sentiment with a shadow Miss You.  I also added a little of the black checked DP

CottageCutz and Lil' Bluebird Stamps


Thanks so much for stopping by today and I will see you next Thursday.

Take Care and Blessings
Pam