Monday, December 26, 2022

Rock 'n' Roll Birthday Wishes

 Hello Scrapping Cottage Friends

I hope you all had a wonderful Christmas!  I sure did I got to spend it with family in Ohio.

I have a few birthdays coming up in January and February.  So I decided to do a couple of birthday cards.  I am using our Fifties release dies.  The card features Fifties Jukebox and Fifties Soda Bar dies.  I used the mini slimline design to showcase these cute dies.


Design Steps:

1.  Use the Fifties Soda Bar die cut the following colors of card stock:  black, white, silver, pink, turquoise, red and brown.  Glue the pieces together with a fine tip adhesive
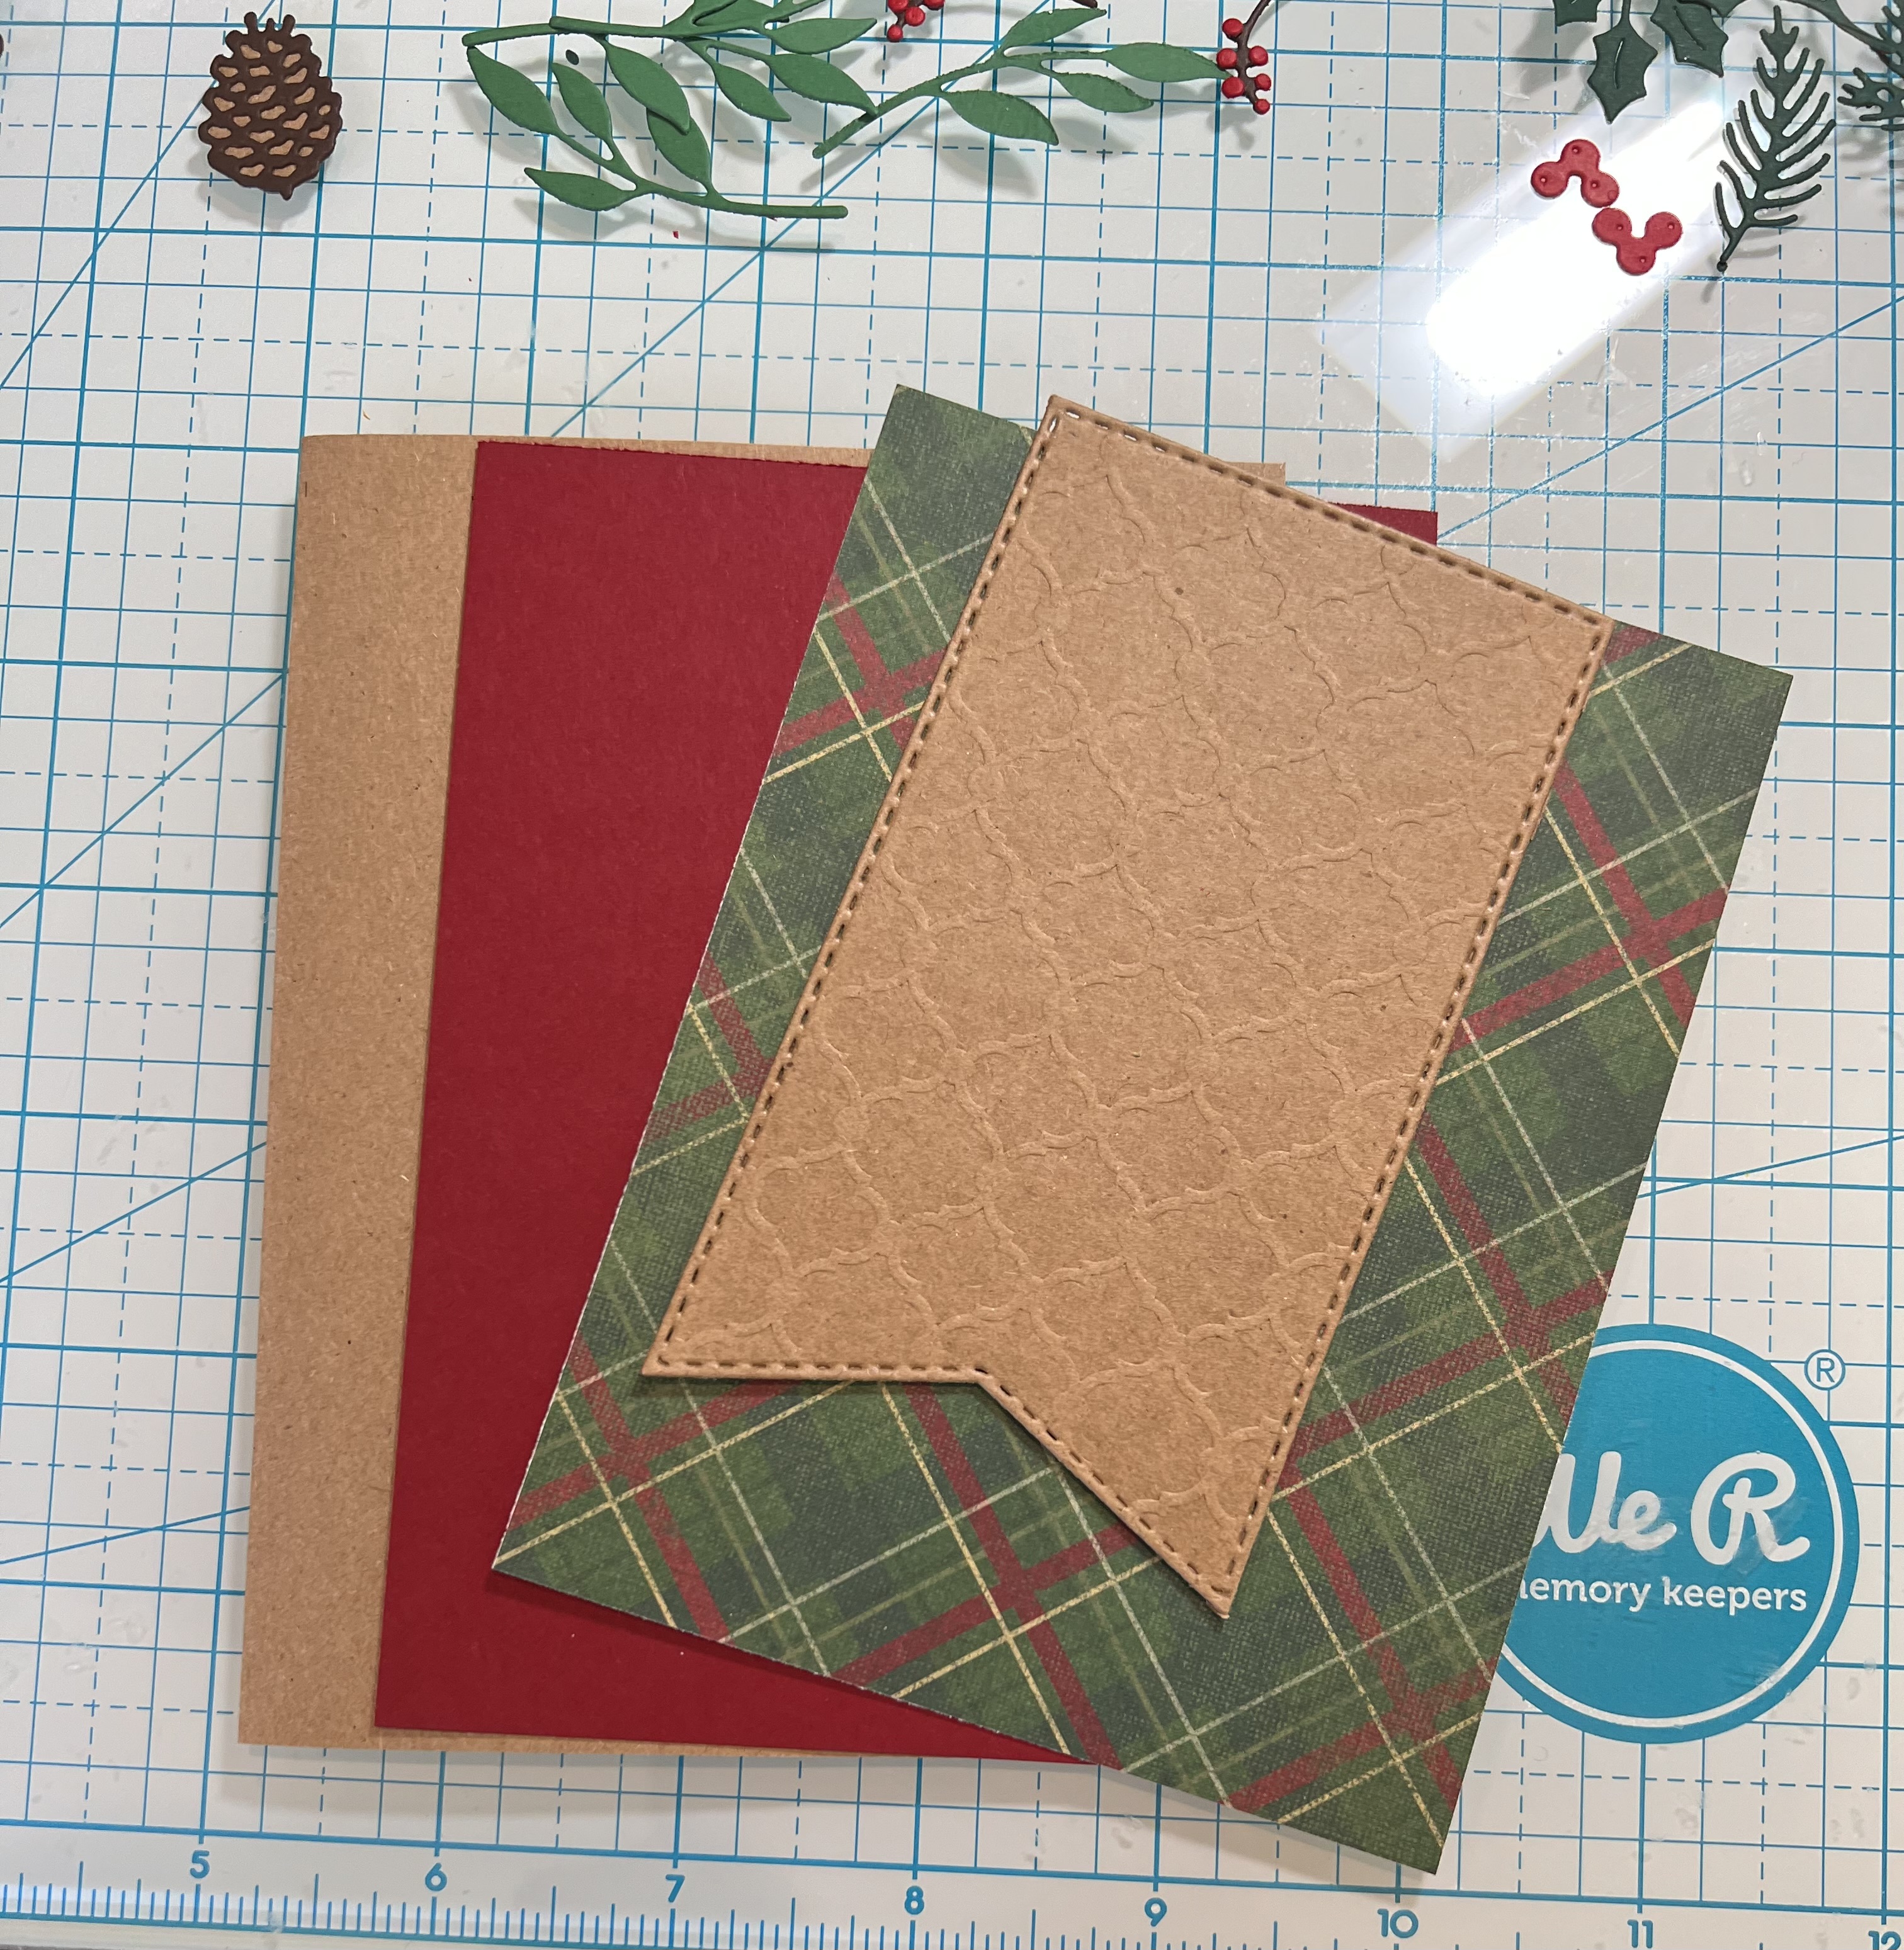
2.  Use a white card base measuring 3 1/4 x 6 1/4, cut a piece of turquoise dotted DP 3 1/8 x 6 1/8
3.  Glue and assemble the soda bar on the turquoise dotted DP on the right hand side of the paper
4.  After the soda bar is assembled glue the panel to the front of the card base
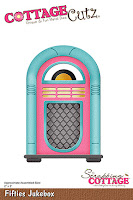
5.  Using the 
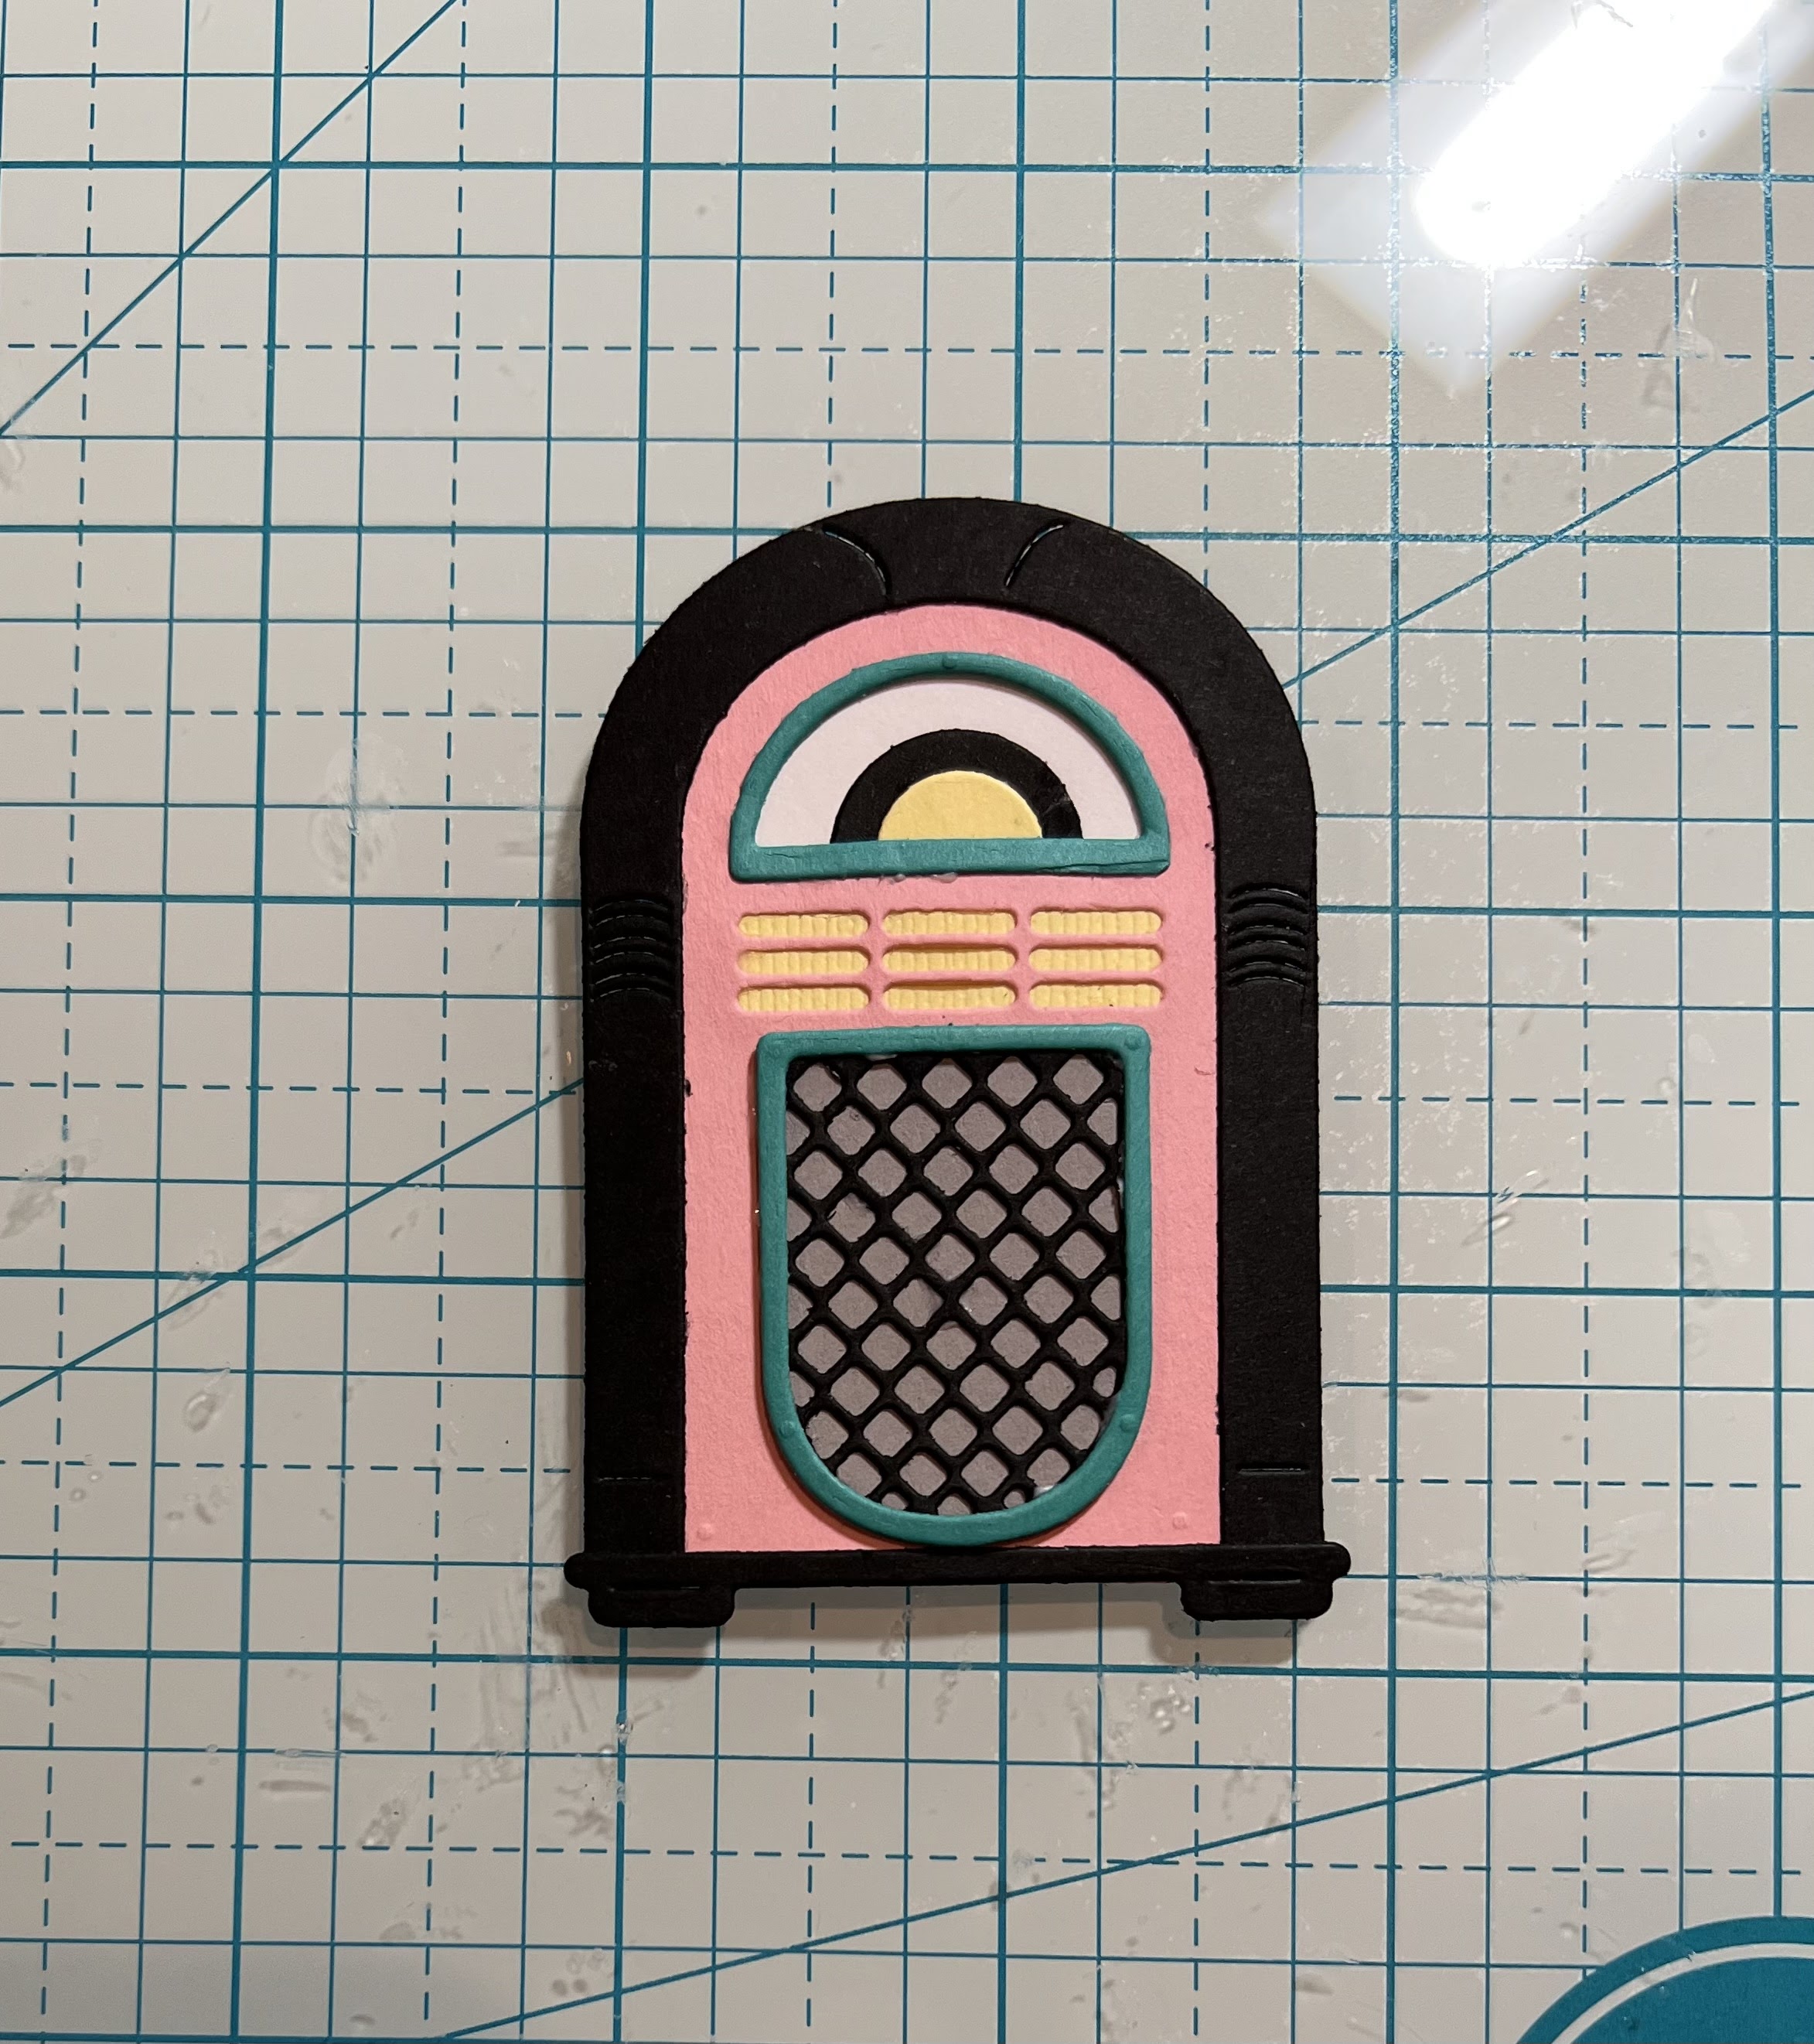
Fifties Juke Box die cut the following colors of card stock: pink, turquoise, black, gray, yellow, and white
6.  Assemble the Juke box with a fine tip glue
7.  Glue the Juke Box to the left side of the card and then add the sentiment which is layered on pink.  Your card is complete and so cute!

CottageCutz Products


We have more inspiration on our YouTube Channel check it out HERE

Thanks so much for stopping by!  And I will see you next Thursday.

Blessings and Take Care


Sunday, December 18, 2022

Frosty Friends

 Hello Crafty Friends!

Well only 4 days left until the big day of celebration!! And of course I am getting a last minute gift ready.  And what is a gift without a handmade card!  So this is the last card of the season.  I used the Happy Reindeer and Snowman.


Design Steps:


1.  Using the Happy Reindeer and Snowman die cut out the following pieces of card stock:  brown, red dotted DP, green, black, orange, dark brown, and white.  Shade the edges with coordinating inks and a small applicator.  Assemble the pieces with a fine tip glue

2.  Use a white A2 card base, cut red dotted DP 4 18, 5 3/8, cut a piece of reindeer DP 4 3/4 x 3 1/2 (using the 3rd from the largest Pierced Oval die cut the oval in the center of this reindeer DP) and finally cut a piece of white 4 1/2 x 3 1/4 and sponge or brush with blue ink
3.  Glue the red dotted DP to the white card base, next glue down the blue inked card stock to the center of the red dotted paper.  On the back of the reindeer paper add dimension tape and then pop it over the blue inked paper
4.  Add the snow to the bottom of the oval and then glue down the reindeer and snowman.  Add the bow and your sentiment and your card is complete

CottageCutz Products


We have more inspiration on our YouTube Channel check it out HERE

Thanks so much for stopping by!  And I will see you next Thursday.

Blessings and Merry Christmas 


Sunday, December 11, 2022

Joy to the World

 Hello Scrapping Cottage Friends

We are only a few days away from Christmas and I have another card for you today.  This one is a bit more country.  I used the Rustic Wreath and a great Christmas plaid for the design.


Design Steps:

1.  Use the Rustic Wreath die and cut out the following colors of card stock: dark brown, light brown, deep red, red, light red, pinkish red, yellow, dark green, green, light gray and dark gray.  After cutting the pieces assemble with a fine tip glue
2.  Layer the pieces onto the wreath and adhere with a fine tip glue once you are satisfied with your design

3.  Use a kraft A2 card base, deep red 4 1/8 x 5 3/8, plaid DP 4 x 5 1/4, an embossed piece of kraft cut with a dove tail 4 1/2 x 2 1/2 (I layered the kraft piece with gold card stock which is not shown)

4.  Glue down the deep red to the kraft card base, next adhere the plaid and then add the gold and kraft dove tail piece all glued flat

5.  Glue down the wreath and then using the Joy Expression die cut it out of deep red.  Stamp your sentiment on kraft and layered it on deep red.  Glue the stamped sentiment down and then glue down the word Joy.  Your card is complete

CottageCutz Products


We have more inspiration on our YouTube Channel check it out HERE

Thanks so much for stopping by!  And I will see you next Thursday.

Blessings and Take Care


Thursday, December 8, 2022

Baked with Love!

  Hello Friends

Today's post is for the House-Mouse Monday Challenge!  The challenge is Anything Goes or Christmas.  You can find this challenge HERE!  I decided to do Christmas!


This is such a perfect challenge for one last Mousey Christmas card!   Come and join the fun!


Thanks for taking a peek!

Blessings
Pam


Saturday, December 3, 2022

Time to Shop!

 Hello Scrapping Cottage Friends,

I am sure most of you have your Christmas card making well under way!  I have just a few more to make so I decided to use Christmas Kitty Car and the Wintery Village.  This one will probably go to my sister in New York.  She has a house full of cats and kittens!! And she has a great hubby who never says no to those strays!


Design Steps:

1.  Use the Christmas Kitty Car die and cut out the following card stock colors: pink, teal, black, silver, red, brown, yellow green and blue.  Shade the pieces with matching inks then assemble with a fine tip glue
2.  For the card base use a white A2 size, cut two frames from white using the Pierced Wide Frame Retangle set (glue them together), cut piece of teal snowy DP 4 1/2 x 3 1/2, gray card stock 4 1/2 x 2, strip of white 4 1/2 x 1 1/4 cut with the Slimline Hills die, and finally a piece of white cut with the Wintery Village die (I backed the village windows with yellow card stock)
3.  The picture above is done with scraps so I could see how it would go together.  I glued the snowbank to the frame and set it aside.  I then glued down the teal snowy DP to the card center. Then glue the gray strip for the road.  Making sure that it will fit perfectly inside the frame.  Next add the little village using the frame as a guide to make sure it is just below the top of the frame opening as shown below  
4.  Next glue down the car and then place dimension tape on the frame and pop it over the little scene.  Add your sentiment and your card is complete

CottageCutz Products


We have more inspiration on our YouTube Channel check it out HERE

Thanks so much for stopping by!  And I will see you next Thursday.

Blessings and Take Care


Sunday, November 27, 2022

Christmas Owls

 Hello CottageCutz Friends,

DECEMBER 2 at 9:00 PST IS THE LAST DAY OF THE BLACK FRIDAY SALE!  Don't miss out on all the incredible bargains.  You can save up to 85% on some of the items in the store!  Time to stock up or buy your crafty friends an amazing Christmas gift!!  Click HERE for more sales info.

Today,  I am using the Christmas Owls.  


Design Steps

1.  Cut out the pieces using the Christmas Owls die and the following colors of card stock: green, red, brown, light gray, dark gray, white, brown, tan, yellow, and black.  Use DP for the scarfs light red snow and stripes.  Shade the pieces if desired with the matching ink colors and a small applicator.  Assemble the pieces with a fine tip glue
2.  Use a white card base measuring 5 x 5 folded, a piece of striped DP 4 7/8 x 4 7/8, a piece of snowy DP 4 1/4 x 4 1/4. Cut a circle in the middle using the second to the largest Pierced Circle die.  Also cut a piece of white 4 1/8 x 4 1/8 and ink with blue
3.  Glue the striped DP to the white card base and then glue the inked blue piece onto the stripes directly in the center of the card.  Place dimension tape on the back of the piece with the circle cut out and then pop it over the blue
4.  Glue the branch with the holly leaves inside of the circle.
5.  Glue down the owls onto the branch as shown above.  Add the bow and the sentiment and your card is complete

CottageCutz Products


We have more inspiration on our YouTube Channel check it out HERE

Thanks so much for stopping by!  And I will see you next Thursday.

Blessings and Take Care


Saturday, November 26, 2022

Snow Much Fun

 Hello Friends

Today's post is for the House-Mouse Monday Challenge!  The challenge is Anything Goes or Let it Snow!

You can find this challenge HERE!  I selected Let it Snow!


This is such a perfect challenge for the winter season.  Come and join the fun!


Thanks for taking a peek!

Blessings
Pam