Sunday, August 21, 2022

Fore!

 Hello Scrapping Cottage Friends,

We have a NEW RELEASE which is perfect for all those sports fans in the family! It is called Baseball & Golf! It has 16 fantastic dies which will make your card making and scrapbooking pages look great! The release has special pricing right now so go and check it out HERE!

Not only is my husband a golfer but my two nephews take a swing at it too! So I am happy to make a few more cards with the golf theme.  Today's card features the Golf Ball & Tee, Golf Basket of Balls, and Golf Bag and Clubs.  


Design Steps:

1.  Start with an A2 size kraft card base, green DP cut at 4 1/8 x 5 3/8, green plaid DP 4 x 5 1/4, strip of green DP 2 1/8 x 5 3/8 and a strip of newspaper DP 2 x 5 1/4
2.  Cut out the pieces using the Golf Ball & Tee , Golf Basket of Balls, Golf Bag and Clubs on green, red, white, brown and silver card stock.  Cut out the squares using the 6th from the largest Pierced Square die on kraft card stock.  Cut out the the rectangle 6th from the largest Pierced Rectangle die on kraft card stock
3.  Assemble the pieces using a fine tip glue.  I traced the golf basket and put a white liner behind it.  Using the Stitched Alphabet die cut out FORE in red
4.  Glue down the solid green DP to the card front.  Next glue down the plaid DP.  Glue the green strip to the newspaper DP and add it to the front as shown.  Glue the FORE, squares and the rectangle to the front as shown
5.  Add dimension squares to the back of the golf basket, golf bag and the ball and then pop them to the card front as shown below and your card is complete

CottageCutz Products


We have more inspiration on our YouTube Channel check it out HERE
Thanks so much for stopping by!  And I will see you next Thursday.

Blessings and Take Care


Sunday, August 14, 2022

Par-fect Day!

 Hello Scrapping Cottage Friends,

We have a NEW RELEASE which is perfect for all those sports fans in the family! It is called Baseball & Golf! It has 16 fantastic dies which will make your card making and scrapbooking pages look great! The release has special pricing right now so go and check it out HERE!

My husband is a golfer so I am really going to enjoy working with of golf dies.  I used the Putting Green and Golf Cart for this card.  I mixed it with a few of the slimline dies for the background.


Design Steps:

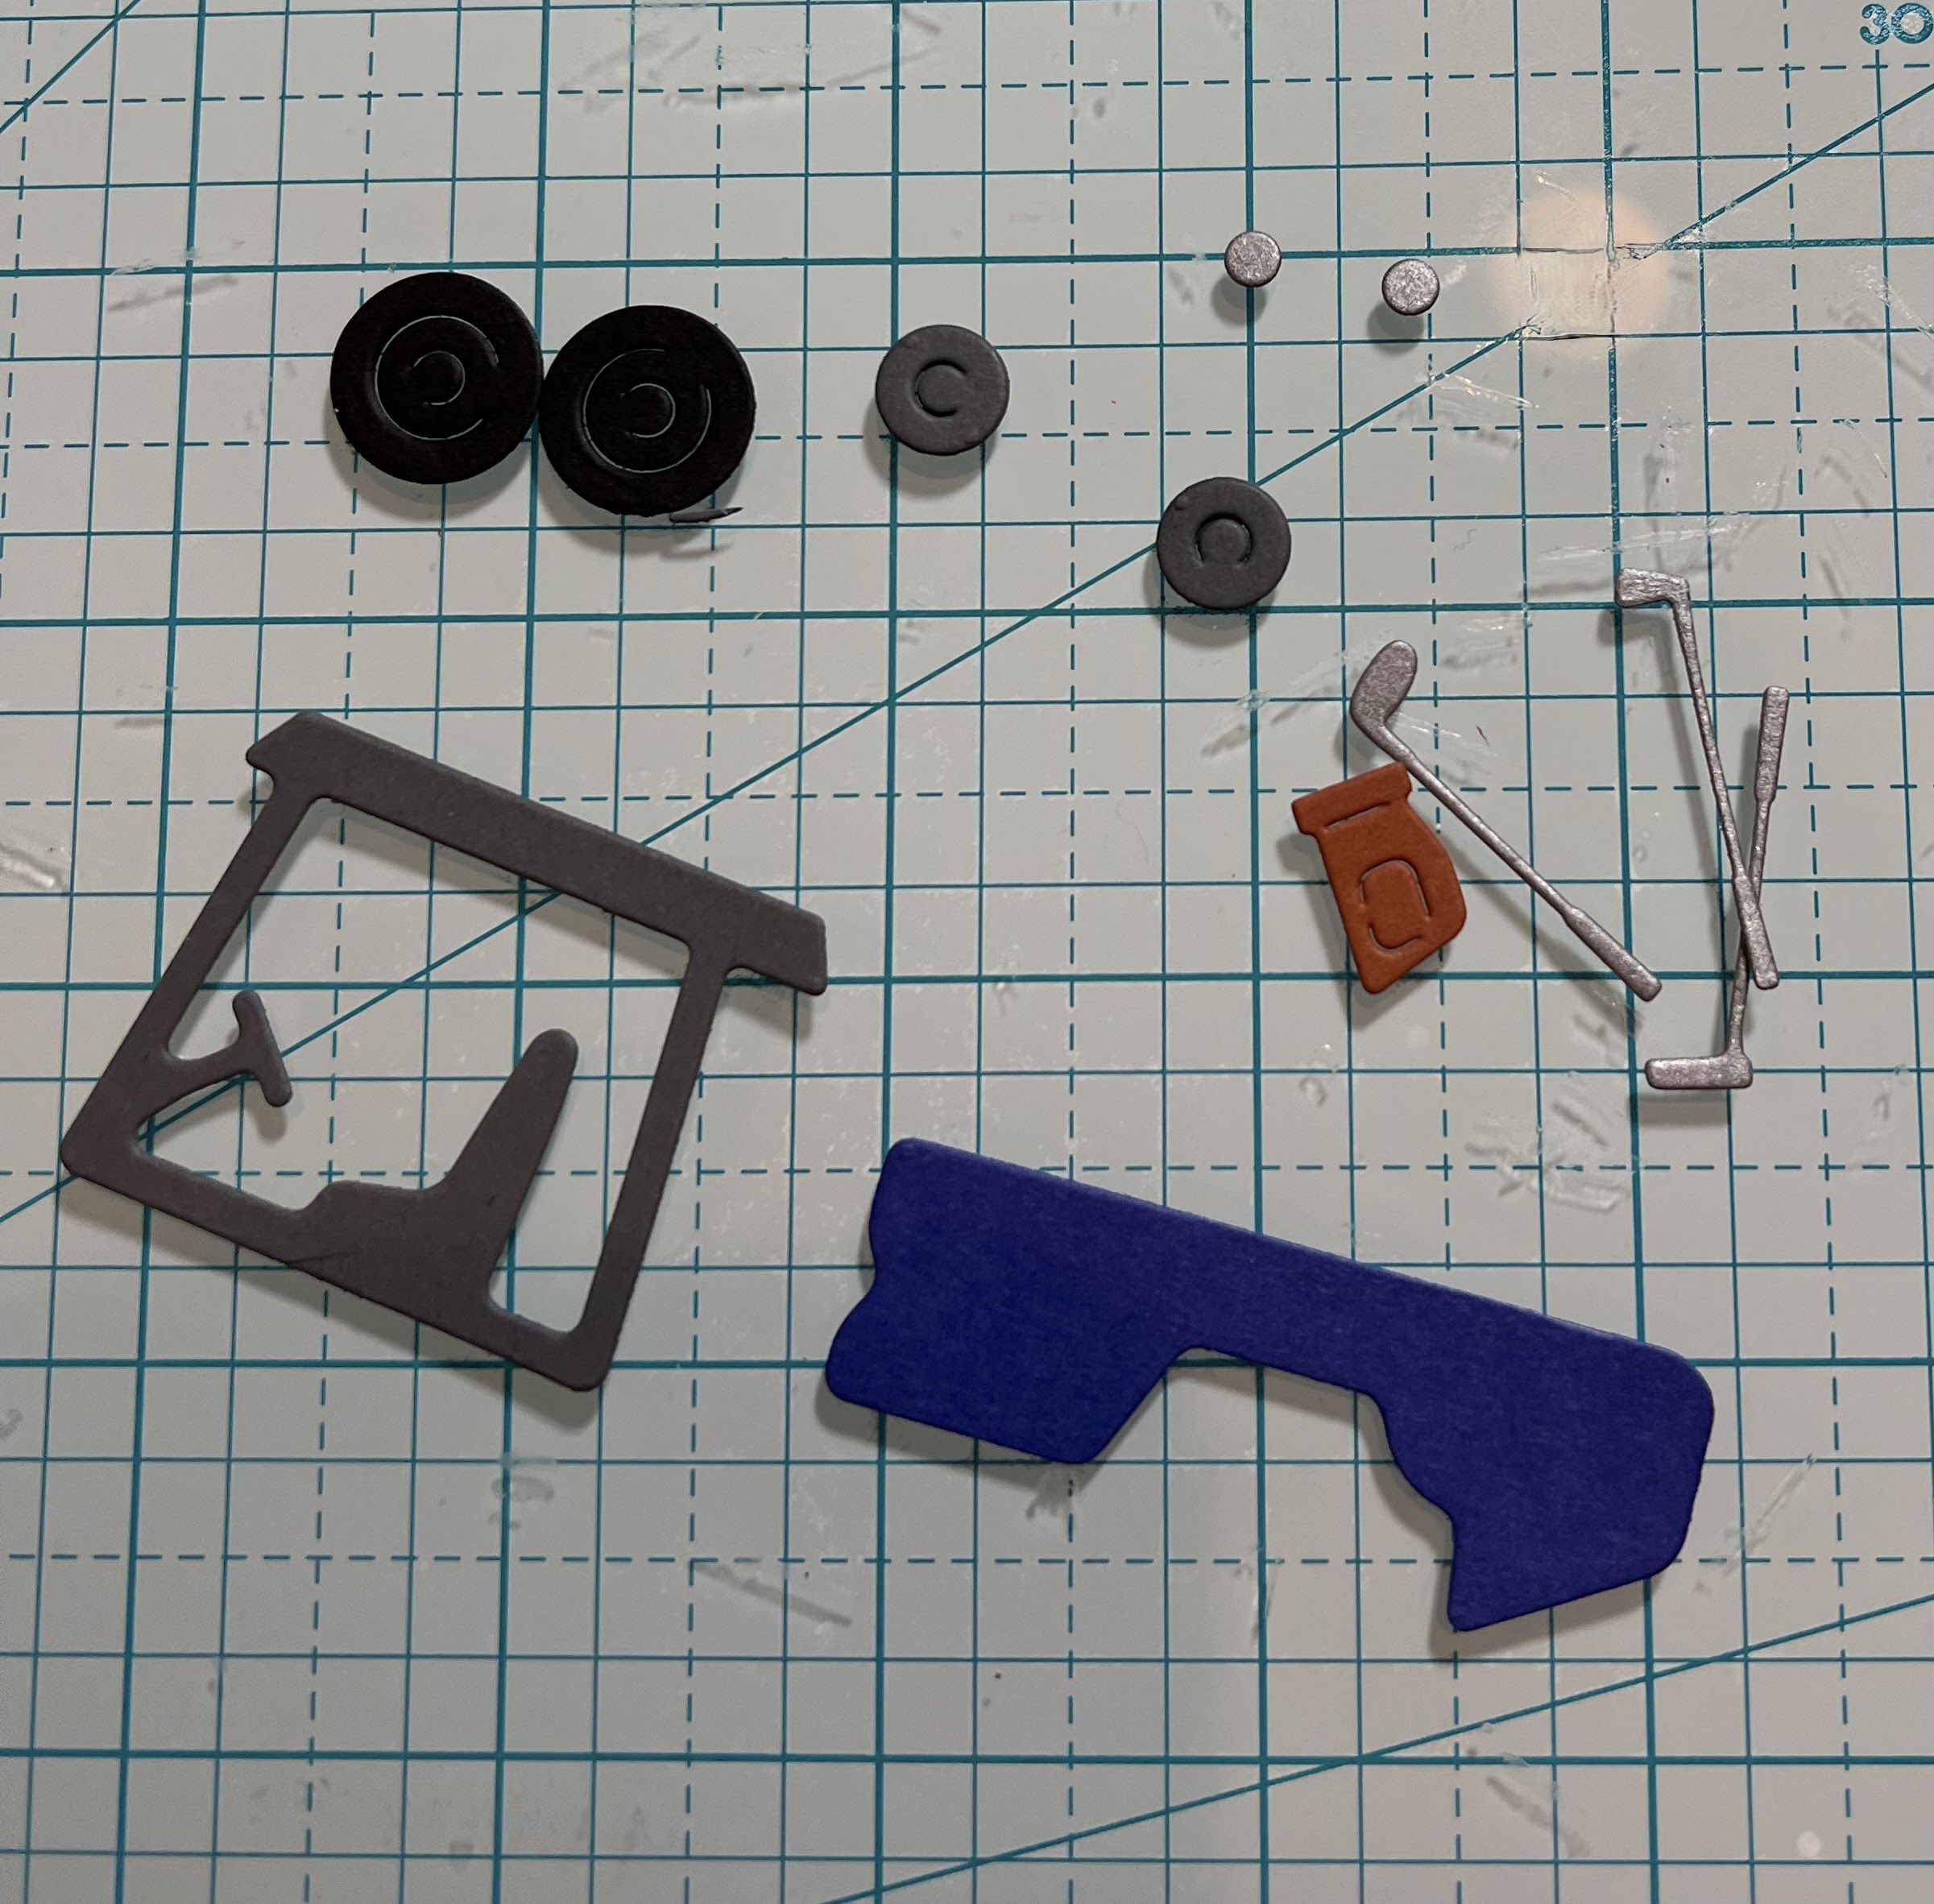
1.  I used the Golf Cart die and cut gray, silver, red, blue, rust and black card stock.  I then assembled with a fast drying, fine tip glue

2.  I used the Putting Green die and cut brown, red and green card stock.  I will assemble the putting green on the card. You will see on the card I added a little piece of white on the back side of the hole

3.  For the background of the card I used an A2 white base, blue DP for the sky 2 1/4 x 5 1/4, dark green card stock cut with Mountain & Trees Slimline, a piece of green measuring 3 x 5 1/4 cut with the Hills Slimline and not pictured a piece of white 2 x 5 1/4 cut with the Clouds slimline
4.  Glue the sky down first to the white card base. Glue the tree line to the green hills and then glue to the card
5.  Glue the putting green to the green hills as pictured above
6.  Pop up the golf card, add the clouds to the top and your sentiment to the bottom.  Your card is complete

CottageCutz Products


Here is the new release so please check it out in our store today!!


We have more inspiration on our YouTube Channel check it out HERE
Thanks so much for stopping by!  And I will see you next Thursday.

Blessings and Take Care


Sunday, August 7, 2022

New Release - Play Ball!

 Hello Scrapping Cottage Friends,

We have a NEW RELEASE which is perfect for all those sports fans in the family! It is called Baseball & Golf! It has 16 fantastic dies which will make your card making and scrapbooking pages look great! The release has special pricing right now so go and check it out HERE!

I live in Arizona home of the Diamond Backs!  We have tons of baseball.  We host a number of times for spring training so the state has a lot of opportunities to see some fantastic games.

The easel card for today is using 3 of the new dies. They are All Stars with a Shadow, Baseball, and Baseball Batter Silhouettes.


Design Steps:

1.  Use the Baseball die, the Baseball Batter Silhouettes, and the All Star with Shadow and cut out of black, white, and red.  
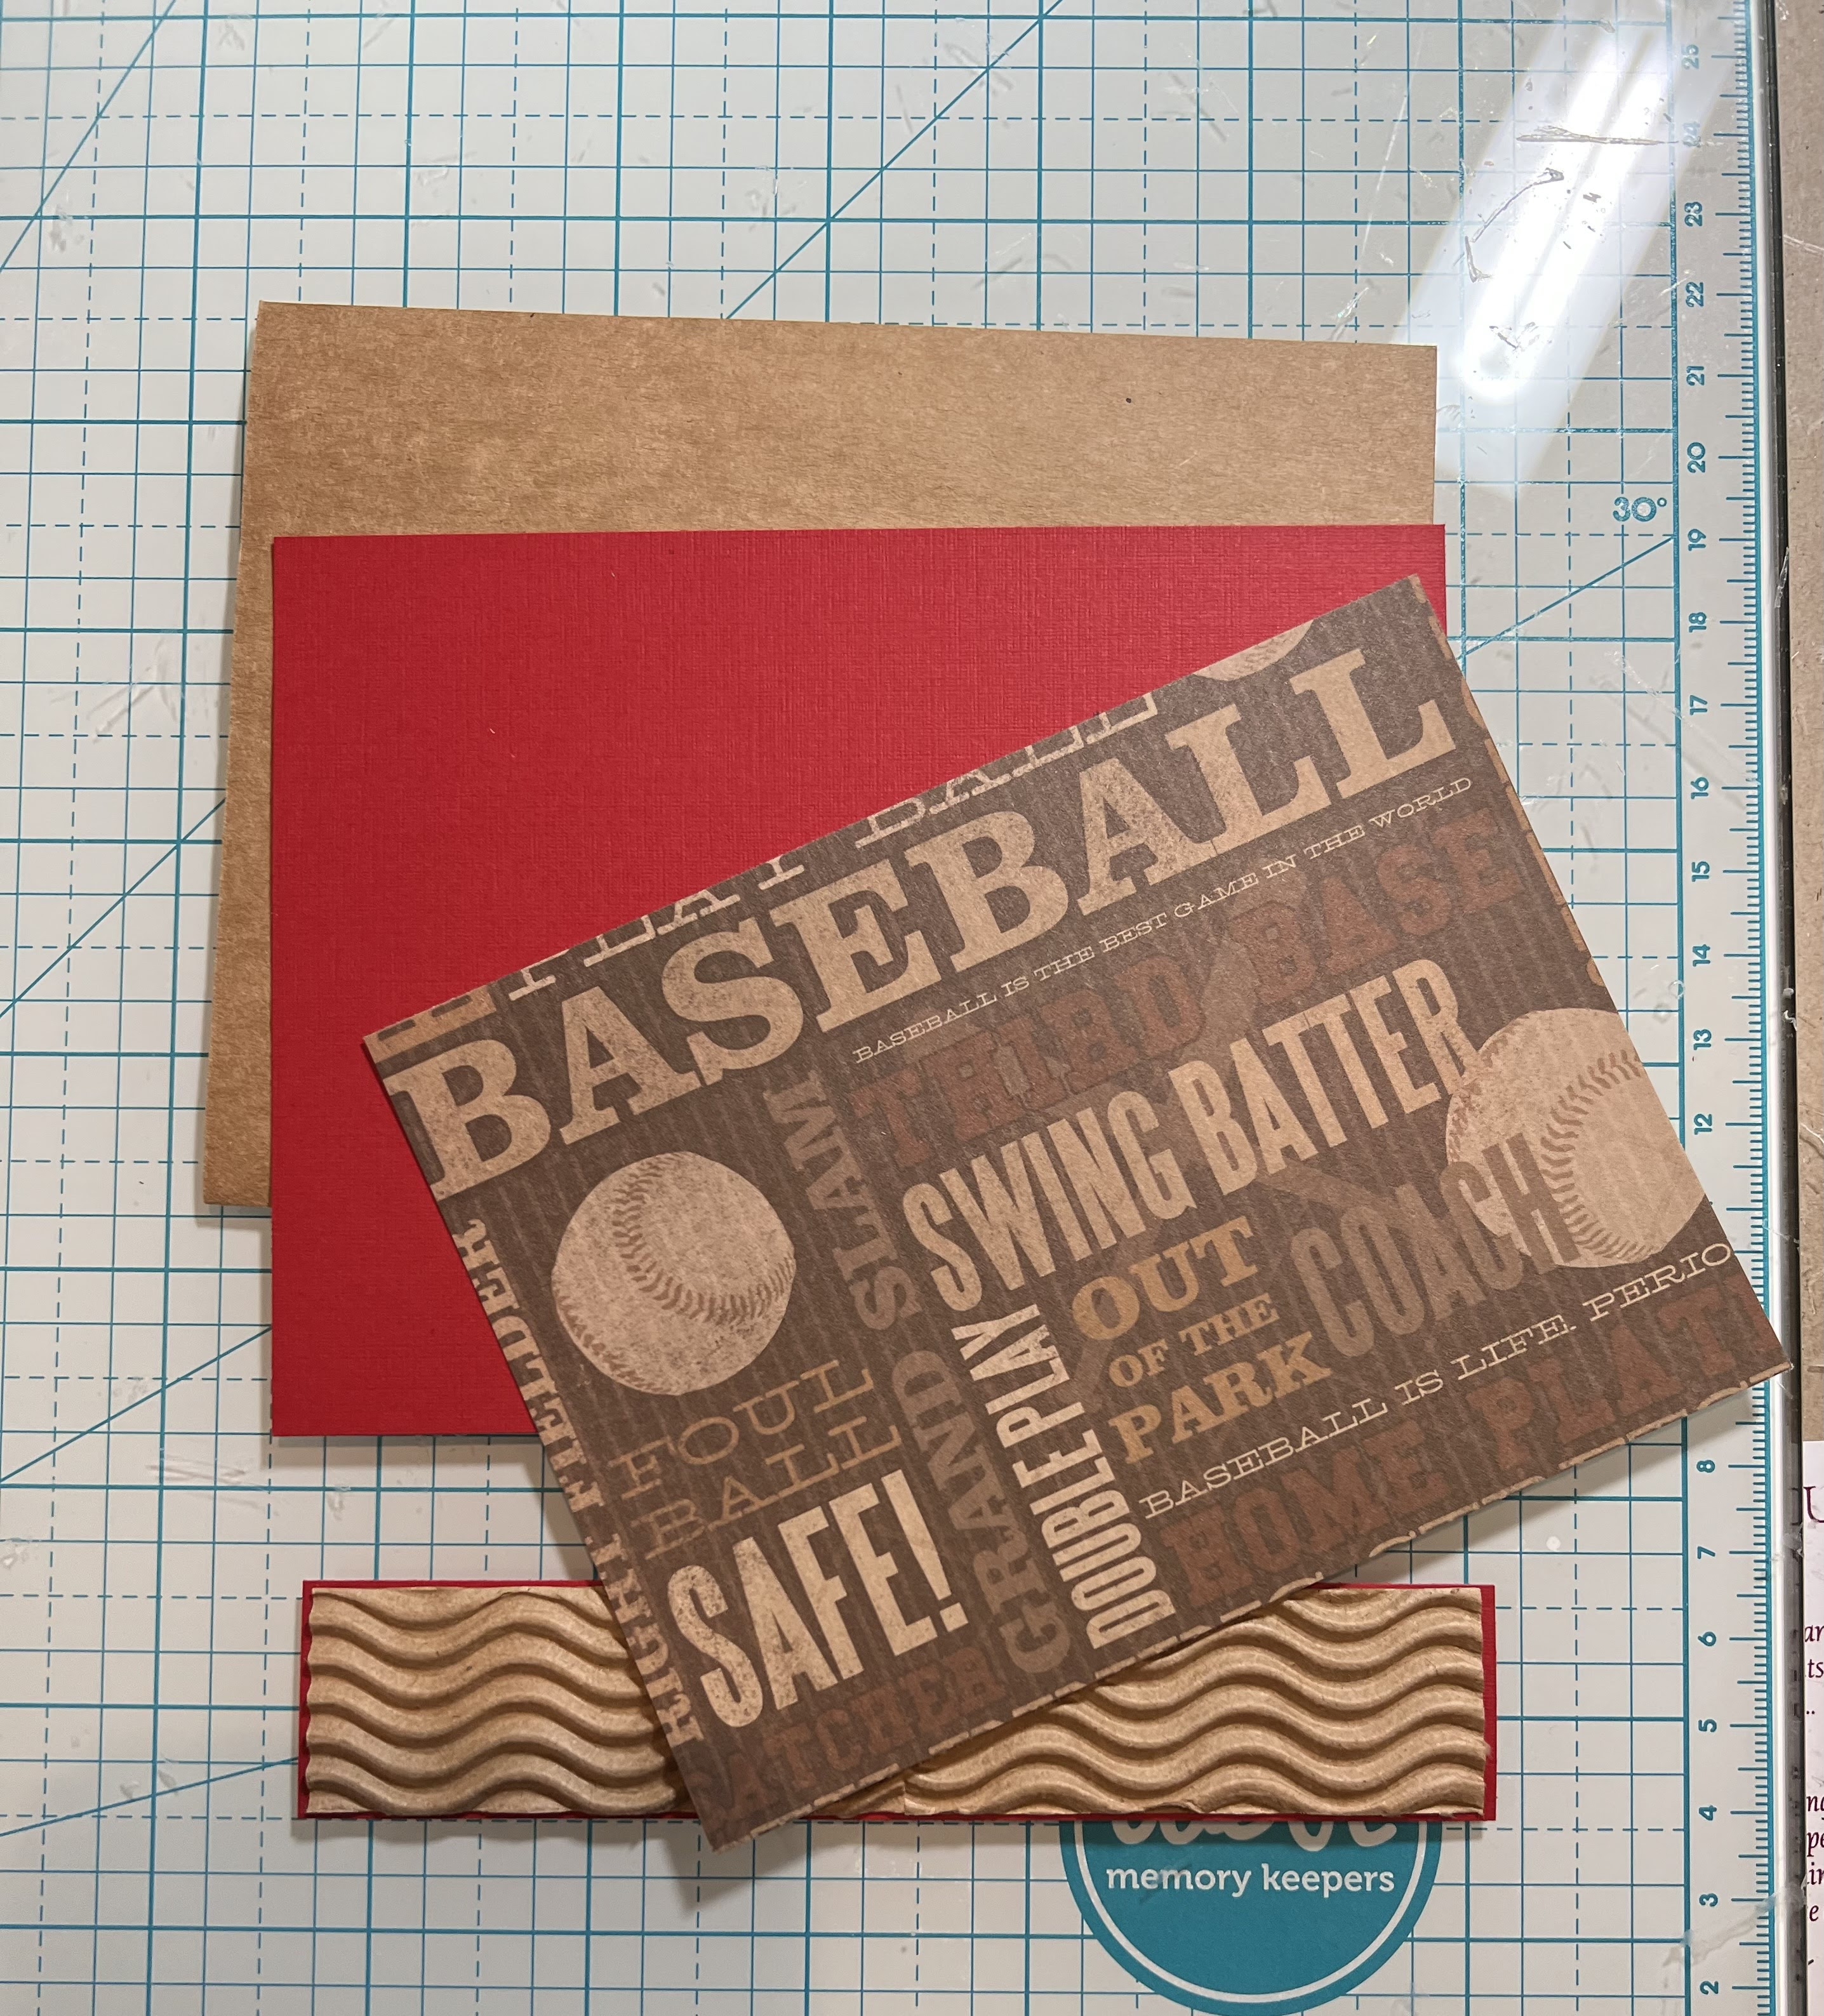
2.  Cut the following: Kraft 5 1/2 x 4 1/4, red card stock 5 3/8 x 4 1/8, Baseball DP 4 x 5 1/4,  a strip of red 1 x 4 1/8 and a piece of corrugated Kraft 7/8 x 4
3.  Glue the red to the kraft base, glue the Baseball DP to the red and next glue the red strip just slightly below center and then add the corrugated kraft strip to the red strip
3.  Put pop dots on the upper and lower part of the baseball and adhere to the card as shown.  Then put pop dots on the player and ball and add him just on top of the baseball

4.  Put glue on the lower half of the front flap and attach the front panel with the baseball

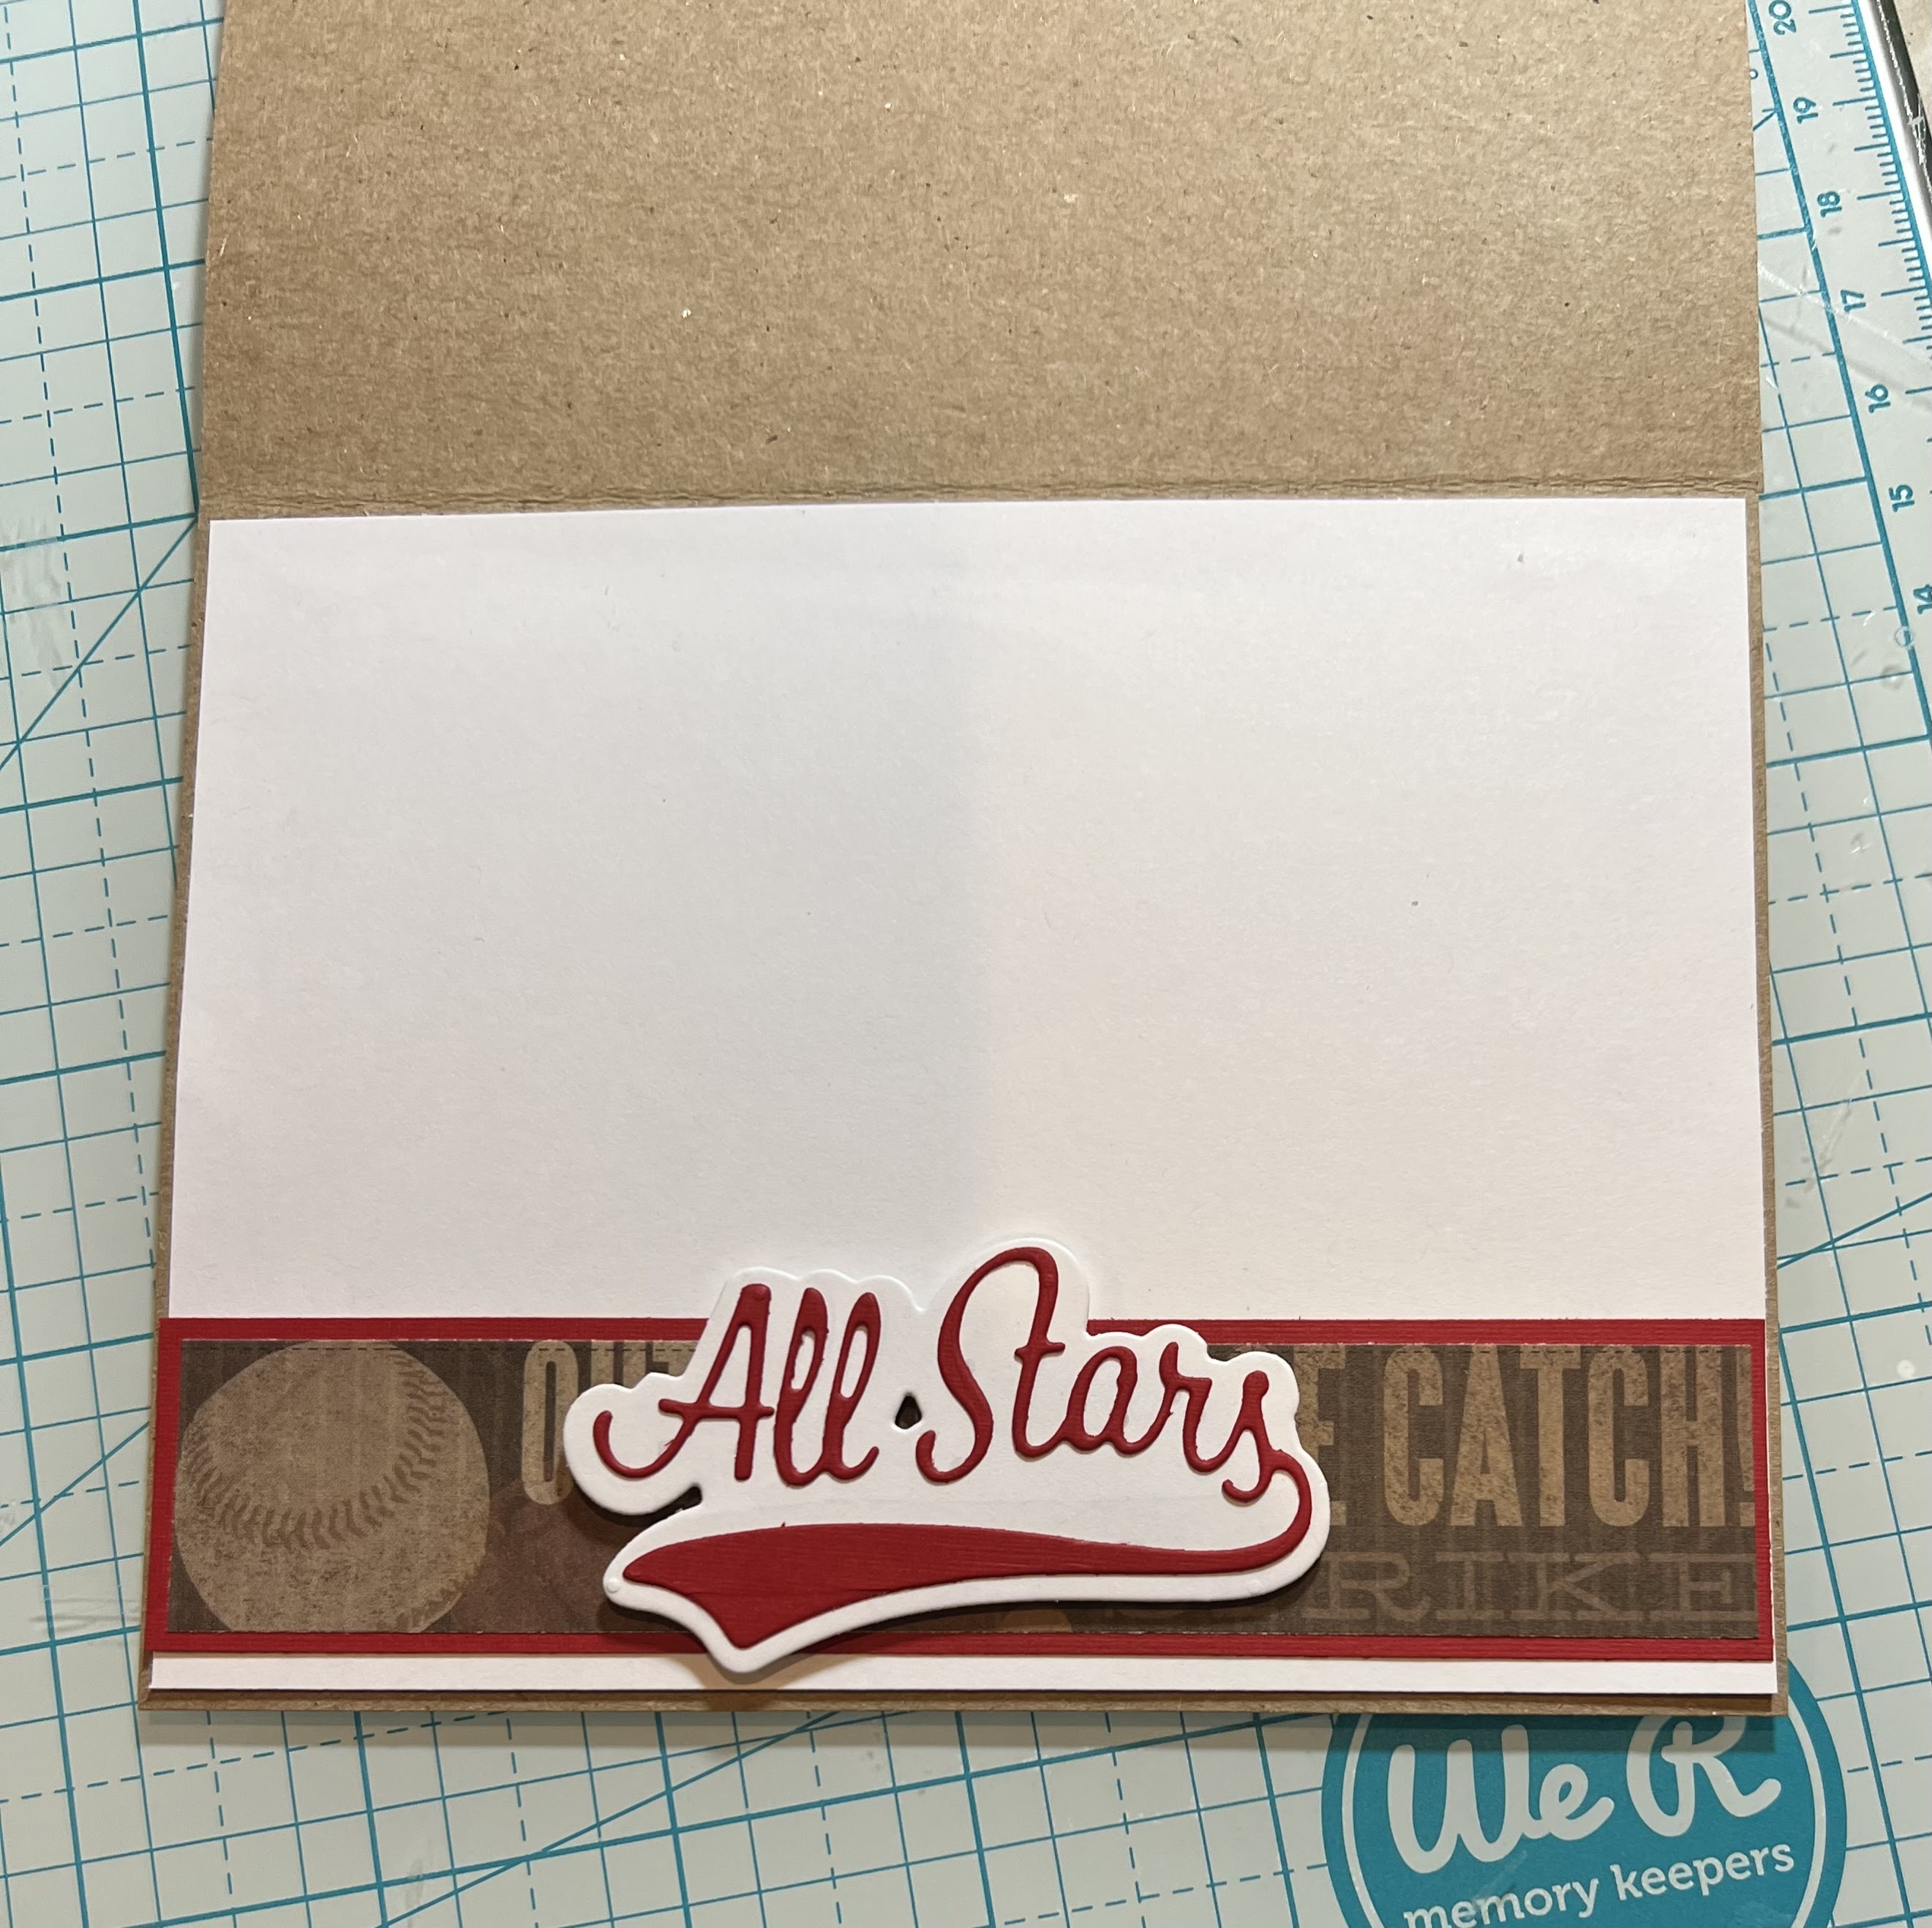
5.  For the inside Cut a piece of white card stock 4 x 5 1/4, red 5 1/4 x 1, and Baseball DP 5 x 3/4 and Assemble the All Star with Shadow
6.  Glue the white card stock to the inside, glue the red strip 1/8 of an inch from the bottom, glue down the Baseball DP to the red strip and then pop up the All Star (This will become the stopper for the easel pop up as seen below.  I added a couple of tickets that I stamped and cut out for additional interest.  The card is complete

CottageCutz Products


Here is the new release so please check it out in our store today!!


We have more inspiration on our YouTube Channel check it out HERE
Thanks so much for stopping by!  And I will see you next Thursday.

Blessings and Take Care


Sunday, July 31, 2022

Yum Donuts!

 Hello Friends

The new Strawberries and Bees release has so many fun dies including two of my favorite things coffee and donuts!!!  I am using both of these items which come on one die called Strawberry Treats 3.

Here is my card for today!

Design Steps:

1.  Cut out all of the pieces using the Strawberry Treats 3 die and the following card stock: red, pink, white, tan, green, dark and brown.  Shade with inks and a fine tip applicator then assemble

2.  Cut a rectangle that will fit all of the donuts in white and then glue the donuts to the white rectangle

3.  For the card base use a white 6 1/4 x 4 1/4, cut a piece of brown dotted DP 6 1/8 x 4 1/8 and also cut 3 Pierced Wide Rectangle Frames 2 in white and one in light brown (which I forgot to put in the picture!)
4.  Glue the brown dotted DP to the white card base.  Glue the donuts to the front of the card as shown.  I added some metal tags spelling yum
5.  Glue the 3 frames together placing the light brown one on top.  Then add dimension tape to the frame and pop it to the card.  Final step is to add the coffee cup with a little dimension tape on one side and glue on the other

CottageCutz Products


Here is the new release so please check it out in our store today!!

We have more inspiration on our YouTube Channel check it out HERE
Thanks so much for stopping by!  And I will see you next Thursday.

Blessings and Take Care