Showing posts with label Mountains & Trees Slimline. Show all posts

Wednesday, October 1, 2025

Spooktacular Fun

Hello Friends

It is almost that time of year for all the little trick or treaters to show up at your door!  So I made a fun little Halloween card to share with you today. I used several dies for this card: Spooky Truck, Haunted Ghost House, Hills Slimline and Mountain and Tree Slimline.

 Background Photo by Freepiks

Design Steps:

1.  Using the Haunted Ghost House die cut out 4 ghosts.  Use a fine black maker to fill in the eyes
2.  Use the Spooky Truck and cut out the following colors of card stock: orange, brown, and silver.  Assemble the truck with a fine tip glue
3.  Cut out a piece of white card stock 4 1/8 x 5 3/8 stencil in the moon (Stencil is Picket Fence)  Add a mask to the moon and blend in the navy sky.  Use the Hills Slimline cut out brown card stock. Use Mountain and Tree Slimline cut out dark green trees and dark grey mountains 
4.  Glue down the mountains then add the trees and finally the dirt road as shown above
5.  Glue one ghost in the window of the truck.  Then glue to the card being careful not to put glue on the  the fence on the rear of the truck so you can tuck in the two ghosts
6.  Glue the panel to an A2 white card base and then stamp your sentiment.  Your card is complete


Thanks so much for stopping by! 

Blessings and Take Care


Sunday, August 14, 2022

Par-fect Day!

 Hello Scrapping Cottage Friends,

We have a NEW RELEASE which is perfect for all those sports fans in the family! It is called Baseball & Golf! It has 16 fantastic dies which will make your card making and scrapbooking pages look great! The release has special pricing right now so go and check it out HERE!

My husband is a golfer so I am really going to enjoy working with of golf dies.  I used the Putting Green and Golf Cart for this card.  I mixed it with a few of the slimline dies for the background.


Design Steps:

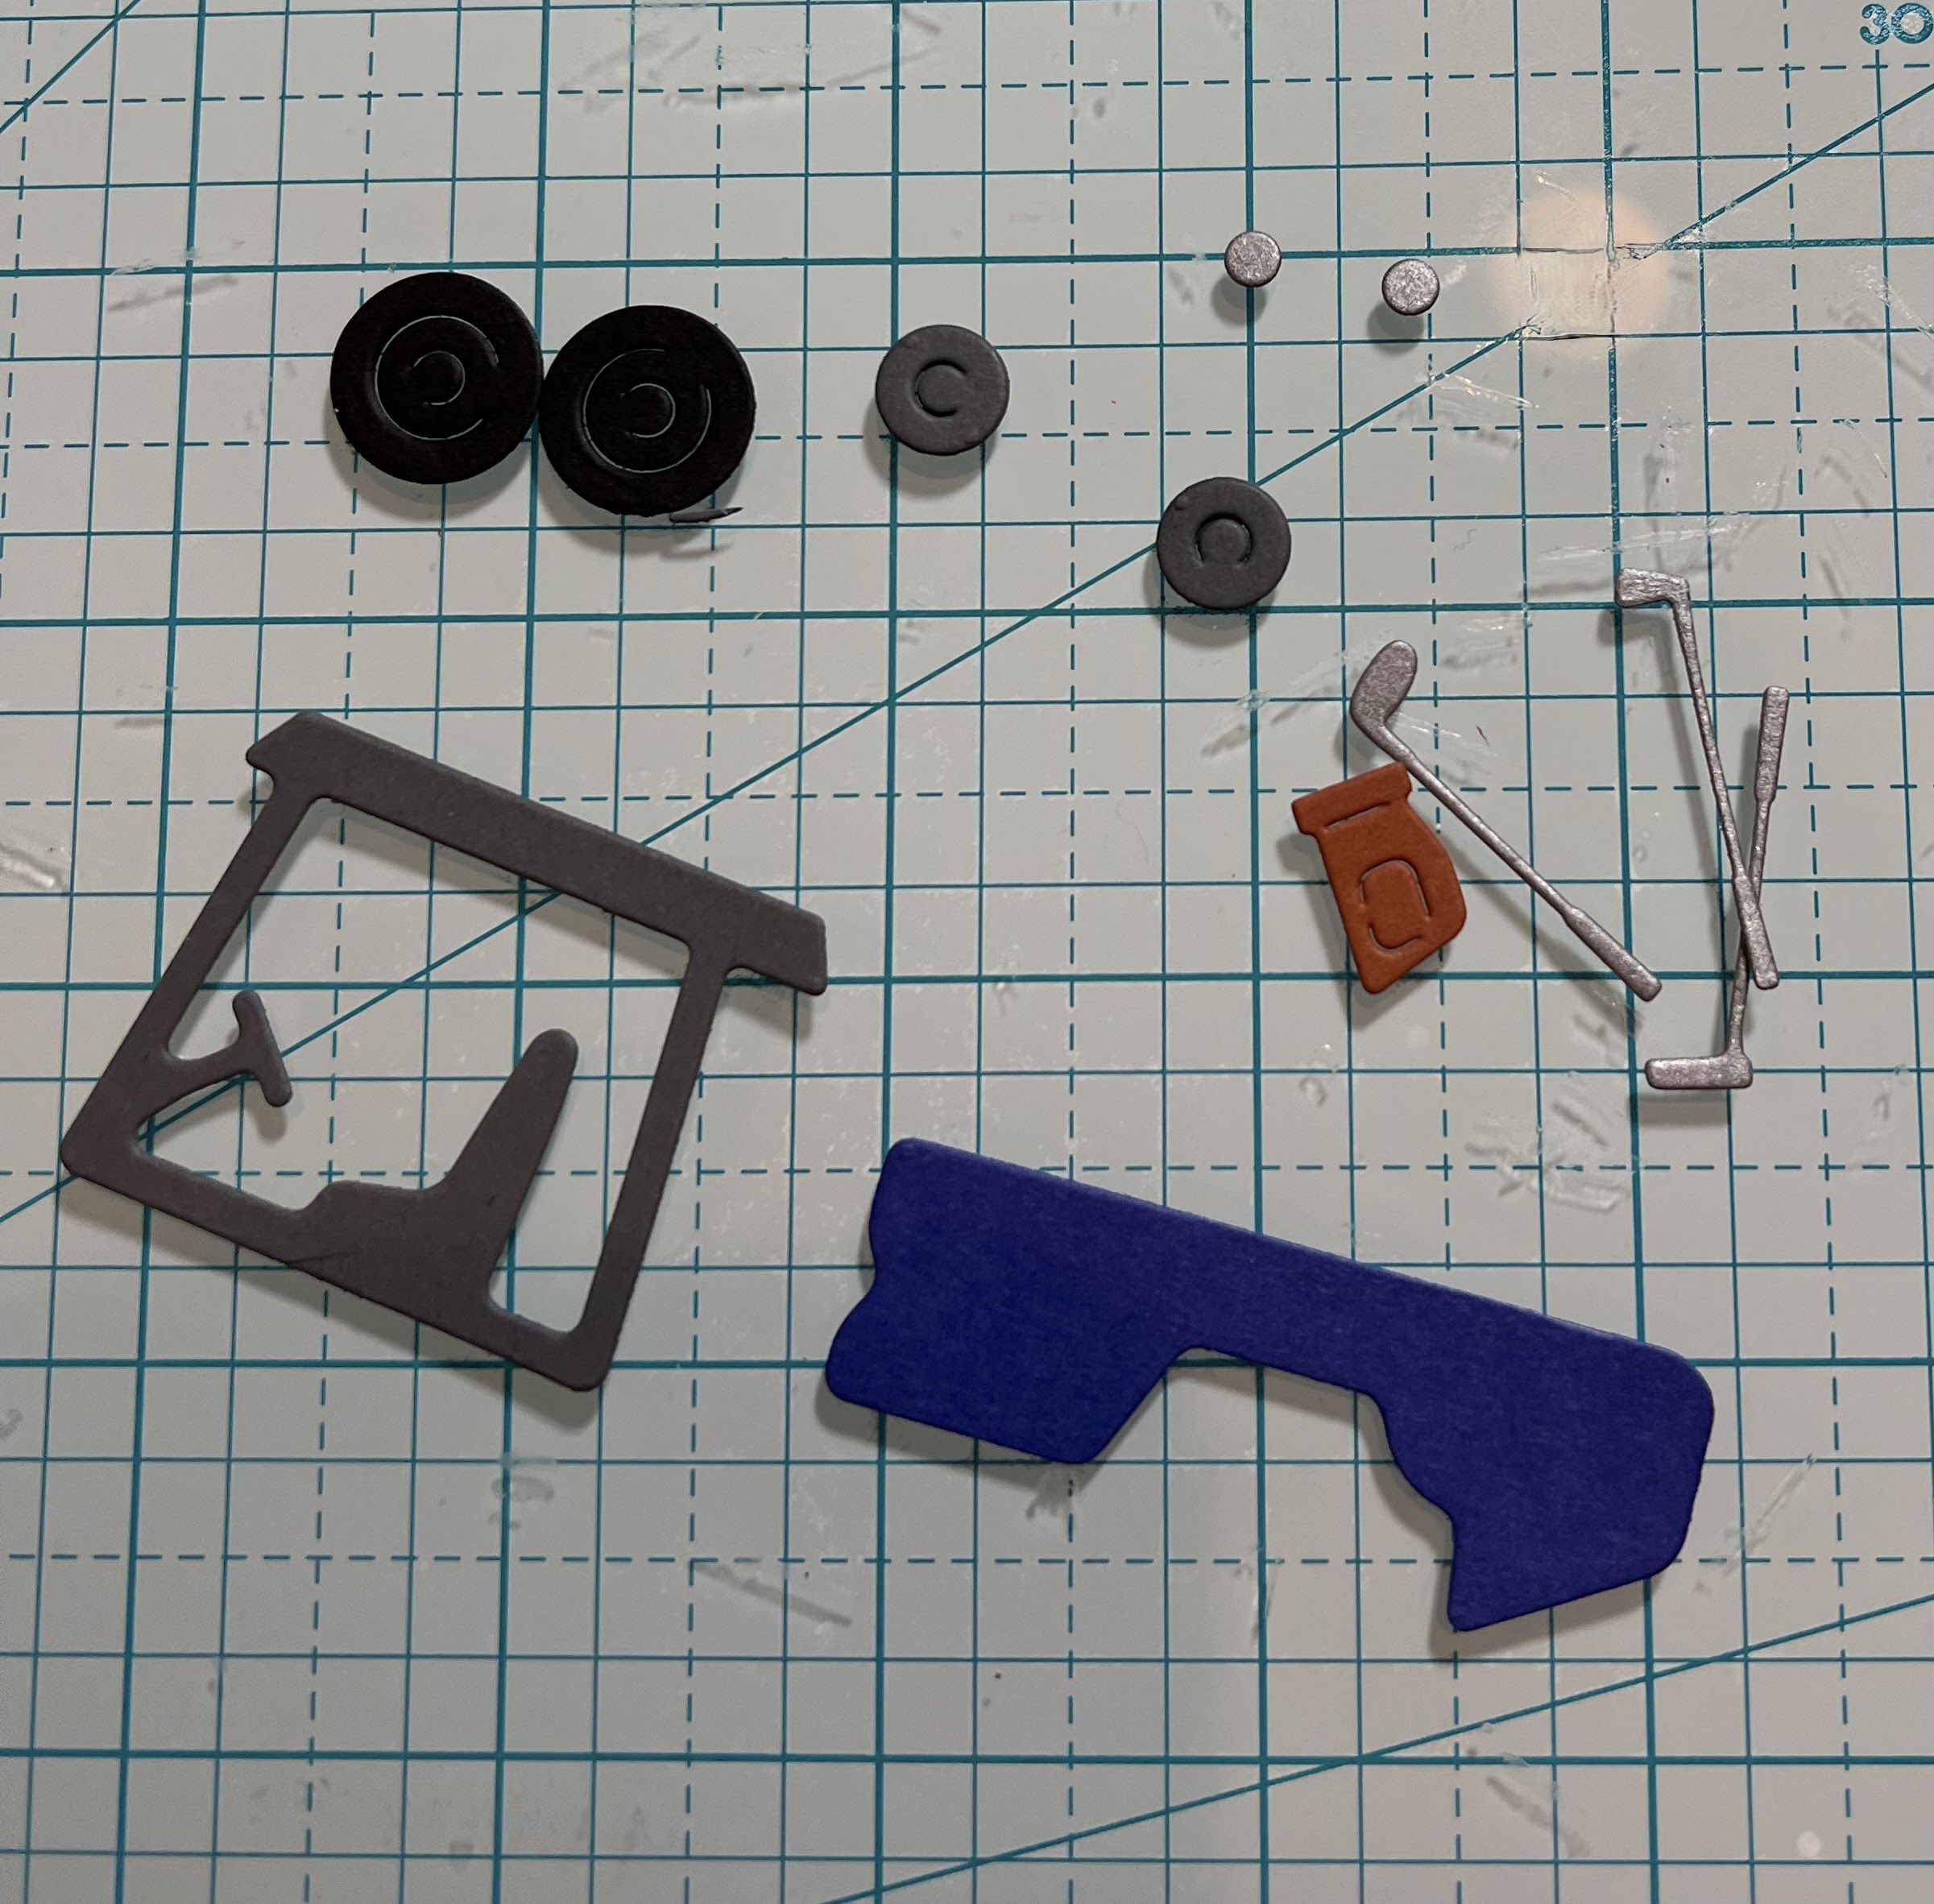
1.  I used the Golf Cart die and cut gray, silver, red, blue, rust and black card stock.  I then assembled with a fast drying, fine tip glue

2.  I used the Putting Green die and cut brown, red and green card stock.  I will assemble the putting green on the card. You will see on the card I added a little piece of white on the back side of the hole

3.  For the background of the card I used an A2 white base, blue DP for the sky 2 1/4 x 5 1/4, dark green card stock cut with Mountain & Trees Slimline, a piece of green measuring 3 x 5 1/4 cut with the Hills Slimline and not pictured a piece of white 2 x 5 1/4 cut with the Clouds slimline
4.  Glue the sky down first to the white card base. Glue the tree line to the green hills and then glue to the card
5.  Glue the putting green to the green hills as pictured above
6.  Pop up the golf card, add the clouds to the top and your sentiment to the bottom.  Your card is complete

CottageCutz Products


Here is the new release so please check it out in our store today!!


We have more inspiration on our YouTube Channel check it out HERE
Thanks so much for stopping by!  And I will see you next Thursday.

Blessings and Take Care


Monday, November 8, 2021

Christmas Tree Hunting

 Hello Friends,

It is New Release Time!  The collection is Christmas Part 2!  There are are 19 new designs just as adorable as the Christmas Part 1 release.  For a limited time there is 30% off individual dies.  You can check all of these fantastic dies out right HERE!

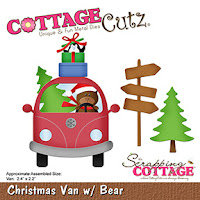
I am having fun with one of the new release dies today. I am using the Christmas Van w/Bear.  Also I want to mention the CottageCutz You Tube channel is up and running once again. We have new videos every Wednesday.  There is a give away this week so please check it out HERE!


Design Steps:

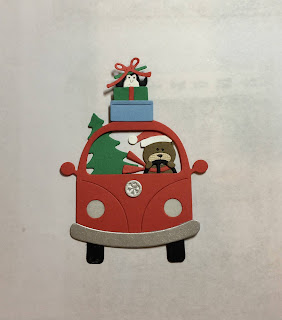
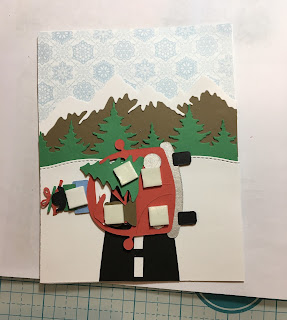
1.  Using the Christmas Van w/Bear die cut the pieces using: red, green, blue, silver, black, white, and brown.  After you cut out the pieces assemble them using a fine tip glue
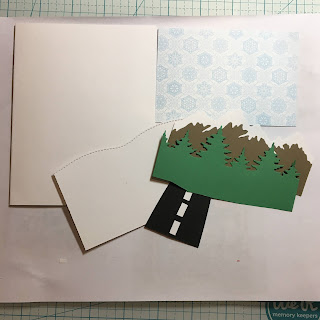
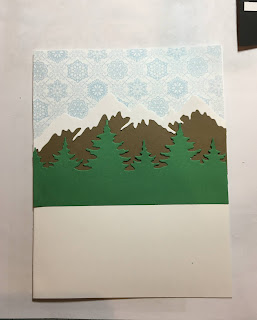
2.  For the card base use an A2 white card, piece of snow DP 3 x 4 1/4, piece of white cut with the Slimline Waves.  Brown, white and green cut with the Mountain and Tree Slimline.  The road was cut freehand out of black and white card stock
3.  Glue the snow DP to the top of the A2 white card base,  add the mountains and tree line then finally the snow bank and road
4.  Place you van on the road using pop dots and finally stamp and layer your Merry Christmas sentiment and glue it flat to the top left as shown below


CottageCutz Products


Thanks so much for stopping by today!  And don't forget to get those Christmas gifts and cards started early!! We have so may wonderful dies to spark those creative juices!!!

Take Care and Blessings

Pamnull

Monday, October 25, 2021

Ride On Gnomie Santa!

 Hello Friends

Guess What!! It is New Release Time!  The collection is Christmas Part 2!  There are are 19 new designs just as adorable as the Christmas Part 1 release.  For a limited time you can save 55% off the entire bundle or 30% off individual dies.  You can check all of these fantastic dies out right HERE!

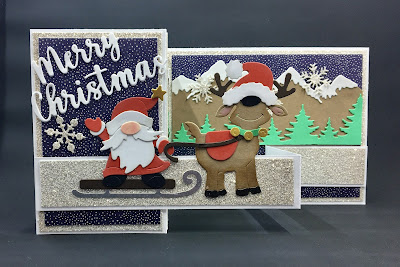
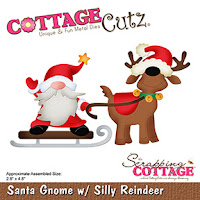
Today my Z-Fold card is using Santa Gnome w/ Silly Reindeer. There are several gnomes in this release and who doesn't love gnomes!!


Design Steps

1.  Cut the pieces out using the Santa Gnome w/Silly Reindeer and red, brown, dark brown, gold, silver, white green, tan and black

2.  Shade the pieces and assemble with a fine tip glue

3.  For the card base cut white card stock 4 1/4 x 11. Fold in half and then fold the front fold in half again.  Cut 2 pieces of silver glitter paper 2 7/8 x 4 1/8 and 2 pieces of navy dotted DP 2 1/2 x 4.  Next cut a silver glitter piece 5 1/4 x 4 1/8 and a piece of navy dotted DP 5 x 3 3/4
4.  Glue the silver layer down first and then the navy dotted DP down next
5.  For the Z- Fold arm cut a piece of white card stock 11 x 1 fold in half.  Then fold in half one of the flaps again.  Before attaching it to the card front cut silver glitter paper 3/4 x 5 1/4 and two pieces of glitter paper 3/4 x 2 1/2 and glue to the arm.  Glue the strip to the card front as shown above and below

6.  Using the Merry Christmas w/Shadow die cut out two in white card stock and glue them together
7.  Glue the Merry Christmas to the card front.  I decided I needed a little interest in the background. So I used the Slimline Mountain and Trees die and cut out the snowcapped mountains and the tree line.  I then cut them to fit the large background panel and the small side panel.  Then glued them down.  I glued down the gnome and reindeer on the front arm of the z-fold.  I also used the Snowflake Background Slimline to cut out a few snowflakes glued them down and the card is complete

CottageCutz Products


Thanks so much for stopping by and make sure to check out this latest Christmas release.  I will see you next Thursday!

Take Care and Blessings
Pam