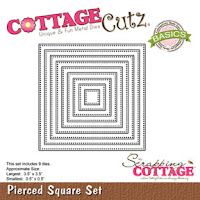
Showing posts with label Pierced Rectangle Set. Show all posts

Monday, June 16, 2025

Happily Ever After

Hi Friends,

I am making a card for a couple who are celebrating their 60th wedding anniversary!  The bride carried Lillies of the Valley in her bouquet.  So I thought I would incorporate them into their card.  The stamp I am using is called Lilly of the Valley Flower and comes with a matching die.


Design Steps:

1.  Use an A2 white card base,  cut a blue piece of card stock 4 1/8 x 5 3/8, cut polka dot DP 4 x 5 1/4, cut the checked DP 3 1/2 x 5
2.  Stamp your flower using Memento Black ink and color with copic markers.  Use the 3rd from the largest Pierced Retangle die and cut it out.  Use the 2nd from the largest Stitched Scalloped Rectange die and cut out a piece of the blue card stock.  Glue the flower image to the scalloped blue retangle as shown above
3.  Glue the polka dot DP to the solid blue card stock and then on top of the polka dot DP glue down the checked DP.  Cut a piece of ribbon and take the two ends and tie a square knot.  On the opposite side of the knot cut the ribbon in half.  Then tape it to the back of the card as shown above.  This trick makes the ribbon lay really flat
4.  Flip the card over and trim up the ribbon edges.  Glue this to the white card base
5.  Use dimension dots and pop up the flower just above the ribbon.  Stamp your sentiment and layer it onto blue card stock then add to the card.  Your card is complete

And Stamp Used


Thanks so much for stopping by! 

Blessings and Take Care


Sunday, June 1, 2025

Father's Day

 Hello Friends

I am making a few Father's Day cards for our church's annual boutique sale.  I decided to go with a regular A2 design to best display all of the fun dies I used.  The dies for this card are all from just one die! Except for the pierced square and rectangle. The die I used is call Dad's Tools.


Design Steps:

1.  Using the Dad's Tools die cut out the following colors of card stock: silver, DP wood grain, tan, yellow, red and dark gray.  Glue the pieces together with a fine tip glue 
2.  Use the 5th from the largest Pierced Retangle die and cut it out of a piece of light gray card stock.  Layer it with red card stock.  Next cut (2) 4th from the smallest Pierced Squares in light gray.  Layer them in red card stock.  Stamp your sentiment and add the tools as shown above or any way you wish!
3.  Use a light gray A2 card base, cut a piece of red 5 3/8 x 4 1/8, cut a piece of DP 4 x 5 1/4.  Glue the red to the back of the DP
4.  Pop up the retangle and square panels onto the front of the card add the twine and corner brads and then glue to the light gray card base as shown above

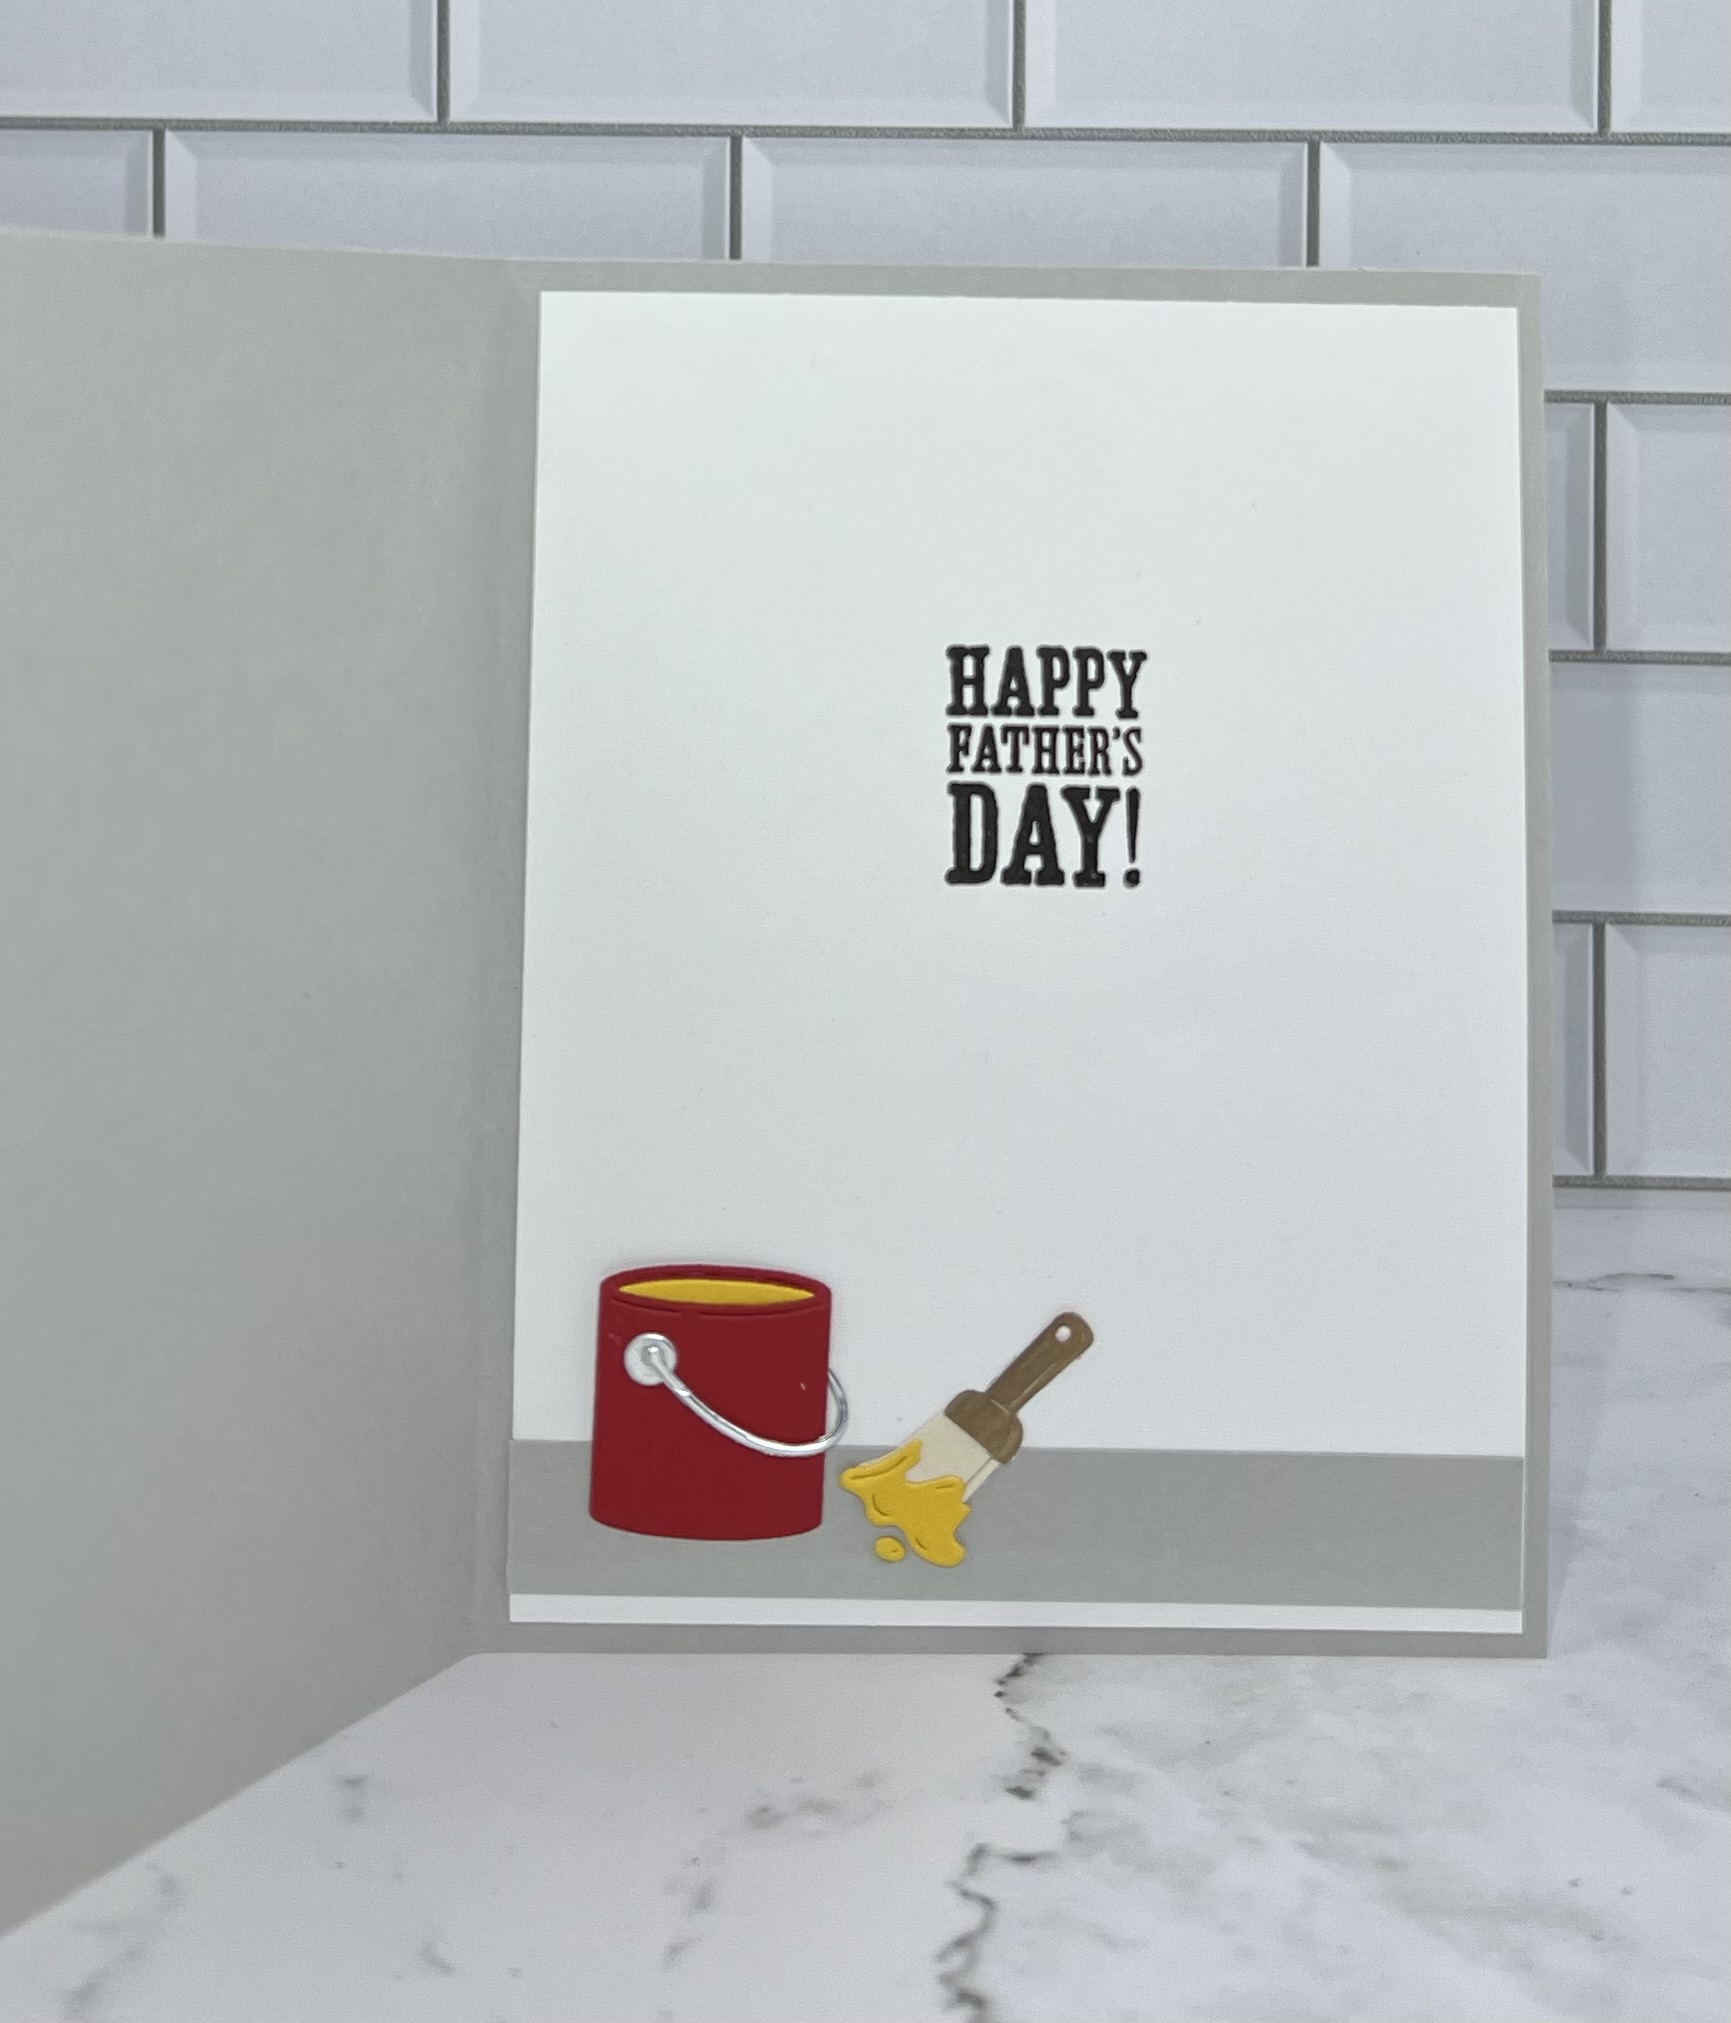
5.  For the inside I lined the card with a piece of 4 x 5 1/4 white card stock.  Stamped my senciment and added the paint bucket and brush.  Your card is complete


Thanks so much for stopping by! 

Blessings and Take Care


Sunday, July 21, 2024

Sea Adventure

Hello Friends

It is Pam sharing with you today!  

The card I am making today is for a retirement celebration.  It is designed especially for a sea loving guy.  He can hardly wait to enjoy sailing and traveling to exciting places in his new found free time! I am featuring the Pirate Ship, Ship's Wheel and Map & Spyglass dies.  


          Background Photo by FreePiks

Design Steps:

1.  Using the following dies: Pirate Ship, Map & Spyglass and Ship's Wheel cut out the following colors of card stock: red, black, yellow, Kraft, and gray (Pirate Ship) light blue, cream, parchment, red and navy (Map and Spyglass) Kraft (Ships Wheel)
2.  Shade the pieces and then assemble with a fine tip glue
3.  Using the 5th and 6th from the largest Pierced Square dies cut out 2 squares in white.  Using the 3rd from the largest Pierced Rectangle die cut out 1 rectange in white.  Run the pieces through an embossing folder and then blend with blue ink
4.  Arrange the pieces on the rectangle and squares and then glue down
5.  The base is an A2 Kraft card stock, followed by cream colored card stock cut 4 1/8 x 5 3/8 and the top layer is black card stock cut 4 x 5 1/4.  Ink the edges of the kraft and cream card stock and glue together.  Add the black layer on top of the cream card stock.  For a little added texture I dyed cheesecloth with some TH Vintage Photo ink and placed it on top of the black card stock

6.  I was able to attach the cheesecloth by placing a good amount of glue on the backs of the rectangle and square pieces.  Add the sentiment and your card is complete


We have more inspiration on our YouTube Channel check it out HERE

Thanks so much for stopping by! 

Blessings and Take Care


Sunday, August 21, 2022

Fore!

 Hello Scrapping Cottage Friends,

We have a NEW RELEASE which is perfect for all those sports fans in the family! It is called Baseball & Golf! It has 16 fantastic dies which will make your card making and scrapbooking pages look great! The release has special pricing right now so go and check it out HERE!

Not only is my husband a golfer but my two nephews take a swing at it too! So I am happy to make a few more cards with the golf theme.  Today's card features the Golf Ball & Tee, Golf Basket of Balls, and Golf Bag and Clubs.  


Design Steps:

1.  Start with an A2 size kraft card base, green DP cut at 4 1/8 x 5 3/8, green plaid DP 4 x 5 1/4, strip of green DP 2 1/8 x 5 3/8 and a strip of newspaper DP 2 x 5 1/4
2.  Cut out the pieces using the Golf Ball & Tee , Golf Basket of Balls, Golf Bag and Clubs on green, red, white, brown and silver card stock.  Cut out the squares using the 6th from the largest Pierced Square die on kraft card stock.  Cut out the the rectangle 6th from the largest Pierced Rectangle die on kraft card stock
3.  Assemble the pieces using a fine tip glue.  I traced the golf basket and put a white liner behind it.  Using the Stitched Alphabet die cut out FORE in red
4.  Glue down the solid green DP to the card front.  Next glue down the plaid DP.  Glue the green strip to the newspaper DP and add it to the front as shown.  Glue the FORE, squares and the rectangle to the front as shown
5.  Add dimension squares to the back of the golf basket, golf bag and the ball and then pop them to the card front as shown below and your card is complete

CottageCutz Products


We have more inspiration on our YouTube Channel check it out HERE
Thanks so much for stopping by!  And I will see you next Thursday.

Blessings and Take Care