Showing posts with label Stitched Heart Die. Show all posts

Sunday, January 23, 2022

Valentine Bunny

 Hi Friends,

We have a new Spring release with 20 sweet designs.  The bundle for the entire release is at 60% off right now.  And individual dies are at 25% off.  Just check it out HERE.  

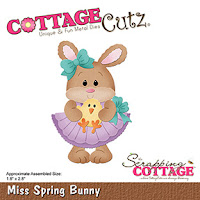
I am using the Miss Spring Bunny today.  And to show you how versatile these dies are I am using it as a Valentine.  

Design Steps:
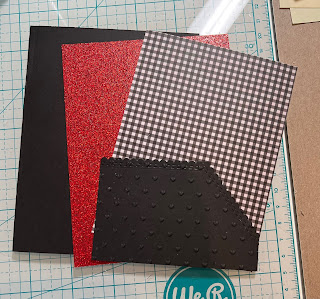
1.  The supplies for the base: A2 black card base,  red glitter card stock 4 1/8 x 5 3/8, Checked DP 3 5/8 x 4 7/8,  pocket 2 1/2 x 3 5/8 embossed with little hearts
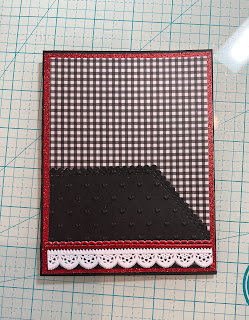
2.  Glue the red glitter paper to the black card base, glue the checked DP to the red glitter card stock, and finally add the pocket only putting glue on the sides and bottom so it will open on the top
3.  Add the white and red trim to the bottom of the pocket as shown above
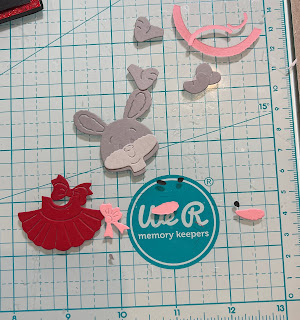
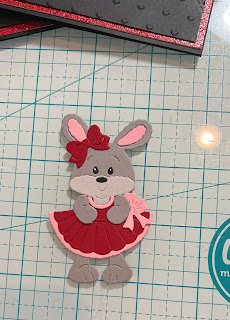
4.  Using the Miss Spring Bunny cut out the pieces in red, light grey, dark grey, pink and black
5.  Assemble the bunny with a fine tip, fast drying glue.  Add the little white dots on the eyes with a gel pen
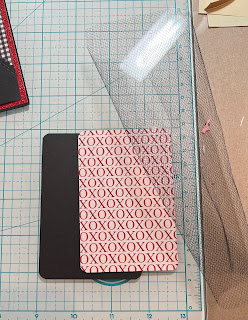
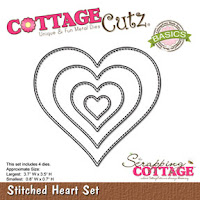
6.  Cut out the pieces for the tag black is 2 3/4 x 4 and the DP is 2 1/2 x 3 3/4.  Glue the pieces together and punch a hole in the top.  Add the black tule and tie a knot.  Using the Stitched Heart die set the smallest one cut a little heart out of glitter card stock.  Place the heart into the bunny's hands as shown below.  Stamp your sentiment and layer onto some red glitter card stock and your card is complete
CottageCutz Products

Don't forget to check out the new Spring Release.  It is perfect for Valentines, Spring Birthdays and of course Easter!
We have more inspiration on our YouTube Channel check it out HERE
Thanks so much for stopping by!  And I will see you next Thursday.

Blessings and Take Care
Pam

Sunday, January 16, 2022

Valentine Kitten

 Hello Scrapping Cottage Friends

GUESS WHAT???  We have a new Spring release with 20 sweet designs.  The bundle for the entire release is at 60% off right now.  Just check it out HERE.  

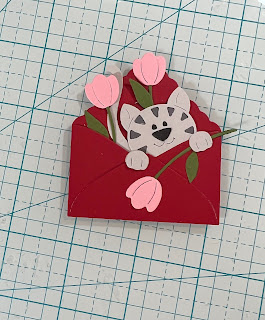
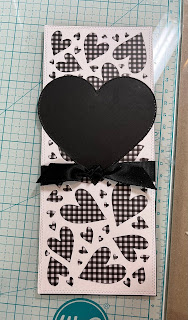
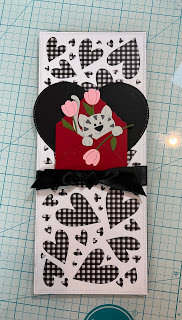
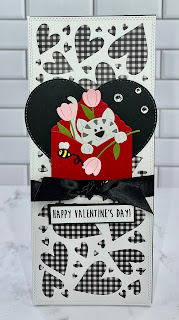
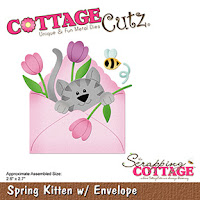
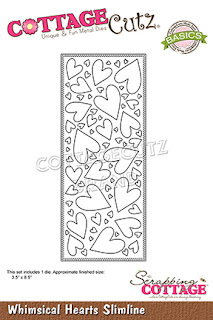
I am using the Spring Kitten with Envelope.  I decided to make a slimline and pair the kitten with the Whimsical Hearts slimline die.


Design Steps:
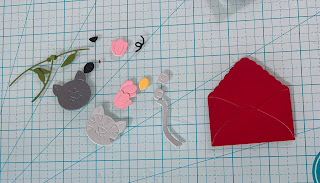
1.  Using the Spring Kitten with Envelope cut out the pieces using: red, light grey, dark grey, pink, green and black card stock
2.  Assemble the pieces using a fine tip glue
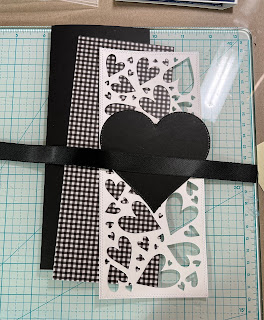
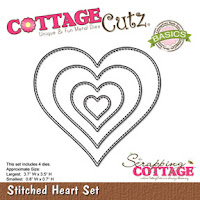
3.  For the base use a piece of black card stock cut at 8 1/2 x 7 folded in half.  A piece of checked DP cut at 3 1/4 x 6 3/4. A piece of white card stock cut with the Whimsical Hearts Slimline die. A piece of black card stock cut with the largest Stitched Heart die. And finally a piece of satin ribbon cut at 11 inches
4.  Glue the checked DP to the back of the heart slimline.  Tie the ribbon into a square knot and tape it to the back of the white heart card stock then glue to the black card base.  Glue the black heart as shown above
5.  Pop up the kitten in the envelope to the front of the card just above the square knot
6.  Add the little bee, the sentiment and rhinestones and your card is complete

CottageCutz Products


Don't forget to check out the new Spring Release.  It is perfect for Valentines, Spring Birthdays and of course Easter!
We have more inspiration on our YouTube Channel check it out HERE
Thanks so much for stopping by!  And I will see you next Thursday.

Blessings and Take Care
Pam


Tuesday, December 1, 2020

Sweet Baby

 Hello Scrapping Cottage Friends

Just for your info we have one more day of our amazing Black Friday Sale.  And believe me you do not want to miss these fantastic prices.  Today, I am using the little baby zebra from our new Safari Release.  And I am really loving how versatile these dies are.  Everything from birthdays to babies!


Designer Steps:

1.  Use a white A2 card base and cut a piece of polka dot card stock 4 x 5 1/4.  Using the Stitched Heart die second from the largest cut out a heart positioned as shown.  Next using the same heart die cut out a piece of star DP.
2.  Stamp the star heart with the word welcome.  Glue the blue polka dot paper to the A2 white card base.  Then fill in the heart with the star DP heart
3.  Next cut out 3 sets of letters using the Stitched Alphabet die.  Stack and glue the letters together with the star DP on the top
4.  Using the Safari Zebra die cut out the animal using grey, white and black card stock
5.  Put together the zebra with glue that has a fine tip for easy and accurate glue placement

6.  Pop the zebra up on the right side of the heart.  Glue the BABY letters below as shown.  Stamp the word sweet in black ink and layer onto blue polka dot designer paper.  Pop it above the word baby.  Last I added a little banner using the Spooky Camper die.  I cut it in white and colored with Copics and finally added two rhinestones to the bows


CottageCutz Products


Just for you info our great Black Friday sale is going on until December 4th!  These dies are a must for any card maker or scrapbooker on your shopping list.  So don't miss out on these awesome prices. And don't forget to treat yourself!


Blessings
Pam