Showing posts with label Pam M.. Show all posts

Monday, December 20, 2021

Holy Night

 Hello Scrapping Cottage Friends

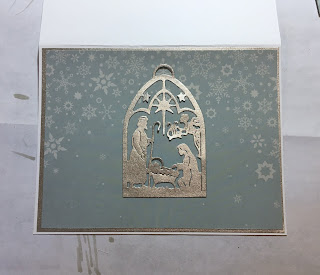
I just want to wish you all a Merry Christmas and a very Blessed New Year!  My last Christmas card for the season is featuring the true meaning of Christmas.  I love cards that bring this message to friends and family.  I am using the Nativity Ornament w/Harp.

Design Steps:

1.  Use an A2 white card base, silver 4 1/8 x 5 3/8, snowy DP 4 x 5 1/4 and using the second from the largest Wide Rectangle Frame die cut out 3 grey DP frames then glue them together
2.  Glue the silver to the white card base then glue the blue snowy DP to the silver
3. Using the Nativity Ornament w/Harp die cut it out of the silver paper.  Using a fine tip glue adhere it to the middle of the card as show above
4.  Place dimensional adhesive strips to the back of the frame and then pop it to the card front over the nativity scene as shown
5.  Using the Holy Nativity die cut out just the sentiment 3 times in a lightly striped DP.  Glue them together and then glue to the frame as shown below.  Add the bow and your card is complete

CottageCutz Products

I hope you have a wonderful Christmas filled with fantastic memories and I will see you next Thursday! And just to remind you we have a wonderful YouTube Channel for more inspiration.  Check it out HERE

Blessing and Take Care

Pam


Saturday, November 13, 2021

Christmas Poinsettia

 Hello Scrapping Cottage Friends

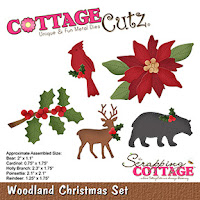
The design team is continuing to use our two new Christmas release dies.  The two releases are at 30% off but this great sale won't last long.  So make sure to take a peek before the prices go up.  I am using one of the very versatile dies the Woodland Christmas Set.  There are a number of great designs on this one die.  I am using the beautiful Poinsettia for this card.


Design Steps:


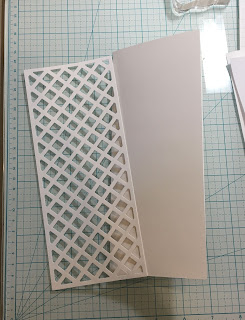
1.  Use a white slimline base measuring 3 1/2 x 8 1/2.  Cut a piece of white card stock using the Lattice Slimline die for the cards background.  Glue the Lattice to the front of the white slimline base card

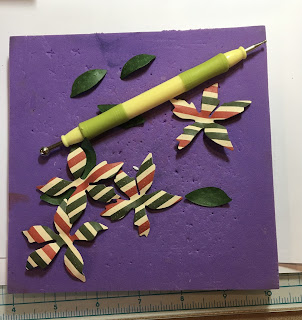
2.  Next using the Woodland Christmas Set die cut out the red flowers, green leaves and the gold centers.  For the gold berries I used the Christmas Floral #2

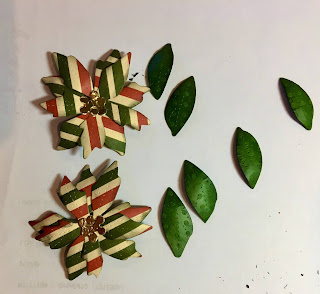
3.  Use a stylus to give the flowers and leaves a little bend.  Rub the back of the petals and then flip over and make a circular motion in the cener of the flower.  For the leaves just rub the back of the leaves

4.  Make your arrangement just slightly below the center of the card.  I used glue dots for the flowers and tucked the leaves and gold berries in with glue
5.  Stamp your sentiment and layer with red card stock.  Glue the sentiment to the front of your card and your card is complete

CottageCutz Products


I want to remind everyone that the CottageCutz You Tube channel is up and running once again. We have new videos every Wednesday.  Check it out right HERE!

Take Care and Blessings

Pam


Sunday, October 31, 2021

Peace On Earth

 Hello Friends,

Guess What!! It is New Release Time!  The collection is Christmas Part 2!  There are are 19 new designs just as adorable as the Christmas Part 1 release.  For a limited time there is 30% off individual dies.  You can check all of these fantastic dies out right HERE!

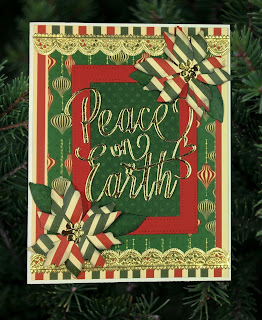
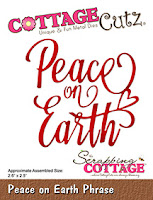
I am showcasing two of the new release dies today.  The Peace on Earth with it's beautiful font and the Woodland Christmas Set specifically the gorgeous poinsettia.  I added a lot of gold for some extra Christmas bling!


Design Steps:

1.  Using the Woodland Christmas Set I cut the poinsettia out of striped DP, the leaves out of dark green and the centers out of gold.  Next I gave them some shape by using my stylus first on the back of the petals and then flipping them over and pressing down in the center of the flower.  For the leaves just run the stylus over the back of the leaves
2.  I used black ink on the edges of the flowers and leaves for a little depth.  Then used a glue dot or a strong glue to assemble the flowers

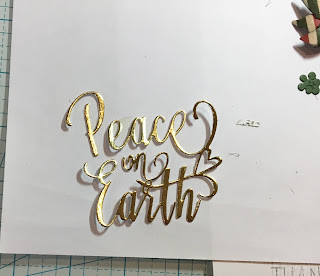
3.  Using the same gold card stock that you used for the center of the flowers cut out the Peace on Earth phrase

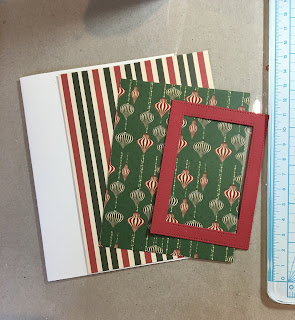
4.  For the card base use a cream colored card stock in an A2 size.  Cut a piece of Striped DP 4 x 5 1/4, a piece of ornament DP 3 1/2 x 4 1/2 and using the second to the largest Pierced Rectangle Frame die cut out a red frame.  Cut out a piece of dark green card stock 2 1/2 x 3 1/2 to place behind the frame
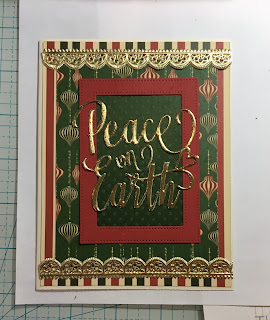
5.  Glue the striped paper to the card base, next glue the ornament DP to the center of the striped paper.  Glue the dark green card stock behind the red frame and then glue the frame to the card center.  Add the lacy foil trim to the top and bottom of the card as shown
6.  Next add the Peace on Earth phrase glued flat, the poinsettia and the leaves and your card is complete


CottageCutz Products

Thanks you so much for stopping by today and as always I look forward to seeing you next Thursday to share more crafty ideas!

Take Care and Blessings
Pam

Monday, October 25, 2021

Ride On Gnomie Santa!

 Hello Friends

Guess What!! It is New Release Time!  The collection is Christmas Part 2!  There are are 19 new designs just as adorable as the Christmas Part 1 release.  For a limited time you can save 55% off the entire bundle or 30% off individual dies.  You can check all of these fantastic dies out right HERE!

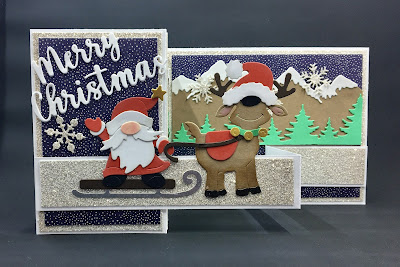
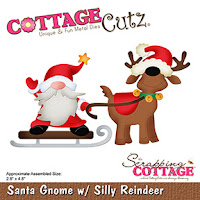
Today my Z-Fold card is using Santa Gnome w/ Silly Reindeer. There are several gnomes in this release and who doesn't love gnomes!!


Design Steps

1.  Cut the pieces out using the Santa Gnome w/Silly Reindeer and red, brown, dark brown, gold, silver, white green, tan and black

2.  Shade the pieces and assemble with a fine tip glue

3.  For the card base cut white card stock 4 1/4 x 11. Fold in half and then fold the front fold in half again.  Cut 2 pieces of silver glitter paper 2 7/8 x 4 1/8 and 2 pieces of navy dotted DP 2 1/2 x 4.  Next cut a silver glitter piece 5 1/4 x 4 1/8 and a piece of navy dotted DP 5 x 3 3/4
4.  Glue the silver layer down first and then the navy dotted DP down next
5.  For the Z- Fold arm cut a piece of white card stock 11 x 1 fold in half.  Then fold in half one of the flaps again.  Before attaching it to the card front cut silver glitter paper 3/4 x 5 1/4 and two pieces of glitter paper 3/4 x 2 1/2 and glue to the arm.  Glue the strip to the card front as shown above and below

6.  Using the Merry Christmas w/Shadow die cut out two in white card stock and glue them together
7.  Glue the Merry Christmas to the card front.  I decided I needed a little interest in the background. So I used the Slimline Mountain and Trees die and cut out the snowcapped mountains and the tree line.  I then cut them to fit the large background panel and the small side panel.  Then glued them down.  I glued down the gnome and reindeer on the front arm of the z-fold.  I also used the Snowflake Background Slimline to cut out a few snowflakes glued them down and the card is complete

CottageCutz Products


Thanks so much for stopping by and make sure to check out this latest Christmas release.  I will see you next Thursday!

Take Care and Blessings
Pam

Monday, October 18, 2021

Christmas Calf

Hello Scrapping Cottage Friends

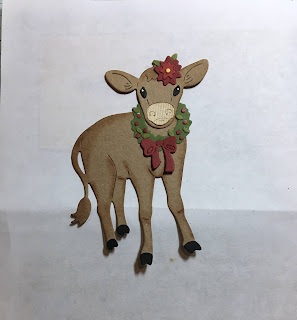
The design team is continuing to show you some wonderful samples of our new release for Christmas.  The collection is available for purchase today!!  It has 40 darling dies that would make gorgeous cards, gift tags, banner or toppers for a bag.  In this release there is everything from farm animals to beautiful Navitiy Scenes.   Today, I am using the Festive Farm Calf.

Design Steps:
1.  Using the Festive Farm Calf die cut out the pieces in black, brown, light green, dark green, red, dark red, tan and yellow.  Shade the pieces with ink and then assemble with a fine tip glue
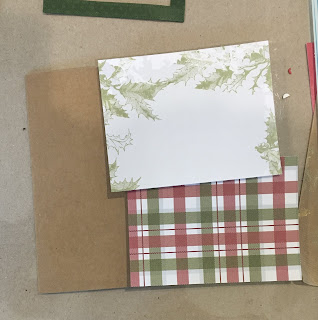
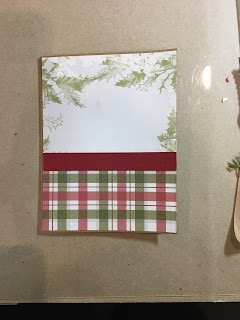
2.  Use an A2 kraft card stock base, cut a piece of plaid DP 3 x 4 1/8 and a piece of leaf DP 3 x 4 1/8,  cut a strip of red card stock 4 1/8 x 1/2


3.  Glue the leaf DP to the top of the base card and the plaid to the bottom.  Glue the red strip slightly lower then center as shown 
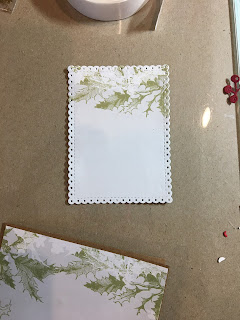
4.  Using the Pierced Scalloped Rectangle die second from the largest cut out a piece of white card stock and a piece of the leaf DP.  Glue the two together and pop to the card front using dimensionals
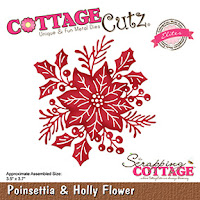
5.  Add the little calf and a few pieces of greenery with berries which I cut out using the Poinsettia & Holly Flower die.  Stamp the sentiment and layer it onto red and your card is complete

CottageCutz Products


Thanks so much for stopping by and don't forget it is never to let to start on those Christmas cards or even start to shop for our crafty friends!  One more bit of info our YouTube channel is up and running with some wonderful video inspirations check it out HERE.

Blessings and Take Care
Pam