Showing posts with label Honeycomb Background Slimline. Show all posts

Monday, December 25, 2023

Valentine Time!

 Hello Friends 

I hope you all had a blessed time with family and friends this past Christmas. And I would like to wish you all a Happy New Year.  We are running an after Christmas Sale in the online store right now.  So use your Christmas money and save big! Click here to see what great values we have.

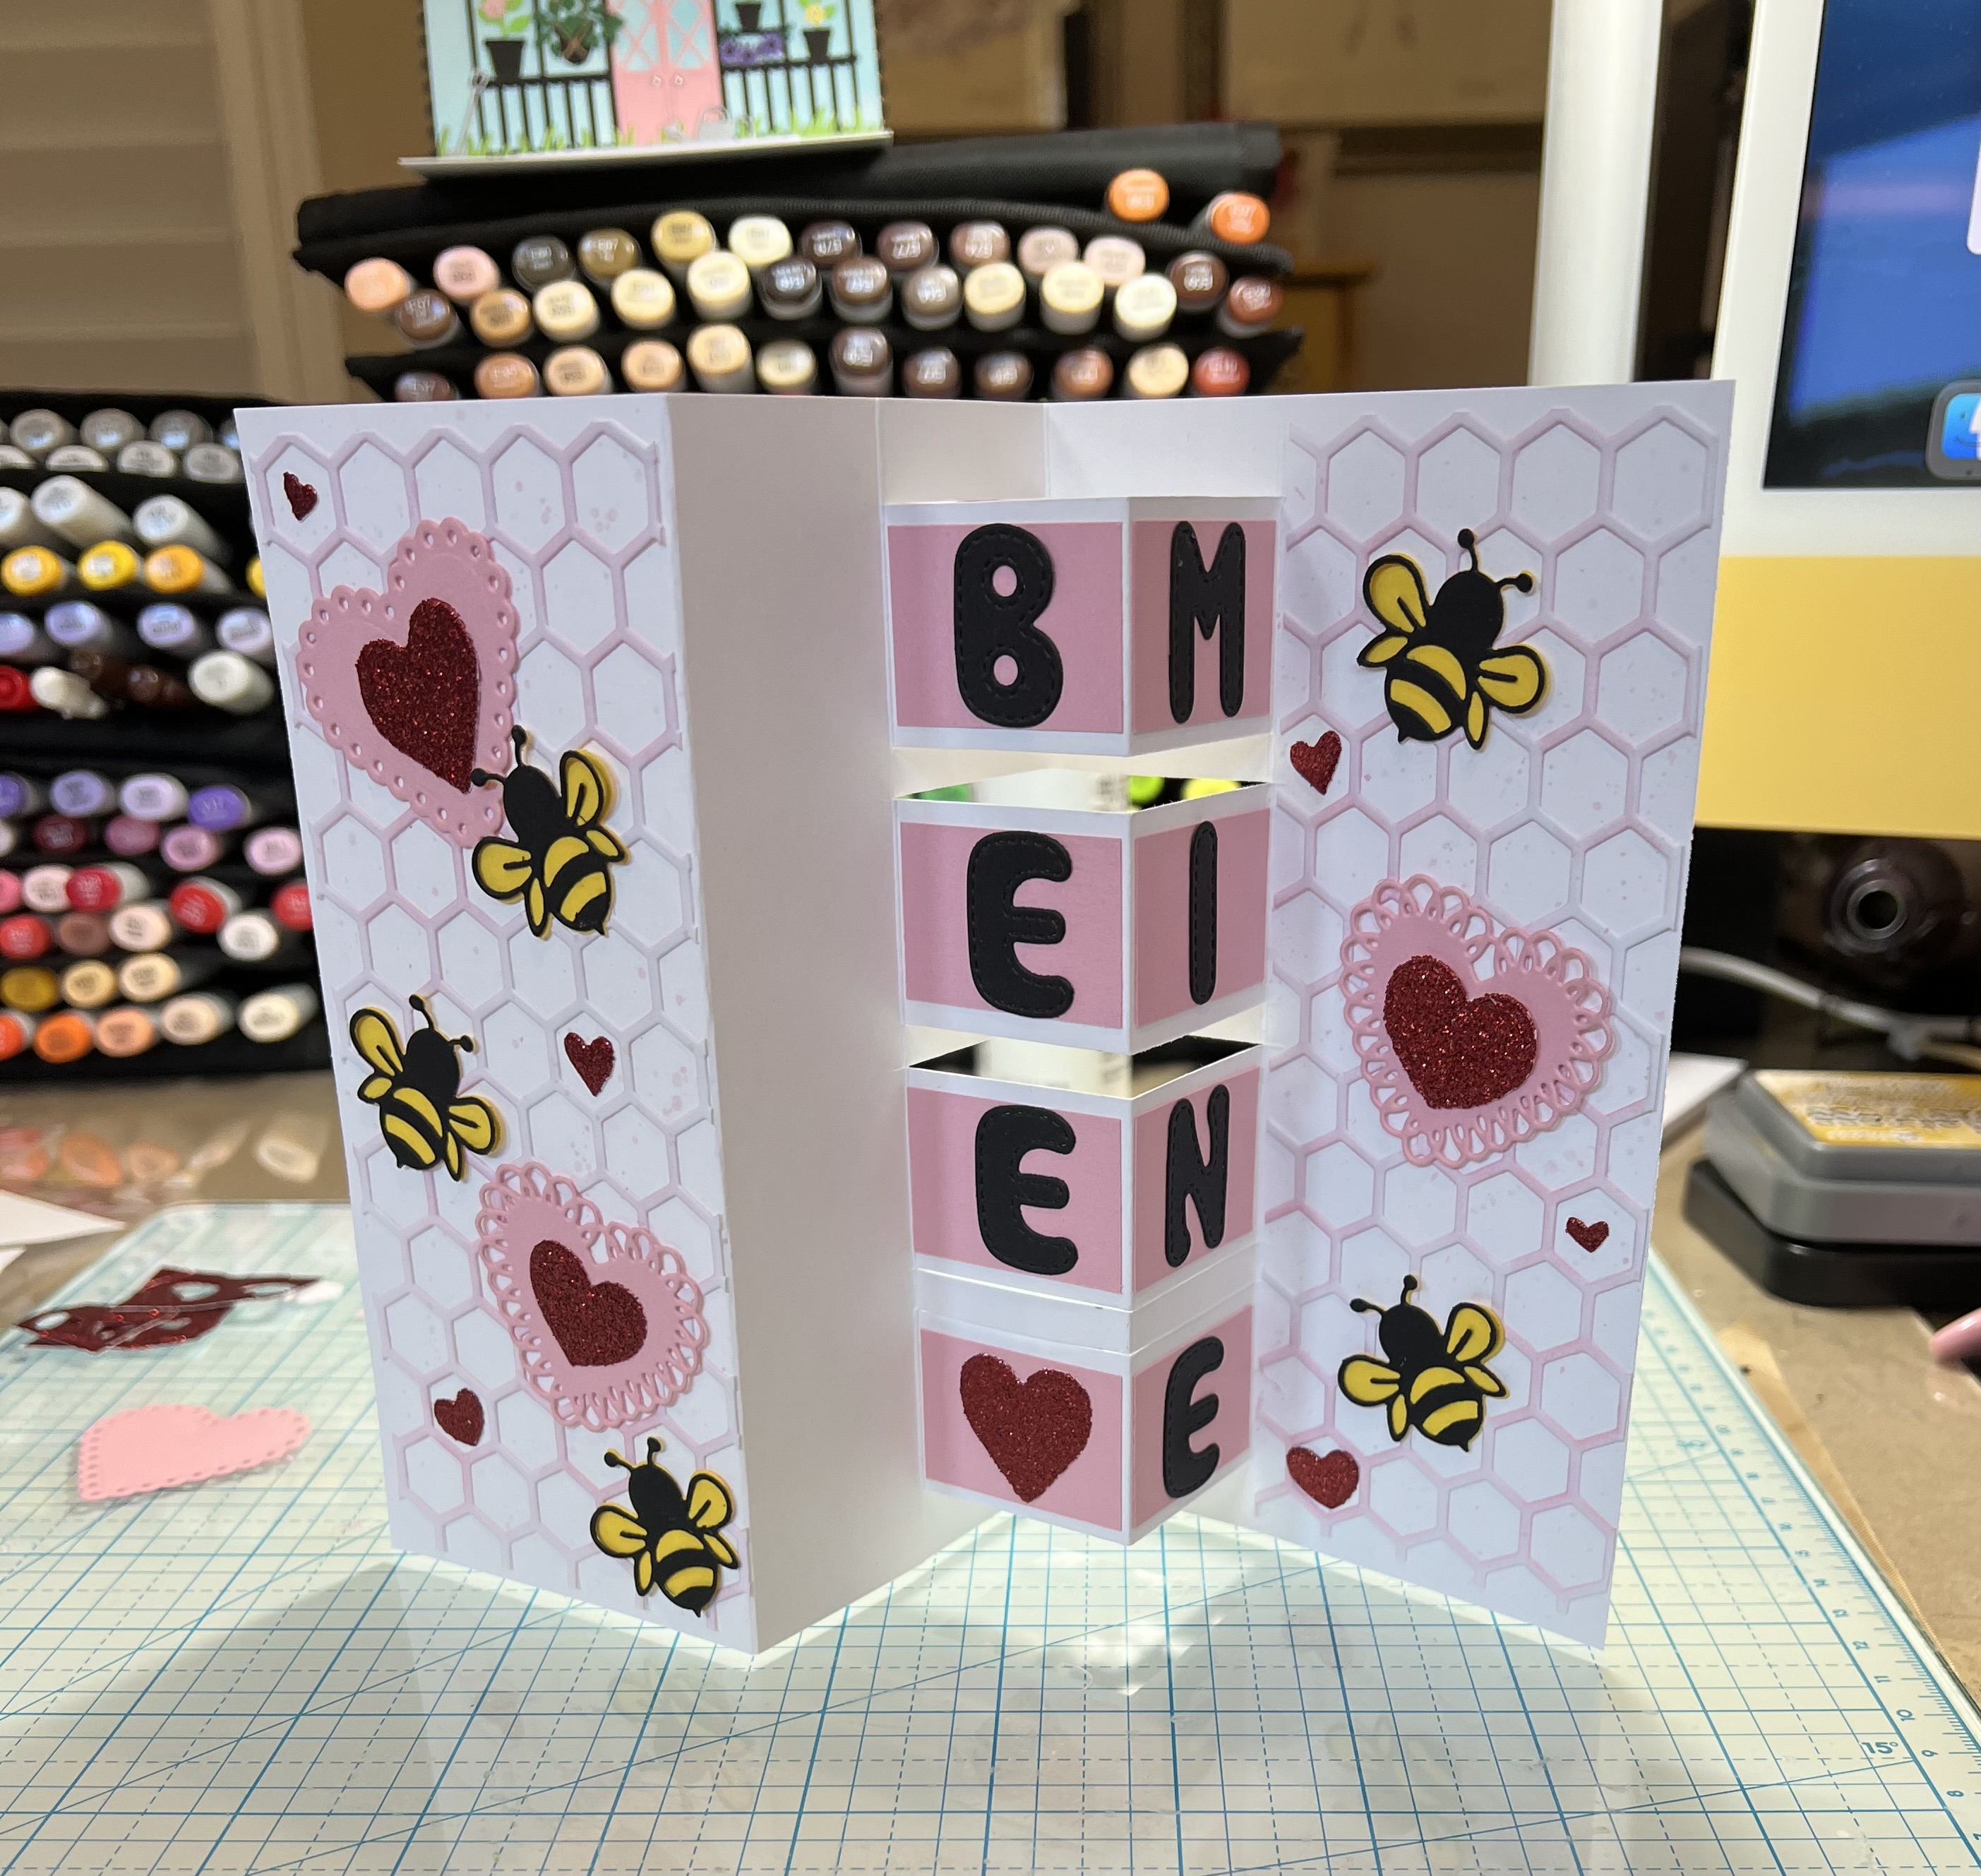
I am getting a jump start on my Valentines.  I am using the Garden Butterflies and Bee die from our Black Friday release for this fun little block card.


Design Steps: (Here is a link to a video that I used to make the base https://www.pinterest.com/pin/443534263317816376/ )

1.  Start with a piece of white card stock measuring 10 x 6 3/4.  Score at 3, 4 1/2, 6, 7 1/2
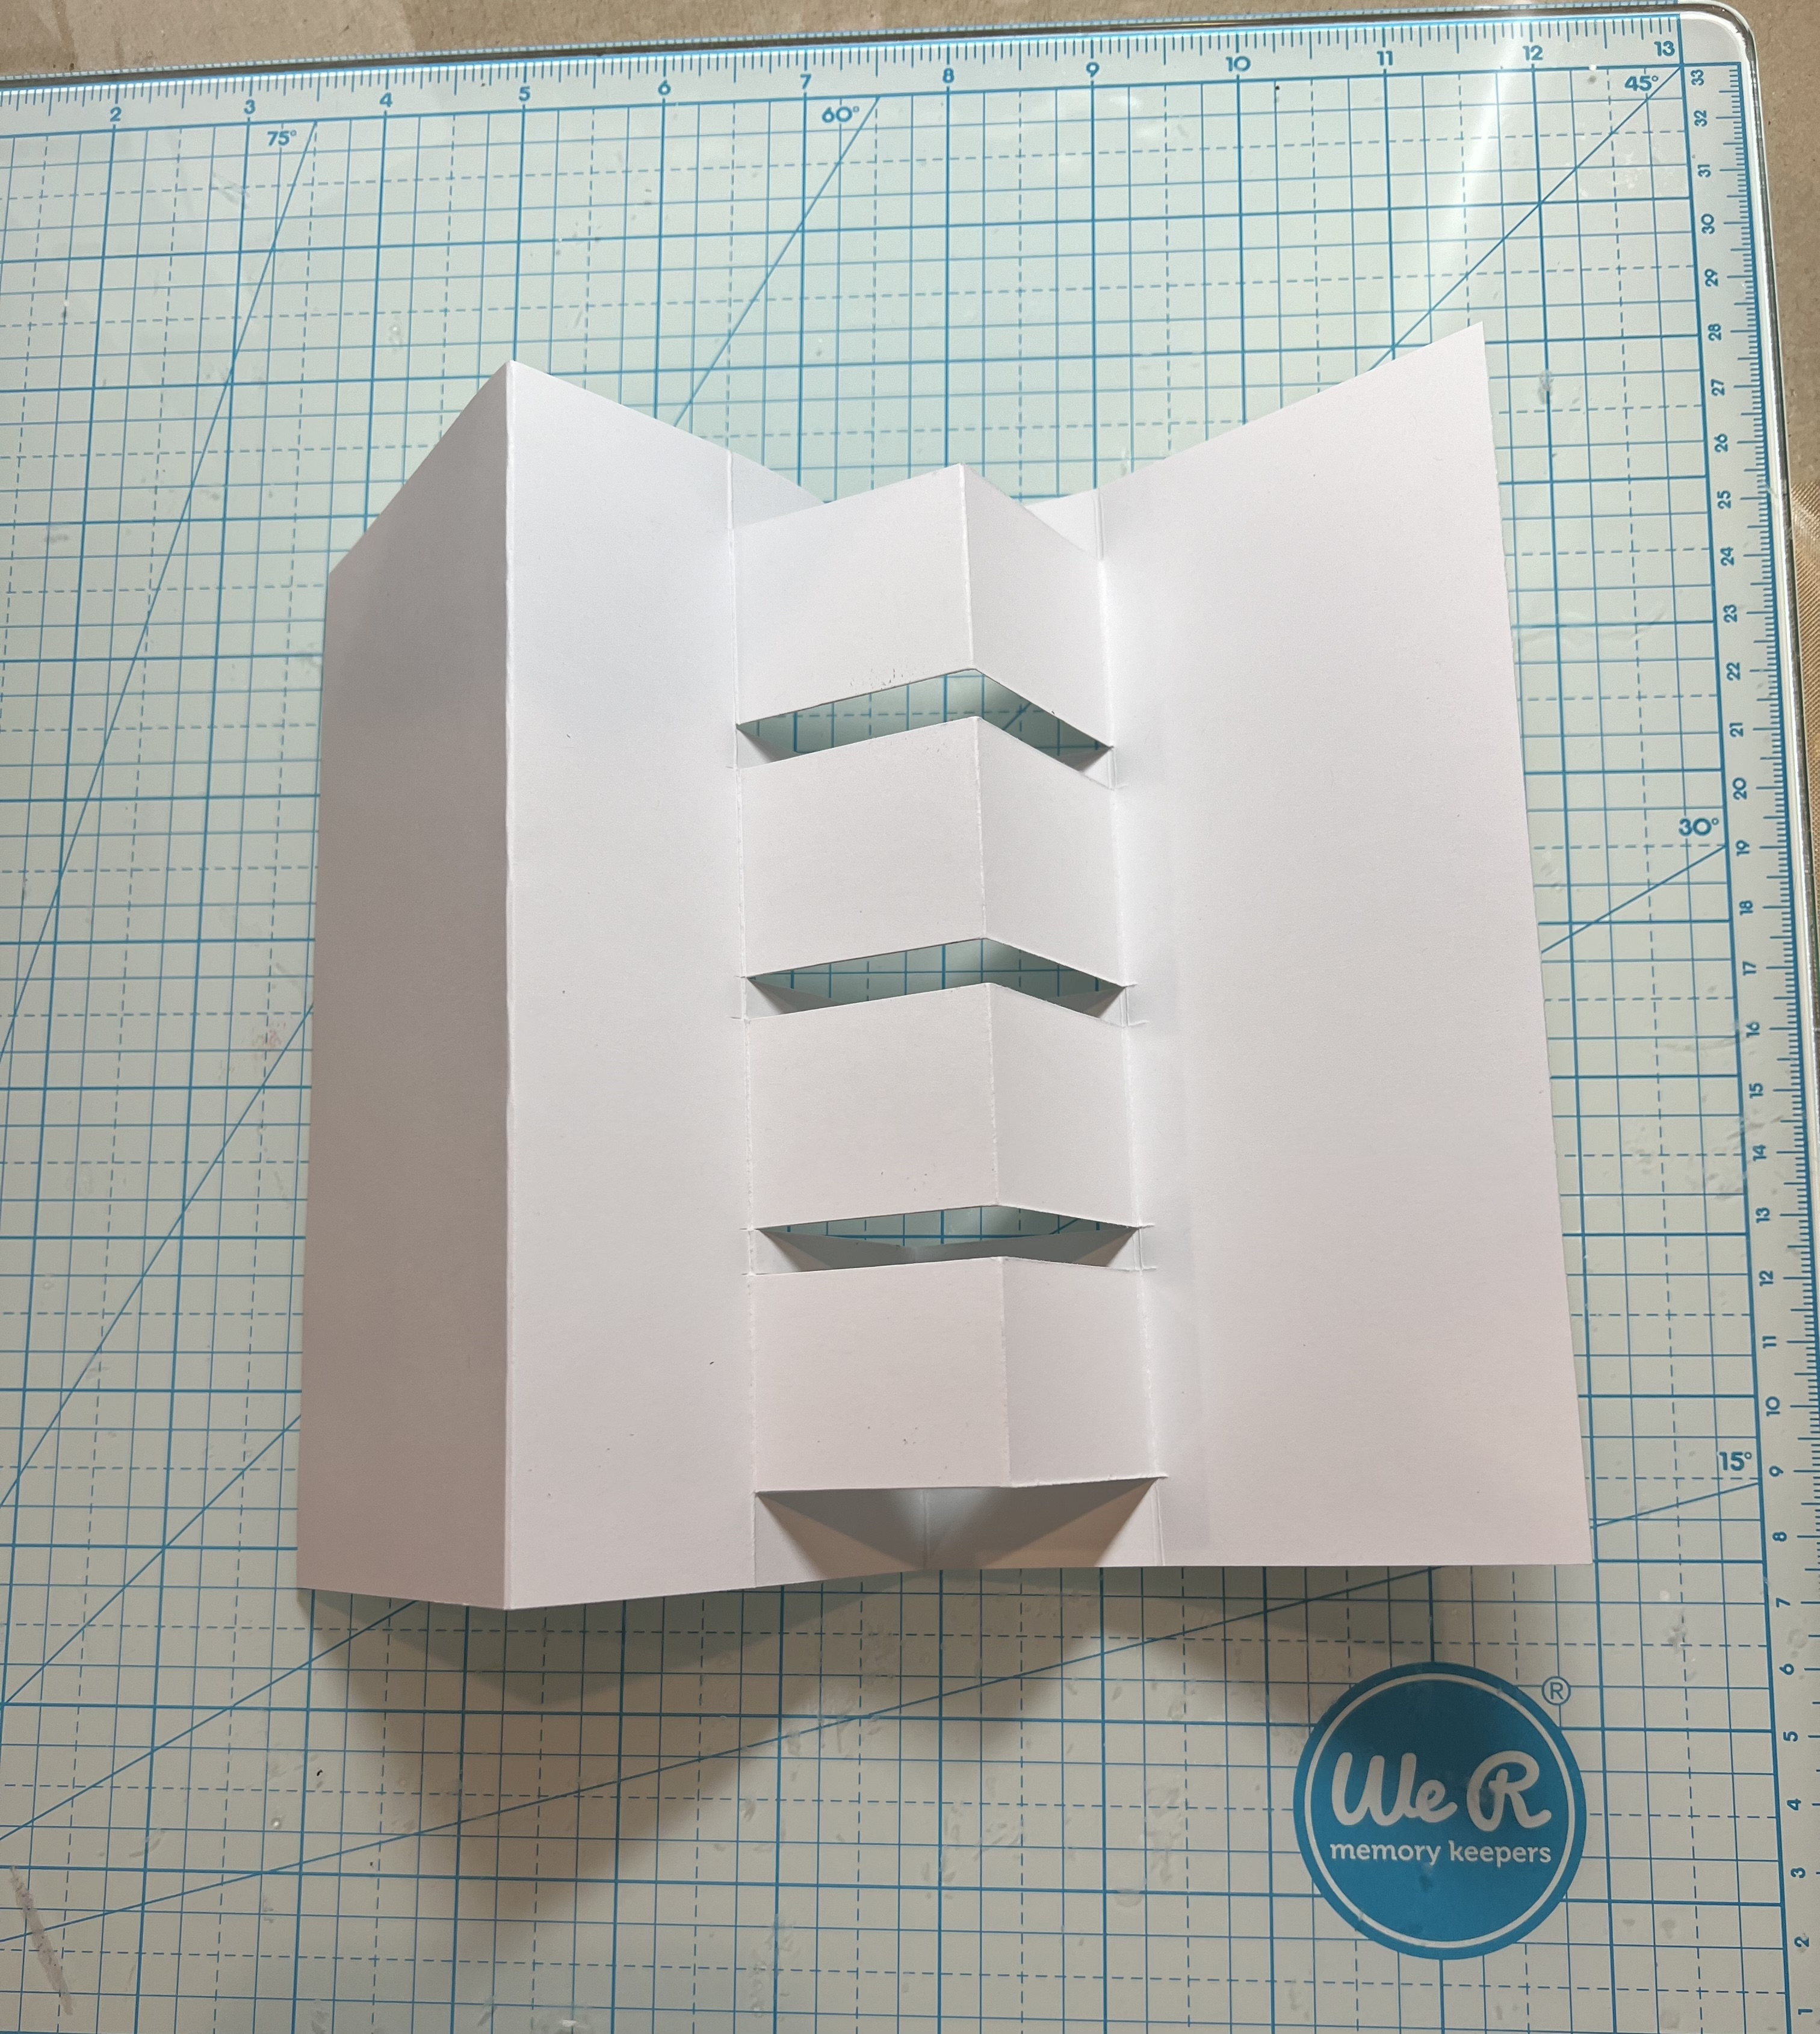
2.   Fold the flap back along the 6 inch score. Place a ruler at the bottom along the fold and use a pencil to mark small dots at 1/2, 1 3/4, 2, 3 1/4, 3 1/2, 4 3/4, 5, 6 1/2
3.  Place your card into a paper cutter and cut from the dots to the closest score line as shown above
4.  When you have completed the cuts fold as shown below

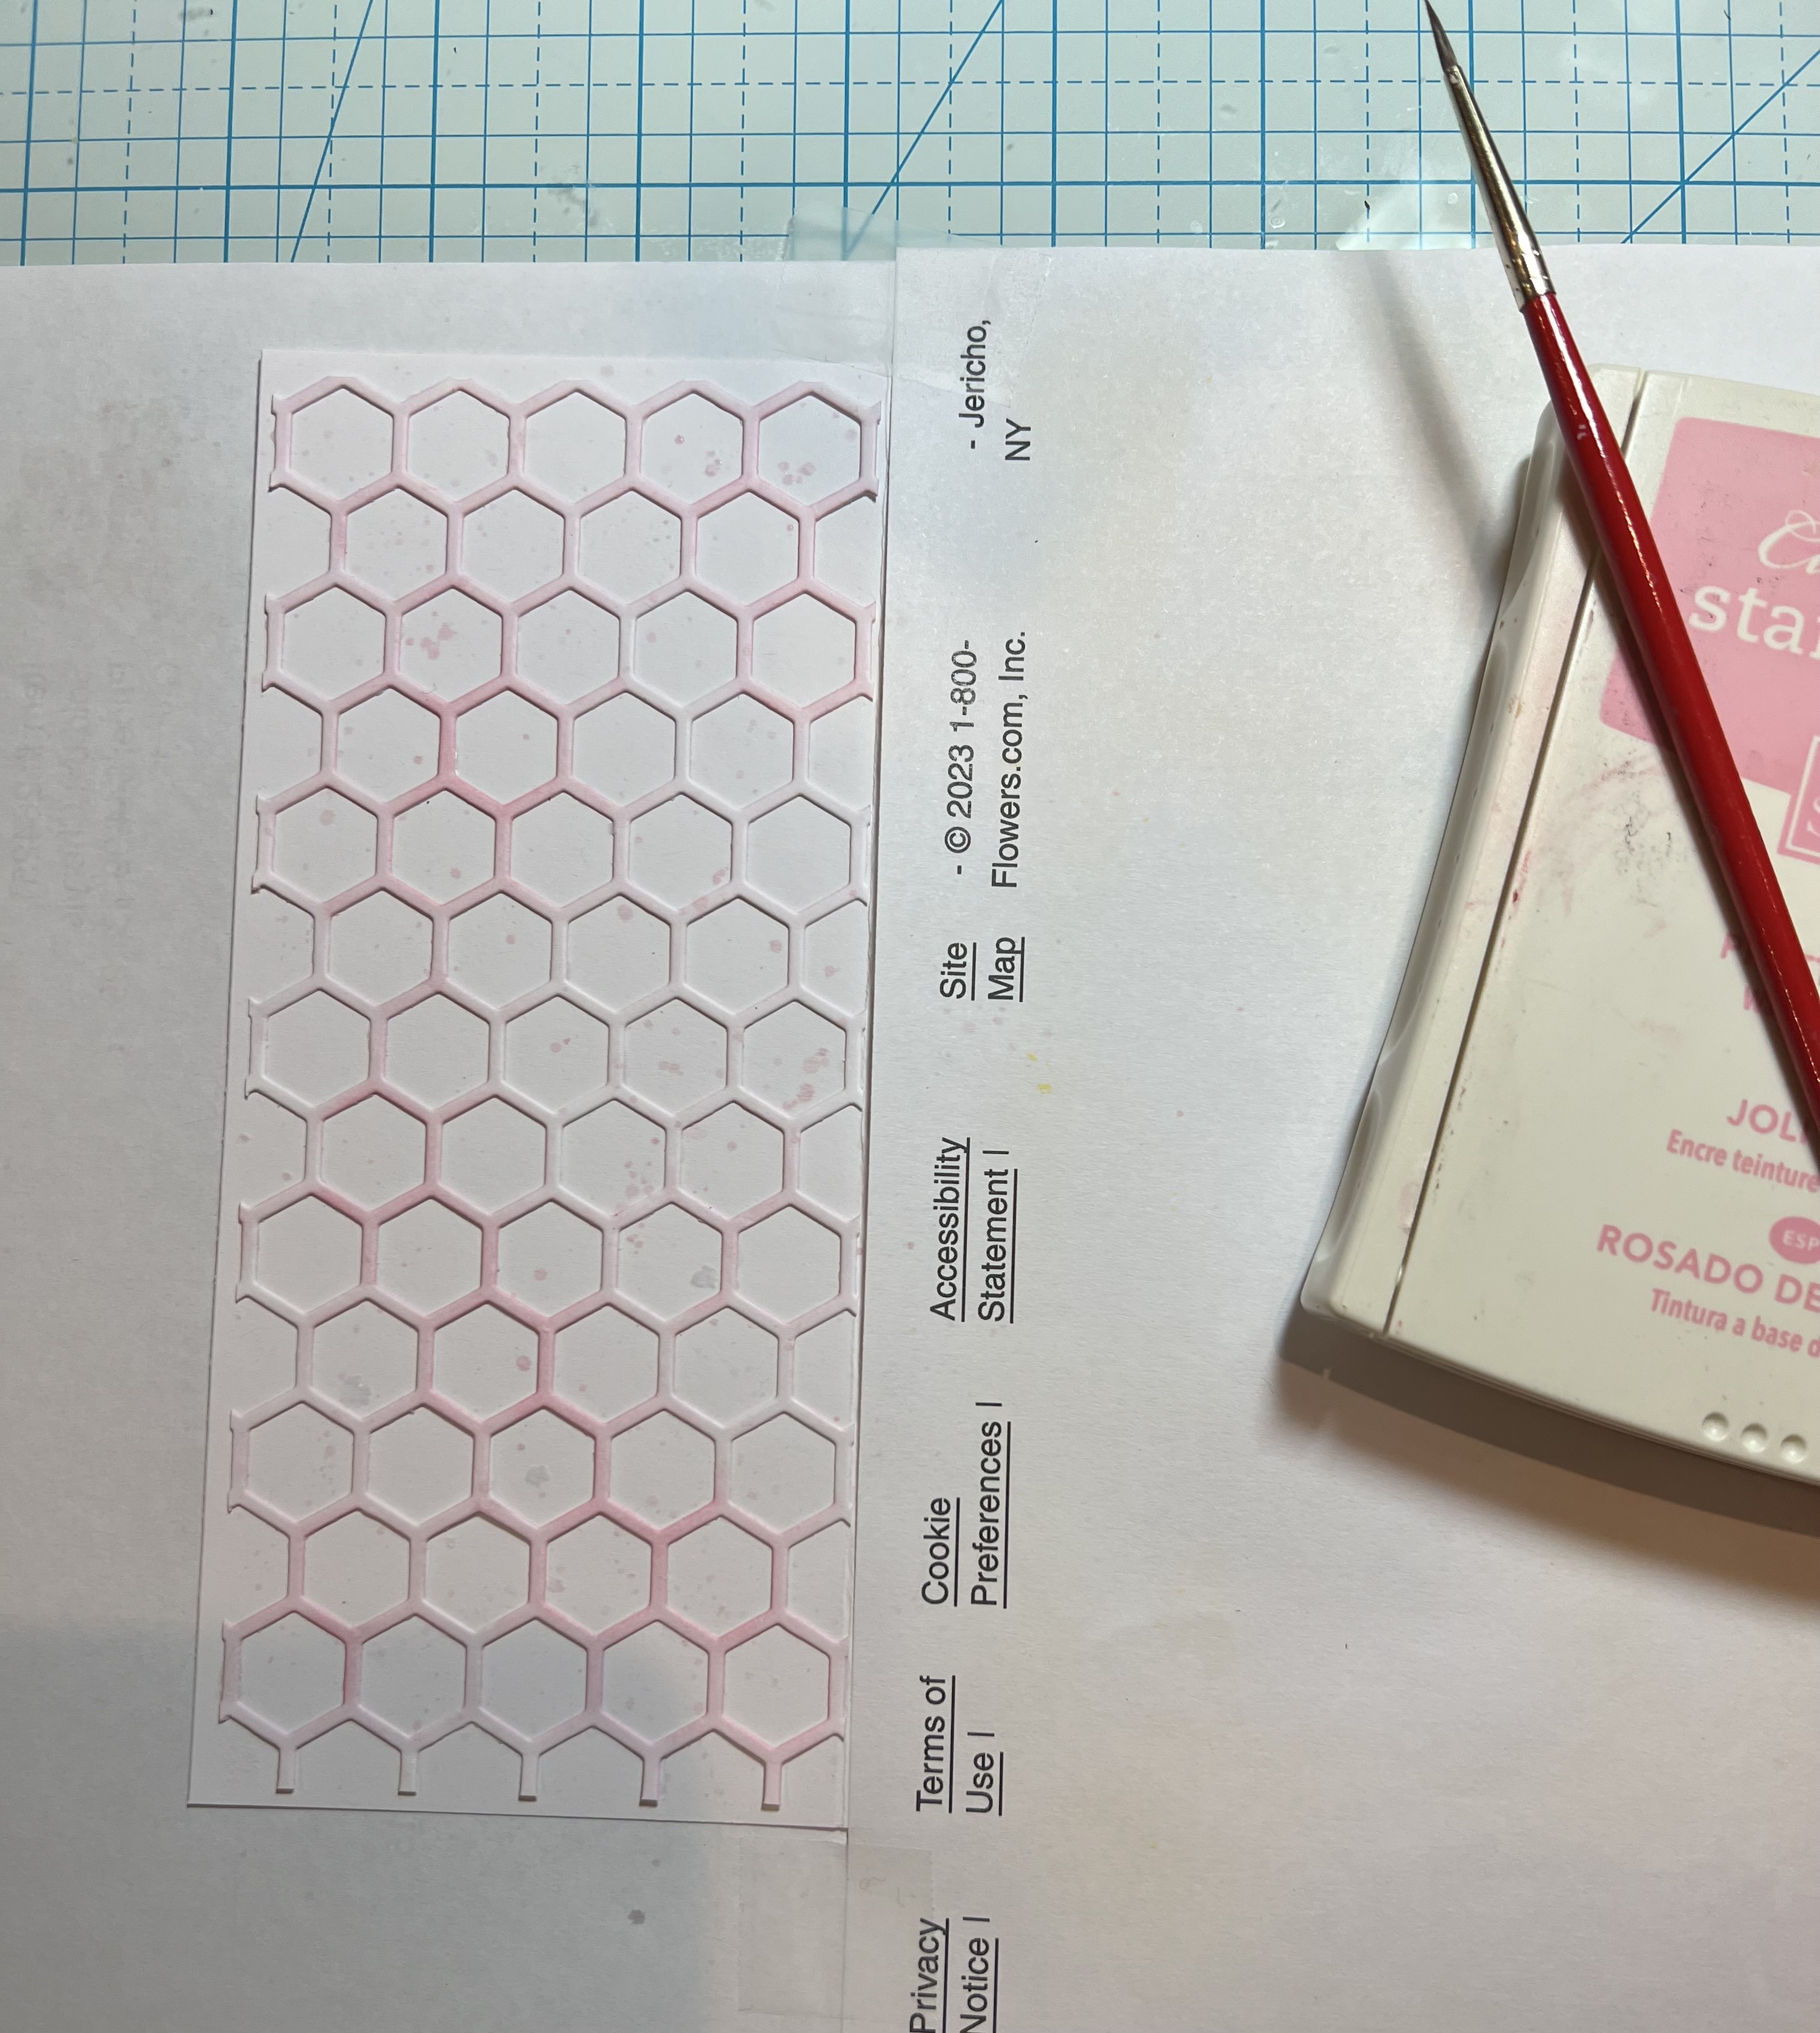
5. Using the Honeycomb Background Slimline cut 2 pieces in white: 6 1/2 x 2 3/4 and 6 1/2 x 2 1/4.  Using a blending brush and a pink ink to add some color to both pieces.
6.   Using the same pink ink place some of the ink onto a acrylic block and then add a little water.  Pick up the ink with a brush.  Hold the brush over the place you want splattered and gently tap the brush with your finger
7.  Cut 8 pieces of pink card stock 1 1/4 x 1.  Glue the pink rectangles to the card as shown above
8.  Using the following dies and card stock colors: Garden Butterflies and Bee black and yellow,  Fancy Heart pink, Be My Valentine Puppies red glitter card stock and Stitched Alphabet black
9.  Arrange your pieces as shown above and add a few silver sequins and your card is complete


We have more inspiration on our YouTube Channel check it out HERE

Thanks so much for stopping by!  And I will see you next Thursday.

Blessings and Take Care


Tuesday, June 28, 2022

It is New Release Time!!!!

 Hello Friends,

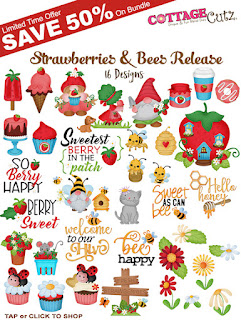
The new release is just plain adorable.  It is called Strawberries and Bees perfect for those fun summertime cards.  For a limited time the entire bundle is 50% off!!   We also have a 4th of July sale with savings up to 70% off!!  Both of these sales won't last long so now is the time to shop until you drop!!

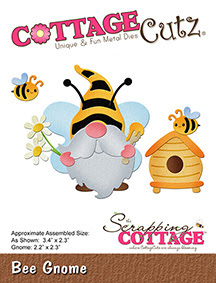
Here is my card using the new release dies Bee Gnome and Bee Phrases.


Design Steps:

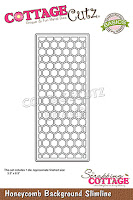
1.  Make a slimline base in white 3 1/2 x 8 1/2 cut a piece of yellow card stock 3 1/4 x 8 1/4, use the Honeycomb Background Slimline die and cut it out of white.  Glue the yellow to the base card and then glue the honeycomb on top of the yellow
2.  Using the Bee Phrase and the Bee Gnome dies cut out the following card stock colors: mustard, vellum, white, black, yellow and green
3.  Shade the mustard colored pieces with an orange ink and the face and hands with a pink
4.  Assemble the pieces with a fine tip, quick drying glue

5.  Glue your pieces to the card front as shown above and your card is complete

CottageCutz Products


Here is the new release so please check it out in our store today!!

We have more inspiration on our YouTube Channel check it out HERE
Thanks so much for stopping by!  And I will see you next Thursday.

Blessings and Take Care


Saturday, July 17, 2021

Don't Worry Bee Happy

Hello Scrapping Cottage Friends

We have a HUGE SLIMLINE DIE RELEASE with 20 fantastic dies.  The dies are at a savings of 25% off right now in the store.  The new designs are just so amazing.  They are sure to put your imagination into overdrive!!  Check them out right HERE.

I am having fun with our new Honeycomb Background Slimline today!


Design Steps:

1.  Use a white slimline card base, cut a piece of yellow DP 3 3/8 x 5 3/8, use the Honeycomb Background Slimline and cut it out of white card stock
2.  Glue the yellow DP to the white card base then glue the honeycomb on top of the yellow set aside
3.  Using the Stitched Honey Bee die cut out the bees in yellow, black and vellum (for wings).  Cut the branch in dark brown and the hive in brown also cut the leaves in green
4.  Slightly shade the bees in orange and the hive in brown and then assemble using a fine tip glue.  For the eyes use a white Sukara Gelly pen
5.  Place the branch and hive on the card first and then arrange the bees and sentiment.  I popped up the bees using dimensional dots

CottageCutz Products


The slimline background dies make for a wonderful textured card.  The cards also come together very quickly.  I would definitely check them out.  Thanks so much for stopping by today.

Blessings and Take Care
Pam