Showing posts with label Garden Accessories. Show all posts

Sunday, July 2, 2023

New Home

 Hello Friends

Today, I am making a card for my nephew who is moving into a new home very soon.  

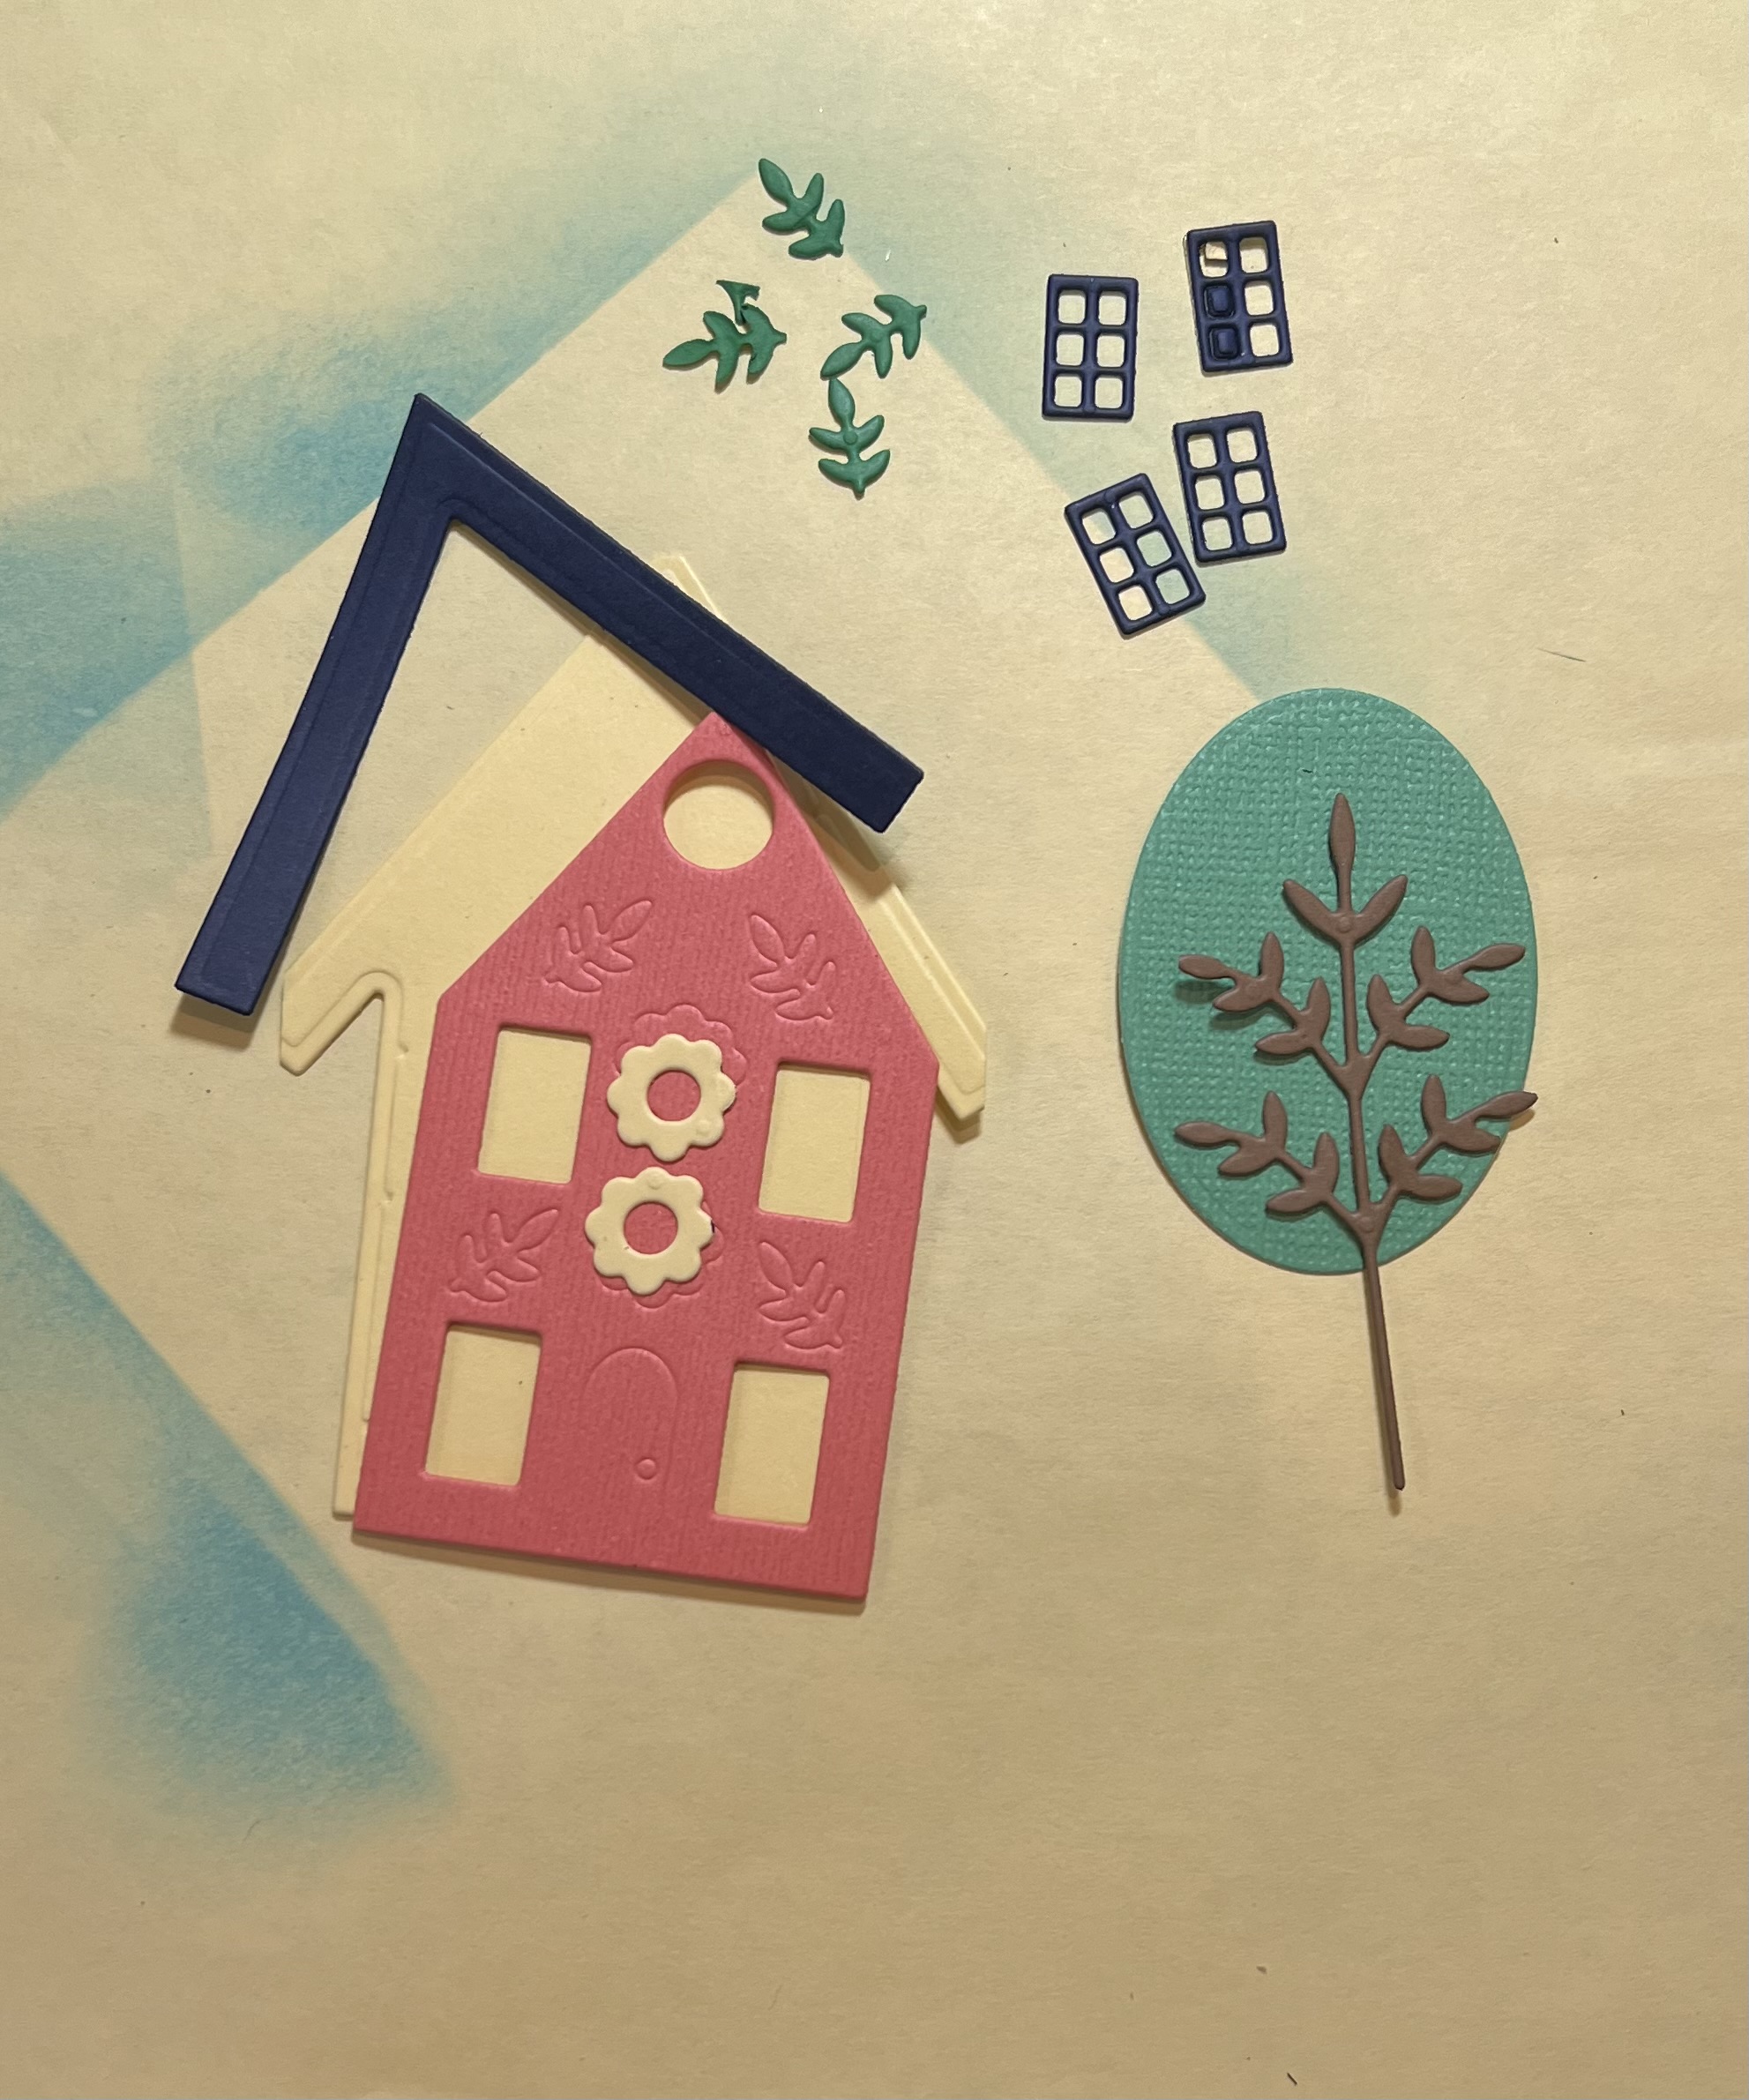
I am using the Folk Art Trees and the Folk Art House (Large).  These dies are from our Folk Art release!  There are 19 wonderfully detailed dies in this collection.  Each die can be used separately or together. They are perfect for multiple occasions.  


Design Steps:

1.  Start with cutting out the pieces using the Folk Art Trees, the Folk Art House (Large) and the Garden Accessories die (fence).   I used the following colors of card stock: coral, navy, light green, dark green, yellow, red, brown and white.  Assembly the pieces using a fine tip glue

2.  For the card base use a white card folded measuring 4 1/4 x 6 1/4.  On the base use blue ink and blend the sky after blending splatter with water and dry.  Next use the Hills Slimline die and cut a piece of dark green and light green card stock.  Layer the grass as shown above 
3.  Add the trees to the top of the dark green hill as shown above
4.  Tuck the house in the light green hill as shown above
5.  Place the white picket fence at the bottom of the card add you flowers, leaves and sentiment and your card is complete


We have more inspiration on our YouTube Channel check it out HERE

Thanks so much for stopping by!  And I will see you next Thursday.

Blessings and Take Care


Sunday, April 11, 2021

Friends are Like Sunshine!

 Hello Scrapping Cottage Friends!

We have a new release of Slimline dies and they are just a great addition to any card makers collection.  There are 9 designs and everyone of them can be used on ever single kind of card I can think of!!

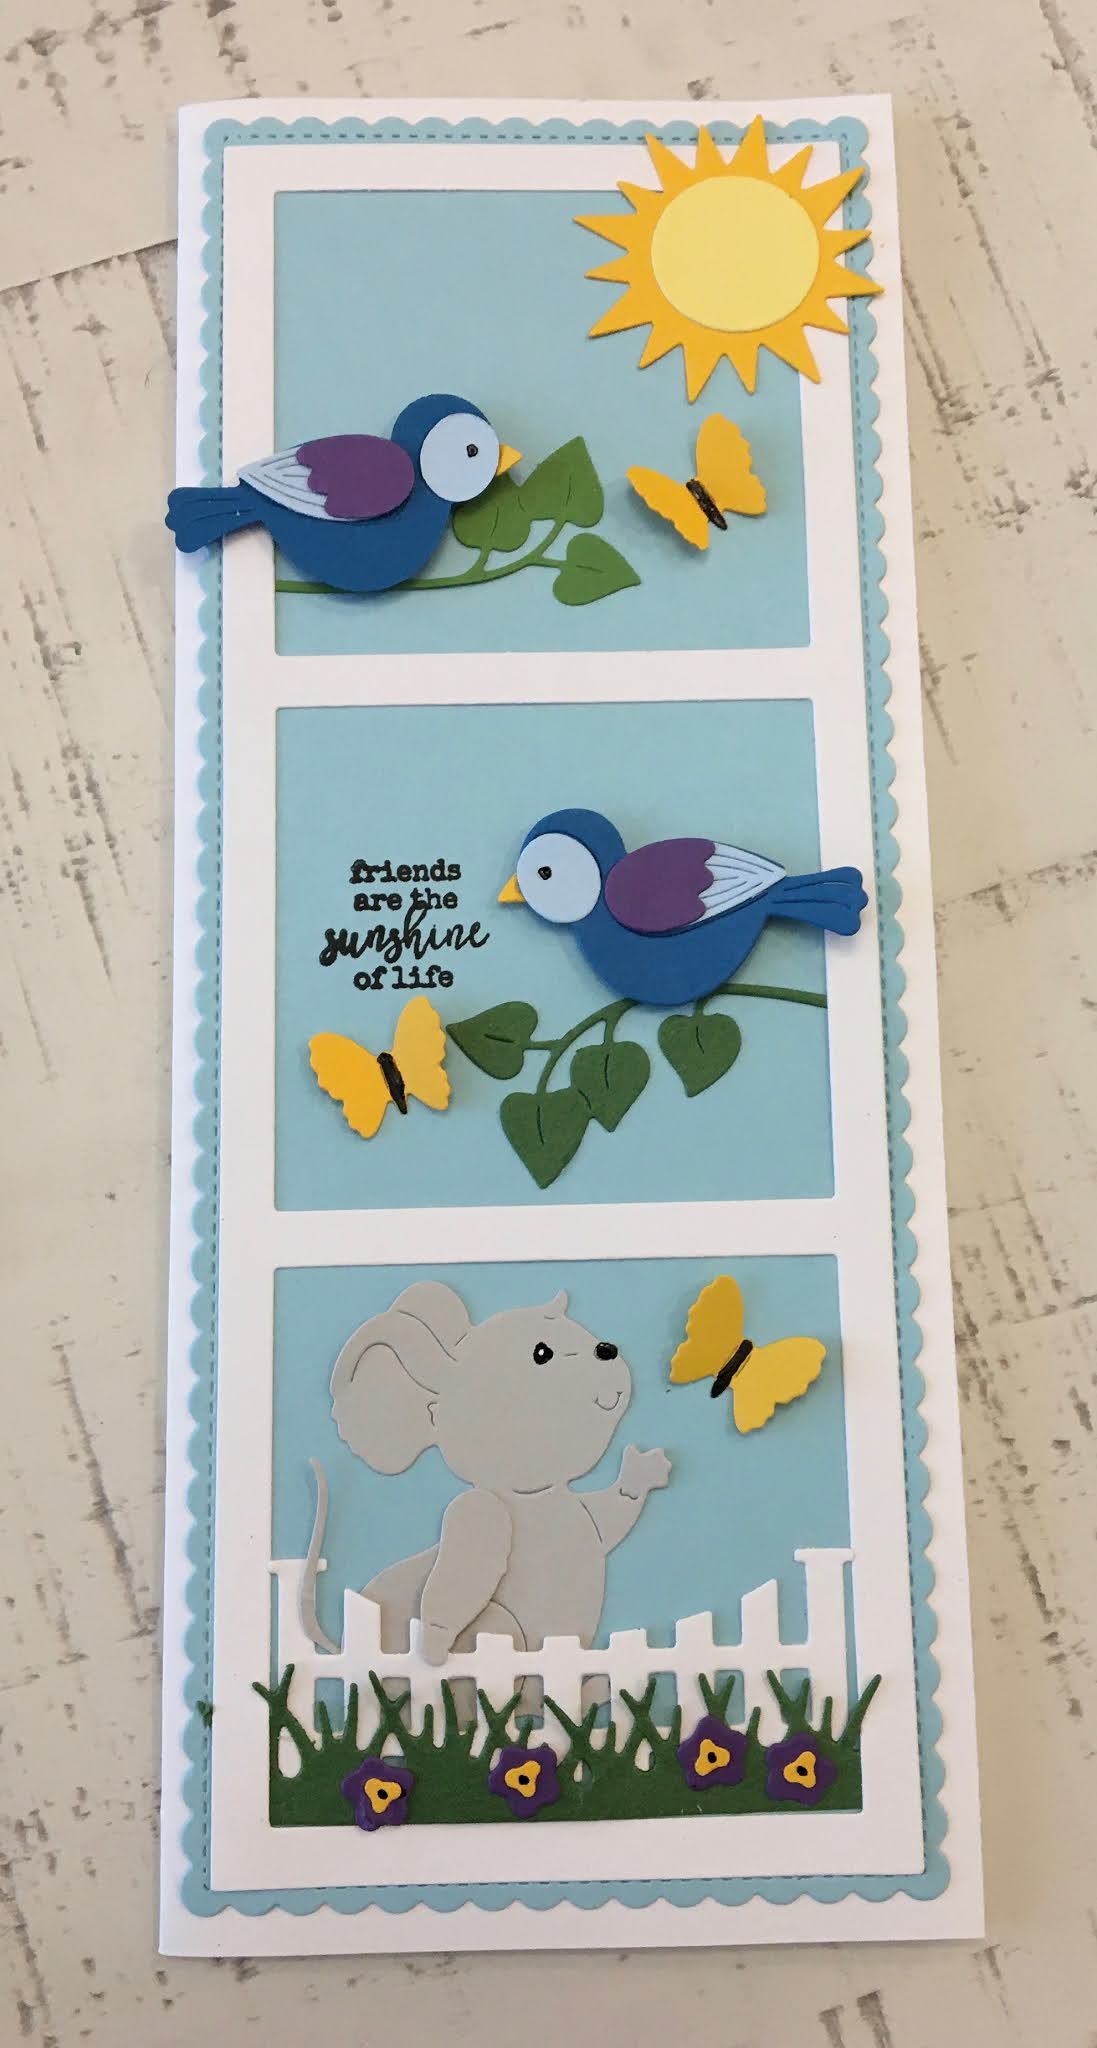
Today,  I am using the Windows Slimline and the Scalloped Stitched Rectangle Slimline with a variety of additional dies.


Design Steps:

1.  Base card is a white slimline, using the largest Scalloped Stitched Rectangle die cut blue card stock,  use the Windows Slimline die and cut white card stock 
2.  Use the Bird with Bluebells cut out the leaves and the birds in green, blue, light blue, and purple.  Use the Rooster and Chick die and cut out the sun in yellow and light yellow.  Using Garden Accessories cut the white fence. Use Spring Meadow for the green grass and purple flowers 
3.  Assemble the birds and sun using a fine tip glue
4.  Glue the blue scalloped rectangle to the white base card.  Glue down the Window frame and then quickly tuck in the grass, fence and branches.  Add the sun to the top right corner of the card
5.  As I was working on the card I decided that I needed some butterflies so I used the Spring Meadow die again and yellow paper to create the butterflies.  I colored the butterflies bodies with a black Sukura Jelly Roll Pen.  I also used this pen on the eyes along with a white one
6.  Pop up the birds on the branches and stamp your sentiment.  I felt like the bottom of the card needed something more so I used the Mouse with Flower Cart die.  I cut the mouse out of gray card stock assembled him and then tucked him behind the fence.  Add your flowers onto the grass and butterflies and your card is complete

CottageCutz Products


Wednesday, March 22, 2017

Woodland Scene - Scrapping Cottage

Good Morning Scrapping Cottage Fans!

I really love the Cottage Cutz dies. They are extremely detailed and make such sharp wonderful cuts!  I love to create little scenes so I am sharing a A2 size box card with you today.
Here are my design steps:
Start with a 5 1/2 x 9 inch piece of kraft card stock.  Score with paper placed horizontally on the scoreboard at 2 1/8, 4 1/4, 6 3/8, and 8 1/2.  Then flip card stock vertically on the scoreboard and score at 2 3/4
 On the top half of the card cut down to the center line and stop. On the bottom half on the 1/2 inch score line make a diagonal cut all the way to the top and remove that piece as shown
Green mats (2 Pieces) 2 x 5 3/8 glue the mats to the card closest to the 1/2 flap on the front and the back. These pieces of the box will not bend

Cut the green mats for the rest of the box (9 pieces) 2 x 2 5/8. Glue the green mats to the outside of the box as shown below
 Glue the rest of the green mats to the inside of the box as shown below. The bottom that is not covered is the inside of the box which will not be seen
 Cut one piece with white card stock 1 7/8 x 5 1/4 for the outside of the box and glue down.  This is where you will stamp your sentiment and sign your name. You should do your stamping and signing now because it is much easy at this point
 Cut one piece of designer paper 1 7/8 x 5 1/4 for the inside of the box and glue down
 Cut designer paper (3 pieces) 1 7/8 x 2 1/2 glue to the inside of the box
 Cut different designer paper (6 pieces) 1 7/8 x 2 1/2 glue to the outside of the box
 Using a sturdy tape place several pieces of tape to the small flap and close up the box.  Make sure that you have the side of all the rectangles covered with designer paper on the outside of the box


 Cut (2 pieces) of kraft card stock 3 x 1 score them on each end 1/2.  Fold them and add sturdy tape to each folded end as shown below
 Place the first brace toward the front of the box as show making sure to really press down the tape
 Place the second brace about an 1 1/4 behind the first brace as shown
Using the following dies: Rustic Sign and Trees for the big darker green tree and bunny, Woodland Cabin for the ground, trees in the background, Garden Accessories for the fence, vines, and flowers, -Seasons Greetings for the deer, Thanks for the sentiment.  I inked many of the pieces for some added depth.

 To begin assembling I glued down 4 pieces of ground for all of the braces and the front and back, then the background trees, added the dark green tree and the deer to the back brace, next I added the fence to the front brace, the bunny and all of the yellow tulips and last I added the vine with the red flowers.


For the final touch I added the Thanks and the raffia bow!


I hope you enjoyed looking at this little woodland scene!  It was really fun to create. Give it to someone special. They will love receiving this awesome surprise!


Challenges entered in:

Blessings
Pam