Sunday, November 19, 2023

Give Thanks

 Hello Friends 

Happy Thanksgiving!  I hope you are enjoying the day with friends and family!!  

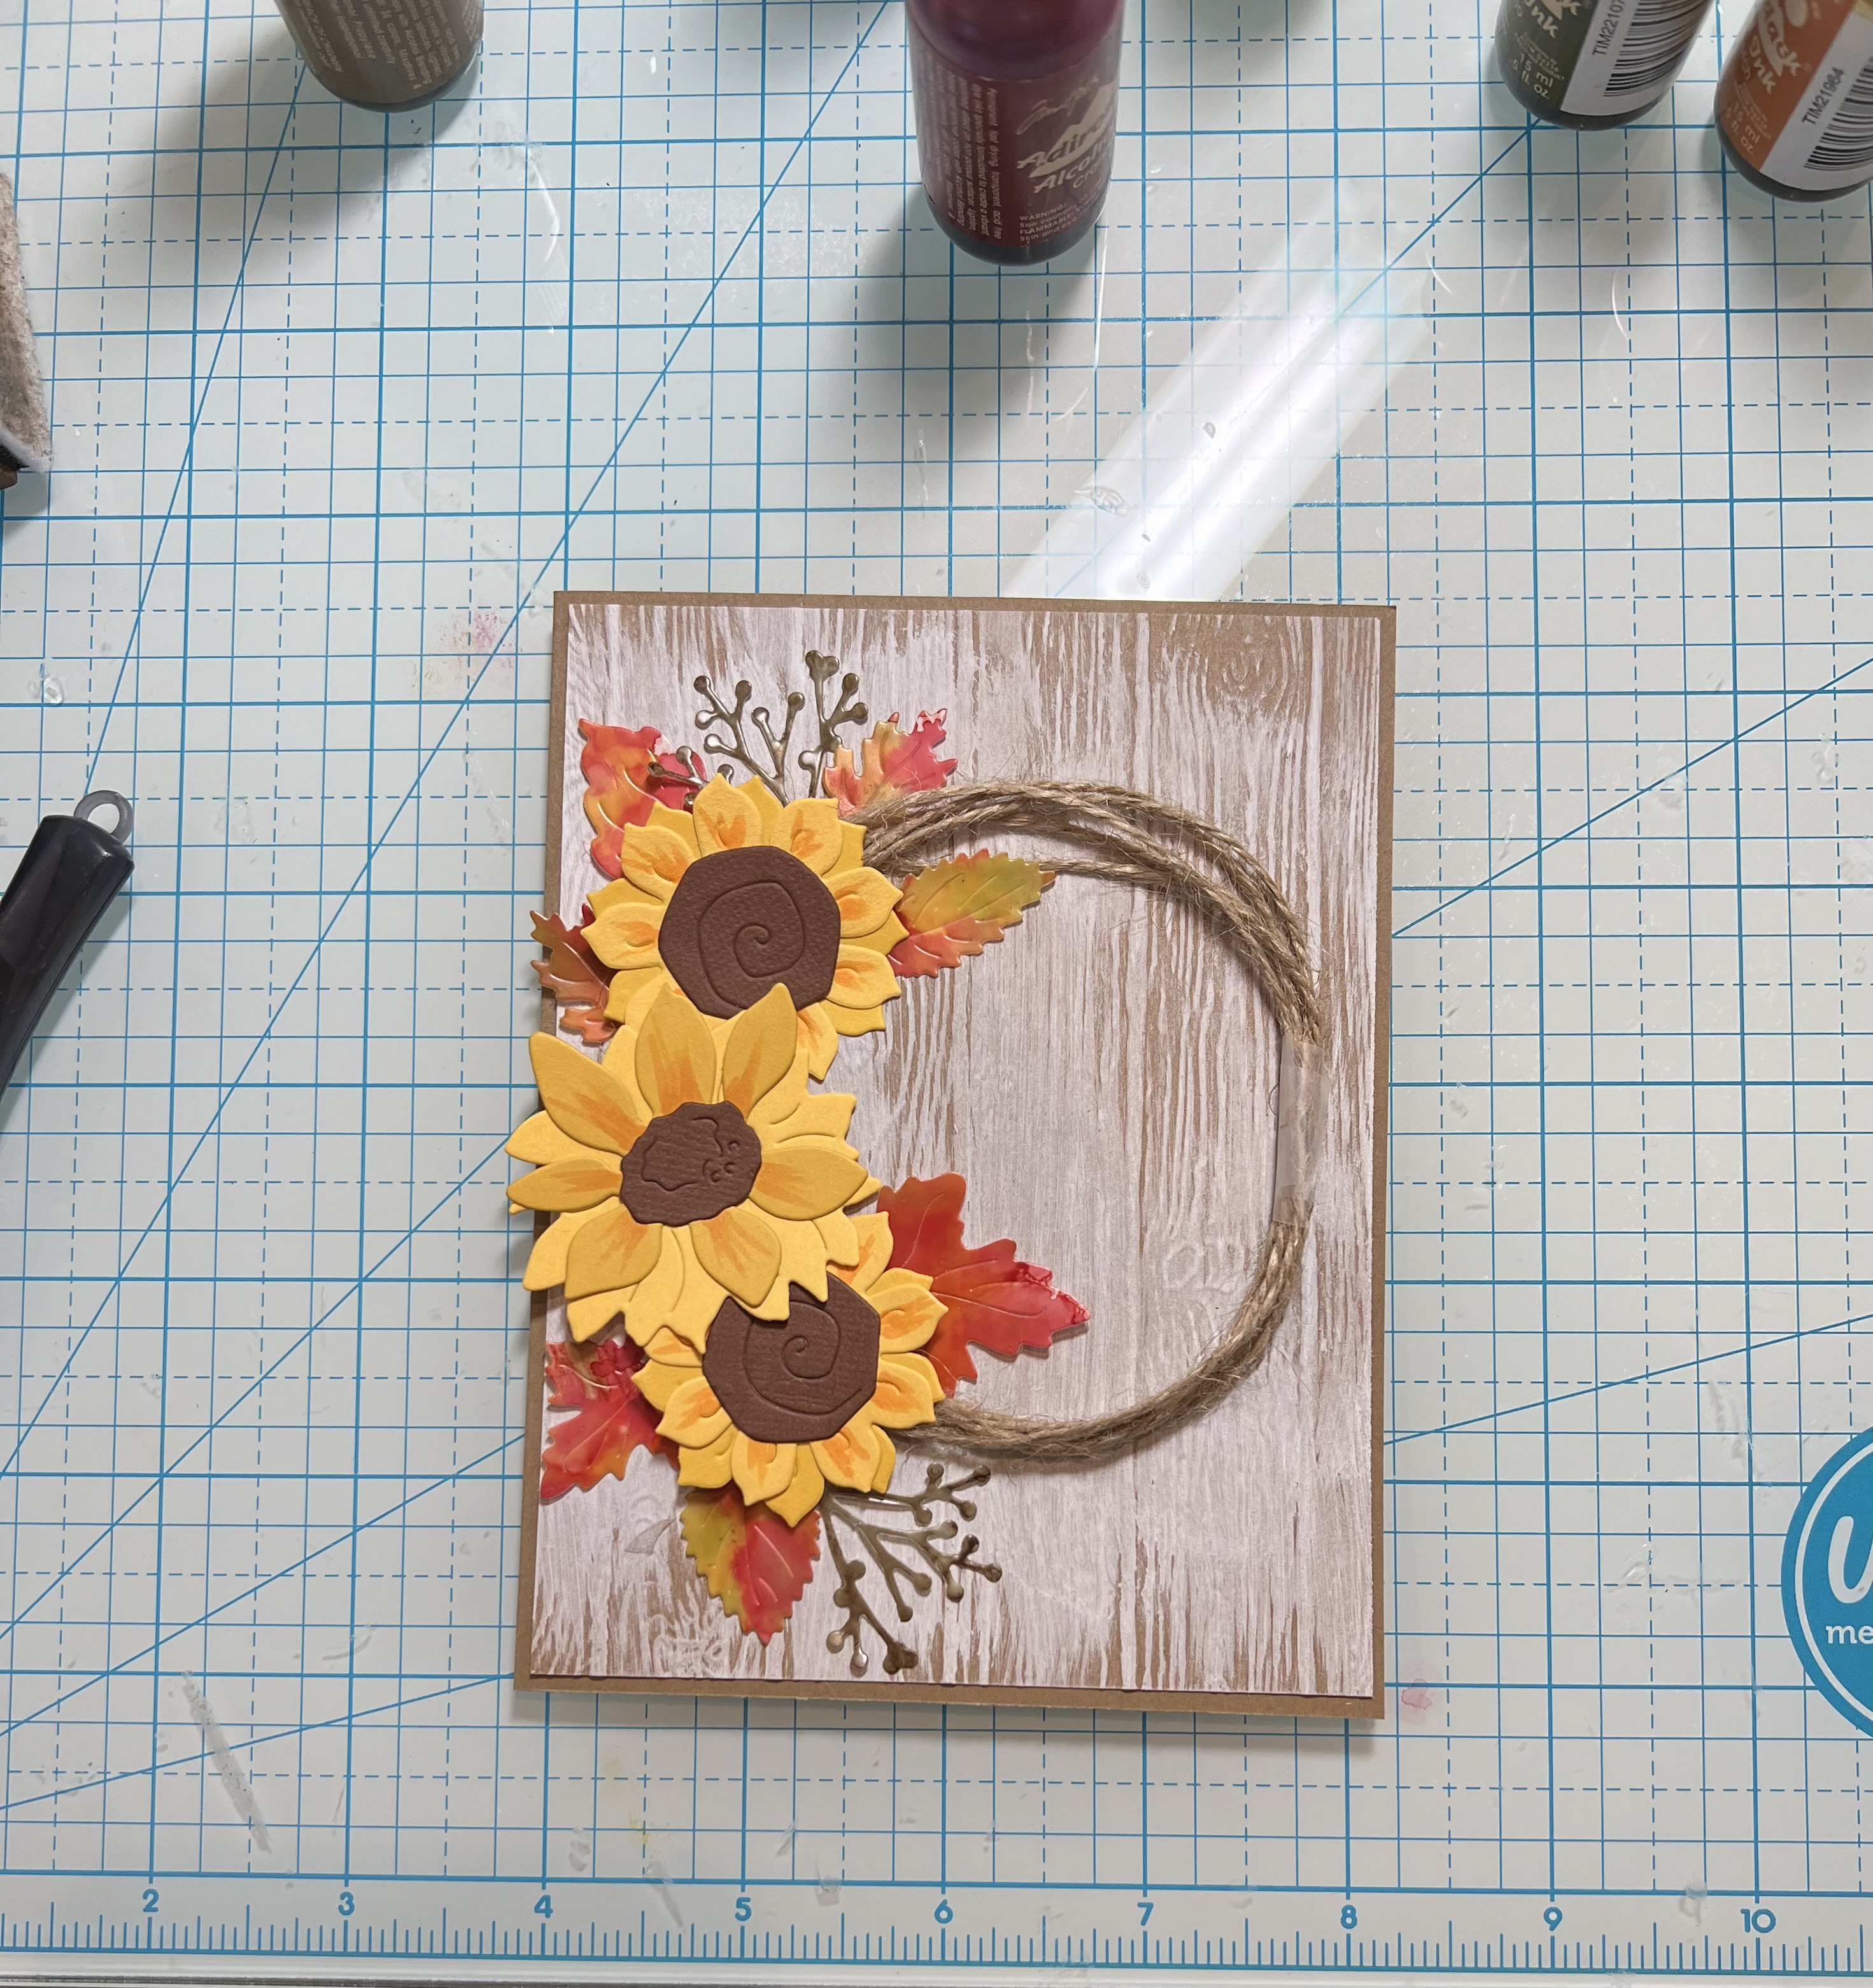
I am sharing a card that I thought you might enjoy on this day of thanks and blessings!  I used two dies from the fall collections Fall Centerpiece and Autumn Garland.


Design Steps:
1.  Cut a piece of kraft card stock 4 1/8 x 5 3/8.  Run the card stock through a wood grain embossing folder.  Then paint the front with a light coat of Gesso using a foam brush.  Let the panel dry
2.  Make yourself a ring of twine.  I wrapped mine around a cup bottom and then slide it off and taped the ends together
3.  To create the leaves I used a piece of Alcohol Ink Yupo and an applicator.  I put several of the colors of alcohol ink on the applicator and then dabbed it onto the Yupo paper.  I changed the applicator cotton rectangle and tried a few different colors.  I did this 3 times as you can see on the Yupo sheet
4.  I then used the Fall Centerpiece die and the Autumn Garland die and cut out the leaves
5.  I used the same dies and cut out the sunflowers on two shades of yellow and brown for the center.  I added a little Copic marker to the sunflowers for more depth.  Arrange the flowers and leaves on the circle of twine as shown above
6.  Add your sentiment with a little dovetail and your card is complete


We have more inspiration on our YouTube Channel check it out HERE

Thanks so much for stopping by!  And I will see you next Thursday.

Blessings and Take Care


Saturday, November 11, 2023

Christmas Carolers

 Hello Friends 

Our new Christmas Release is available at a wonderful 30% off.  This collection has over 40 different dies.   It has everything you will need for your holiday paper crafting. Make sure to stop by the online store and check out all the fantastic new designs!

Today, I am using 3 of the new dies: Carolers, Vintage Gate and Vintage Lamp Post.   I am using a slimline card design to show off all these wonderful dies.


Design Steps:

1.  Using the Carolers die cut out the pieces in the following card stock colors: red, green, tan, brown, blue, black, flesh, and yellow gold.  For the Vintage Lamp Post die cut out the following colors of card stock: gray, yellow, green, red, white and yellow gold.  I used a copic marker on the faces to add a little more color and some blush.  Assemble the pieces with a fine tip glue.  Color in the eyes with a fine black marker and then a white dot with a Sakura Gelly Roll pen
2.  The base is a white 3 1/2 x 8 1/2 slimline.  Cut a piece of snowy DP 3 1/4 x 8 1/4, use the Hills Slimline die to cut the snow in white and finally cut the Vintage Gate in black

3.  Glue the DP blue snowy background to the white card base next add the gate and then the snow

4.  Glue the Vintage Lamps to either side of the gate as shown above
5.  Add the caroler and your sentiment and your card is complete


We have more inspiration on our YouTube Channel check it out HERE

Thanks so much for stopping by!  And I will see you next Thursday.

Blessings and Take Care


Thursday, November 9, 2023

Blessings

 Hello Friends

Today,  I am sharing a card that is going to a friend who is in need of some cheer.  I made the card with an Altenew stencil called Bitterroot Flower and the die is from CottageCutz.


Thanks for stopping by today!

Blessings


Sunday, November 5, 2023

Fall Leaves

Hello Friends 

It is time to show off our new RELEASE!  It is our Fall Designs for 2023.  Perfect for those Thanksgiving cards and fall birthdays. The new dies are in the online store.  There are 15 designs and they are currently 30% off! 

I am sharing a card using the Fall Branch.  I am really excited about the technique I used for the leaves!  They turned out so realistic!  And it was so easy!!!


Design Steps:

1.  To create the leaves I used a piece of Alcohol Ink Yupo and an applicator.  I put several of the colors of alcohol ink on the applicator and then dabbed it onto the Yupo paper.  I changed the applicator cotton rectangle and tried a few different colors.  I did this 3 times as you can see on the Yupo sheets
2.  Next I used the Fall Branch die and cut it out of the brown tones sheet and then the red and yellow sheet.  I left the brown tones branch in tact.  I then cut off the leaves from the red and yellow branch
3.  I matched up the leaves and then glued the red and yellow ones onto the brown branch as shown above
4.  Cut a piece of watercolor paper 4 1/4 x 5 1/2.  Place some blue reinker onto an acrylic block add just a touch of water then paint onto paper.  Let dry and then add some splatters with the same color of ink
5.  The card base is a white A2 size, watercolor panel and then I cut 2 of the Wide Frame Rectangles from the watercolor paper and glued together 
6.  Before I assembled the card I stamped and embossed my sentiment in gold
7.  Glue the watercolor panel to the card front next glue down the frame and finally add the branch as pictured below.  Your card is complete


We have more inspiration on our YouTube Channel check it out HERE

Thanks so much for stopping by!  And I will see you next Thursday.

Blessings and Take Care


Sunday, October 29, 2023

Christmas Pup!

 Hello Friends 

Our new Christmas Release is available at a wonderful 30% off.  This collection has over 40 different dies.   It has everything you will need for your holiday paper crafting. Make sure to stop by the online store and check out all the fantastic new designs!

Today, I am using the Christmas Reindeer Puppy.  This little pup is just adorable in his Santa Claus hat and his gift full of his favorite treat!  (This card was inspired by a card I saw on Pinterest created by Yvonne)


Design Steps:

1.  Start with the Christmas Reindeer Puppy die and cut the following colors of card stock: red, white, gray, black, pink and DP green snowflake.  Shade the pups pieces and then assemble with a fine tip glue
2.  Card base is white A2, red cardstock 4 1/8 x 5 3/8, white bazzil 4 x 5 1/4, Green snowflake DP cut with the largest Cross Stitched Circle die (cut the side of the circle as shown above), glitter silver strip with a bevel edge 3 1/2 x 1/4, gray cut with a dovetail 3 1/4 x 3/4, red cut with a dovetail 4 x 3/4, white cut with a bevel edges 3 5/8 x 1 and DP checked cut like an arrow 3 3/8 x 1 3/8
3.  Glue the red to the card base then add the white.  Glue the circle to the right side of the card as shown
4.  Add all the strips in this order: red, gray, white, plaid and then glitter silver.  Place dimension squares on the back of the pup and pop to the card as shown in the first top picture
5.  Using the Snowflake Set and the Merry Christmas Love dies cut out 3 snowflakes in white glitter card stock.  Stamp your sentiment and add to the card as shown below and it is complete


We have more inspiration on our YouTube Channel check it out HERE

Thanks so much for stopping by!  And I will see you next Thursday.

Blessings and Take Care


Wednesday, October 25, 2023

Collaboration Insta-Hop CottageCutz and La-La Land Crafts

 Hi Crafty Friends! 

We’re so excited you’ve joined us for a Collaboration Insta-Hop with La-La Land Crafts and CottageCutz! We’ve got some amazing inspiration from both talented design teams PLUS both companies will be giving away $50 PRIZES! 

WHAT DO YOU HAVE TO DO TO BE ENTERED TO WIN?? Just leave a comment at each stop in our lineup by Nov. 2, 2023 at 11:59 PM EDT. Winners will be announced on the @lalalandcrafts & @cottagecutz IG accounts on 11-4.23! The instagram hop starts HERE.

My card features Pile of Fun Stamp Set from La-La Land Crafts plus Fall Gate w/Flowers and Fall Trees from CottageCutz


Click on the picture below to start the hop!


Hope to see you at this fun collaboration hop!

Blessings
Pam