Monday, June 6, 2022

Yum!

 Hello Scrapping Cottage Friends

The design team is continuing to give you some great ideas for our new release Sweet Treats!  There are 13 different designs and everyone of them can be used for a variety of occasions especially Birthdays!! The individual dies are 30% off.  This sale price won't last long so click HERE to hop on over to the store!

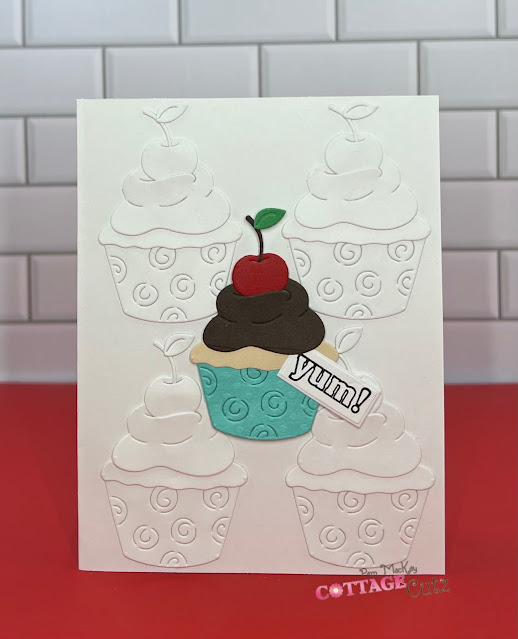
Today, I am using the sweet Cupcake w/Cherry.  I thought it would be fun to create a background with the same cupcake so this is what I came up with!
Design Steps:

1.  Using the Cupcake w/Cherry cut out 4 cupcakes on white card stock
2.  Assemble the cupcakes and glue them to the front of a white A2 card base as shown above 
3.  Cut out one cupcake using the following colors of card stock: turquoise, tan, brown, red and green.  Assemble the cupcake with a fine tip glue
4.  Place dimensional squares or dots on the back of the cupcake 
5.  Pop the cupcake to the middle of the card as shown above.  Stamp the word yum and tuck it under the icing as shown
CottageCutz Products

We have more inspiration on our YouTube Channel check it out HERE
Thanks so much for stopping by!  And I will see you next Thursday.

Blessings and Take Care


Monday, May 30, 2022

Sweet Birthday Wishes

  Hello Scrapping Cottage Friends

The design team is continuing to give you some great ideas for our new release Sweet Treats!  There are 13 different designs and everyone of them can be used for a variety of occasions especially Birthdays!! The individual dies are 30% off.  This sale price won't last long so click HERE to hop on over to the store!

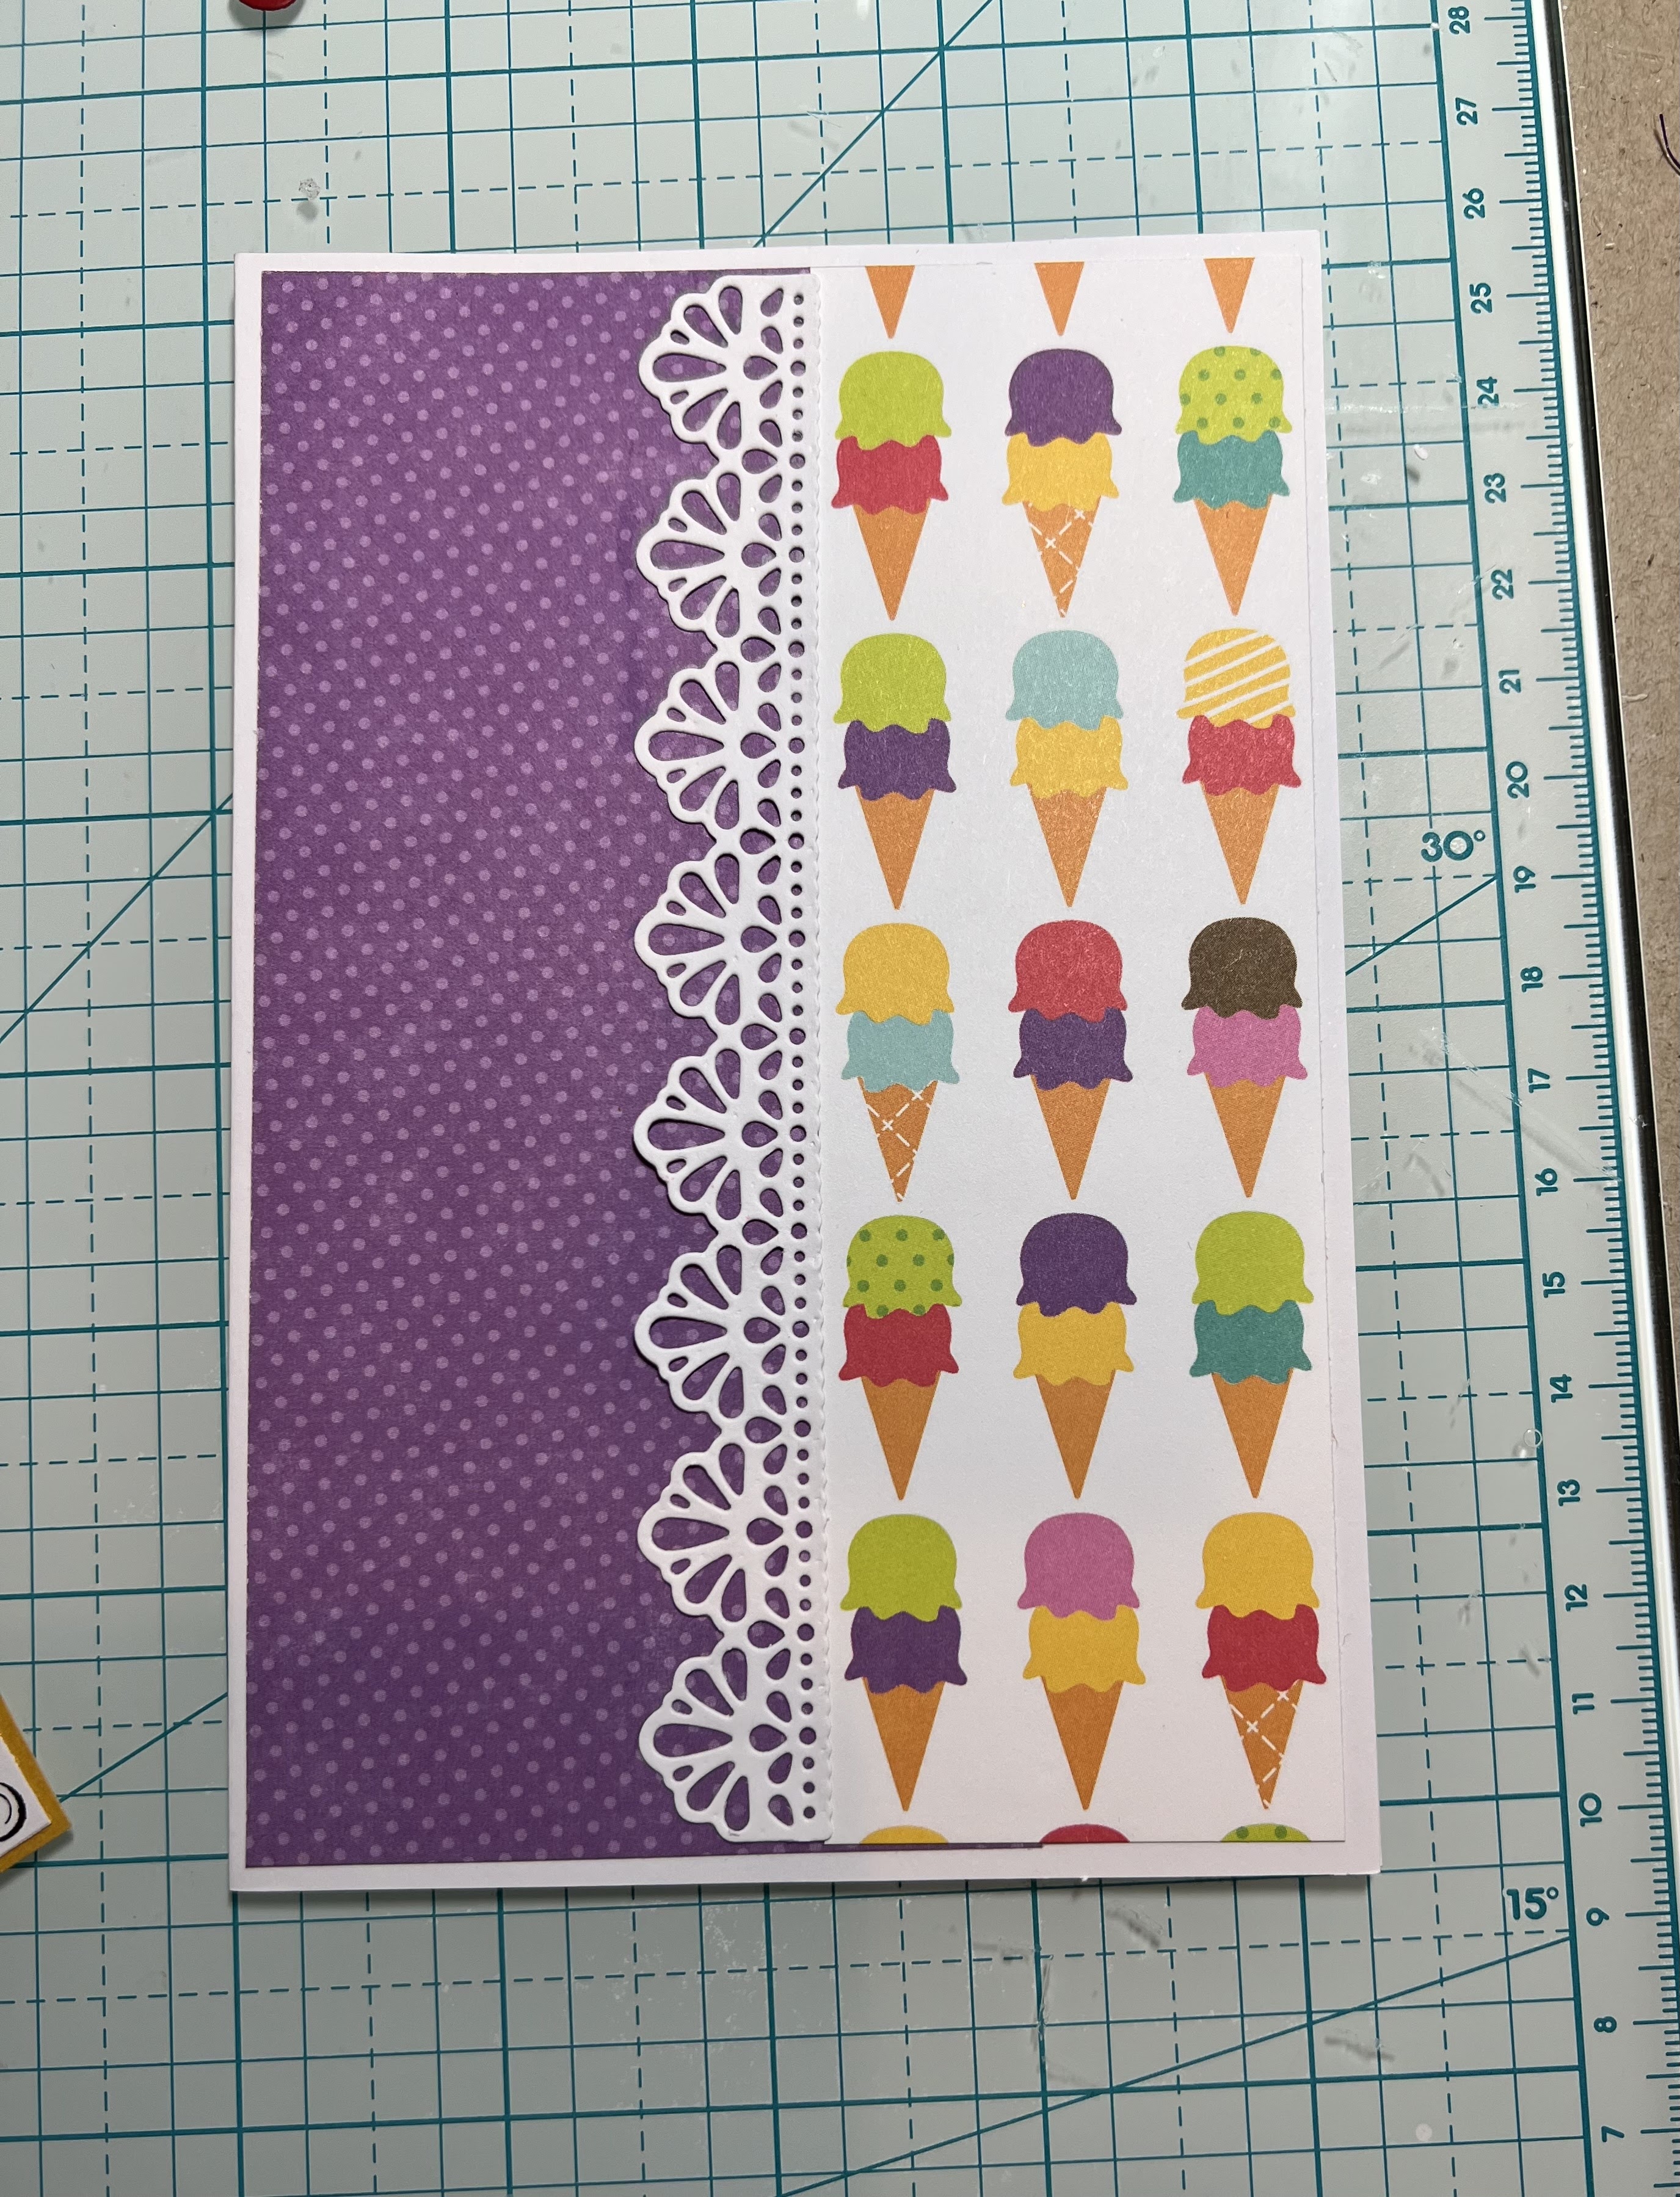
Today, I am using the ultimate sweet treat die Build an Ice Cream Cone.  My husband could eat ice cream everyday and after every meal! So this card is going to him for his birthday!  The only thing he would say should be different is that every scoop of ice cream has to be chocolate!!!

Design Steps:
1.  The card base is a white  4 1/4 x 6 1/4, the purple DP is 6 x 3, the ice cream DP is 6 x 2 and finally I cut a piece of white card stock with a lacy border die
2.  Glue down the purple dotted paper first and then add the ice cream paper.  Next glue down the lacy border as shown above
3.  Using the Build an Ice Cream Cone die cut out the follow colors of card stock: yellow, burnt orange, pink, yellow green, turquoise, white, red, dark brown and green
4.  Glue the pieces together as shown above using a fine tip glue
5.  Stamp the sentiment and layer with yellow, pink and turquoise card stock
6.  Pop up the cone and the sentiment pieces and your card is complete

CottageCutz Products


We have more inspiration on our YouTube Channel check it out HERE
Thanks so much for stopping by!  And I will see you next Thursday.

Blessings and Take Care


Sunday, May 22, 2022

Birthday Easel

 Hello Scrapping Cottage Friends

It is NEW RELEASE TIME!!

It is our Sweet Treats release!  There are 13 different designs and everyone of them can be used for a variety of occasions especially Birthdays!! The individual dies are 30% off.  This sale price won't last long so click HERE to hop on over to the store!

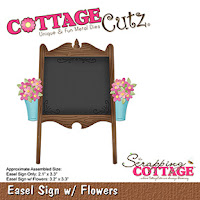
Today, I am using the adorable Easel Sign w/Flowers.  This die can be used to proclaim any occasion.  I think it would make a really cute Wedding announcement.


Design Steps:
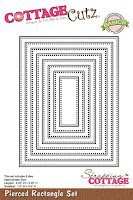
1.  Use a white 6 1/4 x 4 1/4 card base, 6 1/8 x 4 1/8 blue card stock, 6 x 4 flowered DP,  use the largest Pierced Rectangle die and cut out blue card stock and finally use the second from the largest Pierced Rectangle and cut out white card stock
2.  Use the Easel Sign w/Flowers and cut out the following card stock: red, yellow, green, silver, black and a piece of wood grain DP
3.  Stamp the black insert piece with VersaMark and emboss with white powder.  Assemble the easel with a fine tip glue
4.  Glue the white rectangle to the blue rectangle and add a strip of green to the bottom of the white rectangle
5.  Glue the easel to the middle of the rectangle and add a few flowers to the grass below the easel as shown above
6.  Glue the flower DP to the piece of blue card stock add the white ribbon tied in a square knot.  Then glue that panel to the front of the white card
7.  Place dimension tape to the back of the blue pierced rectangle and then pop it onto the card front as shown below and your card is complete

CottageCutz Products


We have more inspiration on our YouTube Channel check it out HERE
Thanks so much for stopping by!  And I will see you next Thursday.

Blessings and Take Care


Sunday, May 15, 2022

Birthday Cupcakes

Hello Scrapping Cottage Friends

It is NEW RELEASE TIME!!

It is our Sweet Treats release!  There are 13 different designs and everyone of them can be used for a variety of occasions especially Birthdays!! The individual dies are 30% off.  This sale price won't last long so click HERE to hop on over to the store!

Today, I am using three of the new cupcake dies. This card is going to a friend who has a real sweet tooth just like I do!!

Design Steps:
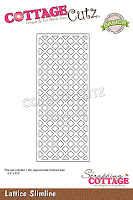
1.  Use an A2 card and cut the front flap leaving a 1 3/4 inch flap.  Cut a 1 1/4 x 5 1/2 inch white strip, 2 5 1/2 x 1/2 green strips and using the Lattice Slimline cut a piece 5 1/2 x 3
2.  Glue one green strip to the top flap and the other green strip to the top of the white strip leaving about 1/8 showing on top and bottom strip
3.  Stamp happy birthday to the top of the card flap and attach the lattice piece as shown above
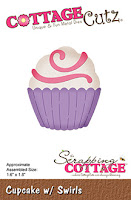
4.  Cut all the pieces out of the 3 cup cakes using Cupcake w/flowers, Cupcake w/swirls and Cupcake w/twists.  Card stock colors are blue, light purple, dark purple, green, pink, yellow and brown
5.  Ink the pieces and then assemble with a fine tip quick drying glue
6.  Glue the background cupcake flat and then pop up the two foreground cupcakes.  Add the shear pink bow and your card is complete

CottageCutz Products


We have more inspiration on our YouTube Channel check it out HERE
Thanks so much for stopping by!  And I will see you next Thursday.

Blessings and Take Care


Saturday, May 7, 2022

Yummy Birthday

 Hello Scrapping Cottage Friends

It is NEW RELEASE TIME!!

It is our Sweet Treats release!  There are 13 different designs and everyone of them can be used for a variety of occasions especially Birthdays!! The Bundle is currently on sale for 50% off!! And the individual dies are 30% off.  These sale prices won't last long so click HERE to hop on over to the store!

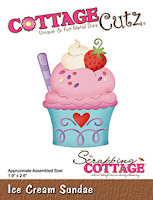
Today, I am using the Ice Cream Sundae die.  I used it as a birthday cupcake instead of ice cream.  Just and example of how you can use these dies in so many different ways!!  Be creative!!


Design Steps:

1.  Use an A2 White card base, a piece of dark red card stock 4 1/8 x 5 3/8, Strawberry DP 4 x 3 1/2, Green polka dot DP 4 x 2 1/4 and a white lace border

2.  Glue the green polka dot DP to the bottom of the dark red card stock.  Glue the strawberry DP to the top of the dark red card stock.  Add the lace border between the two pieces of DP as shown above
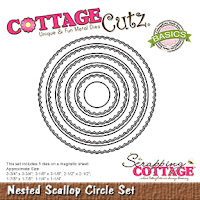
3.  Use the Scalloped Circle die second from the largest and cut out a white circle.  Use the Ice Cream Sundae die and cut out the pieces using pink, white, dark red, and green polka dot DP.  Shade the pieces with a number of different ink colors and assemble with a fine tip glue
4.  Glue the dark red panel to the front of the white card base.  Glue down the white circle slightly off center as shown above
5.  Pop up the cupcake on the white circle.  Stamp your sentiment and layer onto dark red card stock then pop it up at an angle.  Add a small strip of strawberry DP 1/2 x 4 near bottom of the card as shown above and your card is complete 
CottageCutz Products


We have more inspiration on our YouTube Channel check it out HERE
Thanks so much for stopping by!  And I will see you next Thursday.

Blessings and Take Care