Showing posts with label Safari Phrases. Show all posts

Monday, August 10, 2026

Go Wild

Hello Friends

I thought it would be fun to combine a few dies from different releases.  So I am using two dies from our Safari set, one from the Slimline set and one from our Tropical and Beach release.  The dies are Safari Monkey, Safari Phrases, Tropical Bouquet and Leafy Background Slimline.

Designer Steps:


1.  White card base 3 3/4 x 8 3/4 folded, Cut a piece of DP 3 1/2 x 8 1/2, and use the Leafy Background Slimline and cut it on green card stock


2.  Using the Safari Monkey cut out 3 monkeys using dark brown, light brown and black (nose).  Not pictured using the Tropical Bouquet die cut out 2 large Hibiscus flowers and 2 smaller ones on pink, and yellow.  Cut out 5 flowers in white, pink and black (centers).  Cut out 5 palm leaves in green. Using the Safari Phrase die cut out the sentiment in black card stock.  I used coordinating inks to shade some of the pieces and then glued together


3.  Glue the DP to the white card base and then add the leafy slimline piece.  Glue 2 hibiscus flowers, 2 white flowers and 2 leaves to the bottom of the card as shown and then add the monkey


4.  Glue 2 hibiscus flowers, 3 white flowers and 3 leaves to the top of the card and then add the monkey (below)


5.  Finish by adding the sentiment and the last monkey


Thanks so much for stopping by! 

Blessings and Take Care


Tuesday, May 21, 2024

Story Book Safari

 Hello Friends

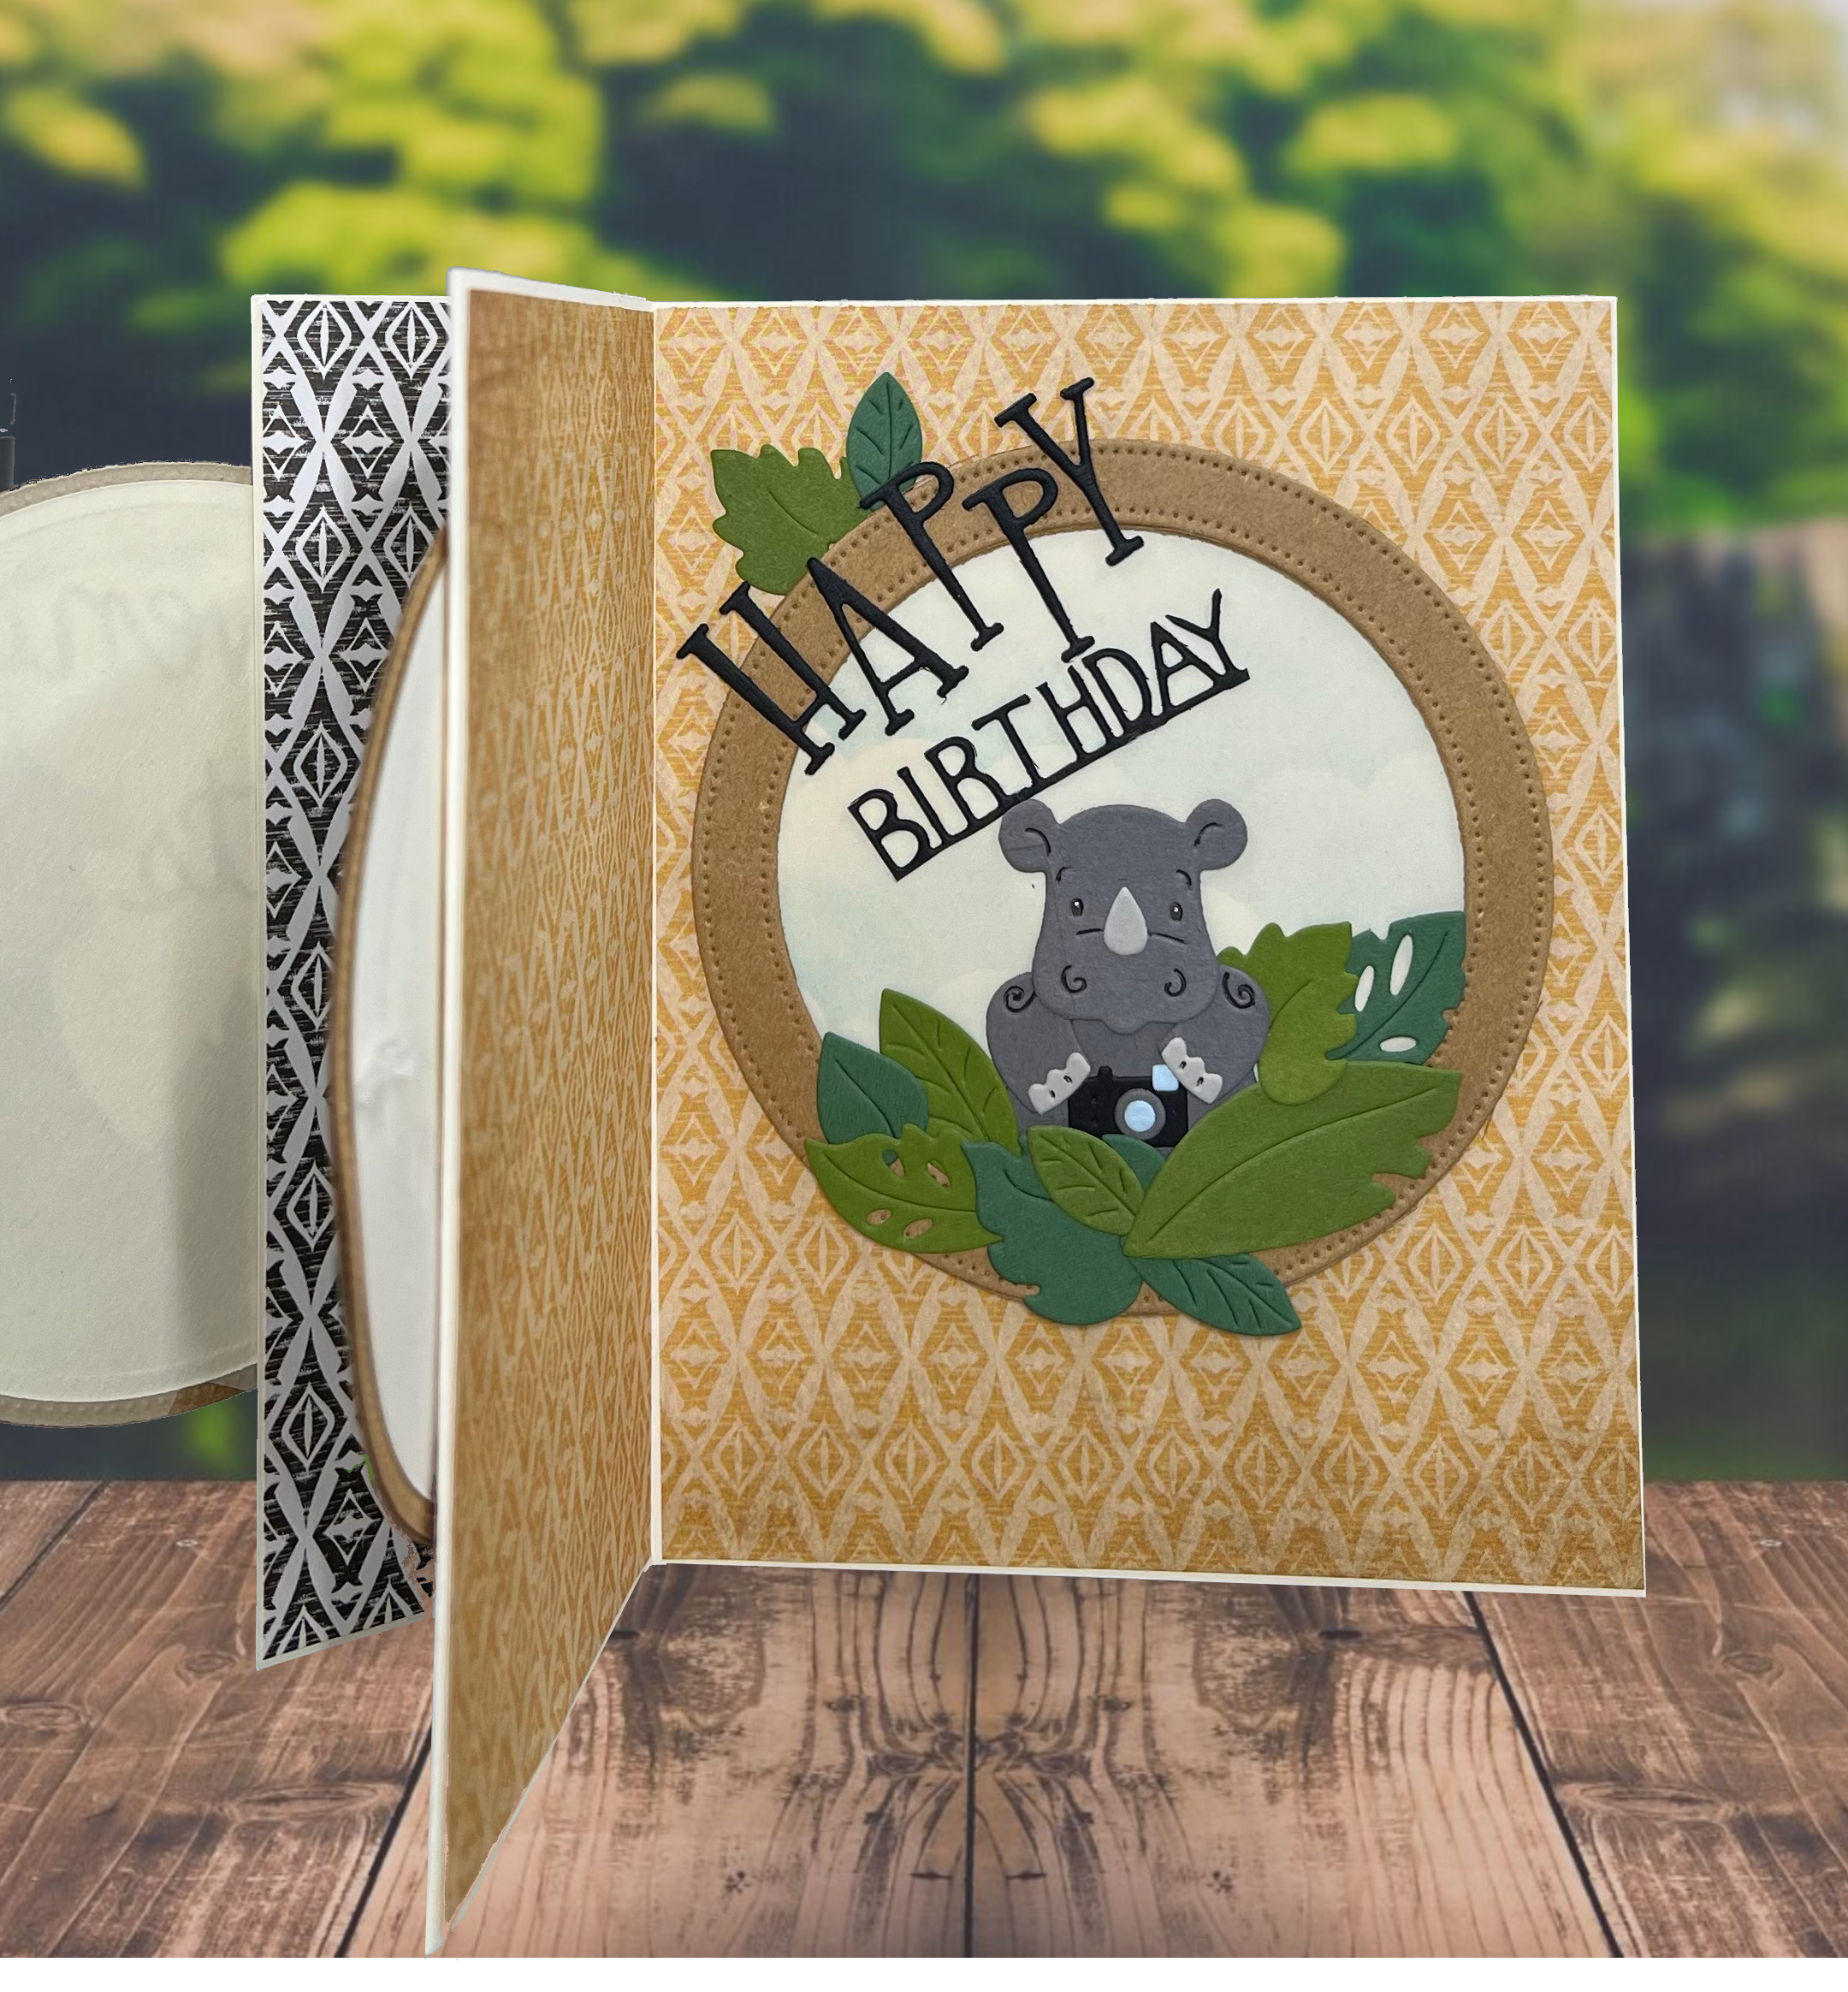
I have a cute card today that I call the Mini Story Book fold. I was inspired by a YouTube video by Karen Titus who demonstrated this fold.  I decided to use some cute jungle animals from the Safari Collections to create my fancy fold card.  This fun design will probably go to my great niece or nephew!  I am featuring two dies Safari Adventure Gang and Safari Phrases.


 Background Photo by Freepiks

Designer Steps:

1.  Using the Safari Adventure Gang die cut out the animals and leaves using the following color: two shades of green, black, mustard yellow, dark brown, tan, light and dark gray, rust, and light blue.  Using the Safari Phrases die cut out the Go Wild and Adventure awaits in black
2.  Assemble the animals with a fine tip glue
3.  Using the largest Pierced Wide Circle Frame die cut out nine circles.  Glue 3 circle frames together so you will have a sturdier thicker frame
4.  Cut out some cream colored circles to fit behind the frame.  And before gluing them to the back of the frame stencil on some light blue clouds
5.  After stenciling glue to the back of the circle frame
6.  Assemble the three frames as shown above
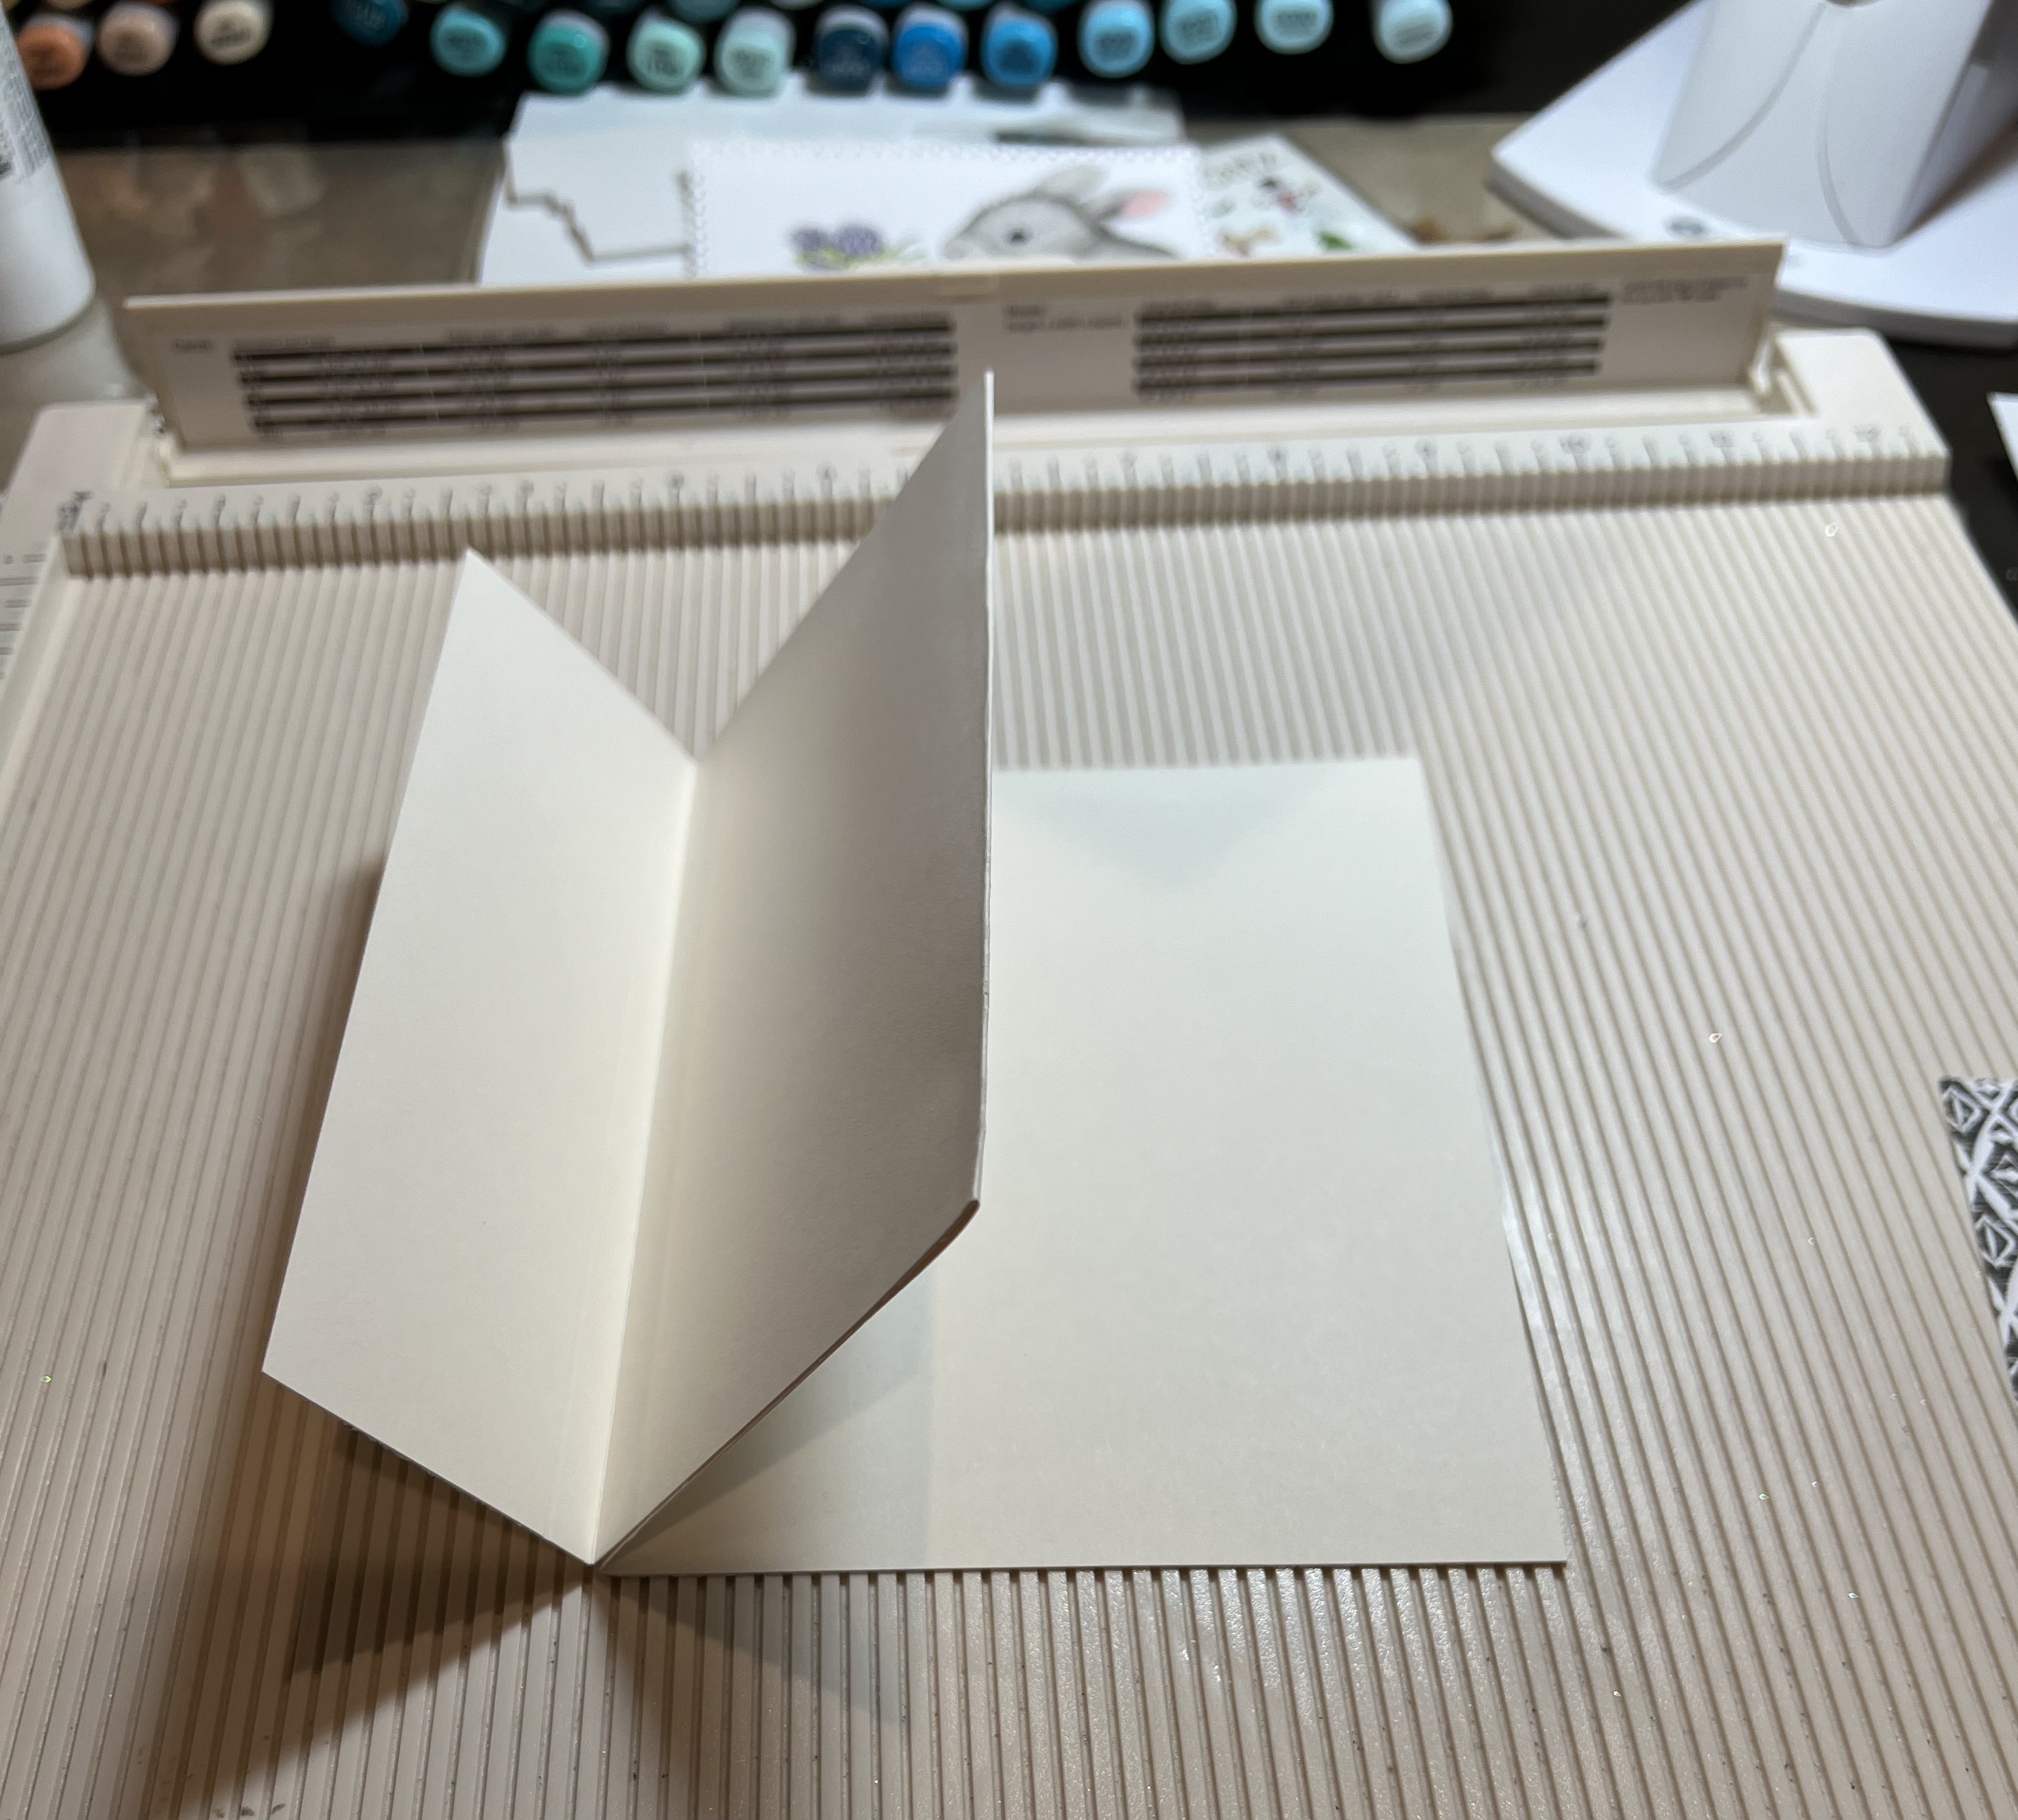
7.  To create the base start with a piece of cream card stock 12 x 5 1/2.  Score at 1 3/4, 4 3/4 and 7 3/4.  Fold valley first score line, mountain next score line and finally a valley fold on the last
8.  Flip the card over and place glue on the side right next to the smallest flap and close the fold
9.  Your card should look like this after you glue.  You will have 3 flaps
10.  Cut 1 piece of DP 4 1/8 x 5 3/8, 2 pieces of DP 2 7/8 x 5 3/8 and 2 piece of DP 1 5/8 x 5 3/8
11.  Glue the DP pieces to your card base and then add your circles and a few extra leaves


We have more inspiration on our YouTube Channel check it out HERE

Thanks so much for stopping by! 

Blessings and Take Care


Monday, May 24, 2021

Adventure Awaits

 Hello Scrapping Cottage Friends

I have a fun and unique teacher's card for you today.  My niece just finished up her school year, as a teacher, so I thought I would make her a really different end of the year card.  She has a Jeep and loves to go on trips with her family.  So I made her this card but really I think it could be for any teacher getting ready for their summer vacation!  The inside will say enjoy your summer!


Design Steps:

1.  Cut the pieces out using the Safari Cruiser w/Banner die plus green, black, dark brown, grey, and tan card stock
2.  Use a variety of inks and a small applicator to shade the pieces.  When shading is complete assemble the Jeep with a fine tip glue
3.  Using the Safari Phrase die cut out the words twice on dark brown card stock.  Glue them together
4.  Use an Slimline kraft card base and ink the edges.  Use a piece of sunset DP cut slightly smaller then the base, use the Hills Slimline die to create the road.  Spray the road with a black ink to create some texture
5.  Glue the sunset DP to the card base, add the road, glue down the phrase and then the Jeep and your card is complete

CottageCutz Products


Thank you so much for stopping by!  I hope you have some wonderful adventures this summer!

Take Care and Blessings

Pam