Showing posts with label Nested Wacky Stitched Rectangle. Show all posts

Saturday, September 2, 2023

Spook-tacular Halloween

 Hello Friends

Before we get started I wanted you to know we have a SALE in the online store.  So be sure to check it out HERE.  

The card I am sharing today is another one for Halloween.  I usually send out about 20 Halloween/Fall cards so I have a few more to make.  Today's card features the Halloween Chair plus a couple of others dies for some added fun.


Design Steps:

1.  You will need a black horizontal A2 card base, purple DP 4 1/8 x 5 3/8, black checked DP 4 x 5 1/4 and an orange frame cut with the largest of the Pierced Frame Rectangle dies

2.  Glue the purple to the black card base then glue the black check to the purple and last add the orange frame to the middle.  Set aside

3.  Using the Halloween Chair cut out the following colors of card stock: orange, green, black, yellow and brown.  For the cat I used the Spooky Tree Gnome and cut it out of black
4.  Assemble the pieces using a fine tip, fast drying glue
5.  Using the largest Wacky Stitched Rectangle cut out a piece of the purple striped DP.  Build your scene on the rectangle
6.  I needed a little something in the upper right corner so I cut out a web using the Spooky Halloween Castle and spiders from the Spooky Tree Gnome.  Add your sentiment to the left of the chair
7.  Place dimension tape on the back of the purple panel and pop it to the center of the card.  This fun Halloween card is complete


We have more inspiration on our YouTube Channel check it out HERE

Thanks so much for stopping by!  And I will see you next Thursday.

Blessings and Take Care


Sunday, January 8, 2023

Hot Wheels!

 Hello Scapping Cottage Friends,

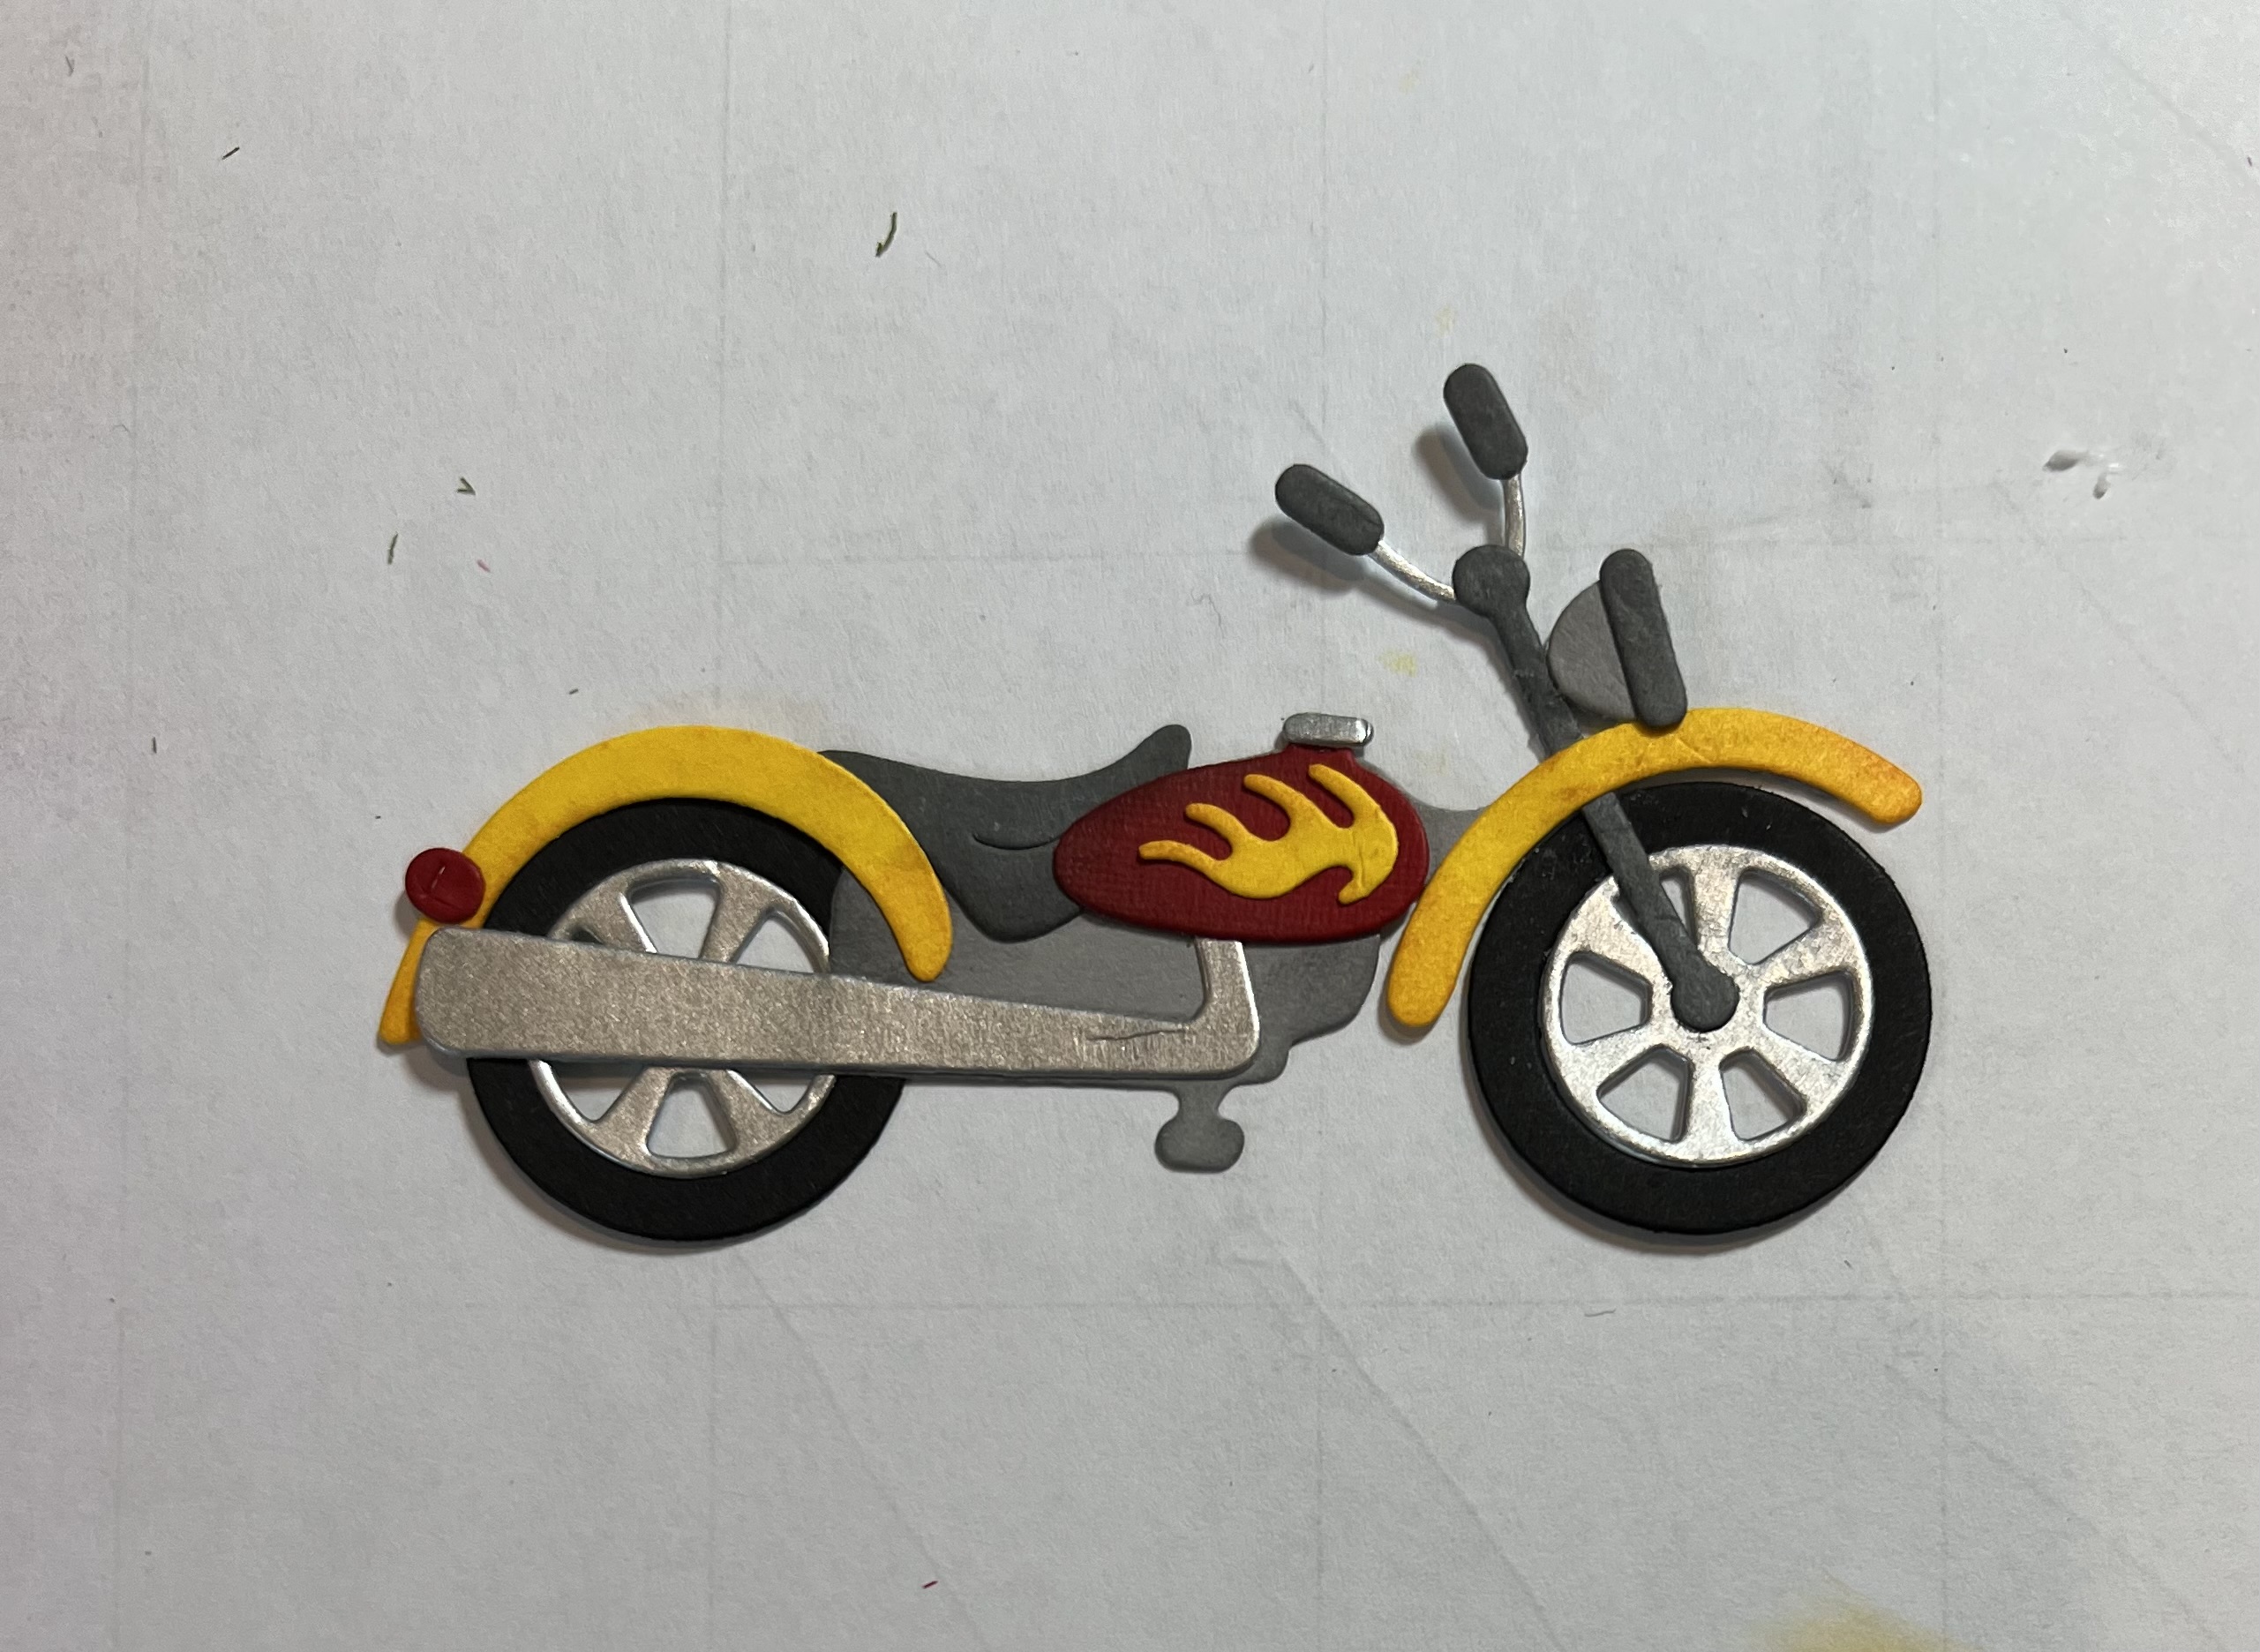
I am starting off the new year trying to get a head start on some birthday cards.  I have a number of male cards I need to make including hubby!  Masculine cards have always been a challenge for me.  But using the Classic 50's released has really helped with the challenge.  There is everything from cool cars to electric guitars!!  Today I am using the awesome Motorcycle.


Design Steps:

1.  Using the Motorcycle die cut out the pieces in the following colors of card stock: red, yellow, silver, black, light and dark grey.  Shade the pieces with various inks and a small applicator 
2.  Assemble the pieces using a fast drying fine tip glue
3.  For the base use black card stock in an A2 size 
  • Cut a white panel 4 1/8 x 5 3/8 embossed in brick and inked with light grey
  • A silver panel 1 3/4 x 5 1/4 embossed and layered on black
  • A piece of turquoise cut with the third from the largest Wacky Stitched Rectangle and layered on black.  Wrap the turquoise rectangle with a piece of black ribbon
  • Using the Ring in the New Year die cut out 5 of the hats in the black checked DP for the banner
4.  Glue the white brick panel to the black card front.  Glue the silver strip to the white brick panel slightly to the left as shown above.  Place pop up strips to the back of the turquoise rectangle and then pop it to the front as shown below
5.  Glue the black string to the top of the card as shown above and then add the little checked banners. Add the little red stars and your sentiment and the card is complete

CottageCutz Products 


We have more inspiration on our YouTube Channel check it out HERE

Thanks so much for stopping by!  And I will see you next Thursday.

Blessings and Take Care


Tuesday, September 17, 2019

Polar Bear Christmas!

Hello Scrapping Cottage Friends!

It is here! The adorable new Christmas release is available in the store today!  And to make it even better there is a 25% off discount!  Go and check out all of the fantastic new designs.

I am using one of the new dies for my card today! The die is Polar Bears w/Birch Trees.

Design Steps:

 1.  Using the Polar Bear w/Birch Trees die cut out all of the pieces in white card stock
 2.  Use your favorite markers to color the pieces and assemble them
 3.  Using the Wacky Stitched Rectangle second from the largest cut out a piece of navy DP
 4.  Assemble the snow and birch trees onto the DP.  Use pop dots and attach the bears

5.  Use an A2 white card base, cut a piece of navy card stock slightly smaller then the card base, cut a piece of red snowflake DP 5 1/4 x 3 1/4 (I have the red DP on the wrong side Hee Hee) Also cut a piece of white ribbon
 6.  Place the red snowflake paper in the center add the navy panel with the bears and finally add your ribbon

CottageCutz Dies


Here is a peek at all of the wonderful Christmas Dies!

Don't miss the 25% off sale for all of these wonderful Christmas Dies!
Blessings
Pam


Wednesday, September 5, 2018

Snowmen! - Scrapping Cottage

Good Morning Scrapping Friends!

 Make sure your check out the store because part 2 of the Christmas release is in the house! The card I made for you today is from Christmas part 1.   All of these new Christmas dies are so amazing and the detail is unbelievable! The best thing about all these wonderful dies is that right now they are 25% off but just for a limited time! Don't miss out on this fantastic sale!


Design Steps:
 1.  Cut out all of the pieces using white card stock and the Snowman Lane die.  Color all of the pieces with your favorite pencils or markers
 2.  Use an A2 white card base and then cut a slightly smaller piece of snowflake DP.  Using the Wacky Stitched Rectangle second from the largest cut out the center of the DP
 3.  Mount the frame made from the DP to the front of the card using Dimension tape next glue the cut rectangle flat to the center of the frame
 4.  Begin to add the pieces into the frame add the snow, snowman then the fence as shown
 5.  To add dimension place one of the snowmen outside of the frame and continue to all the rest of the pieces: Mailbox, sign and the third snowman
 6.  Add all of the snow to the scene and the small pieces to the mail box.  I added some additional snow to the base of the card
7.  I added some small black pearls for the snowmen's eyes and some Stickles glitter to the piles of snow for some sparkle.  Stamp your sentiment and the street sign and your card is complete!


CottageCutz Products


As always we love it when you come to visit us!  Thanks again and make sure you take some time out for yourself to be crafty!
Blessings
Pam