Hello Scrapping Cottage Friends
We have a NEW RELEASE FOR AN EARLY START ON YOUR CHRISTMAS CARDS!! I am giving you a peek at a number of Nativity dies available in this release and they are just gorgeous. The release is Christmas Part 1 and has 21 fantastic dies. The release includes everything from Gnomes to Reindeer!! Check it out HERE it is on sale now!!
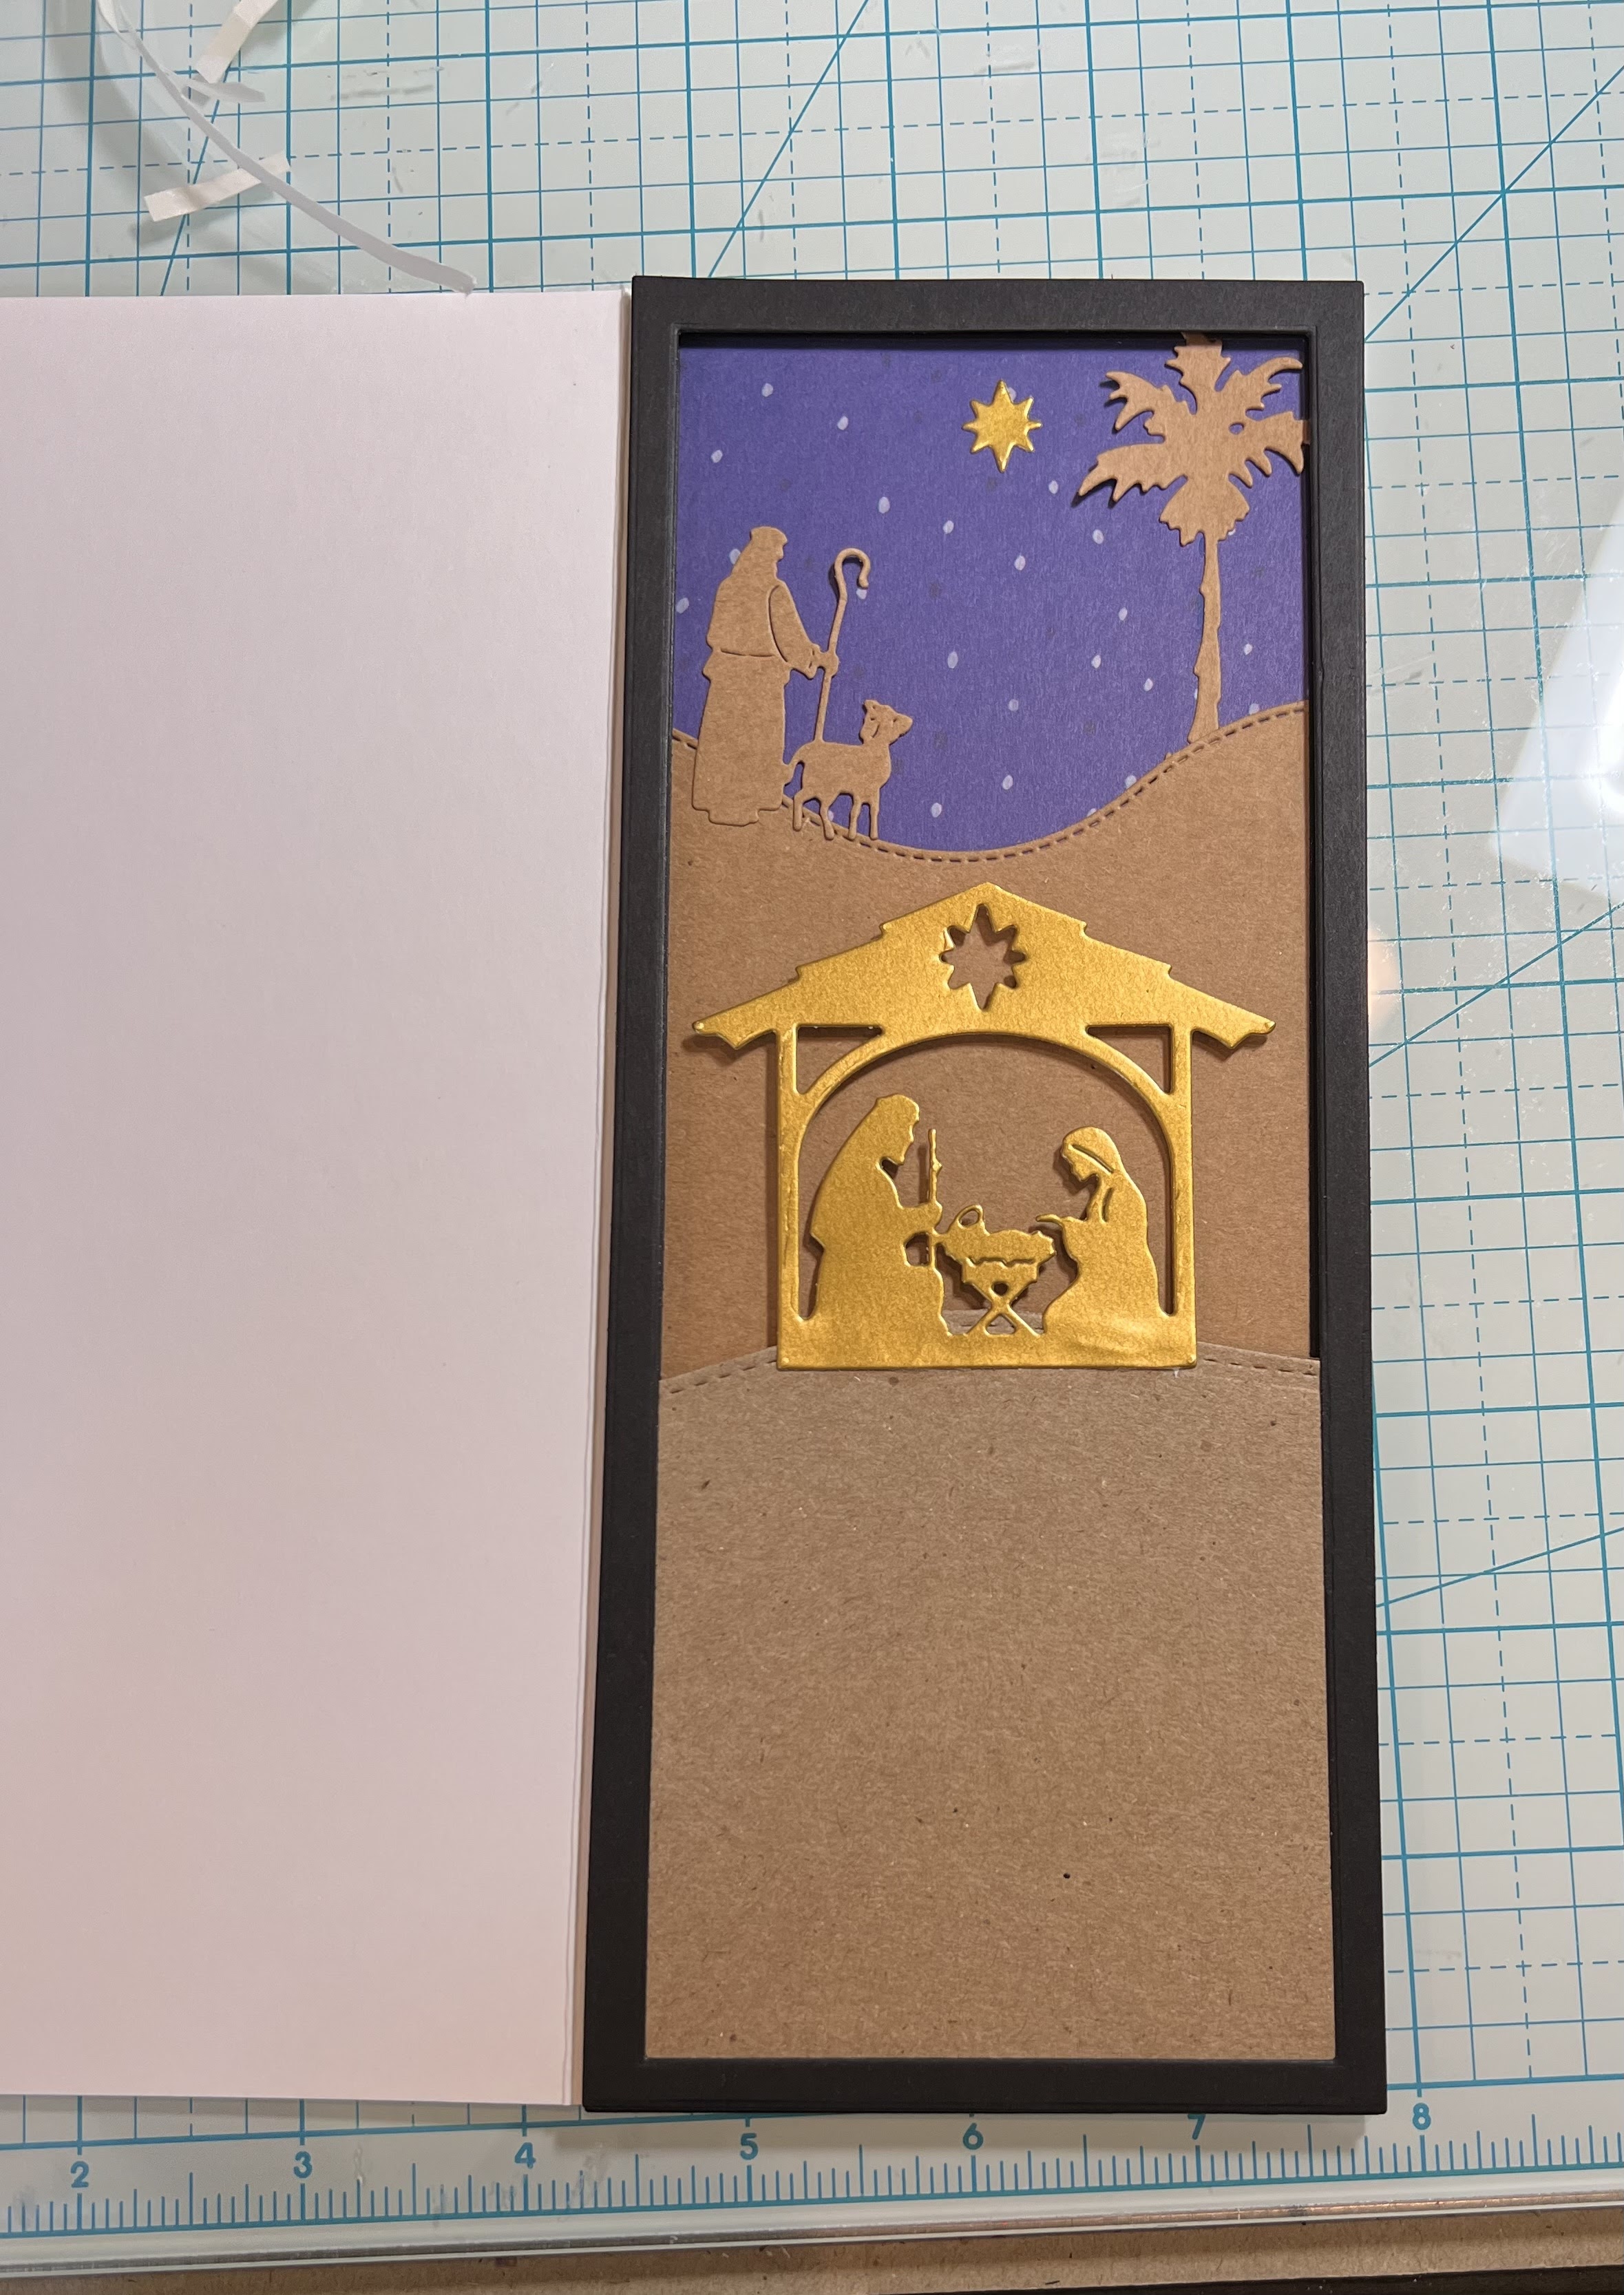
I have seen a number of scene builder sets lately and I love them! So I decided to create my own scene builder with the new dies. I am really excited about how it turned out! Each layer is popped up and there is so much depth. I wish you could see it in real life!
Design Steps:
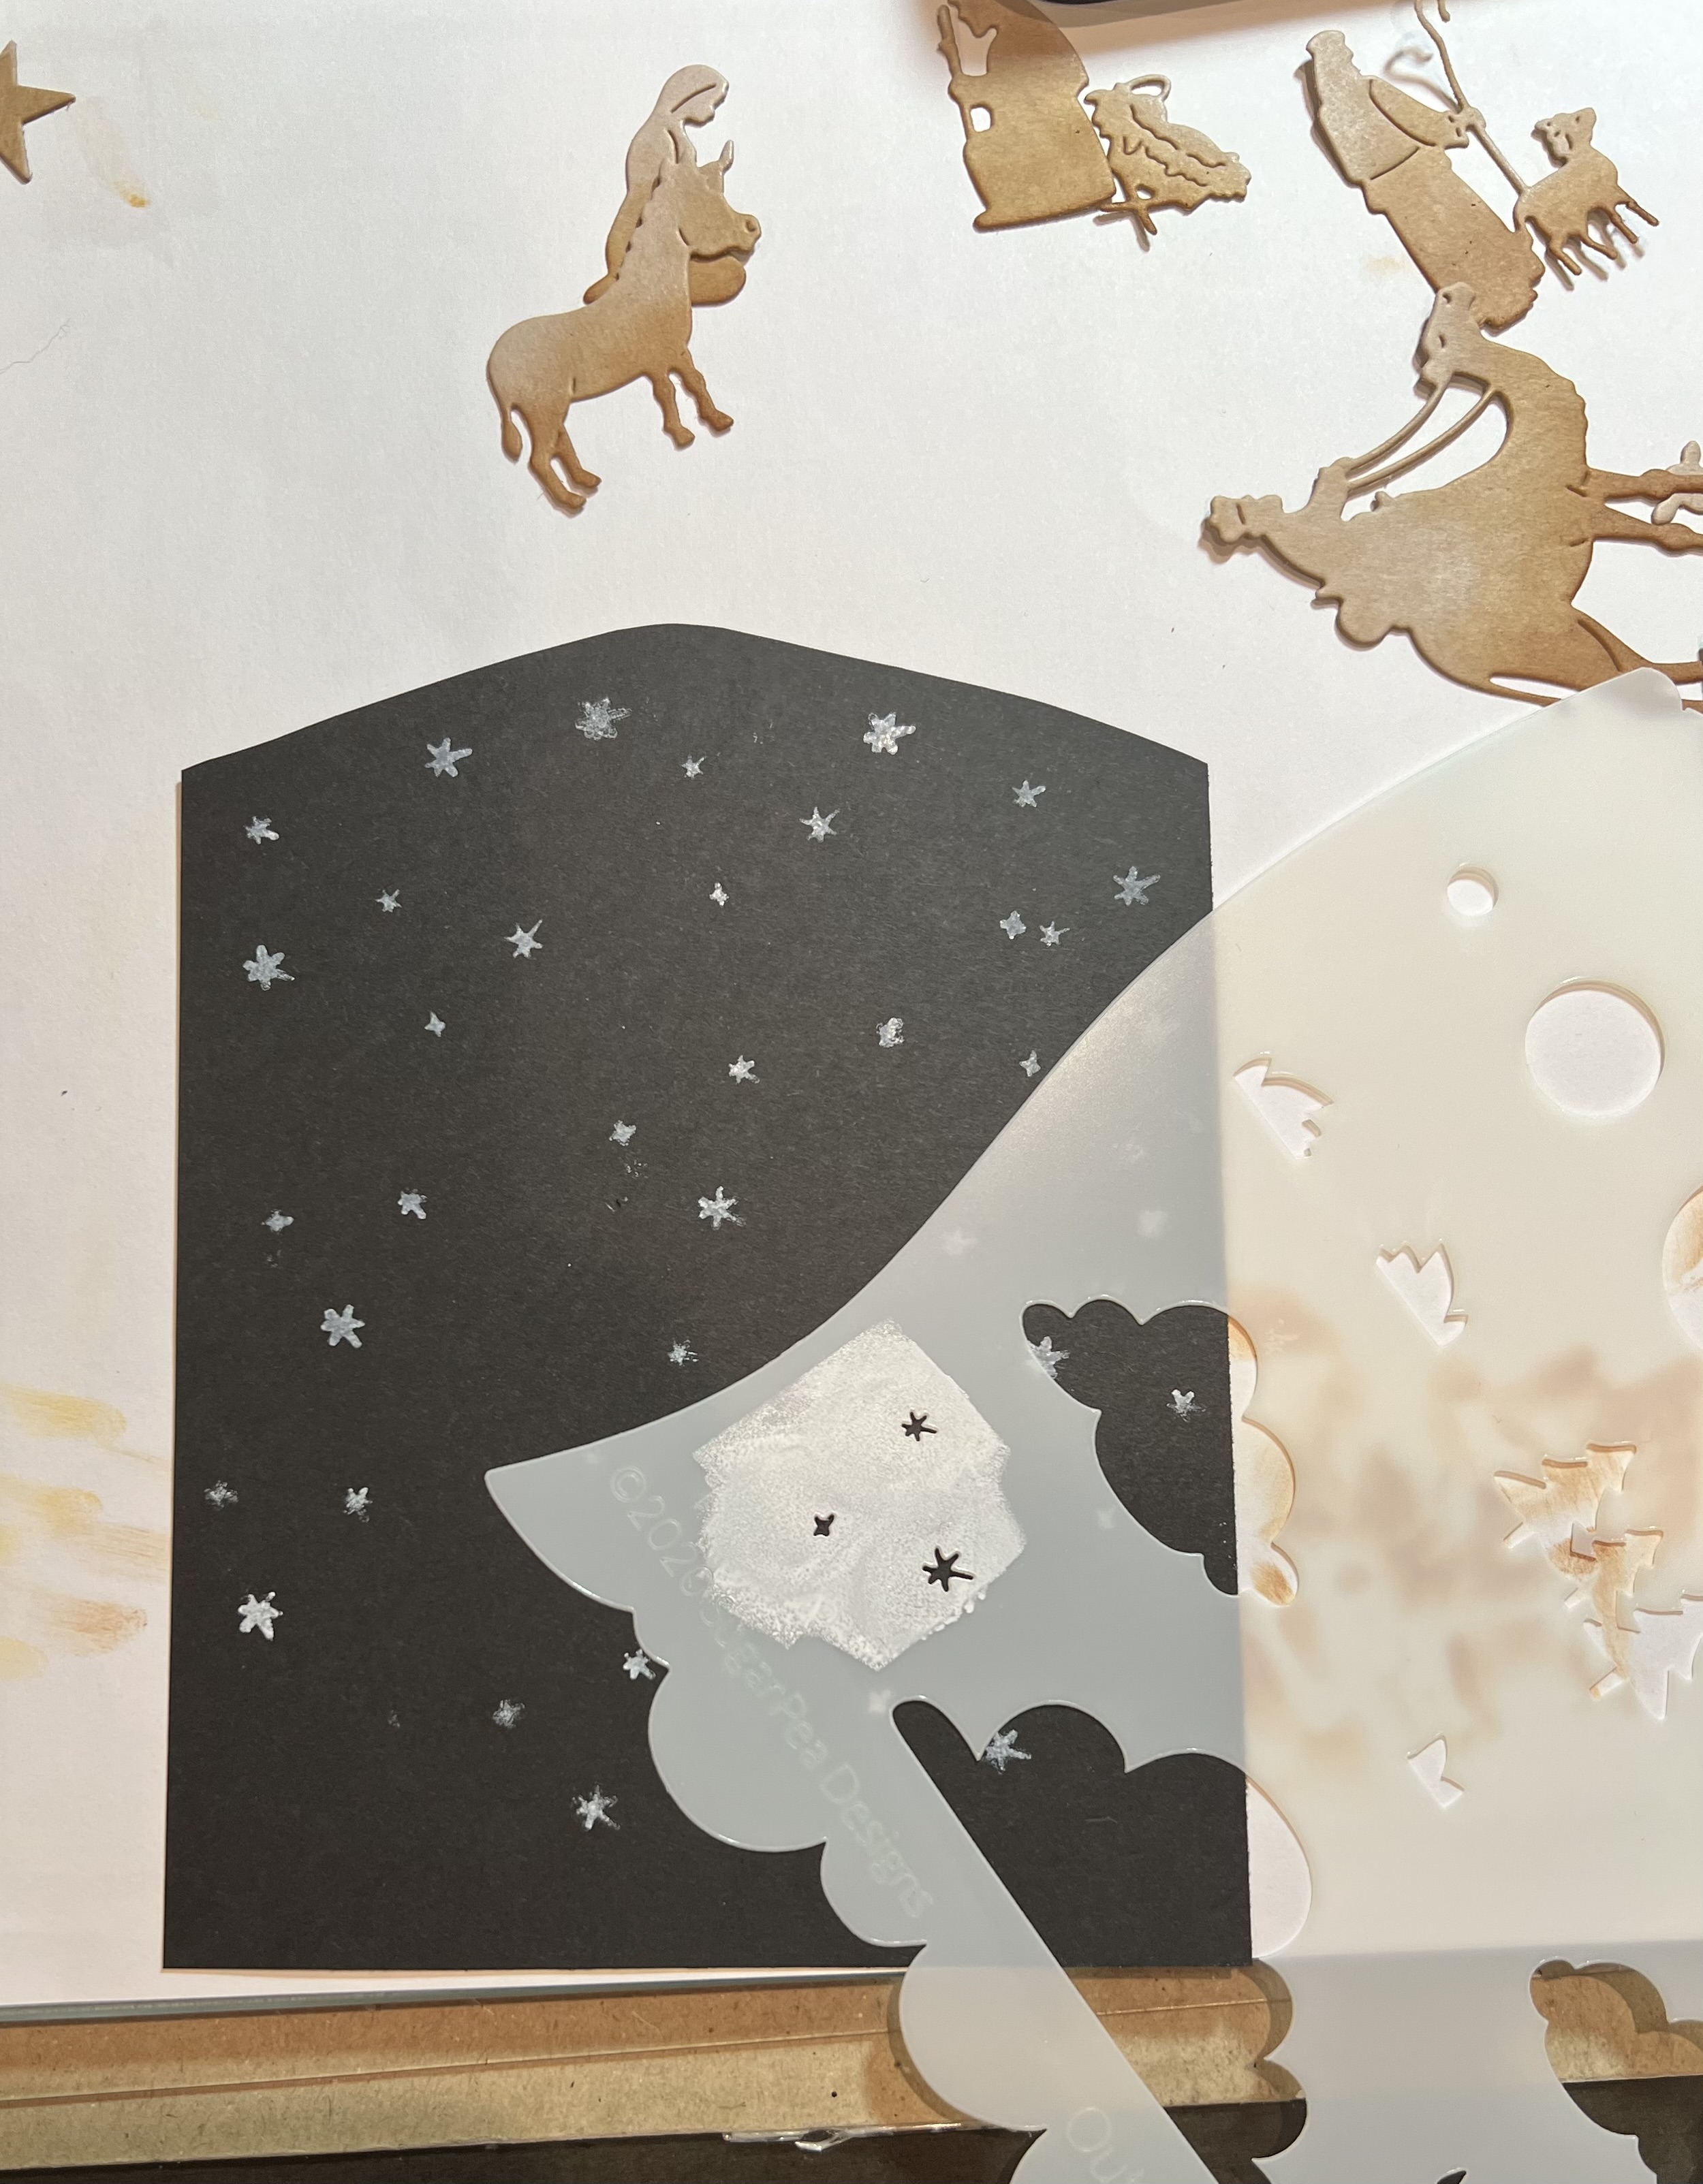
1. Using the following dies: Nativity Camel, Palm Tree & Angel, Nativity Stable, Shepard & Animals and Stable Nativity Ornament cut out of gold, brown and tan card stock
2. Use Nested Rectangle slimline dies the largest and the second to the largest. Tape the two together to create a frame cut out 3 frames. For the base use white card stock cut 3 1/2 x 8 1/2
3. For the top layer use one of the frames. For the ground I used the Slimline Hills die on a piece of brown card stock which measures 3 1/2 x 1. Glue the ground to the back of the frame and then add the camels as shown above
4. For the middle layer use another frame. For the ground use the Hills slimline die on a piece of kraft card stock 3 1/2 x 3 1/2. Glue the ground to the back of the frame and then add the Nativity scene on top of the hill
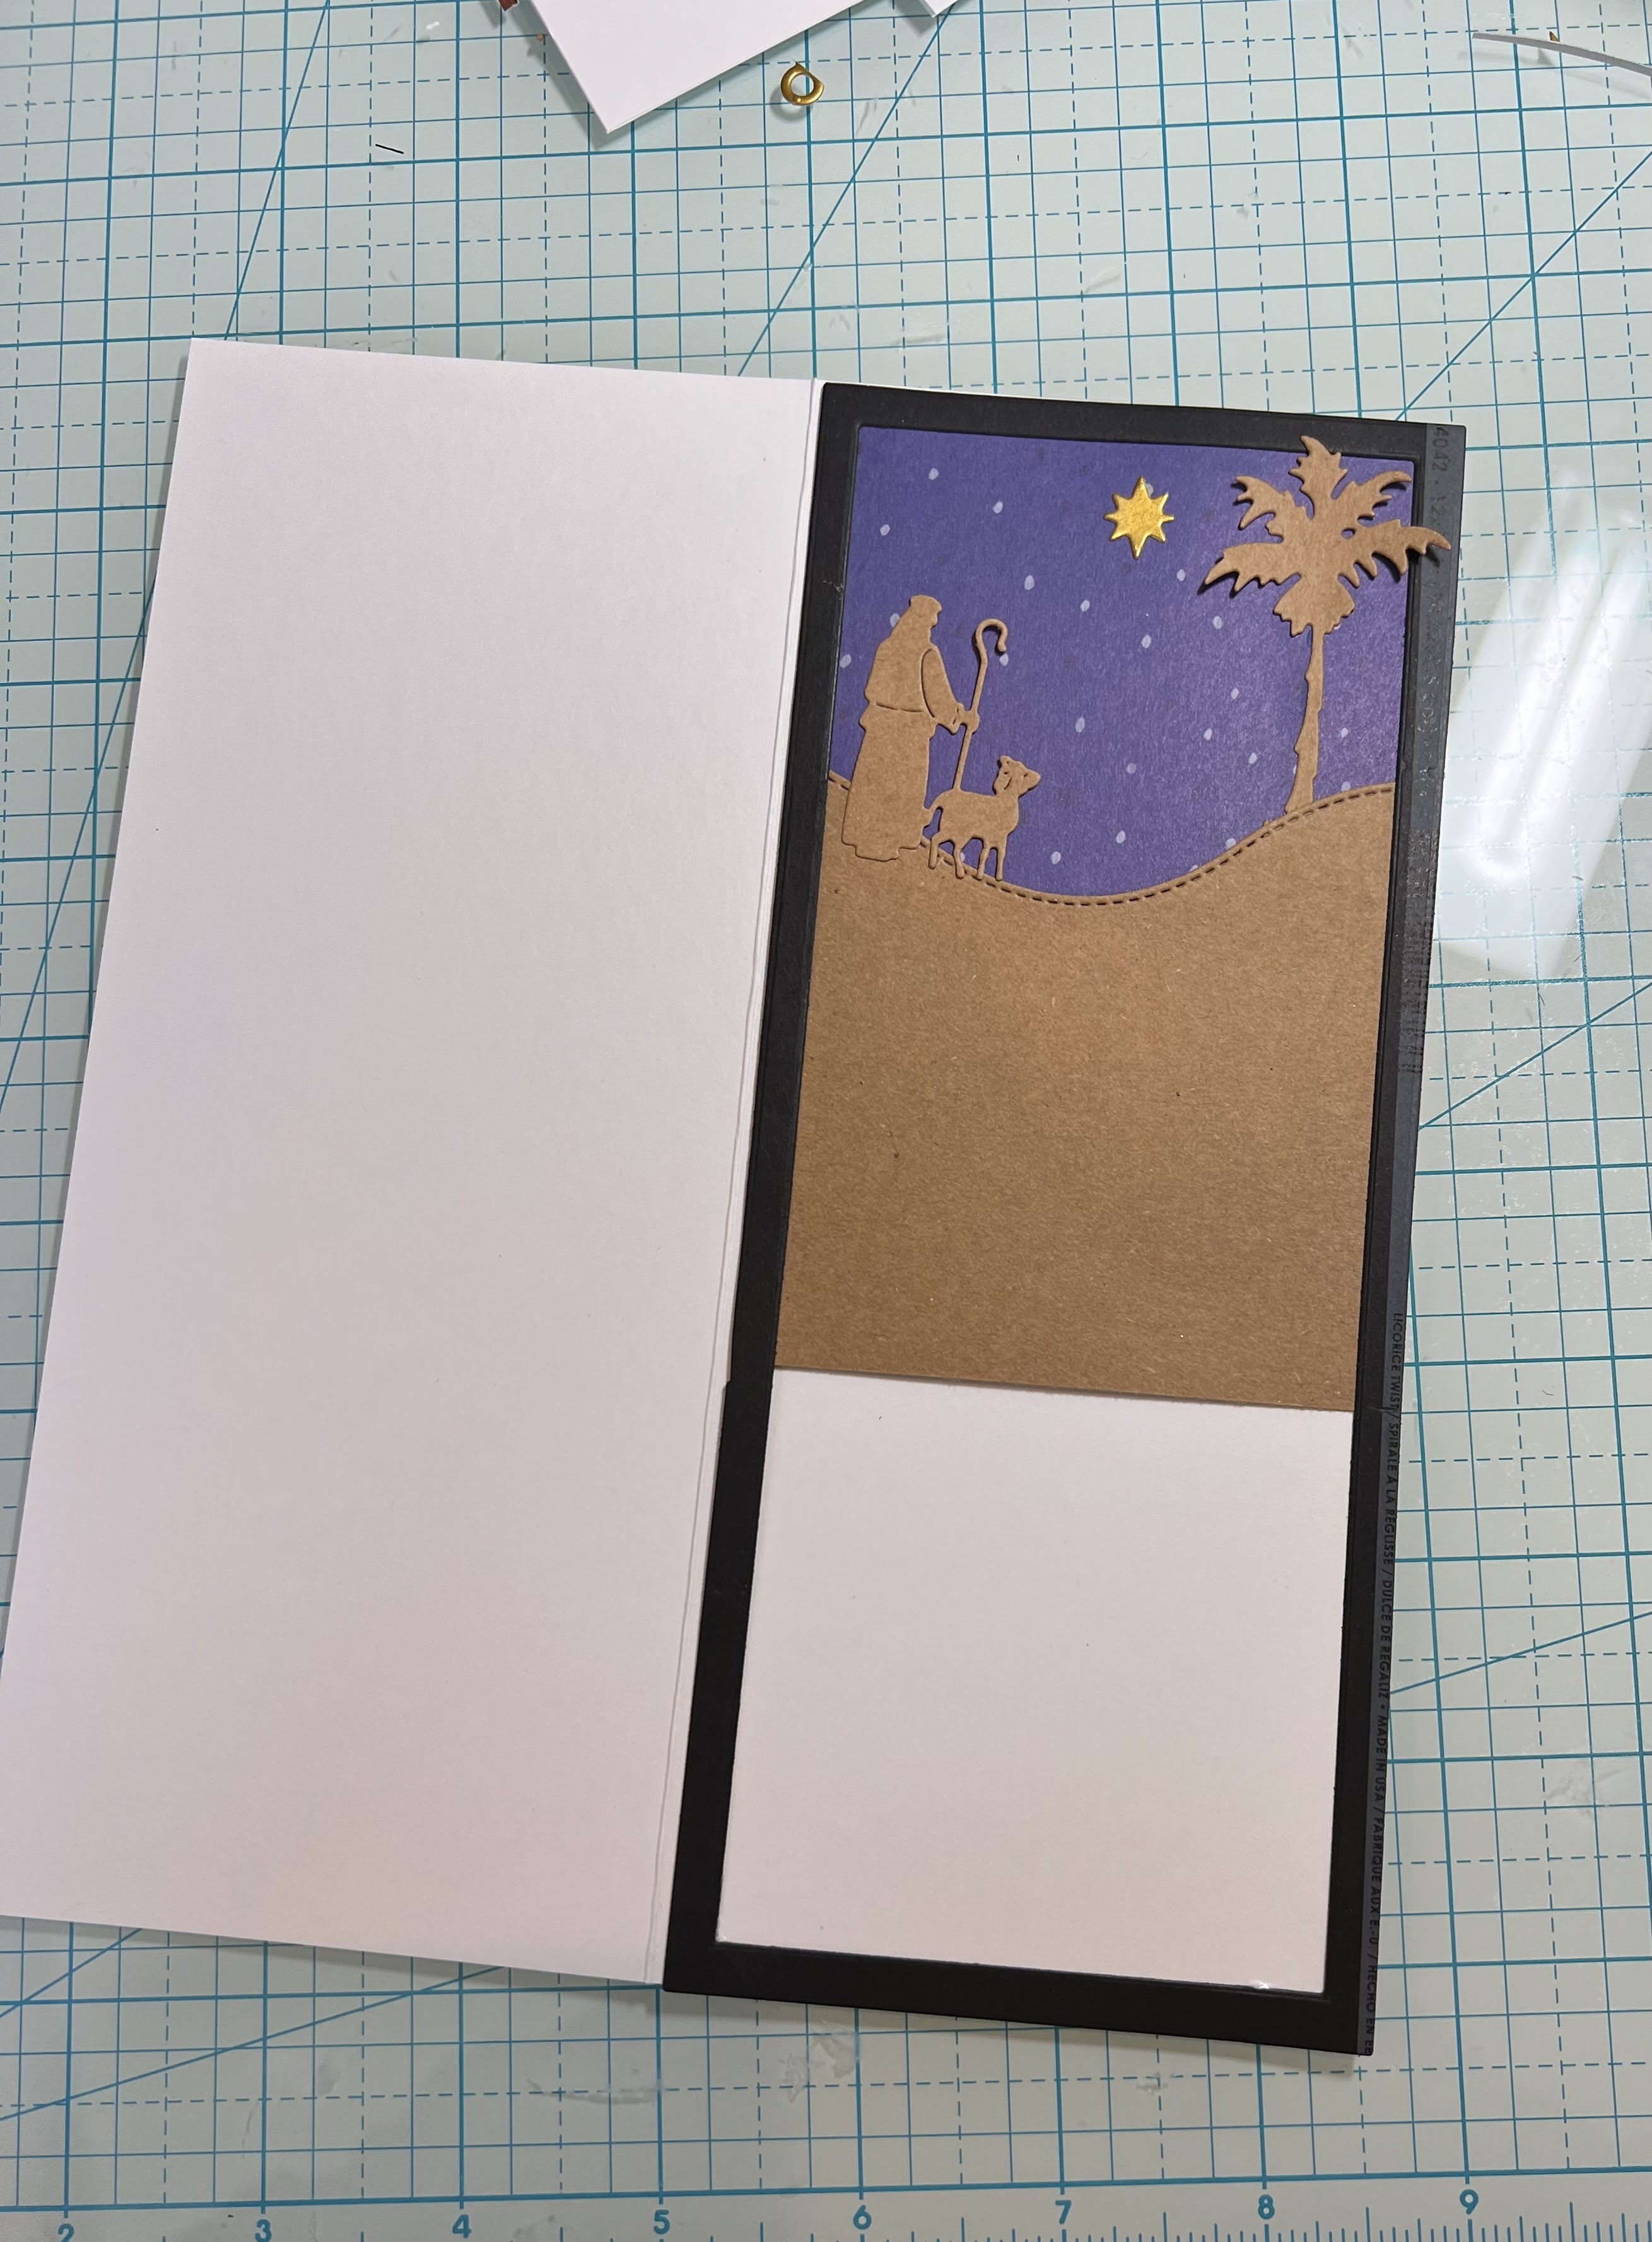
5. For the bottom layer use the last frame. For the ground use the Hills slimline on a piece of tan card stock 3 1/2 x 3 1/2. Glue the ground to the back of the frame making sure it will meet up with the second frame and that no white will show through. Use a piece of blue DP for the sky measuring 3 1/2 x 3 glue it to the back of the frame. Add the Shepard, the palm tree and the gold star
6. Starting with the bottom frame which is the one with the Shepard glue it flat to the white card base. (I wish I would have used a black card base so if I didn't get the frame just right the white would not show)
7. Place dimension tape on the back of the middle and top layers
8. Take the middle layer and tape it down to the bottom layer as shown above. (You might want to just remove one side of the dimension tape backing and get it lined up then remove the other backing as you go)
9. Add the top layer and your card is complete. The card has great depth love how it turned out!
CottageCutz Products
Don't forget to check out all of the new release Christmas dies! You don't want to miss out on the great prices!
We have more inspiration on our YouTube Channel check it out HERE Thanks so much for stopping by! And I will see you next Thursday.
Blessings and Take Care