Showing posts with label Mushroom Fairy Garden. Show all posts

Sunday, August 18, 2024

Hello Fall


 Hello Friends,

So glad you stopped by today!  I am so excited about starting my fall cards.  Autumn colors are my favorite and so is the season! Today I am sharing a Fall card using a number of different dies: Mushroom Fairy Garden (Mushrooms),  Fall Centerpiece (leaves), Spring Greenery, Greenery and Botanical Garden 2.  

 Background Photo by FreePiks

Design Steps:
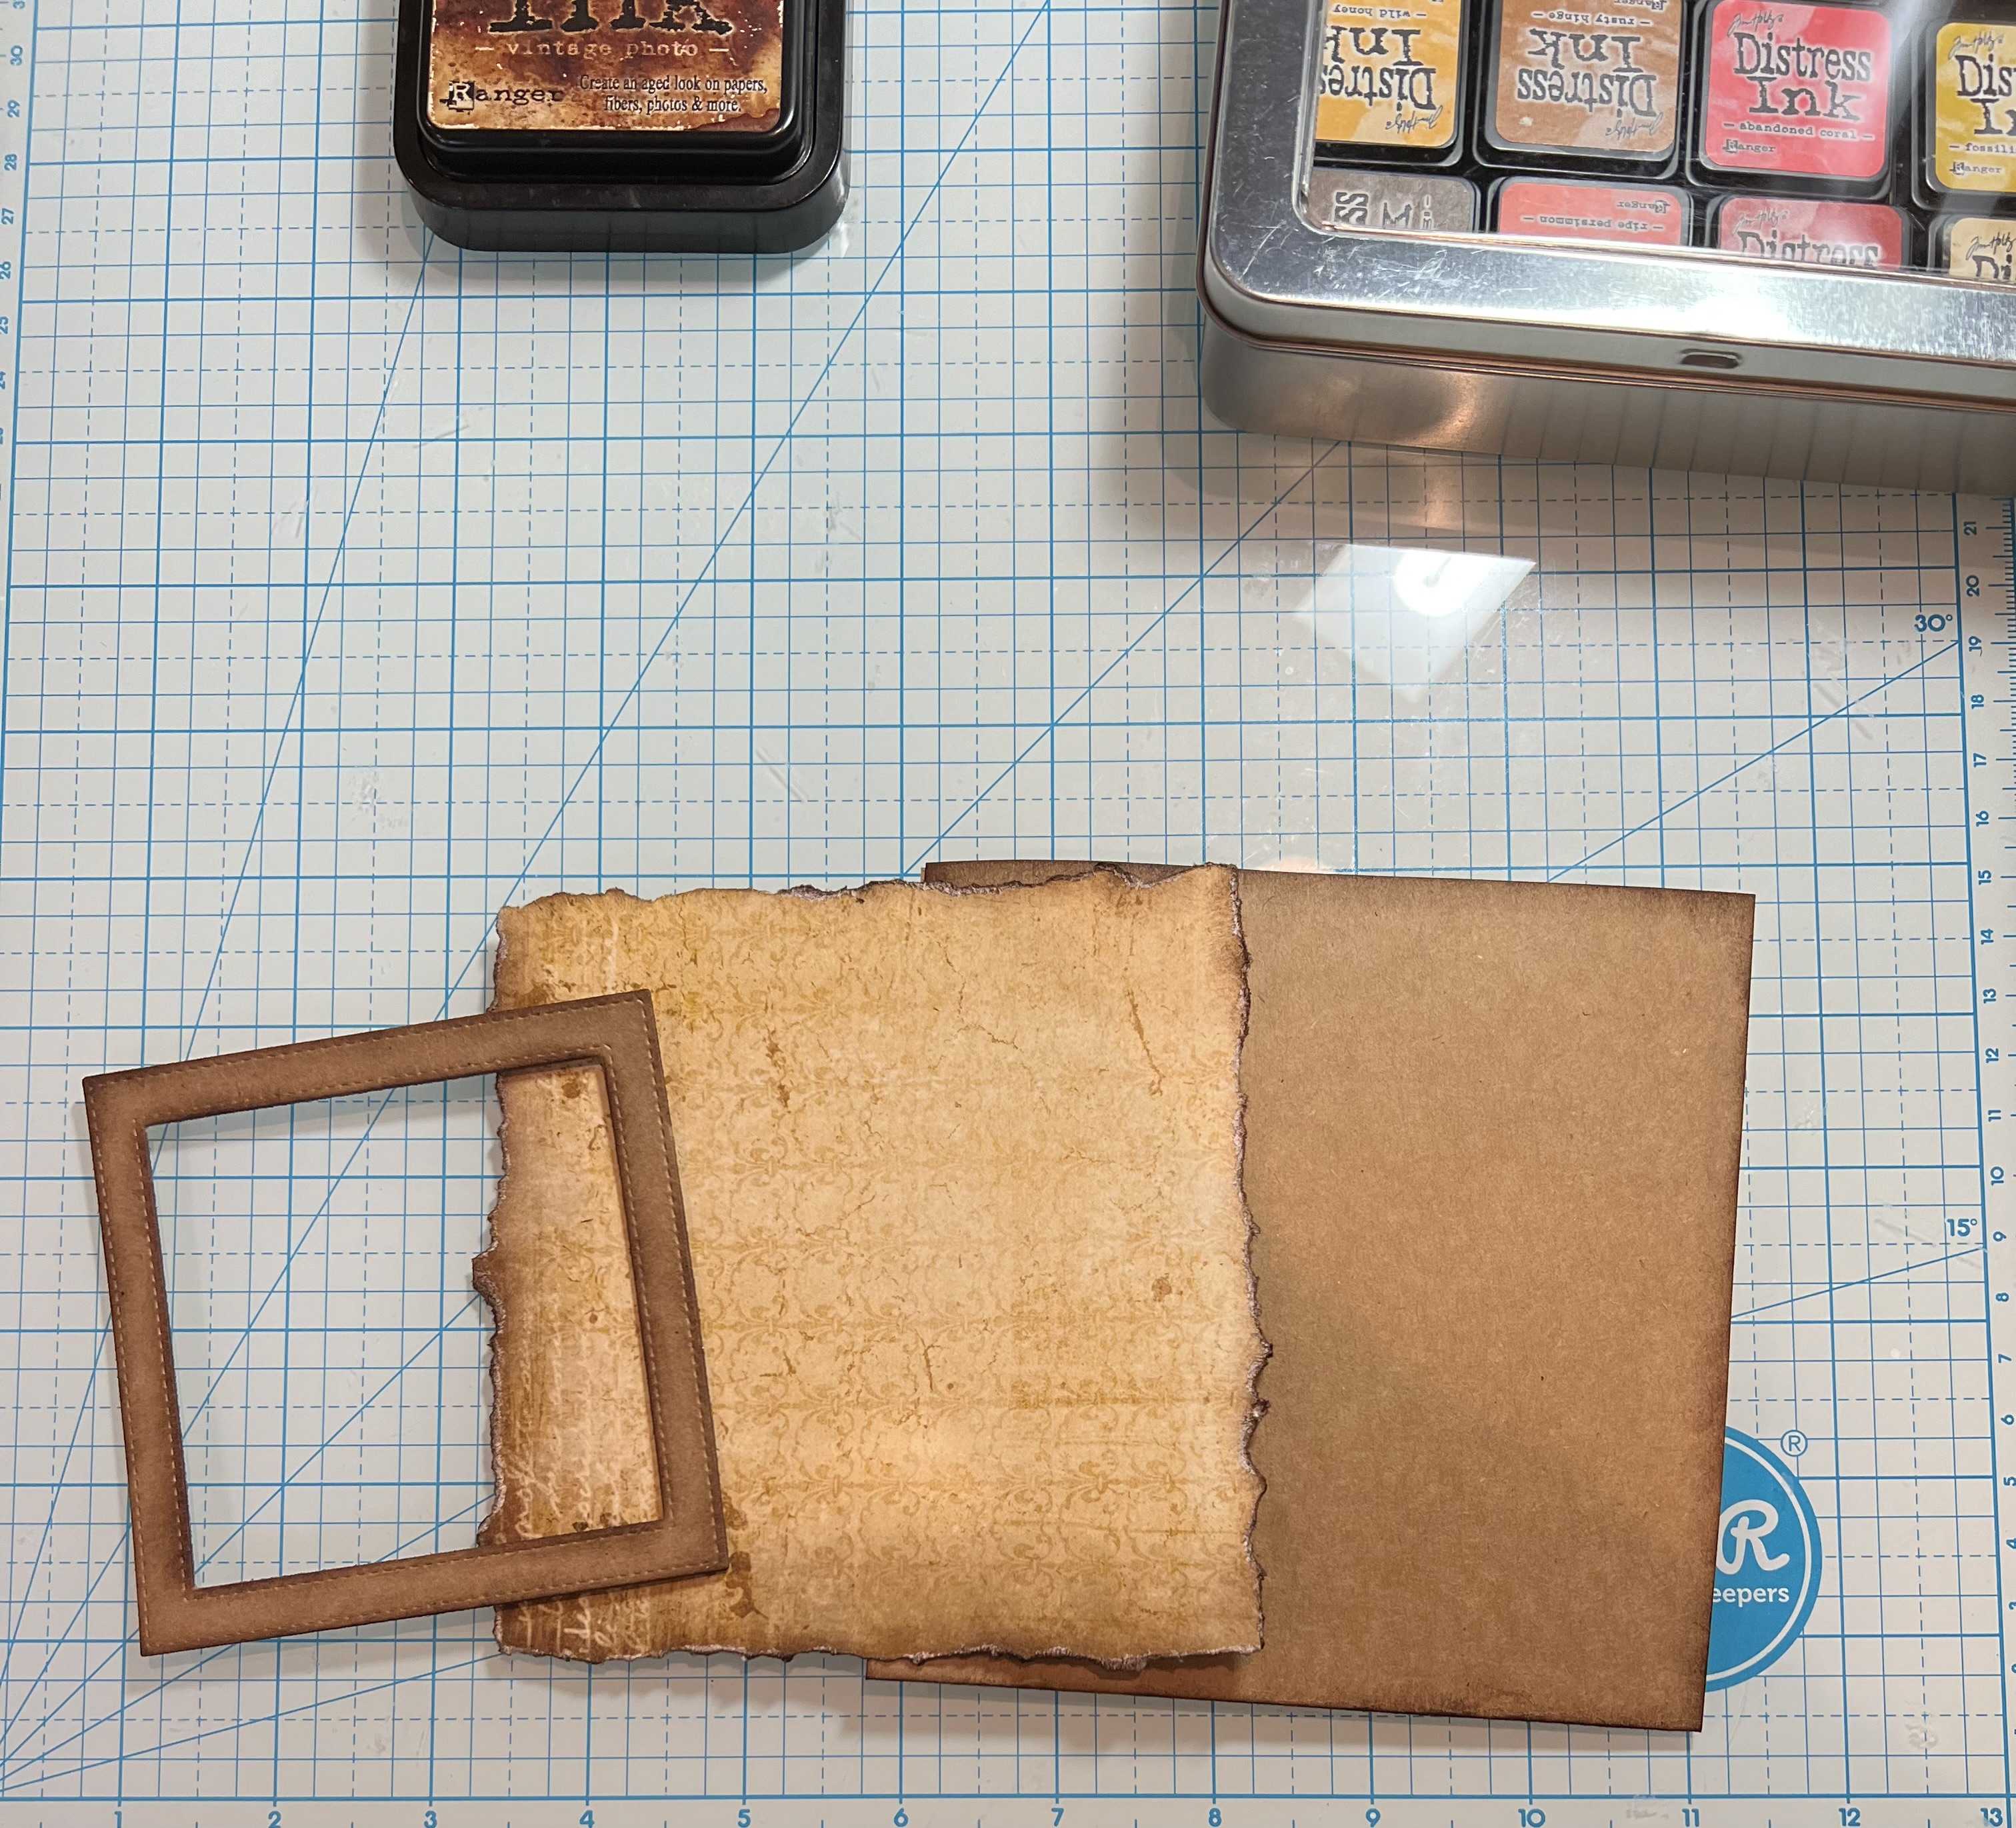
1.  Use a Kraft card stock base measuring 5 1/4 x 5 1/4, DP 5 1/8 x 5 1/8 and cut 3 kraft frames using the Large Stitched Wide Square Frame die
2.  Glue the frames together and ink edges, tear around the DP and ink the edges, and finally ink the edges of the square card base

3.  Glue the DP to the front of the card and then add frames
4. Cut out the greenery, mushrooms and leaves using the following dies: Mushroom Fairy Garden (Mushrooms),  Fall Centerpiece (leaves), Spring Greenery, Greenery and Botanical Garden 2.  Ink the edges.  For the extra texture I dyed a piece of cheesecloth brown.  Lay out your cheesecloth and then to tack down put a little exta glue on the backs of your greenery
5.  Place your leaves, mushrooms and acorns as shown above
6.  Cut out the hello fall 3 times using the Fall Phrases in dark brown card stock.  Glue together add the phrase to the upper right hand corner and your card is complete


We have more inspiration on our YouTube Channel check it out HERE

Thanks so much for stopping by! 

Blessings and Take Care


Sunday, August 6, 2023

Happy Fall

Hello Friend

I am in Arizona where the temperature has been soaring.  It has been over 100 degrees for a month!  So needless to say I am ready for fall!   I am trying to wish autumn here a little quicker with this cute little fall card.  I made this card with a variety of older dies.  The focal point is the Sweet Fox die which is available in the store now!  

I saw a card by Ann Chuang on Pinterest that I loved.  So I used her card as my inspiration.


Design Steps:

1.  Start by cutting all the pieces using the following dies, Sweet Fox, Mushroom Fairy Garden, Pumpkin Pie & Latte (leaves), and Rustic Sign & Trees (log) and these colors of card stock: red, yellow, rust, orange, tan, green gray, black, white and brown


2.  Ink all of the pieces with coordinating inks.  I used TH inks and a small applicator.  After you ink assemble the pieces with a fine tip glue

3.  The card base is a gray A2 size.  I cut a piece of DP 4 1/8 x 5 3/8.  The birch trees I cut out of gray using the Merry Christmas w/Deer Family die.  I inked them before I glued them to the DP. Then I glued the DP to the card front

4.  Cut the grass from a 4 1/8 x 2 piece of green using the Grass Slimline die.  Glue the grass to the bottom of the card.  Add the log and the fox to the center of the grass as shown above

5.  Continue to add the Mushrooms, little clumps of grass, foliage and fall leaves to the card as you like.  You can see by the finished card below I moved a few things around before glueing them down
6.  Add the sentiment stamped on gray and layered on rust and your card is finished
7.  I had a few pieces left so I decorated the inside for a little surprise!


We have more inspiration on our YouTube Channel check it out HERE

Thanks so much for stopping by!  And I will see you next Thursday.

Blessings and Take Care


Wednesday, June 26, 2019

Welcome!

Hi Scrapping Cottage Friends!

Our New Release Magical Garden is just perfect for fun projects in the summer months.  There are lots of wonderful whimsical dies and all of them just let your imagination go wild!  They are 25% off in the store right now so please stop at the online store and take a peek.  The card I am showing you today is made with the popular Bridge Fold. Hope you enjoy!


Designer Steps:
 1.  Cut all of the pieces using the Stone Fairy Door.  I used white, green, gray and dark brown card stock plus DP for the door.
 2.  Shade and color your pieces with your favorite inks and markers
 3.  Assemble the door and set aside
 4.  I colored all the little accessory pieces and then assemble them
 5.  Glue the mushrooms to the top of the door and the door is complete


6.  To begin the Bridge fold you will need a piece of white card stock 8 x 4 1/4.  Scored at 1 1/4, 2 1/2, 5 1/2, and 6 3/4.
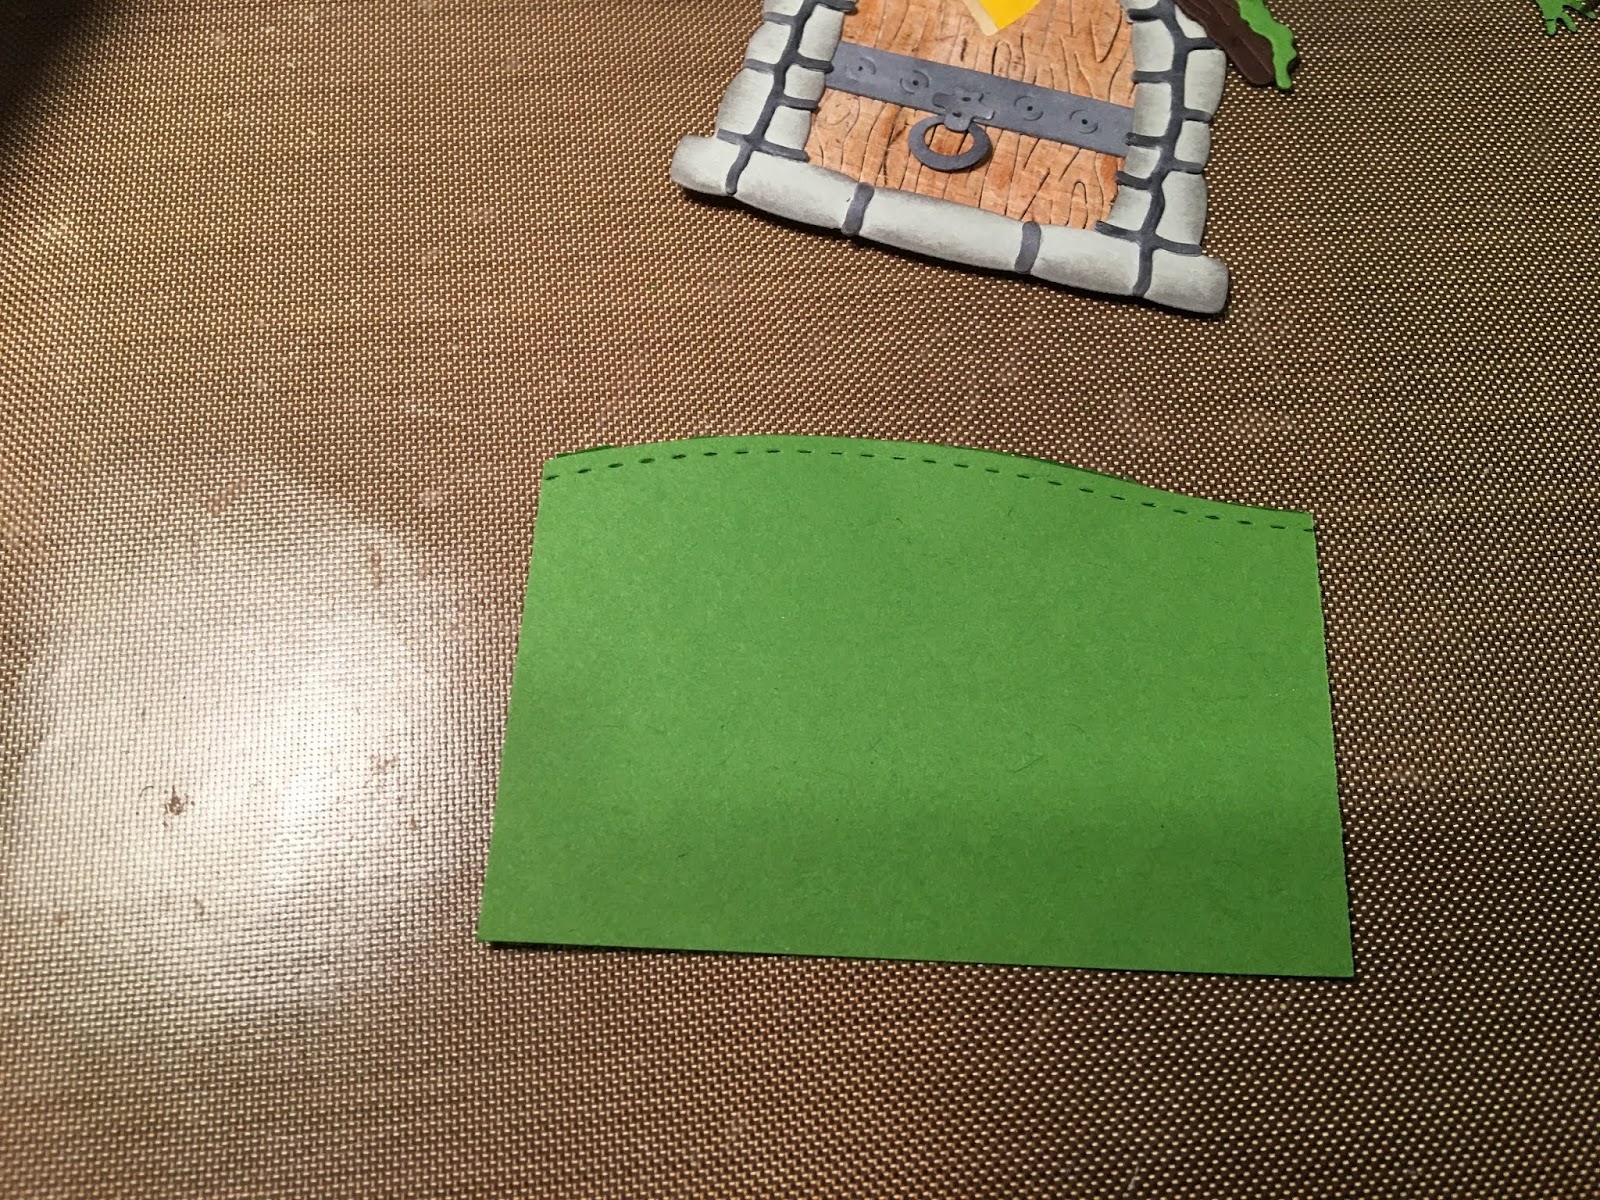
 7.  Cut (4) 1 x 4 strips and (1) 2 3/4 x 4 piece of DP then layer them on blue card stock just slightly bigger then the DP. Cut a green strip of green card stock 1 1/4 x 5 1/2.  Cut the top of it to resemble a rolling hill.

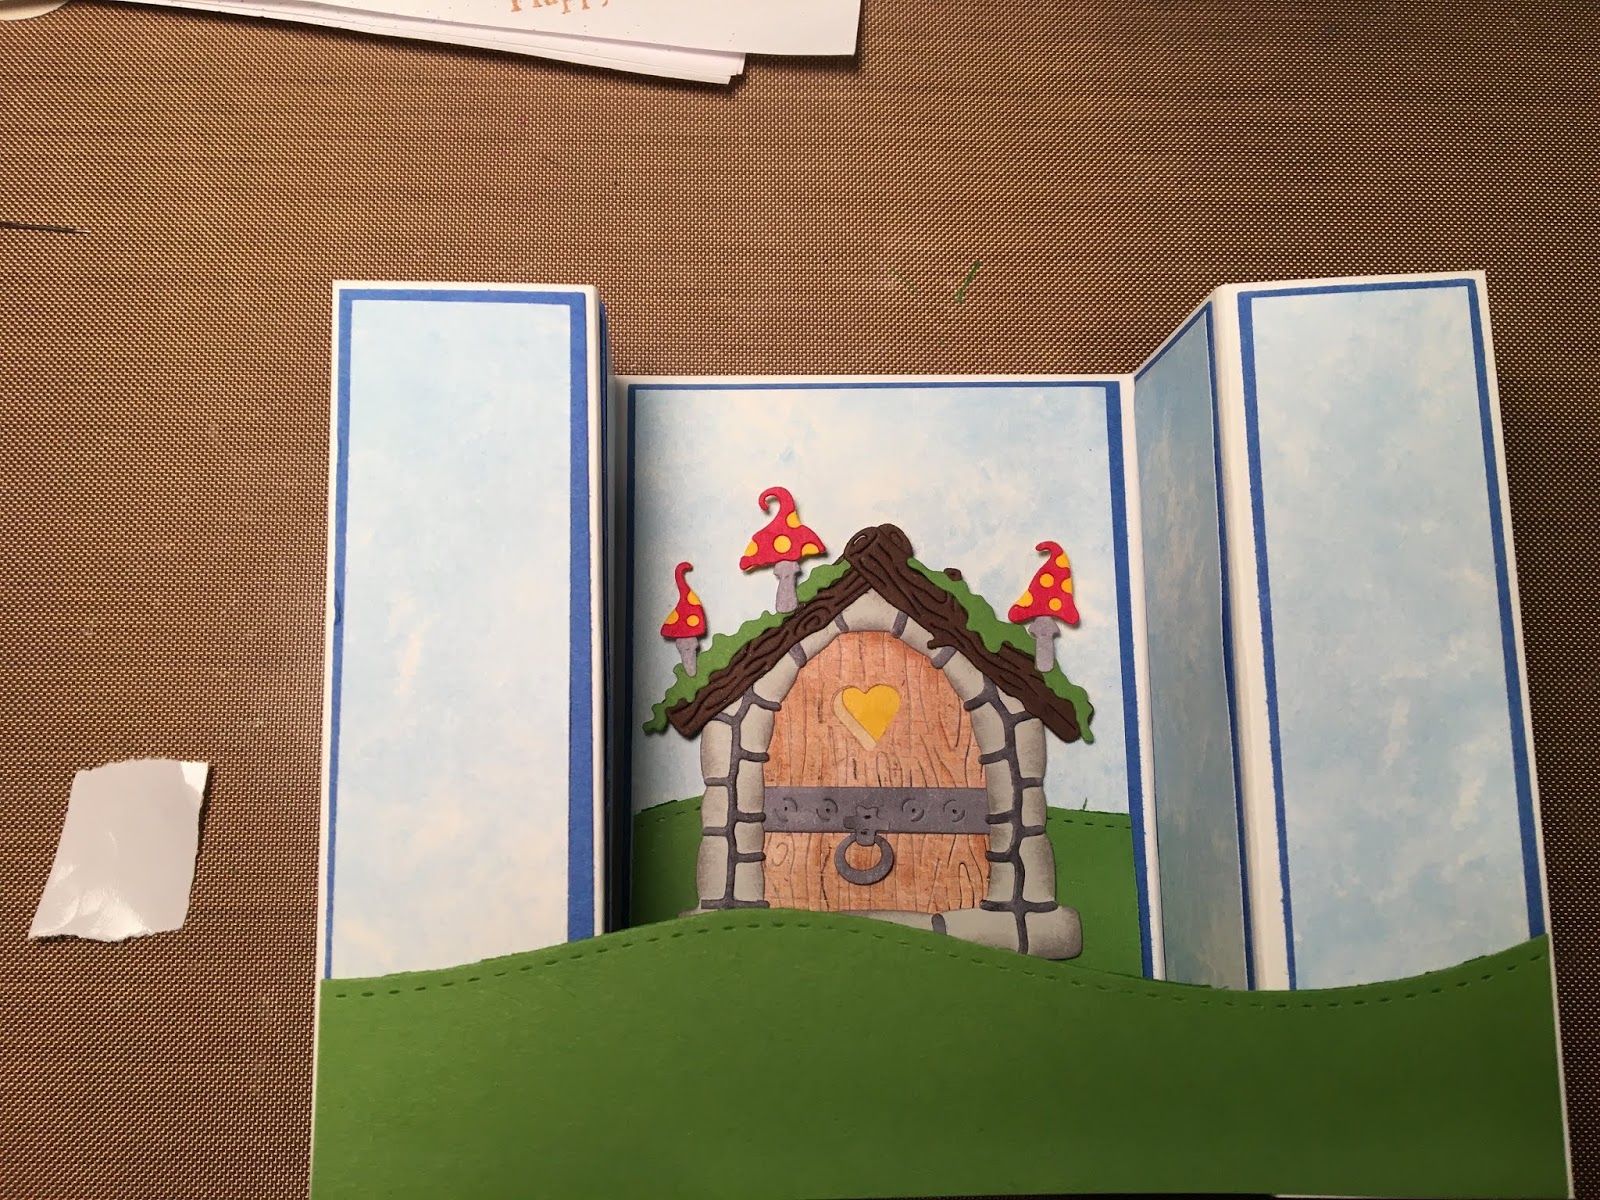
 8.  Glue the strips to the scored white card base
 9. Then fold the front flap on the left in and glue the grass to it.  The right side fold is open and you glue the grass it it.  The glue is only on the front left flap and last right flap
 10.  You should be able to stand the card up at this point
 11.  Cut another piece of green card stock 2 3/4 x 2 1/2 and cut the top to look like a rolling hill.  Glue this piece to the bottom of the middle in the center of the card
 12.  Place dimension tape on the little door and pop it to the middle of the card as shown below
13.  Using the Mushroom Fairy Garden die cut out 2 mushrooms in white and color with you markers
 14.  Add the extra large mushrooms and the mailbox to the small front flaps and then add your sentiment.  Your card is finished
CottageCutz Products

Have a wonderful summer day and thanks for stopping by!
Blessings
Pam