Saturday, March 26, 2016

Splashing in the Rain! - Pink and Main

Happy Easter!
My prayer for you is that you are very blessed on this amazing day!
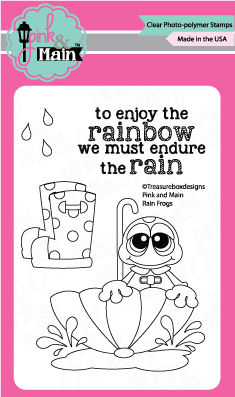
Today I used our new stamps set called Rain Frogs. It is just so much fun to use! I am learning all about rainy days since I moved from Sunny California to South Carolina were it rains on a very regular basis.
IMG_0730
PM0172_Rain_Frogs_3x4_web__46061.1456450219.1280.1280
My design steps:
  1. Use an A2 white card base, cut a slightly smaller lime green piece of card stock. (Recollections) Do not attach to card yet!
  2. Cut out a 2 3/4 x 2 3/4 piece of cloud print paper (Doodlebug) and cut a 1 1/2 x 2 3/4 piece of yellow printed paper (Doodlebug) glue both pieces to the bottom of the lime green paper as show
  3. Cut out a white piece of card stock 2 1/2 x 4 and stamp on the frog (Pink and Main Rain Frogs)
  4. Color the frog with copics: RV10, 13, 17 - YR000, 02, 07 - YG03, 63, 67, 99 - BG10, 11, 32 - Y11, 15, 17 - E15
  5. Stamp on the rain drops then glue to lime green card stock. Add the ribbon then glue to the front of the card
  6. Stamp the sentiment and layer on lime green card stock and glue to the front of the card as shown.  Add stickles to the raindrops and Glossy Accents to the puddle!
As Always I appreciate you stopping by!!
Blessings
Pam

Saturday, March 19, 2016

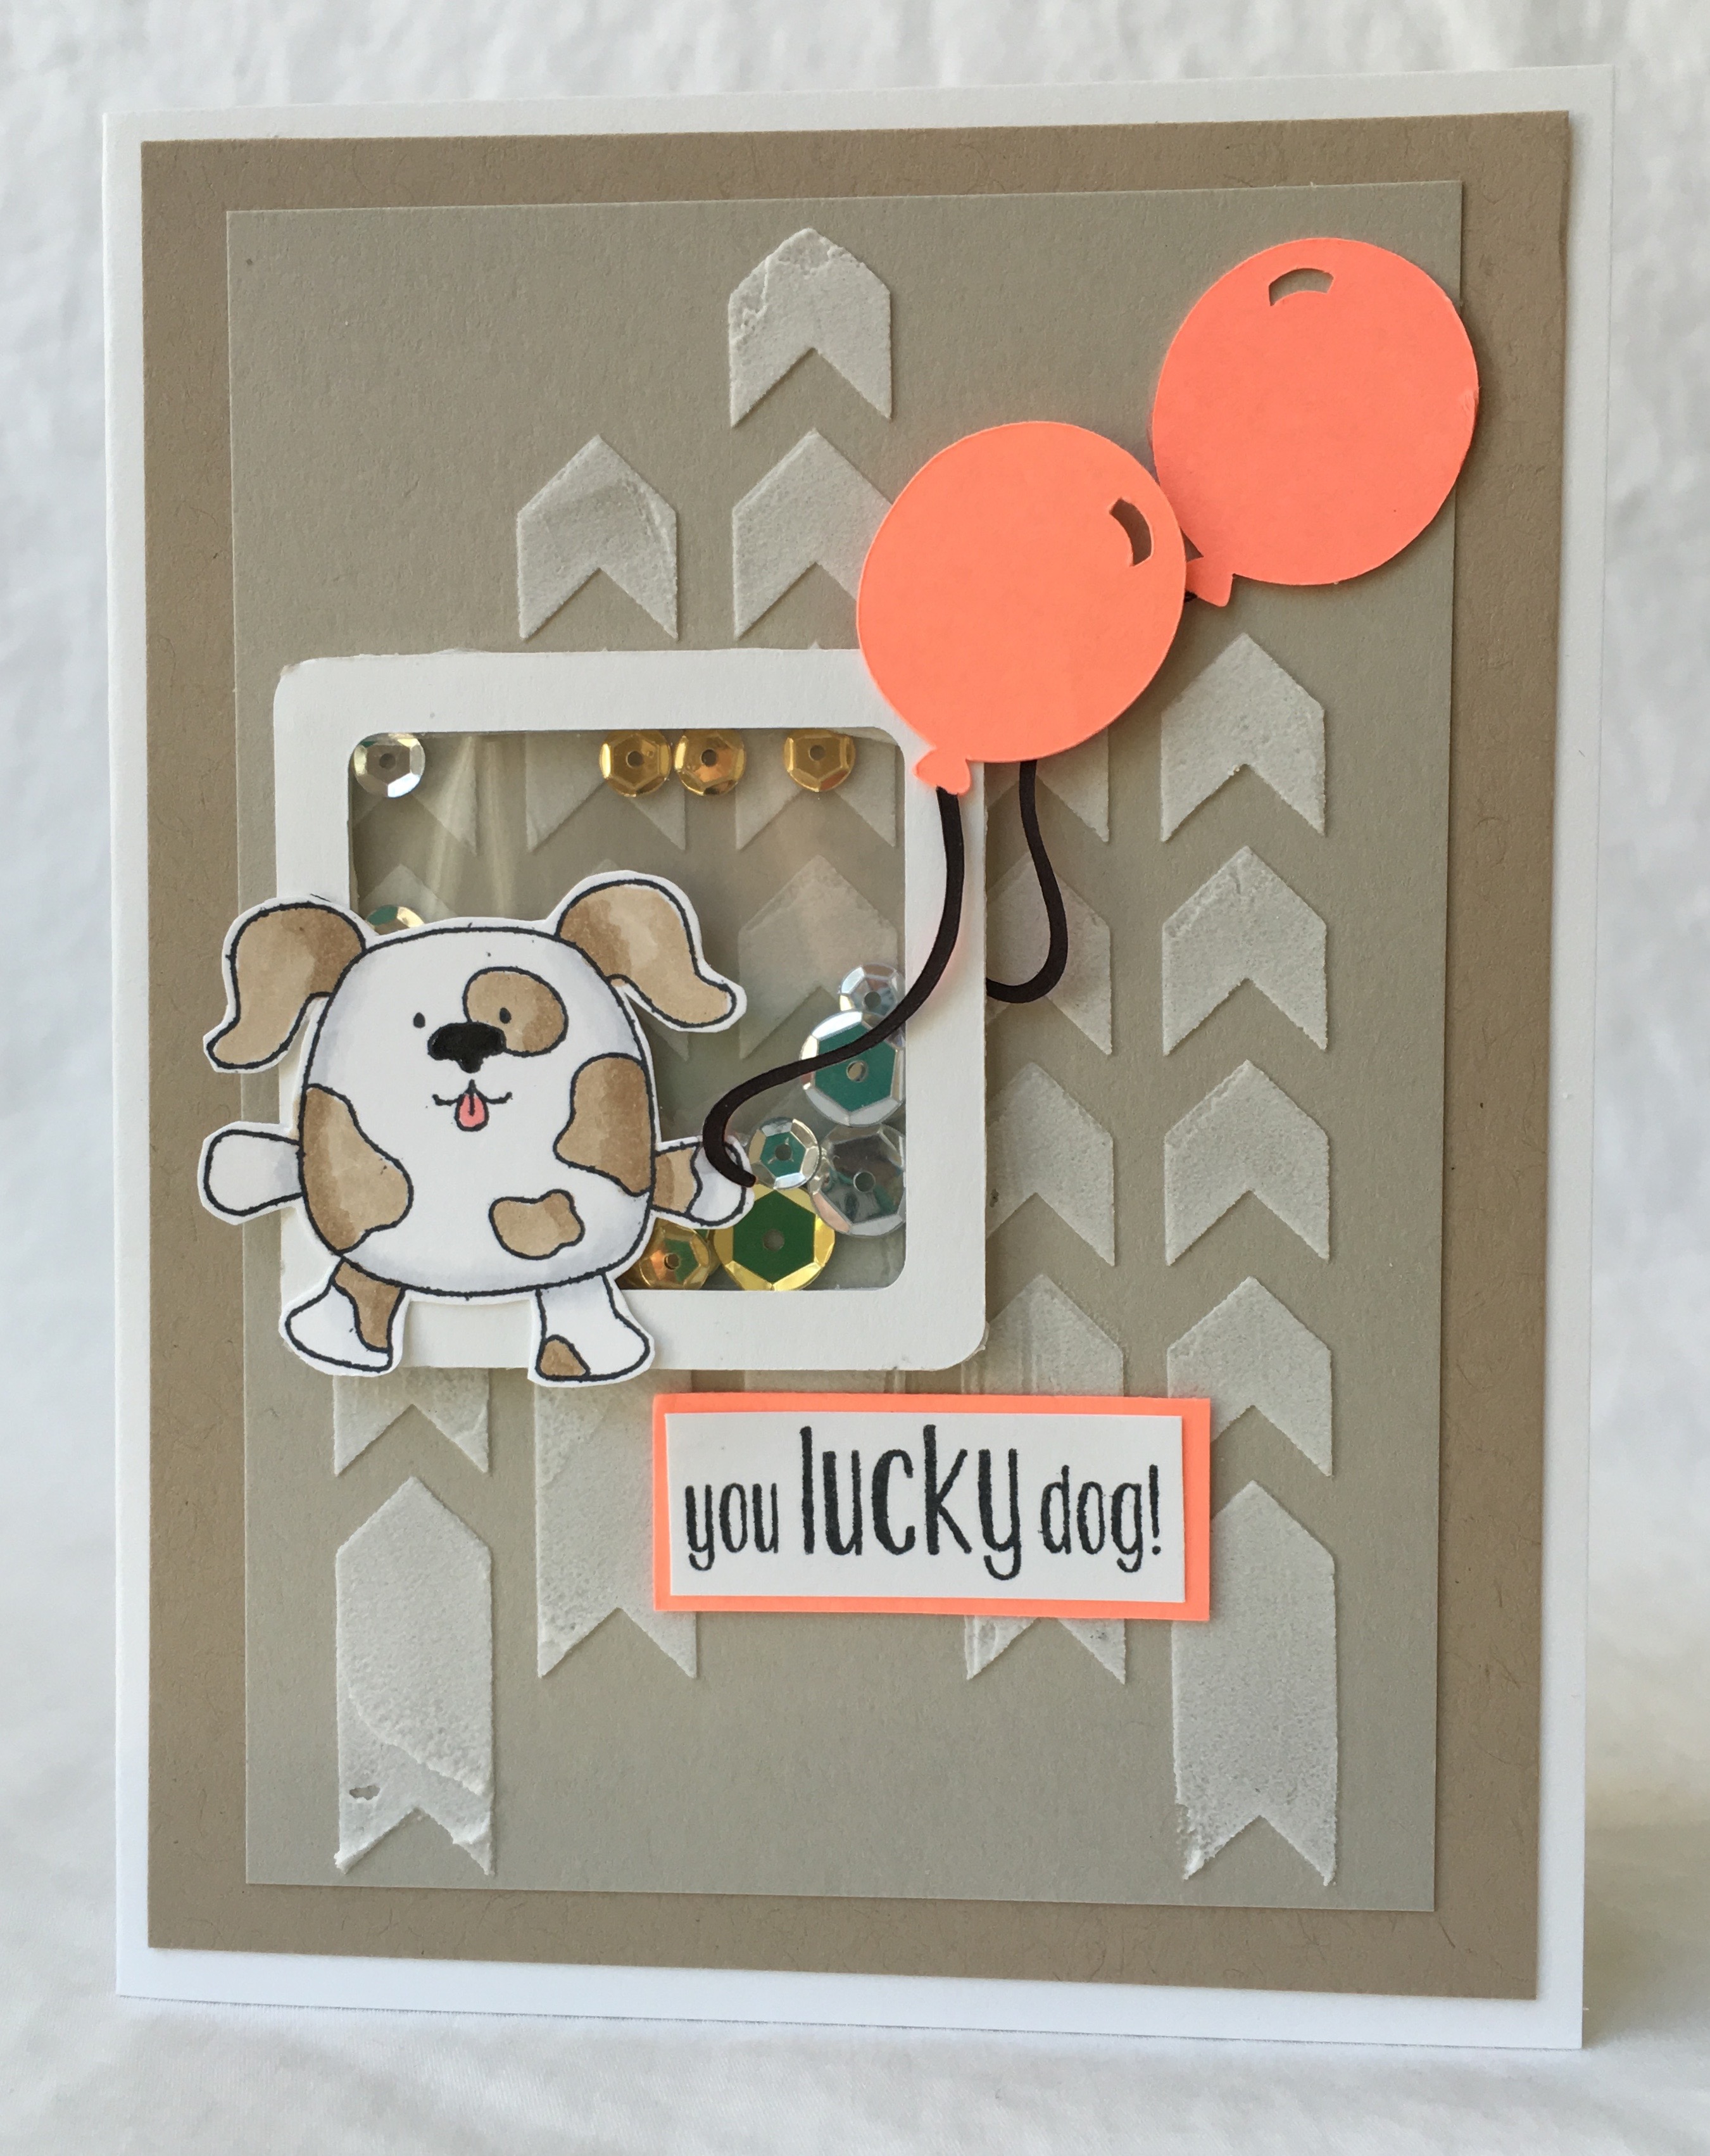
Lucky Dog! - Pink and Main

Good Morning!
Today I am working with the sweet freebie stamp set that you get when you purchase $30 worth of products from the Pink and Main Shop!  It is a very cute little pup with two matching sentiments!
IMG_0697
Here are my design steps:
  1. Use an A2 white card base. Cut a slightly smaller piece of Kraft card stock (Recollections) and glue to front
  2. Cut a piece of Sahara card stock (Stampin Up)  to 3 3/4 x 5 use a stencil (DCWV) and white embossing paste (Dreamweaver) to create the background.  Heat set to dry quickly or let sit for about 2 hours
  3. Using your Cricut (or dies will work too) to cut a frame 2 1/2 x 2 1/2 and make into a shaker box. Glue to the front of the card as shown
  4. Use your cricut (or dies will work too) cut out 2 balloons using coral cardstock (Recollection)
  5. Stamp dog (Pink and Main Lucky Dog) and color with copics cut and glue to card add balloons as shown
  6. Stamp sentiment and layer onto coral card stock (Recollection) attach to card as shown
Thanks you so much for stopping by!
Blessings
Pam M.

Saturday, March 12, 2016

From the Herd - Pink and Main

Good morning!
I did a card using one of the new release sets! The name of the set is The Herd!! It is just full of cute little farm critters!
IMG_0654
Design steps!
  1. Use a A2 cream card base and cut a slightly smaller piece of red card stock (Recollections)
  2. Cut a piece of red check paper 4 x 2 1/2 and cut a piece of the hen paper 3 x 4. Glue the checked to the bottom of the red card stock and the hen paper to the top.
  3. Punch the photo corners (EK Sucess punch) and glue down.  Add the eyelets
  4. Punch the fence out (MS Punch) glue between the two different papers.  Add the ribbon as shown. Glue the red card stock to the front of the cream card
  5. Stamp all the critters (Pink and Main The Herd) color with copics: E33, 34, 39 - Y21, 23, 26 - C0, 1, 2 ,3, 5, 7, 9 - R20, 22, 29. Cut and pop to the front of the card as shown
  6. Stamp sentiment and layer on red pop to the front as shown
As always thanks for stopping by!
Blessings,
Pam

Saturday, March 5, 2016

Who's in the Bunny Costume - Pink and Main

Good Morning!!
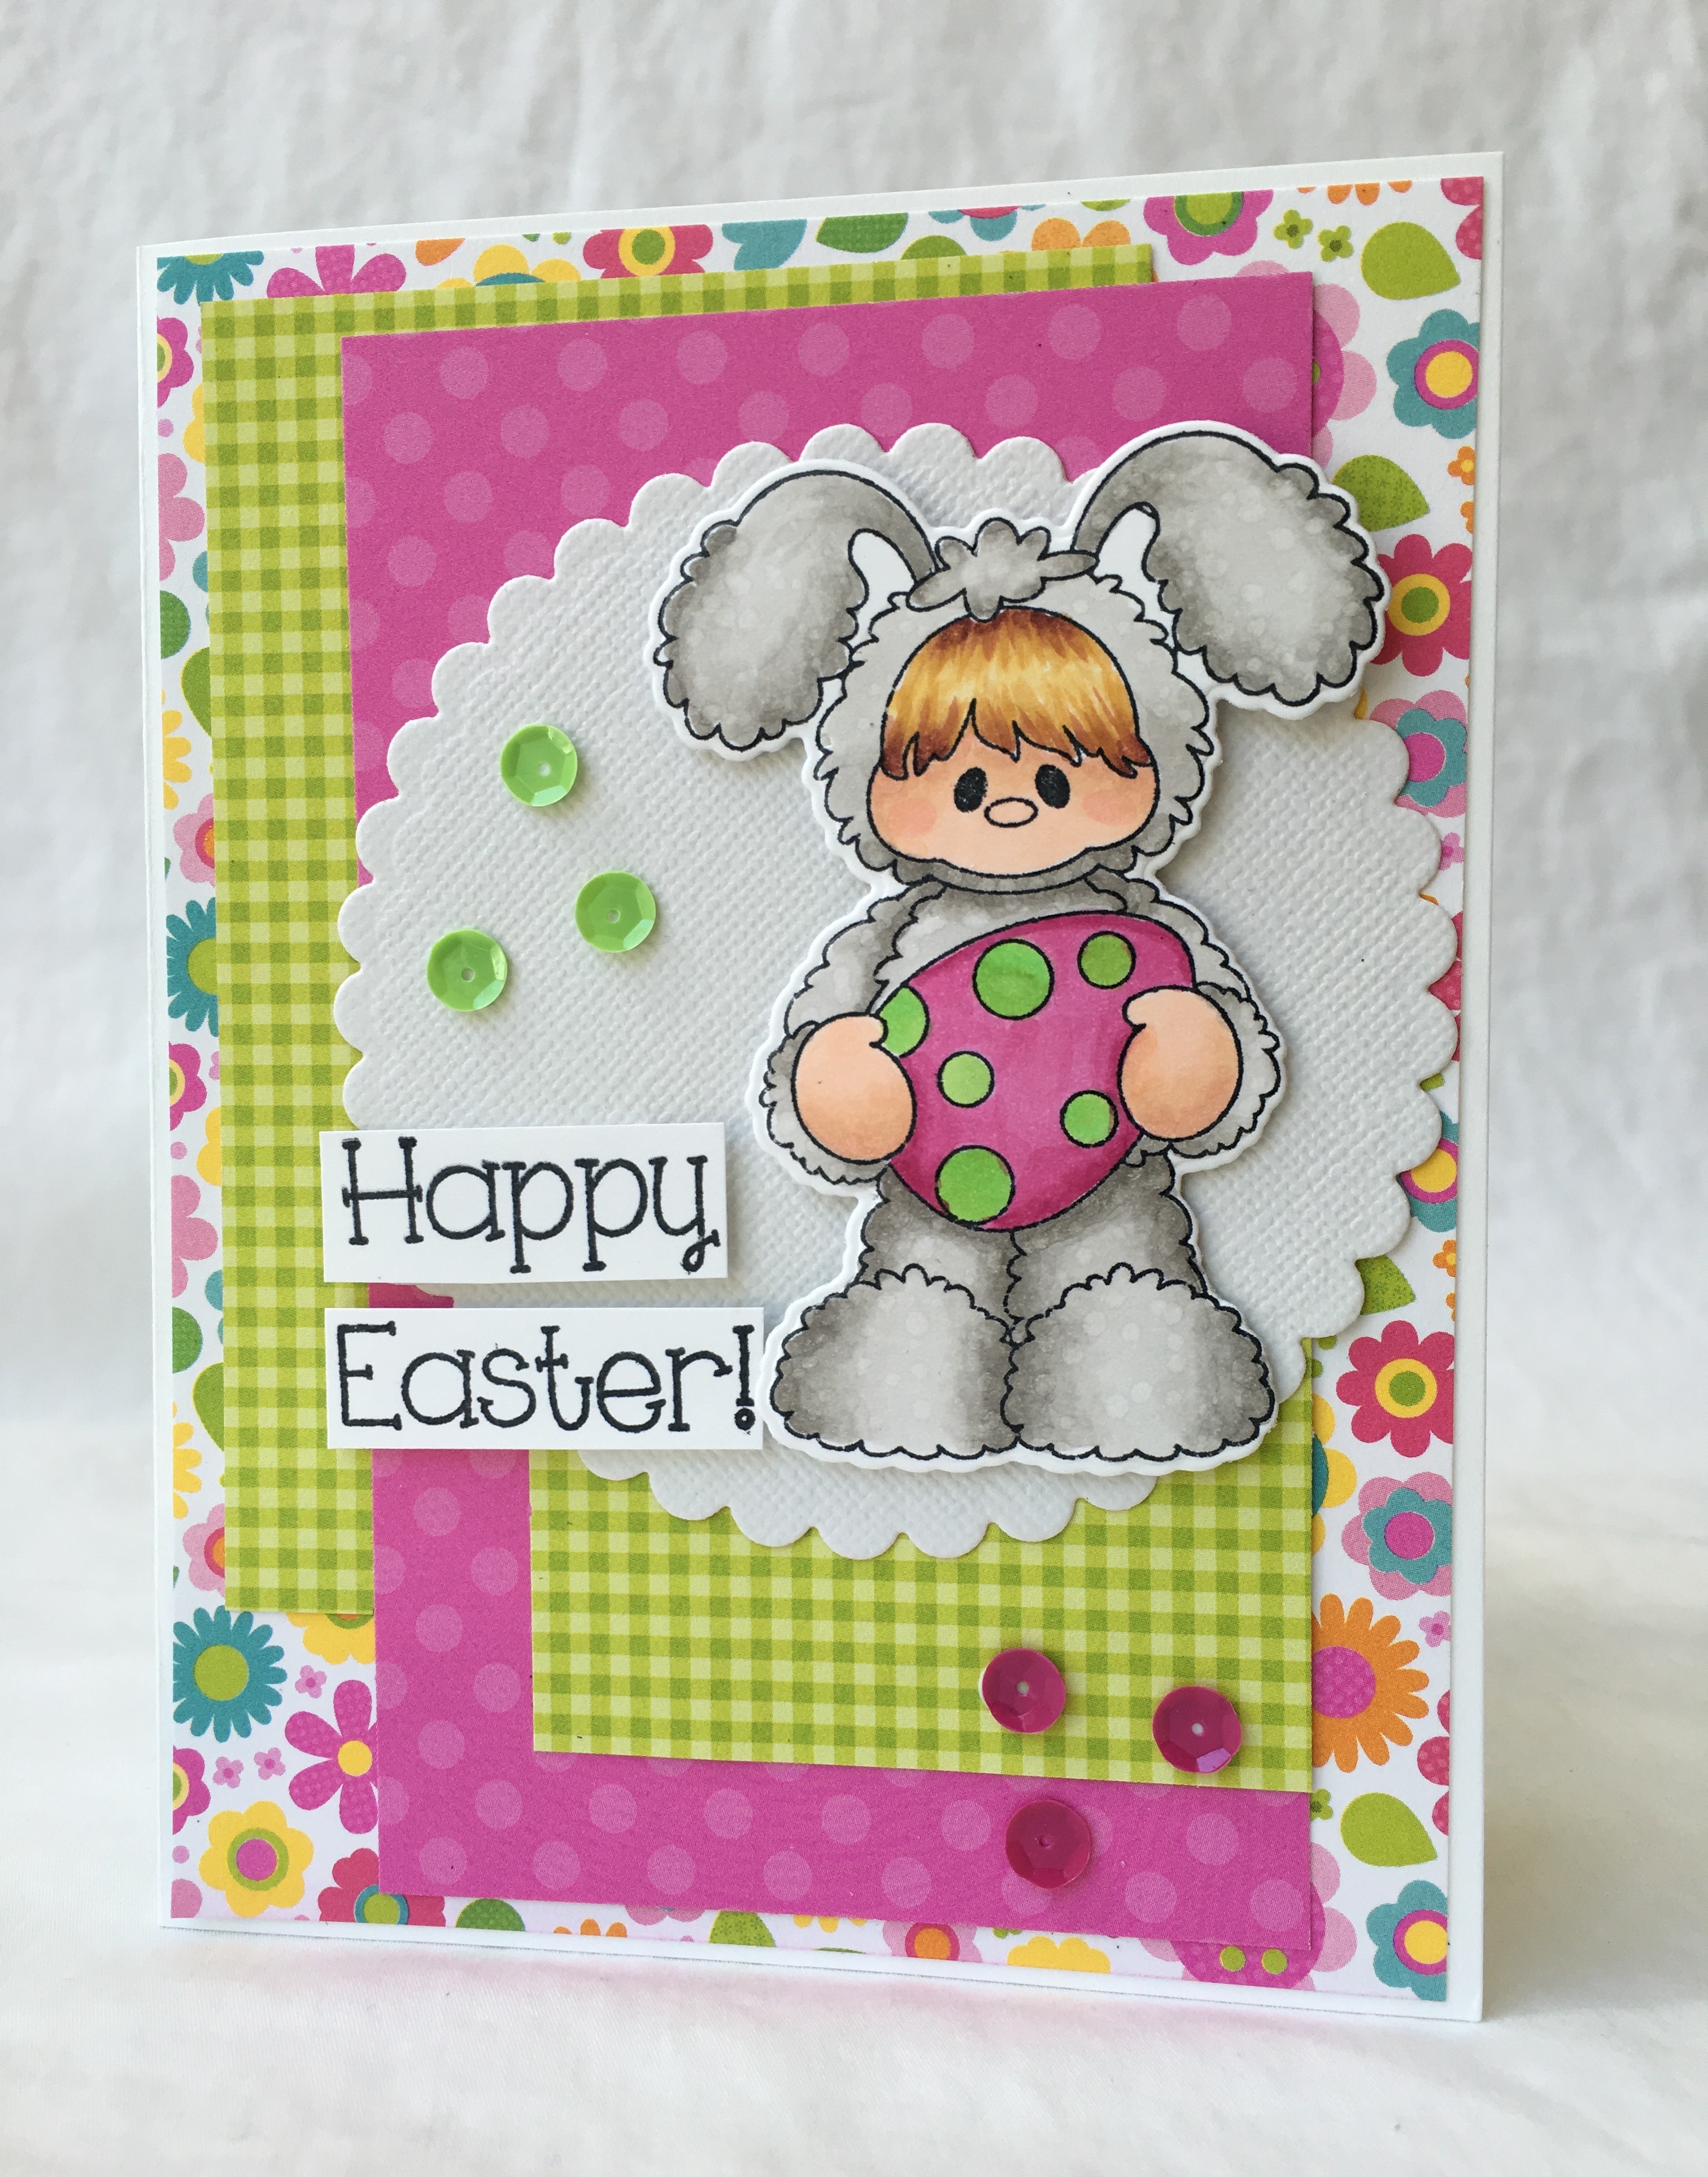
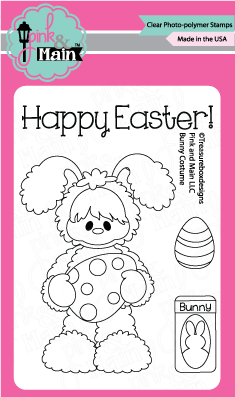
I am using the stamp set called Bunny Costume! And I think you will agree with me it is so stinkin CUTE!!
IMG_0614
Design Steps:
  1. A2 white card base and a piece of pattern paper cute slightly smaller then the base (Doodlebug Paper) glued to the front of the card
  2. Cut a 4 1/4 x 3 piece of green checked paper and attach to the card front as shown (Doodlebug Paper)
  3. Cut a 3 x 5 piece of pink dotted paper and attach to the card front as shown (Doodlebug Paper)
  4. Cut a 3 1/2 scalloped circle (Cricut) and attach to the card front as shown (Bazzil)
  5. Stamp the image (Pink and Main - Bunny Costume) and color with copics. RV17, 21, 55 - YG06, 23 - W1, 2, 3, 4 - Y21 - YR23 - E11, 15, 18, 21
  6. Use the coordinating dies to cut out image and pop it to the front of the card.
  7. Stamp the Happy Easter (Pink and Main - Bunny Costume) cut in half and pop to the front of the card
  8. Add the sequin (Pink and Main)
Bunny_Costume_3x4Web__08652.1451687007.1280.1280
Thank you so much for stopping by!
Blessings
Pam

Saturday, February 27, 2016

Sweet Bunny - Pink and Main

Good Morning to you!
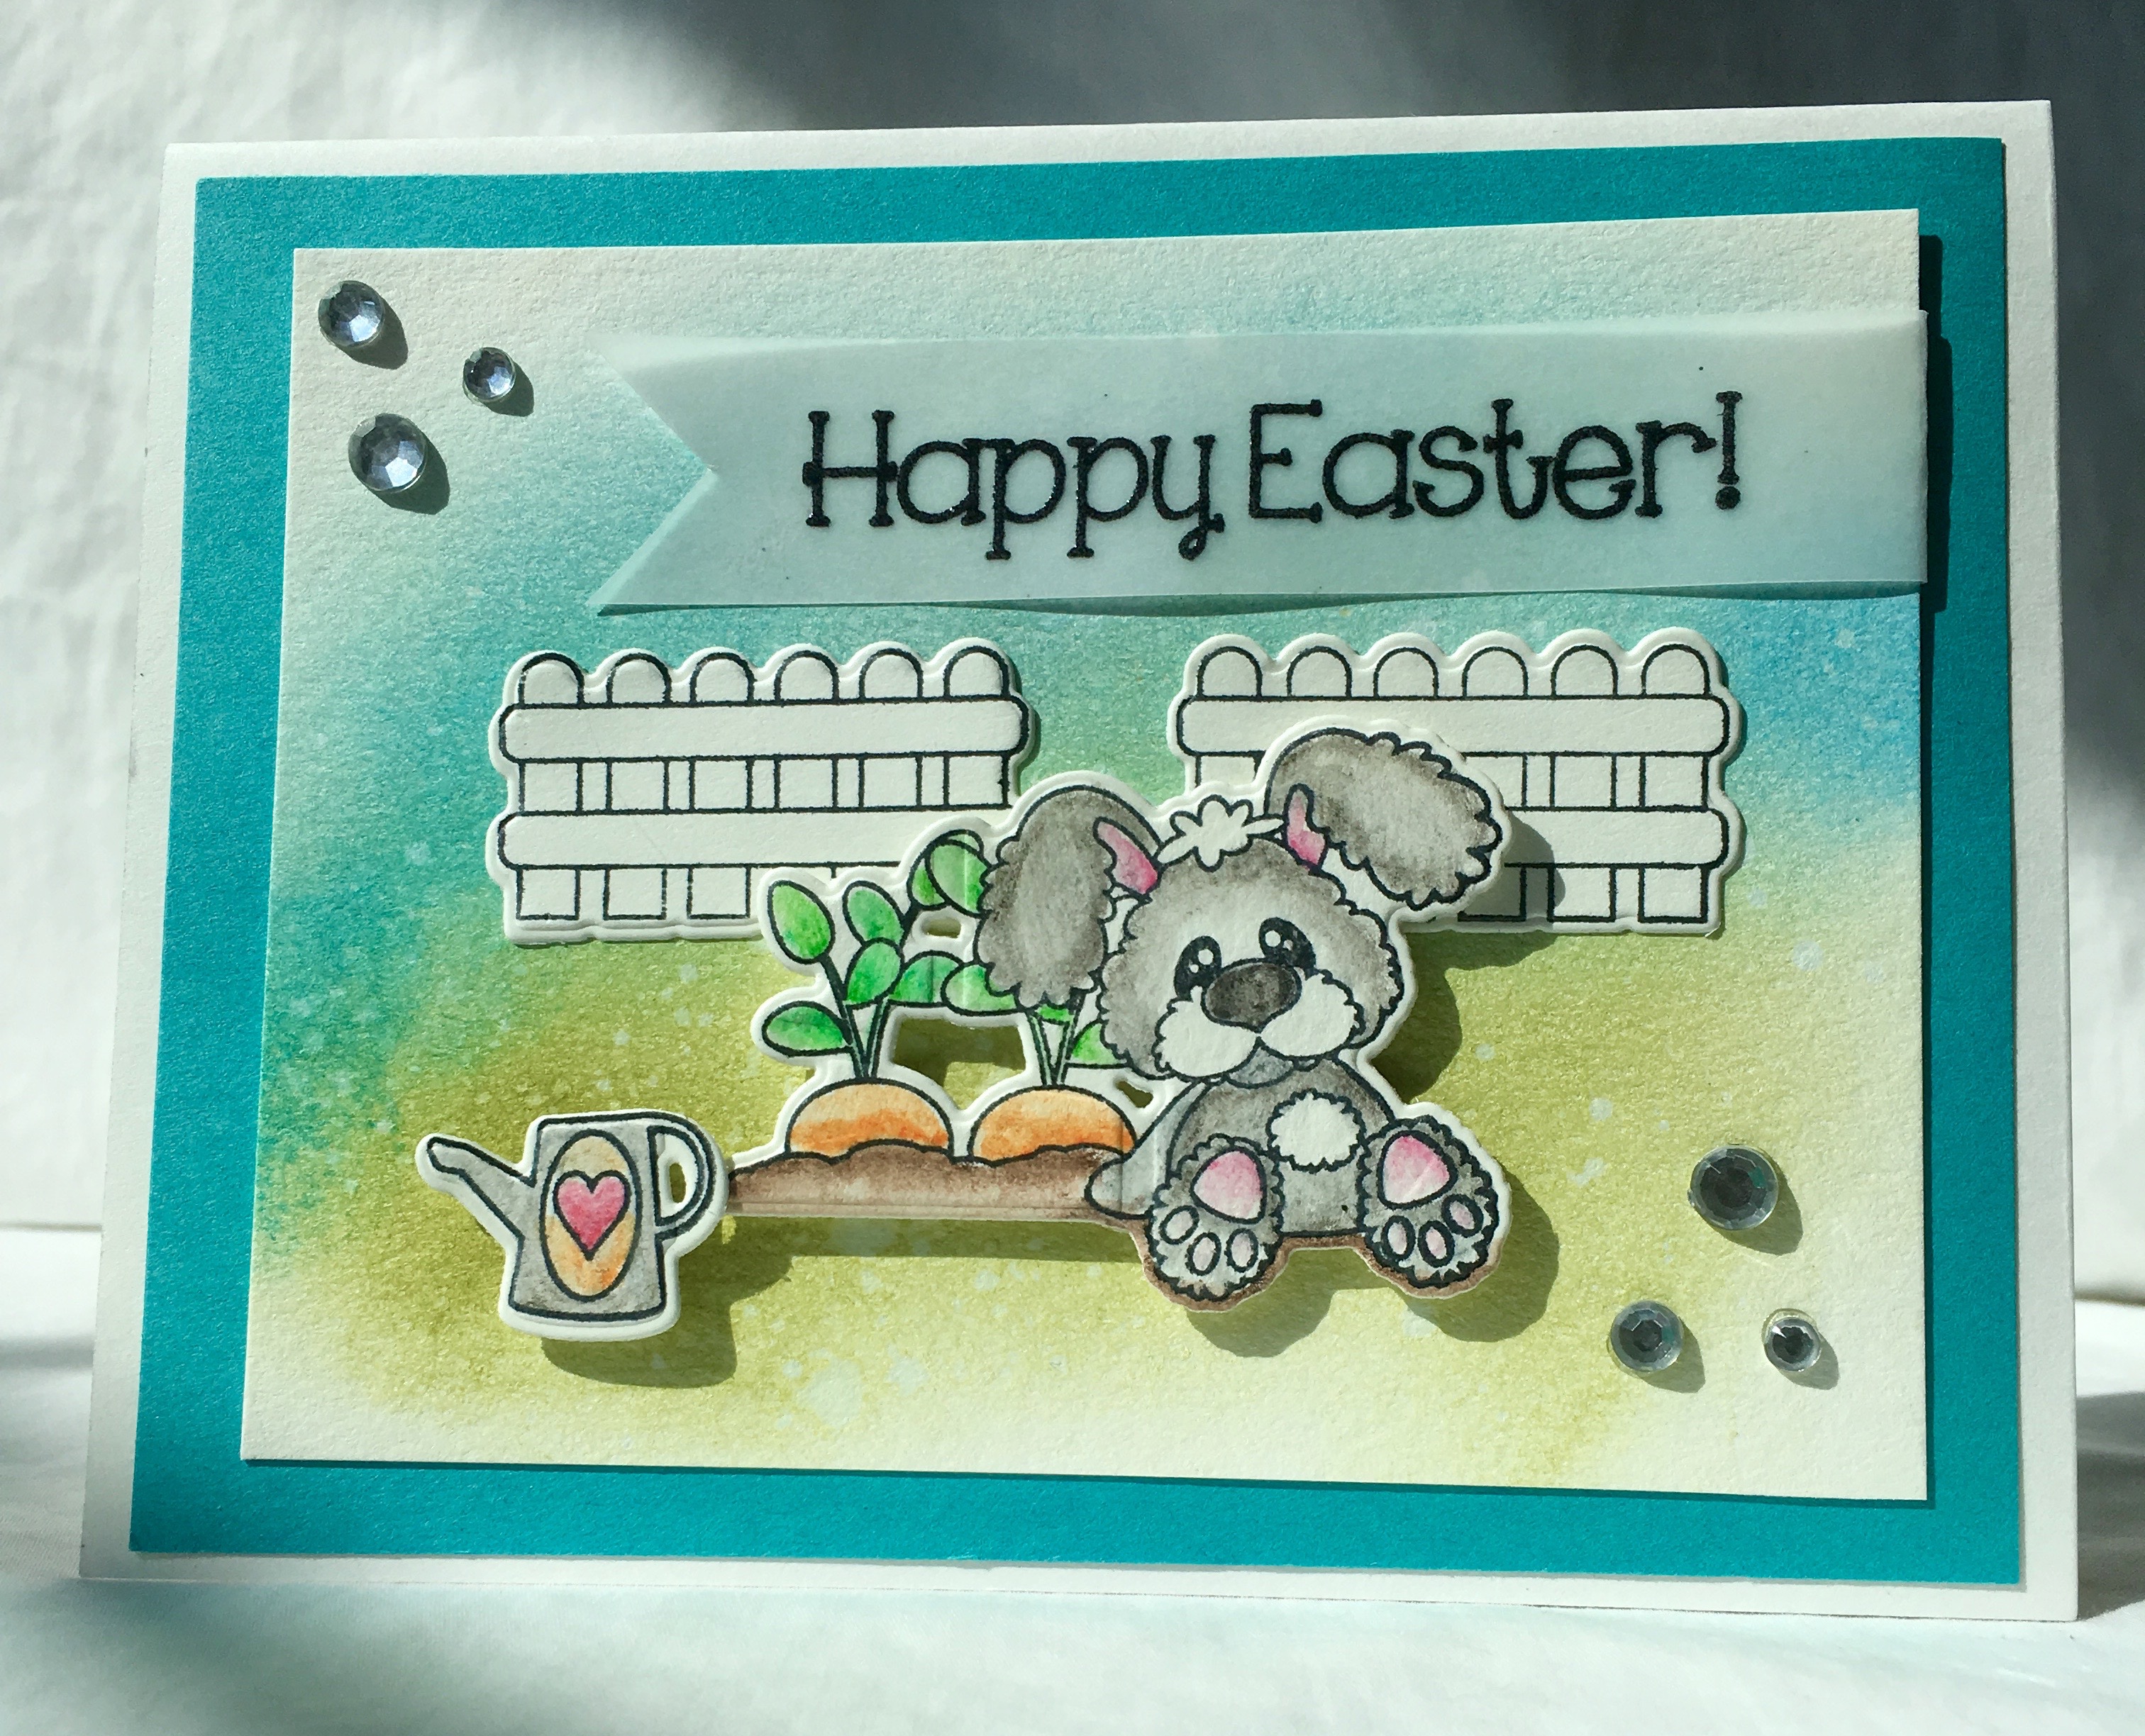
I have started my Easter card so I won't be late in getting them out! I used a couple of sets to make this fun little card. They are Bunny Costume for the sentiment and Easter Street for the gardent scene.  I also used the coordinating die set.
IMG_0572
My design steps:
  1. White card base A2 size. Slightly smaller teal card stock glued to the front of the card
  2. Cut a piece of water color paper 4 1/2 x 3 1/2  (Artist's Loft 140lb) sponged in the background using TH inks (Salty Ocean, Peeled Paint) I then splattered with water let sit for a minute and used paper towel to blot up the excess water.  Set aside to dry
  3. Stamped images with Memento Black ink on water color paper (Artist's Loft 140lb).  Stamps: (Pink and Main Easter Street) Colored images with water color pencils (Stampin Up)
  4. Cut out images with coordinating die cuts (Pink and Main)
  5. Stamped the sentiment (Pink and Main Easter Costume) on Vellum with Versa Mark and used black embossing powder. Cut dove tail and attached to card.  Added Rhinestones (Recollection)

Thanks for stopping by!
Blessings
Pam

Saturday, February 20, 2016

Easter Peep - Pink and Main

Good Morning!
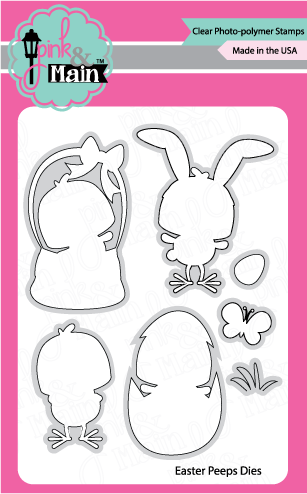
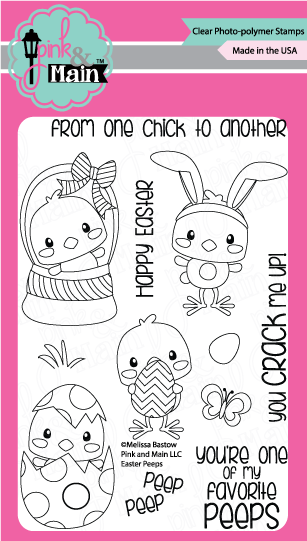
Easter is fast approaching so I thought I would get started making my cards. Pink and Main has several very cute sets that help you create the sweetest cards! I am using Easter Peeps with the coordinating die cuts!
IMG_0498
Design Steps:
  1. White A2 base card, slightly smaller blue card stock followed by a slightly smaller sheet of cloud designer paper (Recollections Papers) attach to card front
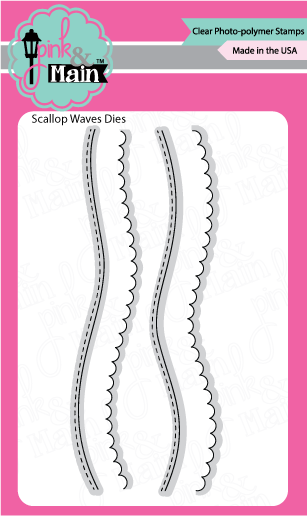
  2. Cut a 2 x 4 inch piece of green checked paper use the Pink and Main edge die cuts to create the stitched top.
  3. Cut a 2 1/4 x 4 inch piece of solid green paper use the Pink and Main edge die cuts to create the scalloped top. Attach to the green checked piece then add to card.
  4. Stamp and color the chick in the basket using copics: Y11,15, 17 - E11, 13, 15 - YR02, 07 - B23, 24, 26 - YG13, 17
  5. Use coordinating die to cut chick out and pop dot to the front of the card.
  6. Stamp and color butterflies use dies to cut out and attach to card as shown.
  7. Stamp grass on green paper use dies to cut out and attach to card as shown.
  8. Use small egg die to cut various patterns of Easter Eggs attach to cards
  9. Cut out banner and stamp sentiment attach to card
Easter_Peeps_DiesWeb__46926.1451689748.1280.1280Scallop_Waves_DiesWebEaster_Peeps


Hope you have a wonderful day! And thanks so much for stopping by!
Blessings
Pam

Saturday, February 13, 2016

Sweet! - Pink and Main

Happy Sunday and Welcome to Pink and Main's Blog!
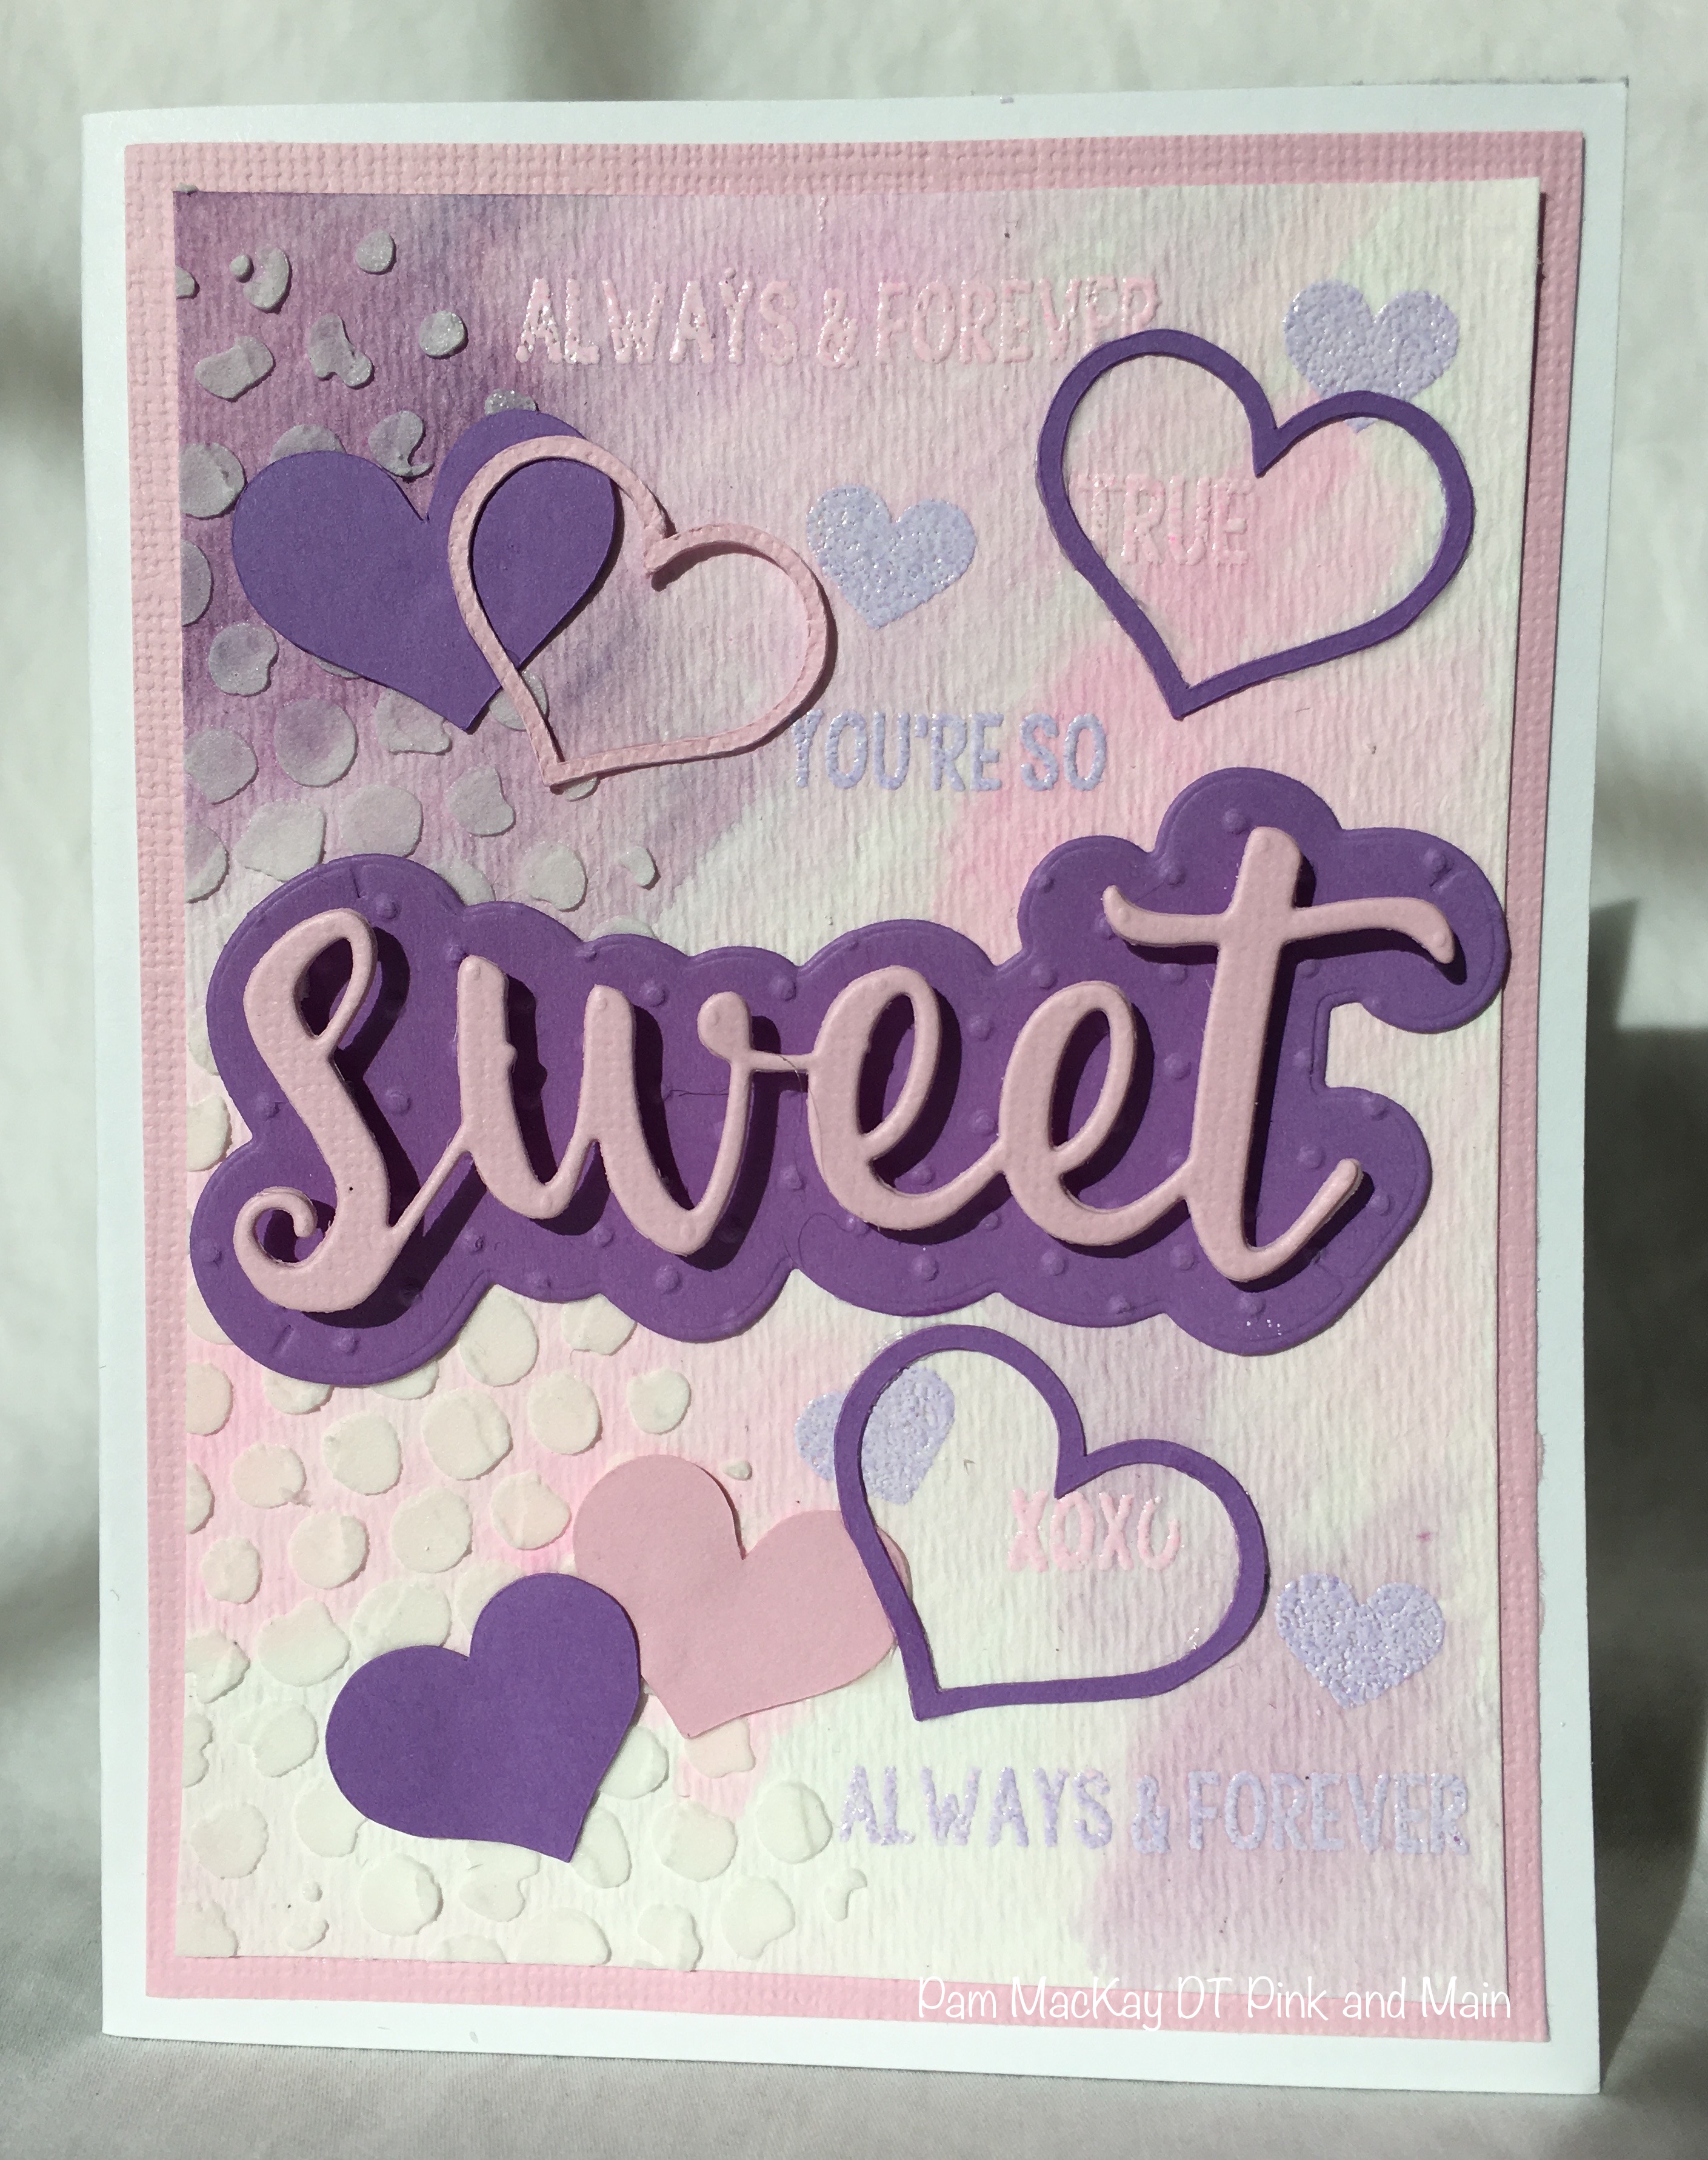
I hope that you find something that will knock your socks off and inspire you! Today I used a little Mixed Media to create my background.
IMG_0439
Design Steps:
  1. Use a white A2 card base, 4 x 5 1/4 pink layer mat and 3 3/4 x 5 watercolor paper
  2. Used reinkers as watercolors for my background working on watercolor paper
  3. Used white embossing paste and a TH stencil to create the texture on the left hand side (dried for a couple of hours)
  4. Stamped the small little words and hearts with Versa Mark and embossed with purple and pink embossing powder (Stamps Pink and Main: True Love)
  5. Cut the hearts with my Cricut
  6. Cut the word Sweet and the background shadow with my die (Pink and Main Die Set: Hello Sweet)
  7. Attached hearts and the word Sweet as shown and layered it on Pink then attached to the front of the card
Thanks for stopping by!
Blessings
Pam