Sunday, March 3, 2024

The Miracle of Easter

 Hello Friends    

I have a few more Easter cards to complete before I mail them out to my family and friends.  I am doing multiples of the one I am sharing today. I just love the Easter Cross die that I am featuring today.  To me it represents the true meaning of Easter.

Background Photo by Freepiks
Design Steps:
1.  Use a white A2 card base, 2 pieces of DP purple one cut at 4 1/8 x 5 3/8 and the other 3 3/4 x 5, and one additional piece of white card stock cut at 3 7/8 x 5 1/8

2.  Glue the larger piece of purple DP to the card front.  Glue the smaller piece of purple DP to the extra piece of white card stock and then pop it onto the front using dimensional tape set aside
3.  Cut a rectangle piece of white card stock measuring 4 1/8 x 3 next using the 4th from the largest Pierced Oval die cut an oval just slightly above center as shown above.  Use a corner rounder and round the top corners of the rectangle.  Cut out the following dies on white card stock: Easter Cross, He is Risen (you just need the Risen part), for the flowers use the Garden Phrases die and cut out 2 large flowers, 6 medium flowers and 3 small flowers.  And finally on white cut out the window base using the Garden Window die.  Use the Spring Greenery die and cut out two leaves as shown above on green card stock
4.  I wanted a unique shape to showcase the cross so I made an arched window by taking the rectangle that I cut the oval in and cut it to measure 3 x 3 then I glued the window base to the bottom as shown
5. I then added dimension tape to the back of the oval window 
6.  I used dimension tape on the window then popped it onto the card base toward the top and glued down the cross and Risen
7.  Next glue down the greenery.  You can see below I added some bend to the flowers using my stylus

8.  For the large flower I glued to large flowers together, added 2 medium flowers and one small flower for the center.  For the other two flowers I glued to medium flowers together and added a small flower to the center


9.  Glue the large flower in the middle and then add the two smaller flowers.  To finish the card add two pearls to the corners and one pearl to the centers of the flowers.  Your card is now complete


We have more inspiration on our YouTube Channel check it out HERE

Thanks so much for stopping by!  And I will see you next Thursday.

Blessings and Take Care


Wednesday, February 28, 2024

Easter Egg Hunt

Hello Friends

Today's post is for the House-Mouse Monday Challenge!  The challenge is Anything Goes or Border.  I decided to do a border and make an Easter card.  The stamp is called Happy Hopper Easter Bunny.  Check out the challenge HERE.


This is such a perfect challenge for using those cute little House-Mouse and Happy Hopper Stamps!  Come and join the fun!


Thanks for taking a peek!

Blessings
Pam

Sunday, February 25, 2024

Easter Parade

 Hello Friends

It is Pam sharing with you today!

I am starting my Easter cards because this incredible holy holiday is early this year.  I will be featuring the Spring Parade die on a slimline card base.


Design Steps:

1.  Start by using the Windows Slimline die cut out of white card stock.  Next cut 3 pieces of DP measuring 2 3/4 x 2 3/4.  The card base is white card stock measuring 3 1/4 x 8 1/4 when folded and also cut a extra piece of white 2 7/8 x 7 7/8
2.  Use the Spring Meadow die and cut out 3 pieces of the shorter grass and 3 pieces of the longer grass in green card stock.  Glue the shorter grass to the back of the slimline window frame.  Using the Fence & Grass die cut out 3 pieces of the fence in white.  Glue the fence pieces to the blue DP squares and then add the longer grass to the front of the fence.  Glue the squares to the extra white piece measuring 2 7/8 x 7 7/8.  Make sure that they will be even when you place the Slimline Window die on top of it.  Before attaching the Slimline Window die add dimension tape to the back of it.  Then pop it over the top

3.  Use the Spring Parade die and cut out the bunny in gray, light gray, black, orange, orange striped DP and pink.  Cut out the sheep in gray, black and white.  Cut out the duck and chicks in yellow and orange.  Assemble the pieces using a fine tip glue

4.  Add the little critters to the card front using dimension dots and tucking their feet in between the grass layers.  I cut out the little sign using the Bunny Gnome 3 in brown and stamped Happy Easter
5.  Using the Spring Meadow die cut out flowers in 3 pink and  5 purple.  Also cut out 3 pink butterflies using the same die.  To give the flowers a little shape I used my stylus

6.  Add the flowers and butterflies as shown above.  To finish I added pearls to the flowers and butterflies


We have more inspiration on our YouTube Channel check it out HERE

Thanks so much for stopping by!  And I will see you next Thursday.

Blessings and Take Care


Wednesday, February 14, 2024

I AM Always with You

 Hello Friends

It is Pam creating with you today!

This card is going to someone who needs a little uplifting and encouragement.   I decided to go with a mini slimline design to feature the Garden Butterflies and Bees die and the Morning Glory die.  


Design Steps:

1.  Start with a mini slimline white card base when folded measures 3 1/4 x 6 1/4.  Cut a addition piece of white card stock 3 1/8 x 6 1/8
2.  On the extra piece of white card stock use a stencil and blue ink for the background.  After stenciling use the same color of ink and add some spattering
3.  Glue the stenciled panel to the front of the mini slimline base

4.  To create the butterfly wings I used a piece of Alcohol Ink Yupo paper.  I put serveral colors of alcohol ink on an applicator and dabbed it onto the Yupo paper

5.  Using the Garden Butterflies and Bees die cut out the back of the butterflies using the Yupo paper and then cut out the outline for the butterflies in black card stock.  Cut out the Morning Glory vine in green and the flowers in white.  I add a touch of yellow ink to the inside of the morning glory flowers
6.  Glue the Morning Glory vine and flowers to the card front as shown above
7.  Next add you butterflies and sentiment and your card is complete


We have more inspiration on our YouTube Channel check it out HERE

Thanks so much for stopping by!  And I will see you next Thursday.

Blessings and Take Care


Thursday, February 8, 2024

House Mouse Valentine

Hello Friends

Today's post is for the House-Mouse Monday Challenge!  The challenge is Anything Goes or Valentine. If you don't want to make a Valentine just use Red/Pink.  The stamps I used are from a set called House-Mouse So Sweet. To Check out this challenge click  HERE!


 This is such a perfect challenge for using those cute little House-Mouse Stamps!  Come and join the fun!


Thanks for taking a peek!

Blessings
Pam

Sunday, February 4, 2024

Lovebirds!

 Hello Friends

WE HAVE A HUGH SALE GOING ON IN THE STORE WHICH ENDS TOMORROW!!  SO DON'T MISS OUT CLICK HERE TO HEAD OVER AND SEE ALL THE AMAZING LOW PRICES!

I am on my last Valentine for this year! And it is for hubby!  I am featuring the Lovebirds die today.


Design Steps

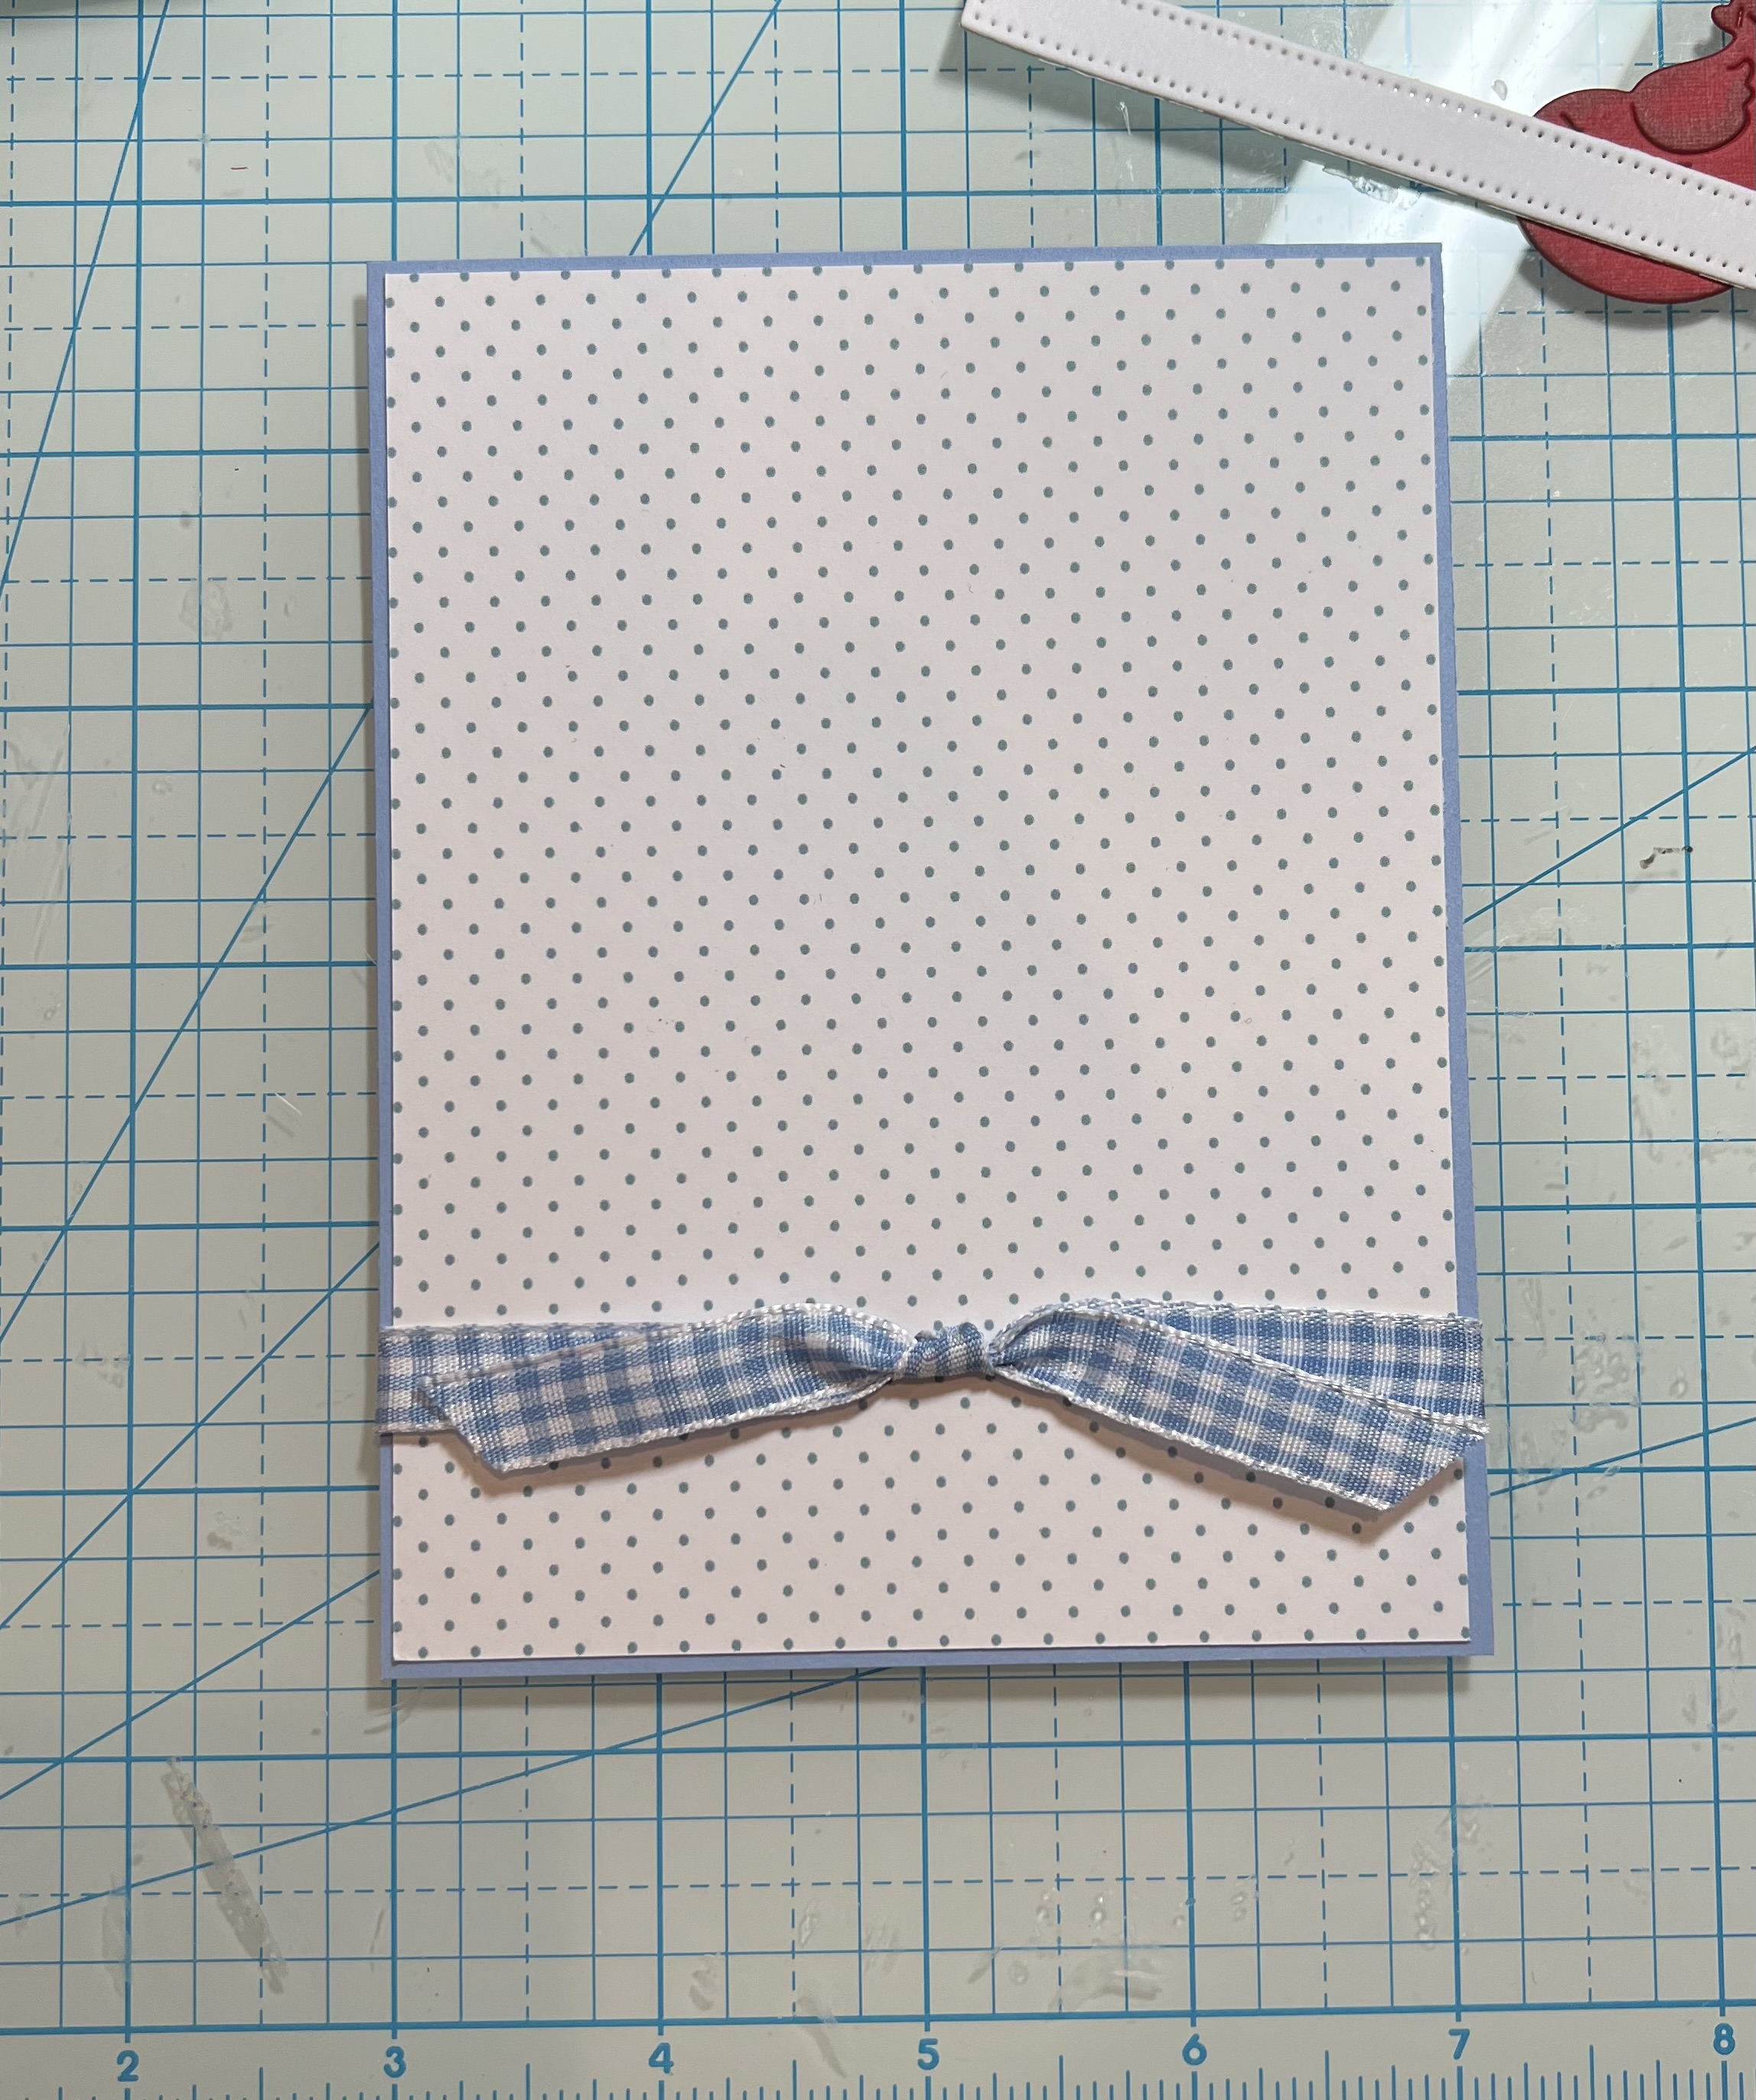
1.  The card base is a white A2, blue card stock cut to 5 3/8 x 4 1/8, Polka dot paper 5 1/4 x 4 and two white Pierced Wide Rectangle Frames glued together
2.  Glue the Polka Dot paper to the blue card stock and then add the knotted check ribbon to the bottom
3.  Cut a sun in yellow using the Arch Sun die.  I glued the sun to the back of the frame and then glued the frame to the card front over the top of the ribbon as shown
4.  Using the Lovebirds die cut out the branch in brown and green card stock.  I trimmed the leaves away from the brown branch and then glued it to the top of the green branch.  Glue the branch to the card front as shown above
5.  Cut out the flowers in white and the birds in blue with the becks in yellow.  I used a little ink to shade the birds and then added them to the branch along with the white flowers.  To add a little pop of red I used the hearts from the Love Letters die.  I placed the hearts on the corners of the frame and on the white flower centers.  I added a sentiment and the card is complete


Don't forget to check out the sale!!!


We have more inspiration on our YouTube Channel check it out HERE

Thanks so much for stopping by!  And I will see you next Thursday.

Blessings and Take Care


Thursday, February 1, 2024

Make a Splash

 Hello Friends

Today's post is for the House-Mouse Monday Challenge!  The challenge is Anything Goes or add a little silver or gold.   I added a little silver to my card.   The stamp I used is called Sprinkle Shower.  To Check out this challenge click  HERE!


This is such a perfect challenge for using those cute little House-Mouse Stamps!  Come and join the fun!


Thanks for taking a peek!

Blessings
Pam